
1. Introduction
Thank you for choosing the PUWU FLUX-135 PRO 3-in-1 Welder. This manual provides essential information for the safe and effective operation, setup, and maintenance of your welding machine. Please read this manual thoroughly before using the welder to ensure proper function and to prevent injury or damage.
The FLUX-135 PRO is a versatile 110V welding machine offering Flux MIG, Lift TIG, and Stick (MMA) welding capabilities. It features an IGBT inverter, digital display, and integrated safety protections.
2. Safety Information
WARNING: Welding can be dangerous. Always follow safety precautions to prevent serious injury or death.
- Electric Shock: Welding current can cause fatal electric shock. Ensure proper grounding, wear dry gloves, and insulate yourself from the workpiece and ground.
- Fumes and Gases: Welding fumes and gases can be hazardous to your health. Work in a well-ventilated area or use a fume extractor.
- Arc Rays: Arc rays can burn eyes and skin. Wear a welding helmet with appropriate shade lenses and protective clothing.
- Fire and Explosion: Welding sparks and hot metal can cause fire or explosions. Keep flammable materials away from the welding area. Have a fire extinguisher readily available.
- Hot Parts: Hot metal can cause severe burns. Allow welded materials to cool before handling.
The FLUX-135 PRO includes built-in thermal protection, overload protection, Voltage Reduction Device (VRD), and anti-stick functions to enhance safety during operation.
3. Package Contents
Verify that all items listed below are included in your package. If any items are missing or damaged, contact your supplier immediately.
- PUWU FLUX-135 PRO Welder Unit
- 2-meter Electrode Holder with red 10-25 connector
- 2-meter Ground Clamp with black 10-25 connector
- 2.5-meter ET-12 Flux-Core MIG Torch
- Instruction Manual
- 0.8/0.9 Wire Feeding Roller (pre-installed or included)
- Additional contact tips (quantity may vary)
Note: A Lift TIG torch is not included and must be purchased separately for TIG welding operations.

Image: The PUWU FLUX-135 PRO welder unit with its standard accessories, including the electrode holder, ground clamp, MIG torch, and contact tips.
4. Product Overview
4.1. Welder Unit

Image: Front view of the PUWU FLUX-135 PRO welder, showing the control panel, output terminals, and MIG torch connection.
4.2. Control Console
The front panel features an intuitive digital display and control knobs for precise adjustments.
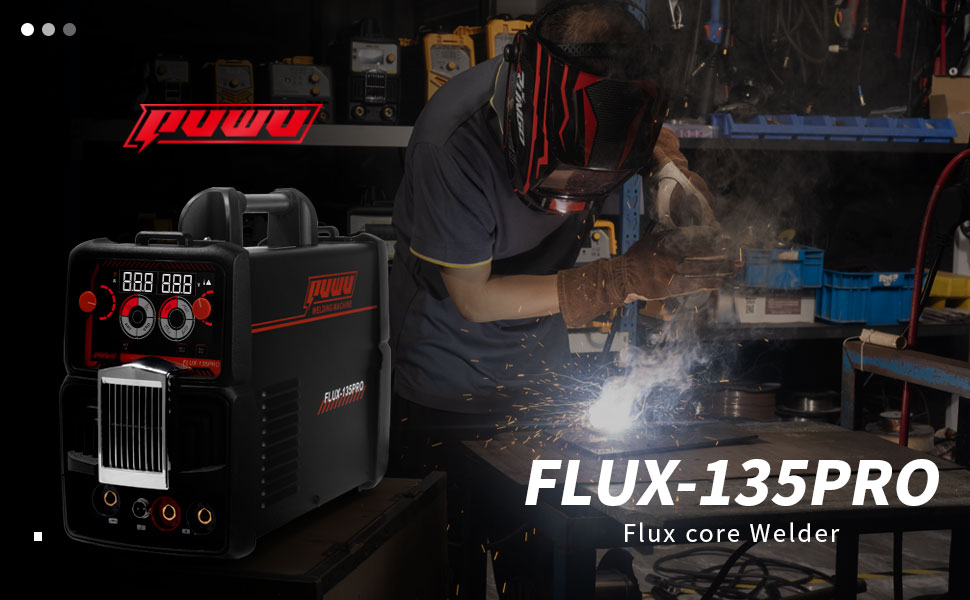
Image: Detailed view of the control console, highlighting the digital display, setup button, weld mode button, feed wire button, current knob, and voltage knob.
- Setup Button: Used to access and adjust various welding parameters.
- Weld Mode Button: Selects between Flux MIG, Lift TIG, and Stick (MMA) welding modes.
- Feed Wire Button: Manually feeds welding wire for setup or clearing jams.
- Current Knob: Adjusts the welding current (Amperage).
- Voltage Knob: Adjusts the welding voltage (Volts).
- Intelligent Electronic Screen: Displays current, voltage, and selected settings.
4.3. Machine Connections
The front of the machine provides connections for welding cables and torches.
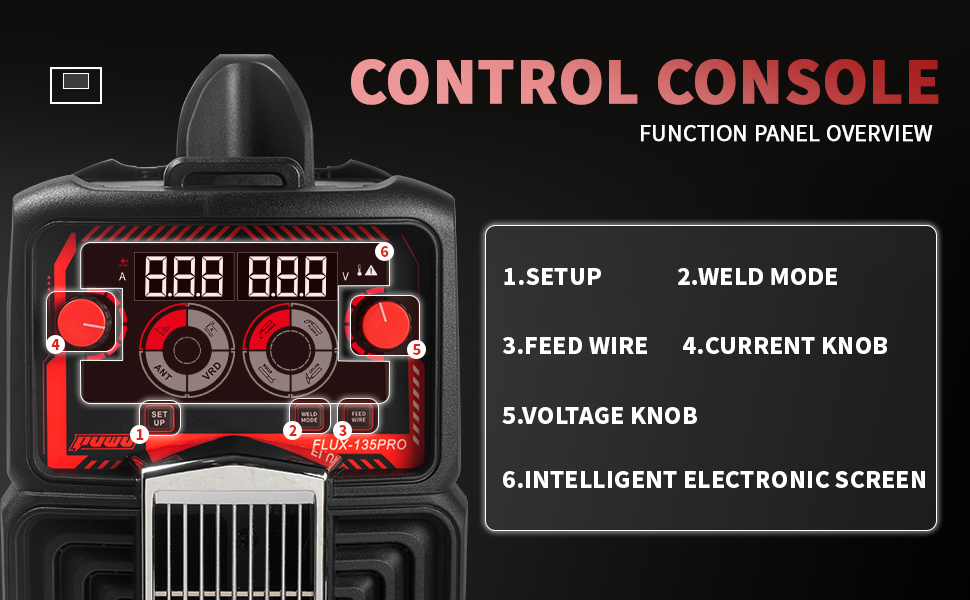
Image: Overview of the machine's front panel, indicating the digital display, work clamp/plasma cutting connection, two-pin connector for plasma cutting torch (if applicable), negative output, and plasma cutting output (if applicable).
- Digital Display: Shows welding parameters.
- Work Clamp / Plasma Cutting Connection: For ground clamp or plasma cutting.
- Two Pin for Plasma Cutting Torch: (If applicable for specific models).
- Negative Output: Connects to the negative terminal of welding cables.
- Plasma Cutting: (If applicable for specific models).
4.4. Key Features
- Compact and Lightweight Design: The welder measures approximately 14.6 x 7.3 x 13 inches and weighs 12.5 pounds, making it highly portable.
- High Security Features: Includes digital screen for clear display, overheating auto shutdown, overload auto shutdown, and unique electrostatic coating to prevent shock transfer.
- IGBT Inverter Technology: Optimizes power conversion for stable and efficient welding performance.

Image: Illustration showing the compact dimensions (7.3"x13"x14.6") and light weight (12.5 lbs) of the FLUX-135 PRO welder.
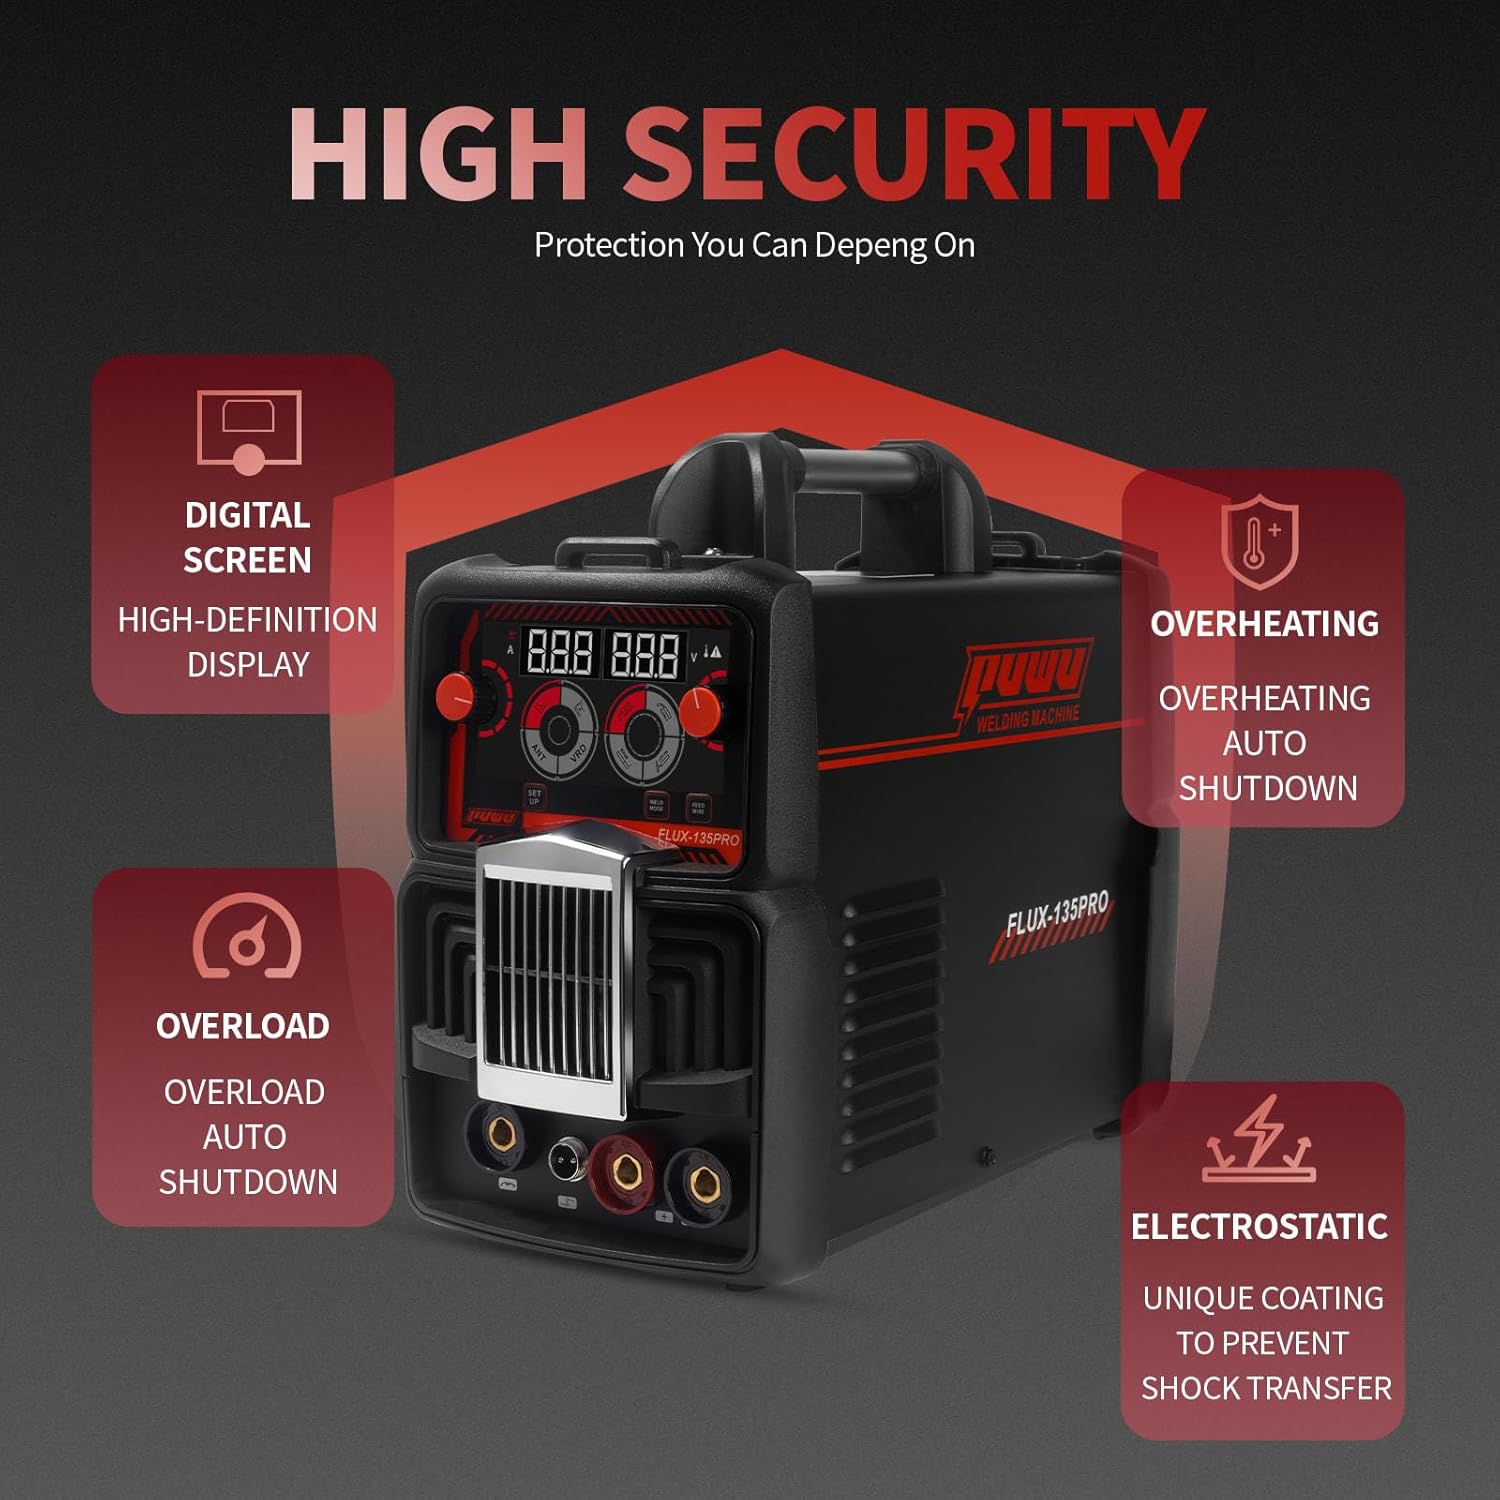
Image: Diagram illustrating the high security features: digital screen, overheating auto shutdown, overload auto shutdown, and electrostatic protection.

Image: A welder working, with an overlay highlighting IGBT Inverter Technology for optimized power conversion.
5. Setup
5.1. Power Connection
Connect the welder to a standard 110V power outlet. The welder comes with a 2-meter 14AWG power cord and an American-style 110V plug. Ensure the power source can provide sufficient current for welding operations (refer to specifications).
5.2. Connecting Welding Cables
- Ground Clamp: Connect the ground clamp cable to the appropriate terminal on the welder (usually marked with a ground symbol or negative output). Securely attach the ground clamp to the workpiece or welding table, ensuring good electrical contact.
- Electrode Holder (for Stick Welding): Connect the electrode holder cable to the positive (+) terminal on the welder. Insert the welding electrode into the holder.
- MIG Torch (for Flux MIG Welding): Connect the MIG torch cable to the designated MIG connection point on the welder. Ensure the connection is secure.
- Lift TIG Torch (optional, not included): If using a Lift TIG torch, connect it to the appropriate terminals as per the torch manufacturer's instructions and the welder's manual.
5.3. Loading Flux-Core Wire (for Flux MIG Welding)
- Open the wire feeder compartment.
- Place the flux-core wire spool onto the spindle, ensuring it rotates freely.
- Thread the wire through the guide tube and into the drive roller mechanism.
- Close the drive roller tension arm, adjusting tension as needed (too loose will cause slipping, too tight will deform the wire).
- Ensure the correct drive roller size (0.8/0.9mm) is installed for your wire.
- With the MIG torch pointed away from yourself and others, press the 'Feed Wire' button to feed the wire through the torch liner and out of the contact tip.
6. Operating Modes
The FLUX-135 PRO supports three primary welding processes:
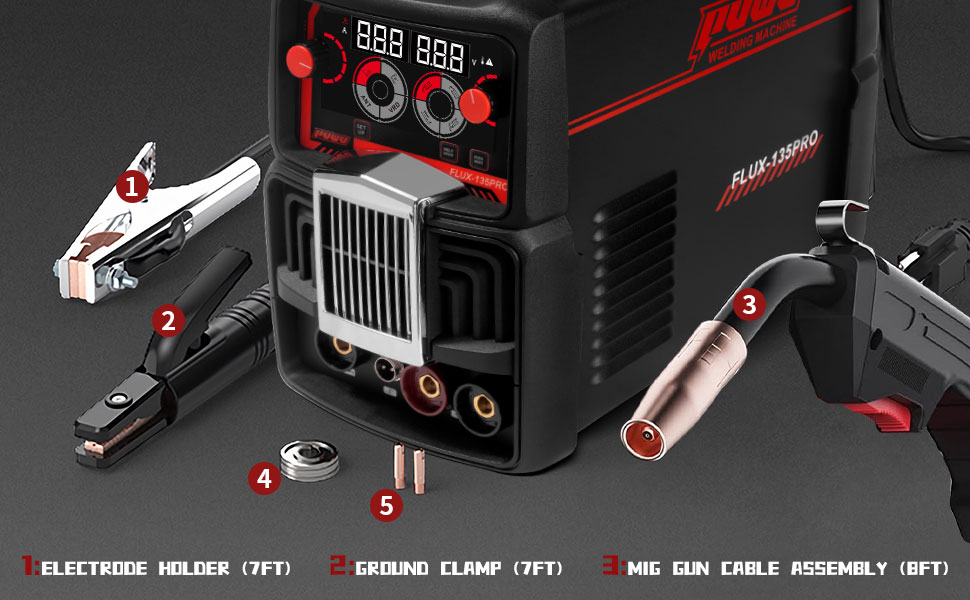
Image: Visual representation of Stick Welding, Lift TIG Welding, and Flux Cored Welding processes.
6.1. Flux MIG Welding
This mode uses flux-cored wire, which contains a fluxing agent that protects the weld pool from atmospheric contamination, eliminating the need for external shielding gas. It is ideal for outdoor welding and on dirty or rusty materials.
- Select 'Flux MIG' mode using the 'Weld Mode' button.
- Adjust current and voltage using the respective knobs according to the material thickness and wire diameter (refer to welding parameters table).
- Ensure proper wire feed speed.
- Begin welding, maintaining a consistent travel speed and arc length.
6.2. Lift TIG Welding
Lift TIG provides precise control and high-quality welds, particularly on thinner materials. This welder supports Lift TIG, meaning the arc is initiated by touching the tungsten electrode to the workpiece and then lifting it slightly.
- Connect a compatible Lift TIG torch (not included) and gas supply (if using).
- Select 'Lift TIG' mode.
- Adjust current according to material thickness.
- Initiate arc by touching and lifting the tungsten electrode.
6.3. Stick Welding (MMA)
Stick welding, also known as Shielded Metal Arc Welding (SMAW) or Manual Metal Arc (MMA) welding, uses consumable electrodes coated with flux. It is versatile for various metals and conditions.
- Select 'Stick' or 'MMA' mode.
- Connect the electrode holder to the positive (+) terminal and the ground clamp to the negative (-) terminal (or vice-versa depending on electrode type).
- Adjust current based on electrode diameter and material thickness. The welder supports electrodes like 7018 and 6011.
- Strike the arc by lightly scratching the electrode against the workpiece.
6.4. Advanced Features
The FLUX-135 PRO incorporates features for improved arc performance:
- Hot Start: Provides an initial boost of current to make arc striking easier.
- Arc Force: Prevents the electrode from sticking by increasing current when the arc length becomes too short.
- Anti-Stick: Reduces the current if the electrode sticks, making it easier to remove without damaging the electrode or workpiece.
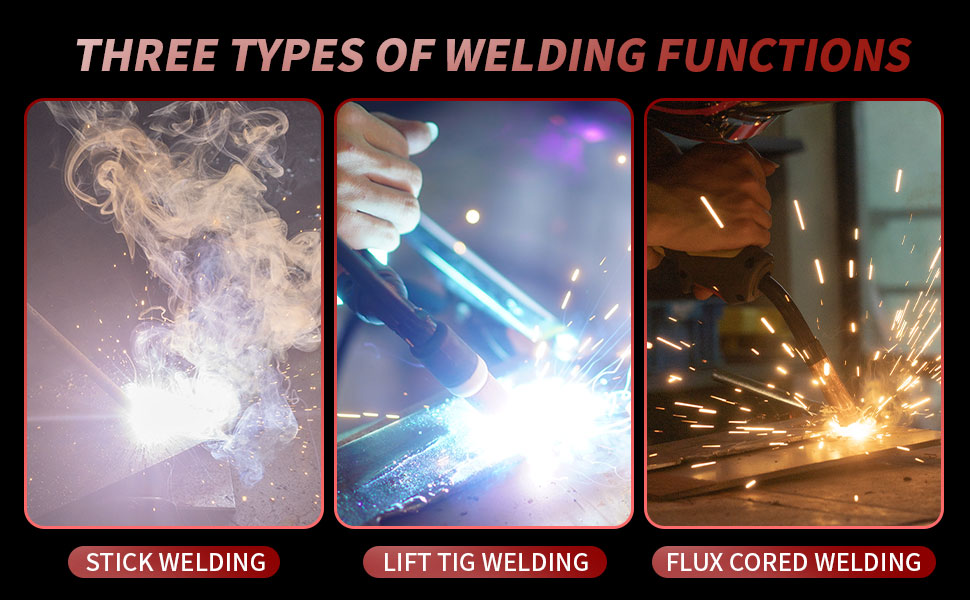
Image: Visuals representing Hot Start, Arc Force, IGBT Inverter Technology, and Arc Stable features of the welder.
7. Welding Parameters
Refer to the table below for recommended welding parameters. These are starting points and may need fine-tuning based on your specific application, material, and technique.
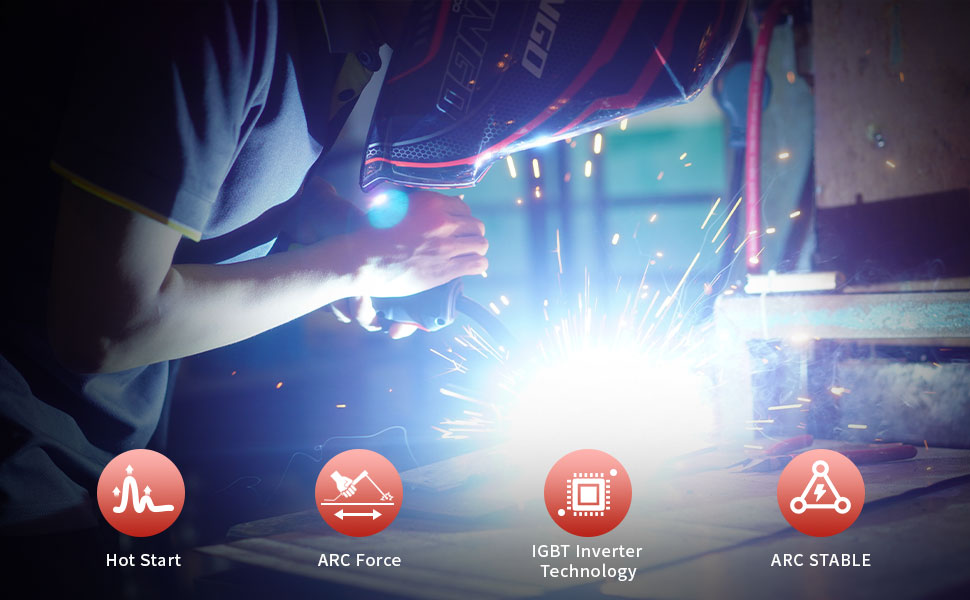
Image: Table displaying welding parameters for MIG, ARC (Stick), and Lift TIG functions, including power supply voltage, effective current, rated input power, duty cycle, no-load voltage, welding current range, welding voltage range, electrode size range, operating temperature, and welding wire size range.
| Parameter | MIG Function | ARC Function | Lift TIG Function |
|---|---|---|---|
| Power Supply Voltage (V) | AC110 | AC110 | AC110 |
| Effective Current (A) | 29.4 | 32.5 | 23.9 |
| Rated Input Power (KW) | 4.1 | 4.6 | 3.4 |
| Rated Input Current (A) | 38 | 42 | 31 |
| Duty Cycle (40°C 10min) | 20% | 20% | 20% |
| No-Load Voltage (V) | 60 | 60 | 60 |
| Welding Current Range (A) | 40-135 | 20-135 | 20-135 |
| Welding Voltage Range (V) | 16-20.7 | 20.8-25.4 | 10.8-15.4 |
| Electrode Size Range | 0.8-0.9mm | 1.6-2.5mm | 1.0-2.0mm |
| Operating Temp | -20 to +45°C | -20 to +45°C | -20 to +45°C |
| Welding Wire Feed Speed Range | 2-13 m/min | N/A | N/A |
8. Maintenance
Regular maintenance ensures the longevity and safe operation of your welder.
- Cleaning: Periodically clean the welder's exterior with a dry cloth. Use compressed air to blow out dust and debris from the internal components, especially the cooling fins, ensuring the machine is unplugged.
- Cable and Connection Inspection: Regularly inspect all welding cables, torch, and ground clamp for damage, fraying, or loose connections. Replace damaged components immediately.
- Wire Feeder Maintenance (for MIG): Clean the wire drive rollers and guide tubes to prevent wire feeding issues. Check the tension of the drive rollers. Replace contact tips and nozzles as they wear out.
- Storage: Store the welder in a clean, dry environment, away from excessive dust, moisture, and corrosive materials.
9. Troubleshooting
This section addresses common issues you might encounter. For problems not listed here, contact customer support.
| Problem | Possible Cause | Solution |
|---|---|---|
| Welder does not power on | No power supply; Faulty power cord/plug; Internal fuse blown | Check power outlet and circuit breaker; Inspect power cord; Contact service center. |
| No welding arc | Poor ground connection; Incorrect welding mode; Loose cable connections; Overheat protection activated | Ensure ground clamp has good contact; Select correct mode; Tighten all connections; Allow welder to cool down. |
| Poor weld quality / Inconsistent arc | Incorrect current/voltage settings; Improper wire feed speed (MIG); Contaminated workpiece; Worn contact tip/electrode | Adjust settings according to parameters; Clean workpiece; Replace worn consumables. |
| Wire feeding issues (MIG) | Incorrect drive roller tension; Kinked liner; Wrong drive roller size; Spool tangled | Adjust drive roller tension; Inspect and clear liner; Ensure correct roller size; Untangle wire spool. |
| Overheat indicator on | Exceeded duty cycle; Blocked ventilation | Allow welder to cool down; Ensure clear airflow around the machine. |
10. Specifications
| Specification | Detail |
|---|---|
| Manufacturer | PUWU |
| Model Number | FLUX-135 PRO |
| Input Voltage | 110 Volts |
| Wattage | 4.6 KW |
| Item Weight | 12.5 pounds |
| Product Dimensions | 14.6 x 7.3 x 13 inches |
| Welding Processes | Flux MIG, Lift TIG, Stick (MMA) |
| MIG Current Range | 40-135A |
| Stick Current Range | 20-135A |
| Lift TIG Current Range | 20-135A |
| Duty Cycle (40°C 10min) | 20% |
| Power Source | DC |
| Included Components | Welder Host, Electrode Holder, Ground Clamp, Flux-Core MIG Torch, Instruction Manual |
11. Warranty and Support
For warranty information, technical support, or service inquiries, please refer to the warranty card included with your product or contact PUWU customer service through the retailer where the product was purchased. Please have your model number (FLUX-135 PRO) and purchase date available when contacting support.