
1. Introduction
This manual provides essential information for the safe and efficient operation of your Generic ECCO LH32 32-inch LED HD Ready TV. Please read these instructions thoroughly before using the television and retain them for future reference. This television offers a 32-inch LED display with HD Ready resolution (1366 x 768) and multiple connectivity options.
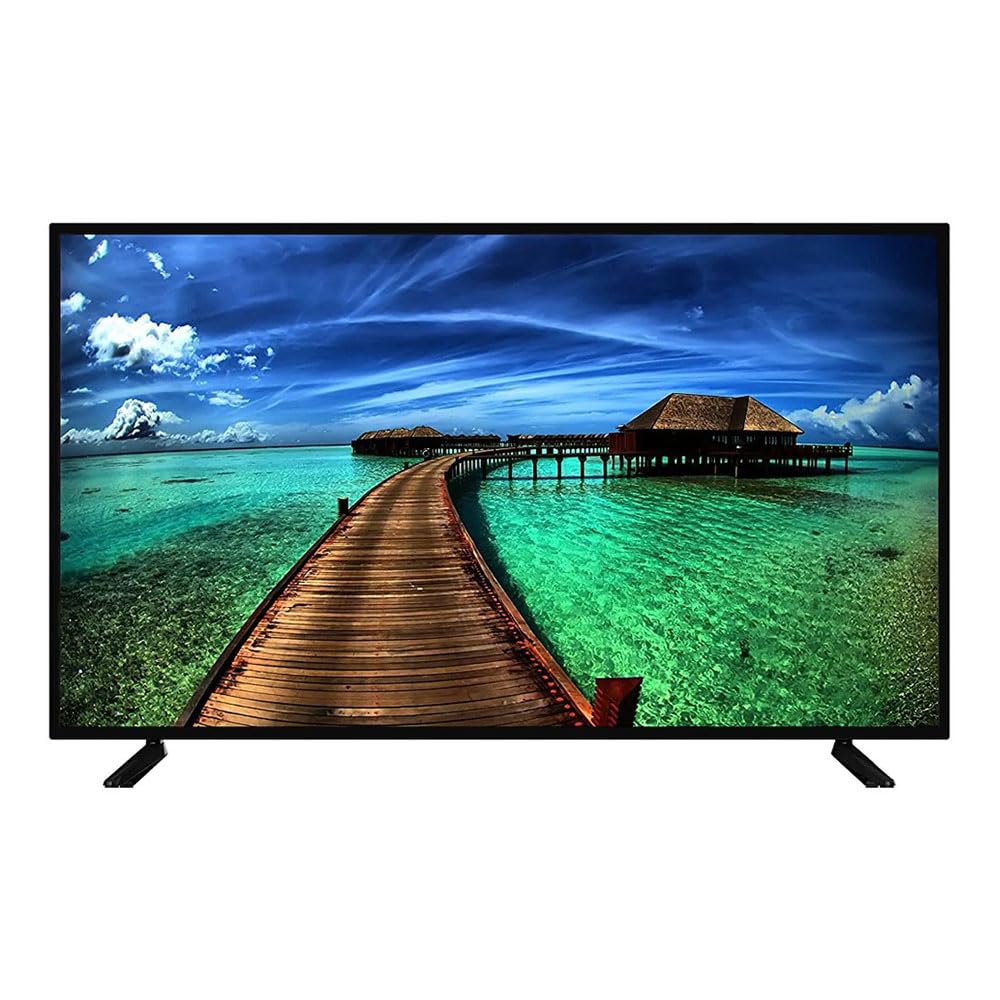
Image 1.1: Front view of the Generic ECCO LH32 32-inch LED HD Ready TV, showcasing its display and included stand.
2. What's in the Box
Carefully unpack all items and ensure the following components are present:
- 1x Generic ECCO LH32 32-inch LED HD Ready TV
- 1x Remote Control
- 1x TV Stand (Base and Screws)
- 1x User Manual (this document)
- 1x Power Cable
3. Product Features
The Generic ECCO LH32 TV is designed with the following key features:
- Display: 32-inch LED HD Ready screen
- Resolution: 1366 x 768 pixels
- Aspect Ratio: 16:9
- Connectivity: 2x HDMI ports, 2x USB ports
- Inputs: 1x RF Input, 1x COAX Input, 1x PC Audio (AUX), 1x AUX input, 1x RCA Input, 1x YPB & PR
- Refresh Rate: 120 Hz
4. Setup
4.1 Attaching the Stand
- Place the TV screen-down on a soft, flat surface to prevent damage.
- Align the stand base with the mounting holes on the bottom of the TV.
- Secure the stand using the provided screws. Ensure all screws are tightened firmly.
4.2 Power Connection
Connect the power cable to the TV's power input port, then plug the other end into a standard electrical outlet. Ensure the power outlet is easily accessible.
4.3 Initial Power On
After connecting the power, press the power button on the TV or the remote control to turn on the television. Follow any on-screen prompts for initial setup, such as language selection and channel scanning.
5. Operating Instructions
5.1 Remote Control Overview
The included remote control allows you to manage all TV functions. Insert two AAA batteries (not included) into the remote control, observing polarity.
- Power Button: Turns the TV on or off.
- Input/Source: Selects input sources (HDMI, USB, AV, etc.).
- Volume +/-: Adjusts the volume level.
- Channel +/-: Changes TV channels.
- Navigation Buttons (Up/Down/Left/Right/OK): Navigates menus and confirms selections.
- Menu: Accesses the main settings menu.
- Exit: Exits the current menu or function.
5.2 Input Source Selection
To switch between connected devices (e.g., DVD player, game console, USB drive):
- Press the Input or Source button on the remote control.
- Use the navigation buttons to highlight the desired input source (e.g., HDMI 1, USB).
- Press OK to confirm your selection.
5.3 Basic Settings
Access the main menu to adjust picture, sound, and other system settings:
- Press the Menu button on the remote control.
- Navigate through the menu options using the arrow buttons.
- Select a setting (e.g., Picture, Sound, Channel) and press OK to enter.
- Adjust the values as needed and press Exit to return to normal viewing.
6. Connections
The TV provides various ports for connecting external devices. Refer to the labels on the back of your TV for exact port locations.
6.1 HDMI Ports (2x)
Connect high-definition devices such as Blu-ray players, game consoles, or set-top boxes using HDMI cables. HDMI transmits both audio and video signals digitally.
6.2 USB Ports (2x)
Insert USB flash drives or external hard drives to play multimedia content (photos, music, videos) directly on your TV. Ensure the USB device is formatted correctly (e.g., FAT32).
6.3 RF Input (1x)
Connect an antenna or cable TV signal for receiving broadcast channels.
6.4 COAX Input (1x)
Connect a coaxial cable for digital audio output to a compatible audio receiver or sound system.
6.5 PC Audio (AUX) / AUX Input (1x each)
These 3.5mm audio jacks allow connection of external audio sources, such as a computer's audio output or other analog audio devices.
6.6 RCA Input (1x)
Connect older devices using RCA composite cables (typically yellow for video, red/white for audio).
6.7 YPB & PR (1x)
Component video input for connecting devices that support YPbPr video signals, offering a higher quality analog video connection than composite RCA.
7. Maintenance
7.1 Cleaning the Screen
Gently wipe the screen with a soft, lint-free cloth. For stubborn marks, slightly dampen the cloth with water or a specialized screen cleaner. Never spray liquid directly onto the screen.
7.2 Cleaning the Cabinet
Wipe the TV cabinet and stand with a soft, dry cloth. Avoid using abrasive cleaners or solvents.
7.3 Ventilation
Ensure adequate ventilation around the TV. Do not block ventilation openings on the back or sides of the TV, as this can lead to overheating.
8. Troubleshooting
Before contacting support, try the following solutions for common issues:
| Problem | Possible Cause / Solution |
|---|---|
| No Power | Check if the power cable is securely connected to both the TV and the power outlet. Ensure the power outlet is functional. |
| No Picture, but Sound is Present | Verify the correct input source is selected. Check cable connections (HDMI, AV) to external devices. |
| No Sound, but Picture is Present | Check the TV's volume level and ensure it is not muted. Verify audio cable connections. Check external device's audio settings. |
| Remote Control Not Working | Replace batteries in the remote control. Ensure there are no obstructions between the remote and the TV's IR sensor. |
| Poor Picture Quality | Check antenna/cable connections. Adjust picture settings (brightness, contrast, sharpness) in the TV menu. Ensure the input source is providing a high-quality signal. |
9. Specifications
| Model Name | LH32 |
| Brand | Generic (ECCO Series) |
| Screen Size | 32 Inches |
| Display Technology | LED |
| Resolution | 1366 x 768 (HD Ready) |
| Aspect Ratio | 16:9 |
| Refresh Rate | 120 Hz |
| HDMI Ports | 2 |
| USB Ports | 2 |
| Other Inputs | RF Input, COAX Input, PC Audio (AUX), AUX Input, RCA Input, YPB & PR |
| Product Dimensions (W x D x H) | 77 cm x 11 cm x 49 cm |
10. Warranty and Support
This Generic ECCO LH32 TV comes with a 2-year Manufacturer's Warranty. Please retain your proof of purchase for warranty claims.
For technical support or warranty service, please refer to the contact information provided with your purchase documentation or visit the manufacturer's official website.


