
1. Introduction
The AWOL VISION MW-120 is a 120-inch wall-mounted projector screen designed to enhance your viewing experience. This screen is compatible with a wide range of projectors, including long-throw, short-throw, and ultra-short-throw models, making it suitable for various home theater and professional environments. Its advanced material and design ensure superior image quality, wide viewing angles, and easy maintenance.
Image: This illustration demonstrates the significant improvement in image quality when using the AWOL VISION screen compared to projecting directly onto a white wall. The screen enhances brightness and color vibrancy by up to 80%.
The screen features a 1.05x gain, which allows for bright and vivid images even with lower-luminosity projectors (1000-2000 lumens), making it ideal for dark room viewing. Its 170° wide viewing angle ensures that images maintain consistent brightness and color from various positions, providing a comfortable viewing experience for everyone.

Image: This diagram shows how the 170-degree wide viewing angle allows for clear and consistent image quality from various seating positions, ensuring an immersive experience for all viewers.
2. Setup Instructions
The AWOL VISION MW-120 screen is designed for straightforward assembly and installation. For optimal results, it is recommended to have at least two people for the installation process, especially for larger screen sizes. Follow these steps carefully:

Image: This visual guide illustrates the six main steps for assembling and mounting your AWOL VISION projector screen.
- Assemble the Inner Frame: Begin by connecting the components of the inner frame. Ensure all connections are secure.
- Position the Screen Material: Carefully unroll and lay out the screen material. Place it onto the assembled inner frame, ensuring it is centered and aligned.
- Attach Screen to Inner Frame: Secure the screen material to the inner frame using the provided tension rods and springs. This step is crucial for a flat, wrinkle-free surface. Work systematically around the frame to apply even tension.
- Install the Outer Frame: Once the screen is taut on the inner frame, attach the decorative outer frame. This frame provides a clean finish and protects the edges of the screen.
- Mount Wall Brackets: Determine the desired mounting location on your wall. Use a level to mark the positions for the wall brackets. Drill pilot holes and securely fasten the brackets to the wall. Ensure the brackets are spaced correctly to support the screen's weight evenly.
- Hang the Screen: With assistance, carefully lift the assembled screen and hook it onto the installed wall brackets. Verify that the screen is level and securely seated on the brackets.
The tension rod system allows for easy assembly, completing your home theater setup in minutes. The screen can be freely installed to suit your room environment, including wall-mounted, hanging, or ceiling-mounted configurations. For rental properties, methods are supported that allow installation without drilling holes.
3. Operation
The AWOL VISION MW-120 projector screen is a passive display surface and does not require active operation. Its primary function is to provide an optimized surface for projector output. To ensure the best viewing experience, consider the following:
- Projector Compatibility: This screen is compatible with a wide range of projectors, including long-throw, short-throw, and ultra-short-throw models. It also offers good compatibility with 4K projectors, allowing you to fully enjoy high-resolution images.
- Optimal Viewing Environment: For the best image quality, especially with its 1.05x gain, the screen performs exceptionally well in dark room environments.
- Viewing Angle: The 170° wide viewing angle ensures consistent brightness and color from various seating positions. Position your audience within this angle for the most immersive experience.
- Screen Dimensions: The 120-inch screen provides a large display area of 2.68 meters wide by 1.52 meters high. Ensure your viewing distance is appropriate for this screen size to prevent eye strain.
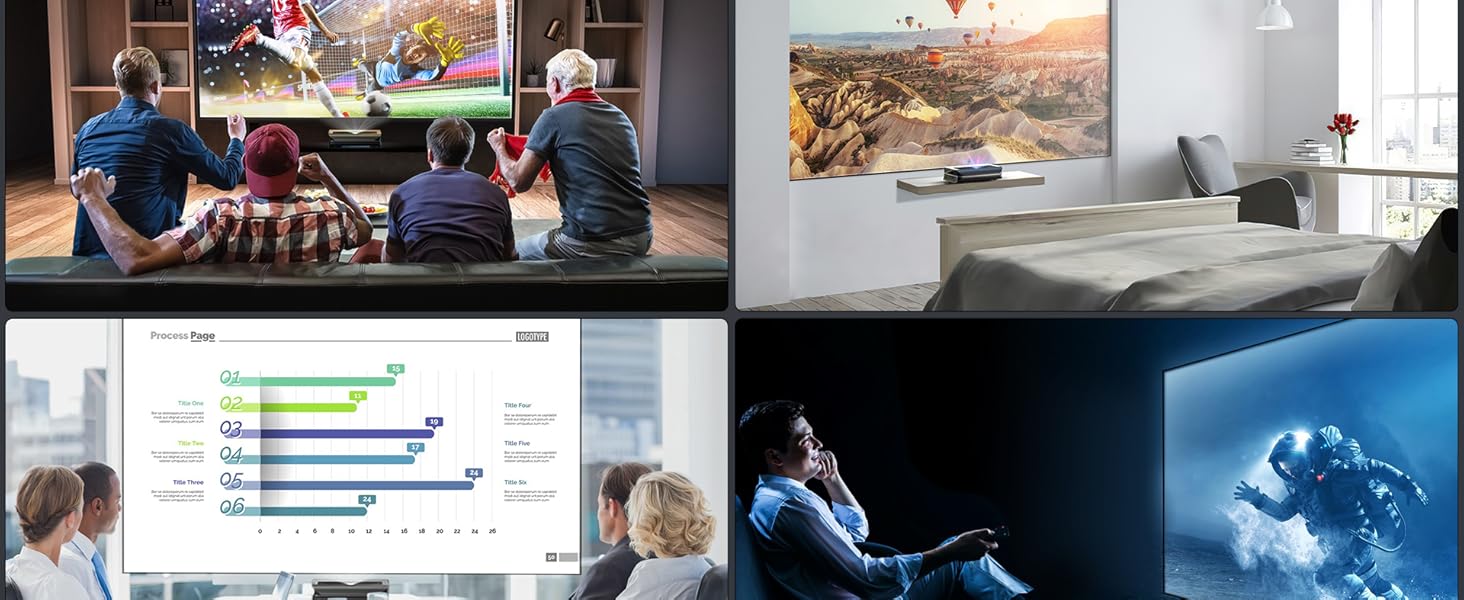
Image: This diagram illustrates the physical dimensions of the 120-inch screen (152cm height x 268cm width) and compares it to a 100-inch screen, highlighting the 1cm frame width and total weight.
4. Maintenance
Maintaining your AWOL VISION MW-120 projector screen is simple, ensuring its beautiful condition for a long time.
- Cleaning the Screen Surface: The screen surface is designed to be resistant to dirt and easy to clean. Gently wipe the screen with a soft cloth dampened with mild soap and water. Avoid using harsh chemicals, abrasive cleaners, or rough materials, as these can damage the screen surface.
- Dust Removal: For routine cleaning, use a soft, dry microfiber cloth to gently wipe away dust from the screen surface and frame.
- Storage: When not in use for extended periods, the screen can be stored compactly. Ensure it is clean and dry before storage to prevent mold or damage.
Image: This image shows the recommended method for cleaning the screen surface using a soft cloth, ensuring easy care and longevity.
5. Troubleshooting
If you encounter issues during setup or use, refer to the following common troubleshooting tips:
- Wrinkles or Uneven Surface: If the screen appears wrinkled or uneven after assembly, it indicates that the tension was not applied uniformly. Carefully re-adjust the tension rods and springs, ensuring even distribution of tension across all sides. This step is critical for a perfectly flat projection surface.
- Difficulty with Assembly: Some users find the assembly process challenging, especially for larger screens. It is highly recommended to have two people for assembly. Refer to the installation steps and diagrams provided in Section 2. If available, search for official AWOL VISION installation videos online for visual guidance.
- Screen Not Level on Wall: If the screen is not level after hanging, remove it from the wall brackets. Re-check the wall bracket measurements and use a level to ensure they are perfectly horizontal before re-hanging the screen.
- Poor Image Quality: If the projected image quality is not as expected (e.g., dim, washed out), ensure your projector settings are optimized for a screen, not a white wall. Check the projector's brightness, contrast, and color settings. Also, verify that the room lighting is controlled, as the screen performs best in darker environments.
- Missing Parts: If any parts are missing from your package, please contact AWOL VISION customer support immediately.
6. Specifications
| Feature | Detail |
|---|---|
| Model Number | MW-120 |
| Display Size | 120 inches |
| Product Dimensions (W x H) | 2.68 m x 1.52 m (105.5 in x 59.8 in) |
| Mounting Type | Wall Mount |
| Material | Polyvinyl Chloride (PVC) |
| Gain | 1.05x |
| Viewing Angle | 170 degrees |
| Color | White (Matte White) |
| Item Weight | 12.3 kg (27.1 lbs) |
| UPC | 810165510142 |
7. Warranty & Support
Warranty Information
The AWOL VISION MW-120 projector screen comes with a 2-year manufacturer's warranty from the date of purchase. This warranty covers manufacturing defects and ensures the product meets quality standards. Please retain your proof of purchase for warranty claims.
For any issues or questions regarding your product, please contact our customer support team.
Customer Support
If you require assistance with setup, troubleshooting, or have any other inquiries, please reach out to AWOL VISION customer support:
- Email: support-jp@awolvision.com
When contacting support, please provide your product model (MW-120) and a detailed description of your issue to help us assist you more efficiently.


