
Yottamaster DM200
Yottamaster 2 Bay NAS Storage User Manual
Model: DM200
Brand: Yottamaster
Introduction
This user manual provides comprehensive instructions for setting up, operating, and maintaining your Yottamaster 2 Bay NAS Storage device. This entry-level private cloud NAS storage features a dual-bay design, offering convenient sharing functionality and robust data management for individuals and home users. It is equipped with an ARM quad-core CPU and a dedicated NPU chip for outstanding performance.
Product Overview
The Yottamaster 2 Bay NAS Storage unit is designed for efficient and secure data management. Below are key components and their functions.

Figure 1: Front view of the Yottamaster 2 Bay NAS Storage device.
Rear Panel Connections

Figure 2: Rear panel of the NAS device, highlighting the fan and various ports.
- Fan: Located at the rear for efficient heat dissipation, ensuring stable operation.
- DC 12V Port: Power input for the device.
- USB-C Port: For data transfer and connectivity.
- USB A3.0 Port: For connecting external USB devices.
- LAN Port: Gigabit Ethernet port for network connection.
- Reset Button: Used to reset the device.
- Power Switch: To turn the device on or off.
Package Contents
Please verify that all items listed below are included in your package:

Figure 3: All items included in the product package.
- Yottamaster 2 Bay NAS Device
- Power Supply
- Power Cable
- Network Cable
- Screwdriver
- Screws
- User Manual
Setup Guide
1. Hardware Installation
- Install HDD/SSD: Open the front panel of the NAS device. Insert your 2.5-inch or 3.5-inch hard drives (HDD) or solid-state drives (SSD) into the available bays. The device supports a maximum storage capacity of up to 40TB (2x20TB).
- Connect Ethernet Cable: Connect one end of the provided network cable to the LAN port on the back of the NAS and the other end to your router or network switch.
- Connect Power: Connect the power supply to the DC 12V port on the NAS and plug the power cable into an electrical outlet.
- Power On: Press the power switch to turn on the device.

Figure 4: Tool-free installation process for hard drives and initial setup steps.
2. Software Setup and Initial Configuration
- Download the App: Scan the QR code provided in the user manual or on the product packaging to download the official Yottamaster app on your mobile device (Android/iOS).
- Register Account: Follow the in-app instructions to register a new user account.
- Bind Device: Scan the QR code located on the bottom of the product to bind the device to your account.
- Format Hard Drive: Within the app, format the installed hard drives to prepare them for use. This step is crucial before storing any data.
Operating Instructions and Key Features
Data Storage and Management
The Yottamaster NAS supports 2.5/3.5 inch hard drives, offering a maximum capacity of 40TB. It provides flexible data management options to suit your needs.

Figure 5: The NAS supports various hard drive sizes and offers substantial storage capacity.
The device features intelligent management capabilities, including automatic album and video categorization, simplifying the organization of your multimedia content.

Figure 6: The NAS can serve as a central hub for family memories, allowing easy access and viewing on various devices.
Remote Access and Sharing
Access and manage your files remotely from anywhere with an internet connection. The NAS supports fast file transfer speeds within the local network (up to 120MB/s) and allows secure sharing with others.
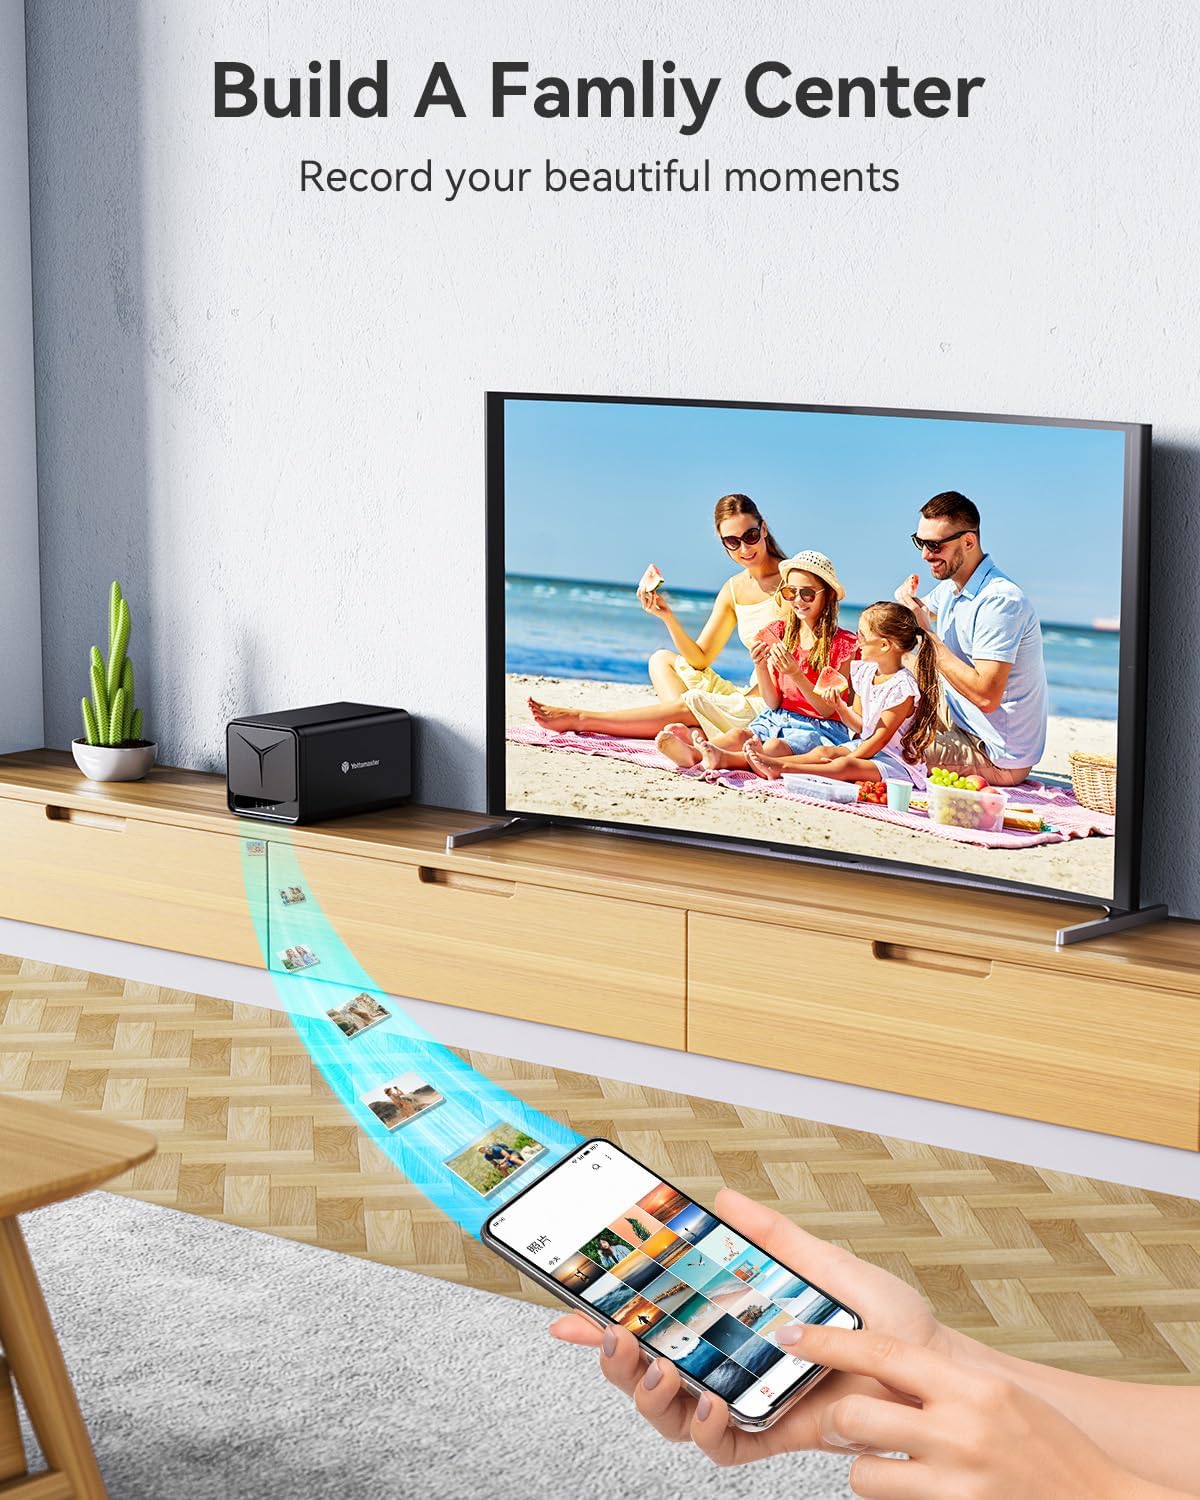
Figure 7: Remote access allows viewing and managing files from any location.
You can easily share photos, videos, and documents with friends and family through various social platforms.
Data Backup and Security
The NAS supports data backup and recovery for multiple devices, ensuring the security and reliability of your home data. It also supports offline download functionality.
Multiple account access permission management and SDVN (Virtual Secure Network) effectively prevent data leakage and protect privacy.
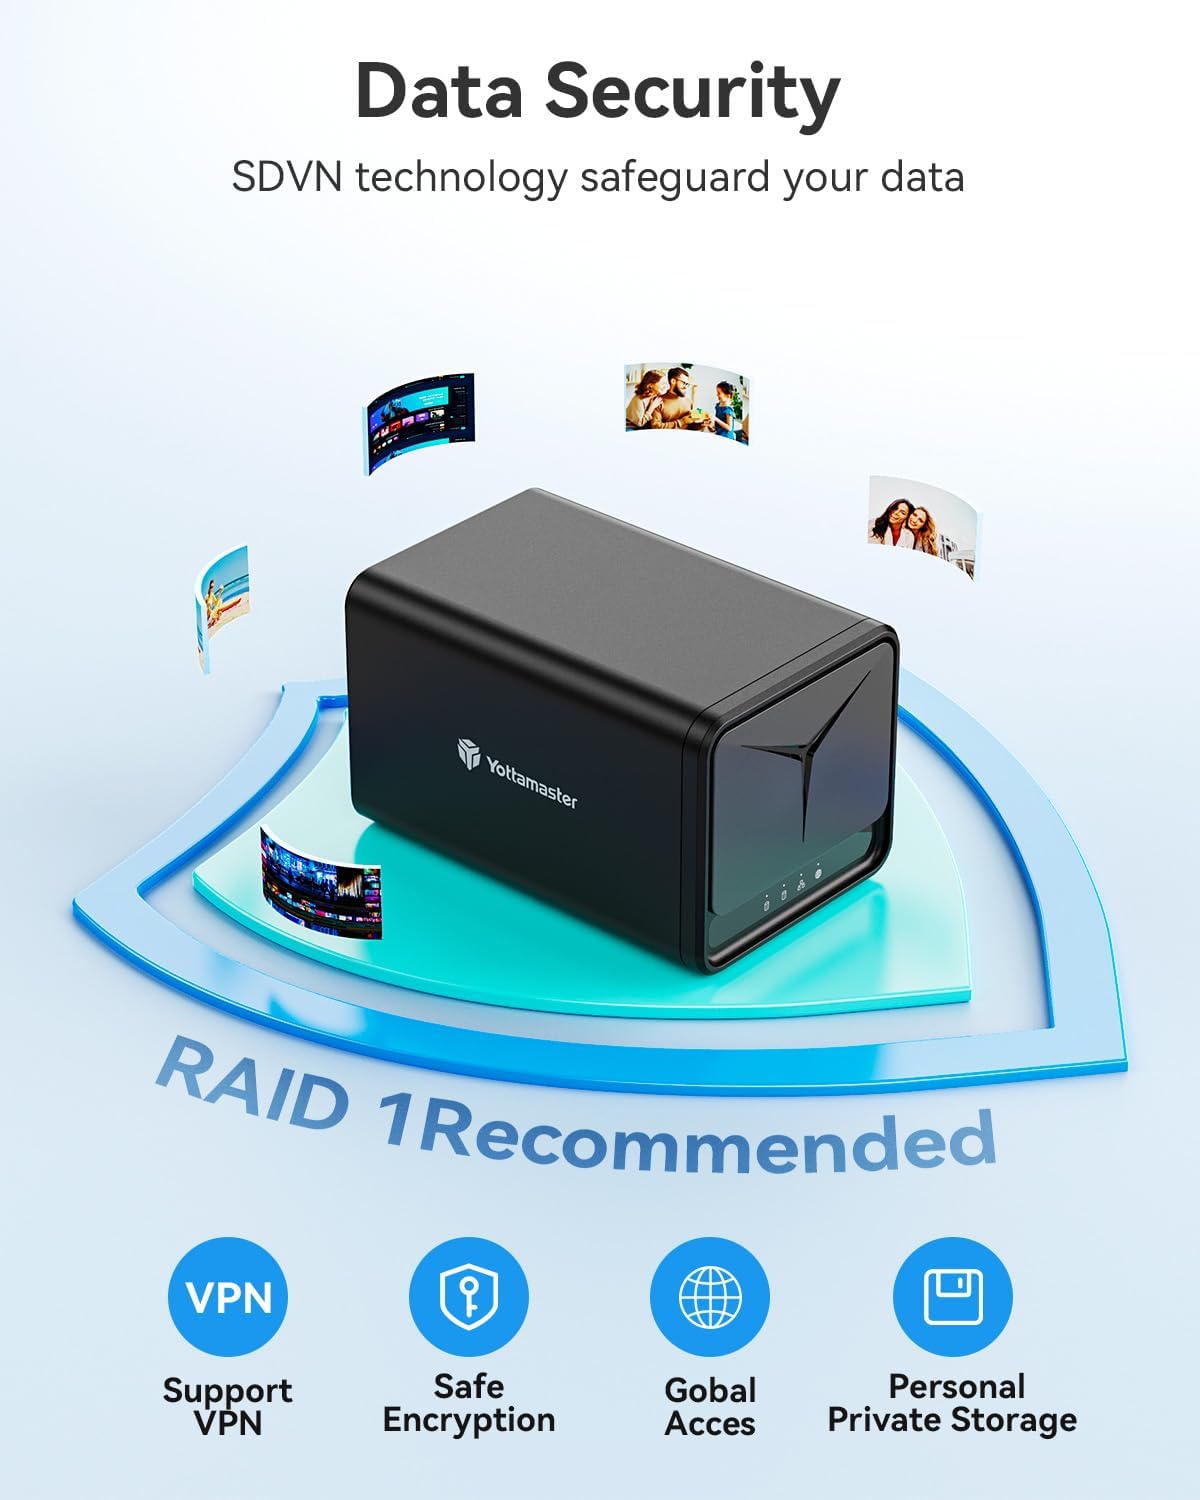
Figure 8: Data security features including VPN support, safe encryption, global access, and personal private storage.
RAID Support
This personal cloud storage device supports LVM, RAID 0, and RAID 1, providing flexible data protection and backup options.
| RAID Mode | Min. Disks | Max. Capacity | Security Level | Speed |
|---|---|---|---|---|
| RAID 0 | 2 | 100% | Low | High |
| RAID 1 | 2 | 50% | Middle | Medium |
| LVM | 2 | 100% | Low | High |
Multimedia and Cross-Platform Compatibility
The device supports protocols like Samba and DLNA, enabling connections with devices on different platforms. It is compatible with Android, iOS, Mac OS, Windows, and TV, facilitating data sharing and access across multiple devices.
Video 1: Demonstrates various features of the Yottamaster 2 Bay NAS, including setup, data management, sharing, and multimedia playback. This video is provided by the seller, Yottamaster Mingdao Direct.
You can watch movies and access your media files anytime and anywhere through the DLNA protocol, connecting to the NAS for a high-definition visual experience.
The NAS also supports unified management of team files, allowing access and editing of files anytime, anywhere, which is ideal for remote working and video editing online.
Specifications
| Attribute | Detail |
|---|---|
| Brand | Yottamaster |
| Model | DM200 (implied from context) |
| ASIN | B0D4HC6YSR |
| Package Dimensions | 13.19 x 9.37 x 8.74 inches |
| Item Weight | 4.64 pounds (2.11 Kilograms) |
| Manufacturer | Yottamaster |
| Color | Black |
| Material | Acrylonitrile Butadiene Styrene (ABS) |
| Compatible Devices | Desktop, Laptop, Server |
| Max Storage Capacity | Up to 40TB (2x20TB) |
| CPU | ARM Quad-Core CPU with dedicated NPU chip |
| RAM | 2GB DDR4 |
| Network Interface | 1GbE Port |
| Supported RAID Modes | LVM, RAID 0, RAID 1 |
Troubleshooting
If you encounter any issues with your Yottamaster NAS, please refer to the following common troubleshooting steps:
- Device Not Powering On: Ensure the power cable is securely connected to both the NAS and a working power outlet. Verify the power adapter is functioning correctly.
- No Network Connection: Check if the Ethernet cable is properly connected to both the NAS and your router/switch. Confirm your router is powered on and has an active internet connection. Try restarting both the NAS and your router.
- Hard Drives Not Detected: Ensure the hard drives are correctly seated in their bays. If using new drives, ensure they are formatted through the Yottamaster app after binding the device.
- Cannot Access Files Remotely: Verify your internet connection. Ensure the Yottamaster app is updated to the latest version. Check your network settings and firewall to ensure they are not blocking access.
- Slow Transfer Speeds: Ensure you are using a Gigabit Ethernet connection. Network congestion or issues with your router can affect speeds.
For further assistance, please contact Yottamaster customer support.
Warranty and Support
Yottamaster products come with a standard manufacturer's warranty. Please refer to the warranty card included in your package for specific terms and conditions. For technical support, product inquiries, or warranty claims, please visit the official Yottamaster website or contact their customer service team.
Official Yottamaster Store: Yottamaster Store on Amazon
Related documentsDM200


Ask a question about this manual
Ask about setup, troubleshooting, compatibility, parts, safety, or missing instructions. Manuals+ will review the question and use this page’s manual context to help answer it.