
1. Introduction
This manual provides instructions for the setup, operation, and maintenance of your Peakeep Slim Digital Mirror Alarm Clock, model MHP6030. Please read this manual thoroughly before using the product to ensure proper function and longevity.
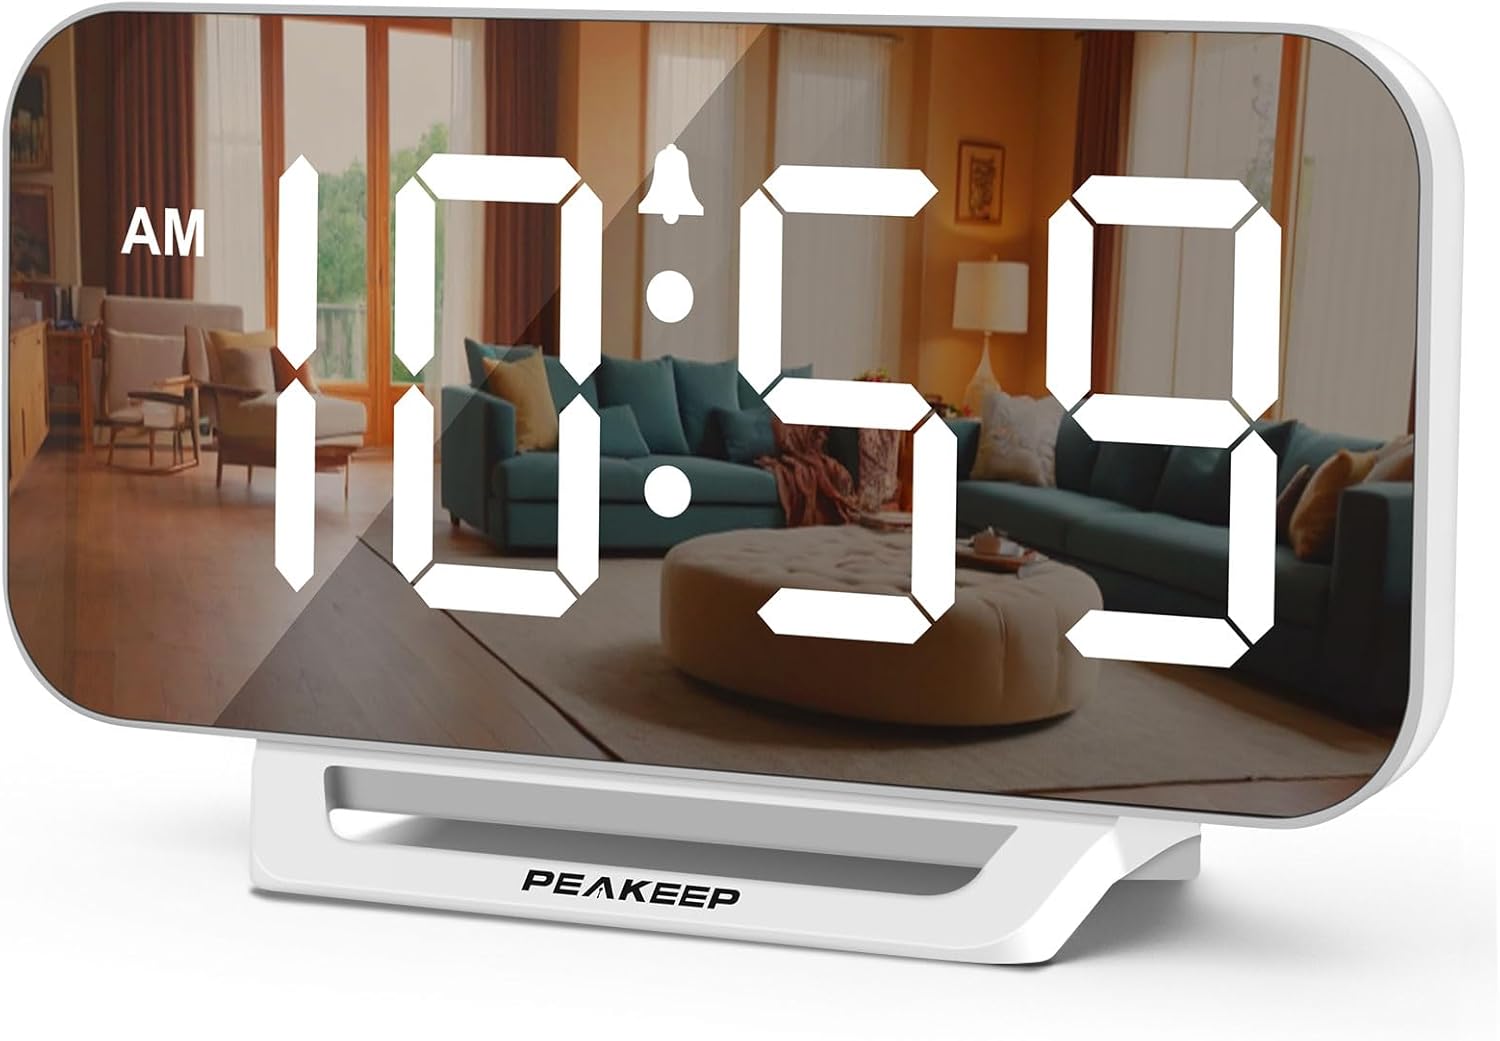
Image 1.1: The Peakeep Slim Digital Mirror Alarm Clock, model MHP6030, showing the time 10:59 AM on its reflective display.
2. Package Contents
Verify that all items listed below are included in your package:
- Peakeep Slim Digital Mirror Alarm Clock (MHP6030)
- AC/DC Power Adapter (Type-C, 60-inch cord)
- User Manual (this document)

Image 2.1: The alarm clock with its dimensions (6.2 inches wide, 3.5 inches high) and the included Type-C power adapter.
3. Product Overview
Familiarize yourself with the clock's buttons and ports.

Image 3.1: Rear view of the clock, highlighting the control buttons and the DC IN port.
Control Buttons:
- TIME SET: Used to enter time setting mode.
- DIMMER: Adjusts the display brightness.
- + / ON/OFF: Increases values during setting; turns alarm on/off.
- - / 12/24HR: Decreases values during setting; switches between 12-hour and 24-hour format.
- VOLUME: Adjusts the alarm volume.
- ALARM SET: Used to enter alarm setting mode.
- SNOOZE/LIGHT (Top Bar): Activates snooze during an alarm; temporarily lights up the screen for 20 seconds when on battery backup.
Ports:
- DC IN: Type-C port for connecting the power adapter.
4. Setup
4.1 Power Connection
- Connect the provided Type-C power adapter cable to the 'DC IN' port on the back of the clock.
- Plug the adapter into a standard electrical outlet. The display will illuminate.

Image 4.1: The clock receiving power from a wall outlet using the Type-C adapter.
4.2 Battery Backup Installation
The clock requires 4 AAA batteries (not included) for backup functionality. These batteries preserve time and alarm settings during a power outage and allow the alarm to function.
- Locate the battery compartment on the back of the clock.
- Open the battery compartment cover.
- Insert 4 new AAA batteries, observing the correct polarity (+/-) as indicated inside the compartment.
- Close the battery compartment cover securely.
5. Operating Instructions
5.1 Setting the Time
- Press and hold the TIME SET button until the hour digits flash.
- Use the + or - buttons to adjust the hour.
- Press TIME SET again to confirm the hour and move to minute setting. The minute digits will flash.
- Use the + or - buttons to adjust the minutes.
- Press TIME SET once more to save the time and exit time setting mode.
5.2 12/24 Hour Format
To switch between 12-hour and 24-hour display formats:
- In normal time display mode, press the - / 12/24HR button. The display will toggle between 12-hour (with AM/PM indicator) and 24-hour formats.

Image 5.1: The clock displaying time in both 12-hour (top) and 24-hour (bottom) formats.
5.3 Setting the Alarm
- Press and hold the ALARM SET button until the alarm hour digits flash.
- Use the + or - buttons to adjust the alarm hour.
- Press ALARM SET again to confirm the alarm hour and move to alarm minute setting. The minute digits will flash.
- Use the + or - buttons to adjust the alarm minutes.
- Press ALARM SET once more to save the alarm time. The alarm indicator icon will appear on the display, indicating the alarm is active.
5.4 Turning Alarm On/Off
- In normal time display mode, press the + / ON/OFF button to toggle the alarm on or off. The alarm indicator icon will appear when the alarm is active and disappear when it is off.
5.5 Adjusting Display Brightness (Dimmer)
The clock features 6 levels of display brightness, including an 'OFF' setting.
- In normal time display mode, repeatedly press the DIMMER button to cycle through the 6 brightness levels (L5 to L1) and the 'OFF' setting.

Image 5.2: Visual representation of the six adjustable brightness levels (L5 being brightest, OFF being completely dark).
5.6 Adjusting Alarm Volume
The alarm has 5 adjustable volume levels, ranging from 55 dB to 100 dB.
- In normal time display mode, repeatedly press the VOLUME button to cycle through the 5 alarm volume levels (U01 to U05).

Image 5.3: Illustration of the five alarm volume levels, from U01 (55dB) to U05 (100dB).
5.7 Snooze Function
When the alarm sounds:
- Press the SNOOZE/LIGHT bar on the top of the clock to activate the snooze function. The alarm will pause for 9 minutes and then sound again.
- To turn off the alarm completely, press any button on the back of the clock.
6. Battery Backup Function
The 4 AAA batteries (not included) serve as a backup power source. In the event of a power outage:
- The clock's display will turn off to conserve battery power.
- All time and alarm settings will be retained.
- The alarm will still sound at the set time.
- Pressing the SNOOZE/LIGHT bar on top will temporarily illuminate the screen for 20 seconds to check the time.

Image 6.1: The clock illustrating its battery backup feature, showing how settings are saved and the screen can be temporarily lit during a power outage.
7. Maintenance
- Clean the clock's surface with a soft, dry cloth. Do not use abrasive cleaners or solvents.
- Avoid exposing the clock to extreme temperatures, direct sunlight, or high humidity.
- If the clock will not be used for an extended period, remove the AAA backup batteries to prevent leakage.
8. Troubleshooting
| Problem | Possible Cause | Solution |
|---|---|---|
| Display is blank. | No power connection or power outage. | Ensure the power adapter is securely plugged into the clock and a working outlet. If on battery backup, press the SNOOZE/LIGHT bar to temporarily illuminate. |
| Alarm does not sound. | Alarm is not activated or volume is too low. | Press the + / ON/OFF button to ensure the alarm icon is displayed. Adjust alarm volume using the VOLUME button. Check backup batteries if operating during a power outage. |
| Time is incorrect. | Time was not set correctly or power interruption without backup batteries. | Reset the time using the TIME SET button. Ensure backup batteries are installed and functional. |
| Display is too bright/dim. | Brightness level needs adjustment. | Press the DIMMER button repeatedly to cycle through brightness levels. |
9. Specifications
| Feature | Detail |
|---|---|
| Model Number | MHP6030 |
| Display Type | Digital LED |
| Display Size | 6 inches (Length) x 3 inches (Width) |
| Product Dimensions | 6"W x 3.5"H |
| Power Source | Corded Electric (AC/DC adapter included) |
| Battery Backup | 4 x AAA batteries (not included) |
| Brightness Levels | 6 (L5 to OFF) |
| Alarm Volume Levels | 5 (55-100 dB) |
| Snooze Duration | 9 minutes |
| Time Format | 12-hour / 24-hour selectable |
| Material | Plastic |
| Item Weight | 6.4 ounces |
10. Warranty and Support
For warranty information or technical support, please refer to the contact details provided with your purchase documentation or visit the official Peakeep website. Keep your purchase receipt as proof of purchase.


