
Sunrosa 3472B
Sunrosa Frameless Glass Shower Panel Instruction Manual
Model: 3472B | Brand: Sunrosa
1. Important Safety Information
Please read all instructions carefully before beginning installation. Failure to follow these instructions could result in personal injury or product damage.
- Always wear appropriate personal protective equipment, including safety glasses and gloves, during installation.
- This product contains tempered glass. Handle with extreme care. Tempered glass, if broken, shatters into small, relatively harmless pieces.
- Installation requires two people. Do not attempt to install alone.
- Ensure the installation surface (wall, floor) is structurally sound and capable of supporting the weight of the shower panel.
- Verify all measurements and levels before drilling or permanent fastening.
- The glass is ANSI certified for peace of mind.
2. Package Contents
Verify that all components are present and undamaged before beginning assembly.
- Frameless Glass Shower Panel (3/8" / 10mm Tempered Glass)
- Aluminum Wall Profile (Matte Black)
- Adjustable Height Shelves (2 pieces, Aluminum Alloy)
- Large Fixed Shelf with Towel Bar (Aluminum Alloy)
- Installation Hardware (screws, anchors, gaskets, etc.)
- Instruction Manual
3. Tools Required
The following tools are recommended for a successful installation:
- Pencil
- Tape Measure
- Level
- Drill (with 6mm and 3mm drill bits)
- Screwdriver (Phillips head)
- Rubber Mallet
- Caulk Gun and Waterproof Sealant (silicone)
- Utility Knife
- Saw (if cutting is required for trim/base)
- Wrench / Hex Key Set
4. Installation Guide
Follow these steps carefully for proper installation of your Sunrosa Frameless Glass Shower Panel.
4.1. Prepare the Installation Area
Ensure the shower base or floor is clean, level, and ready for the panel installation. Mark the desired position for the wall profile, ensuring it is plumb.

Image: Sunrosa Frameless Glass Shower Panel in a bathroom setting, showcasing its sleek design and integrated shelves.
4.2. Install the Wall Profile
Position the aluminum wall profile against the wall, ensuring it is perfectly vertical using a level. Mark the drilling points. Drill holes using the appropriate drill bit (e.g., 6mm for anchors). Insert wall anchors and secure the wall profile with screws (e.g., ST4x35). Ensure a 10mm gap from the shower base edge for proper fitment.

Image: Detailed diagram illustrating the dimensions of the shower panel (33 5/8" - 34" width, 72" height) and the recommended 10mm gap for the wall profile.
4.3. Mount the Glass Panel
Carefully lift the glass panel and slide its edge into the installed wall profile. Ensure the glass is fully seated and remains horizontal. Use a level to confirm the glass is plumb and level before proceeding.

Image: Close-up view of the 3/8-inch (10mm) clear tempered glass, highlighting its quality and easy-to-clean properties.
4.4. Install Shelves and Towel Bar
The shower panel features integrated shelves. Install the two smaller adjustable-height shelves onto the designated rail on the glass panel according to your preferred height. The large fixed shelf, which includes a towel bar, is designed for the exterior side of the panel. Secure all shelves firmly.
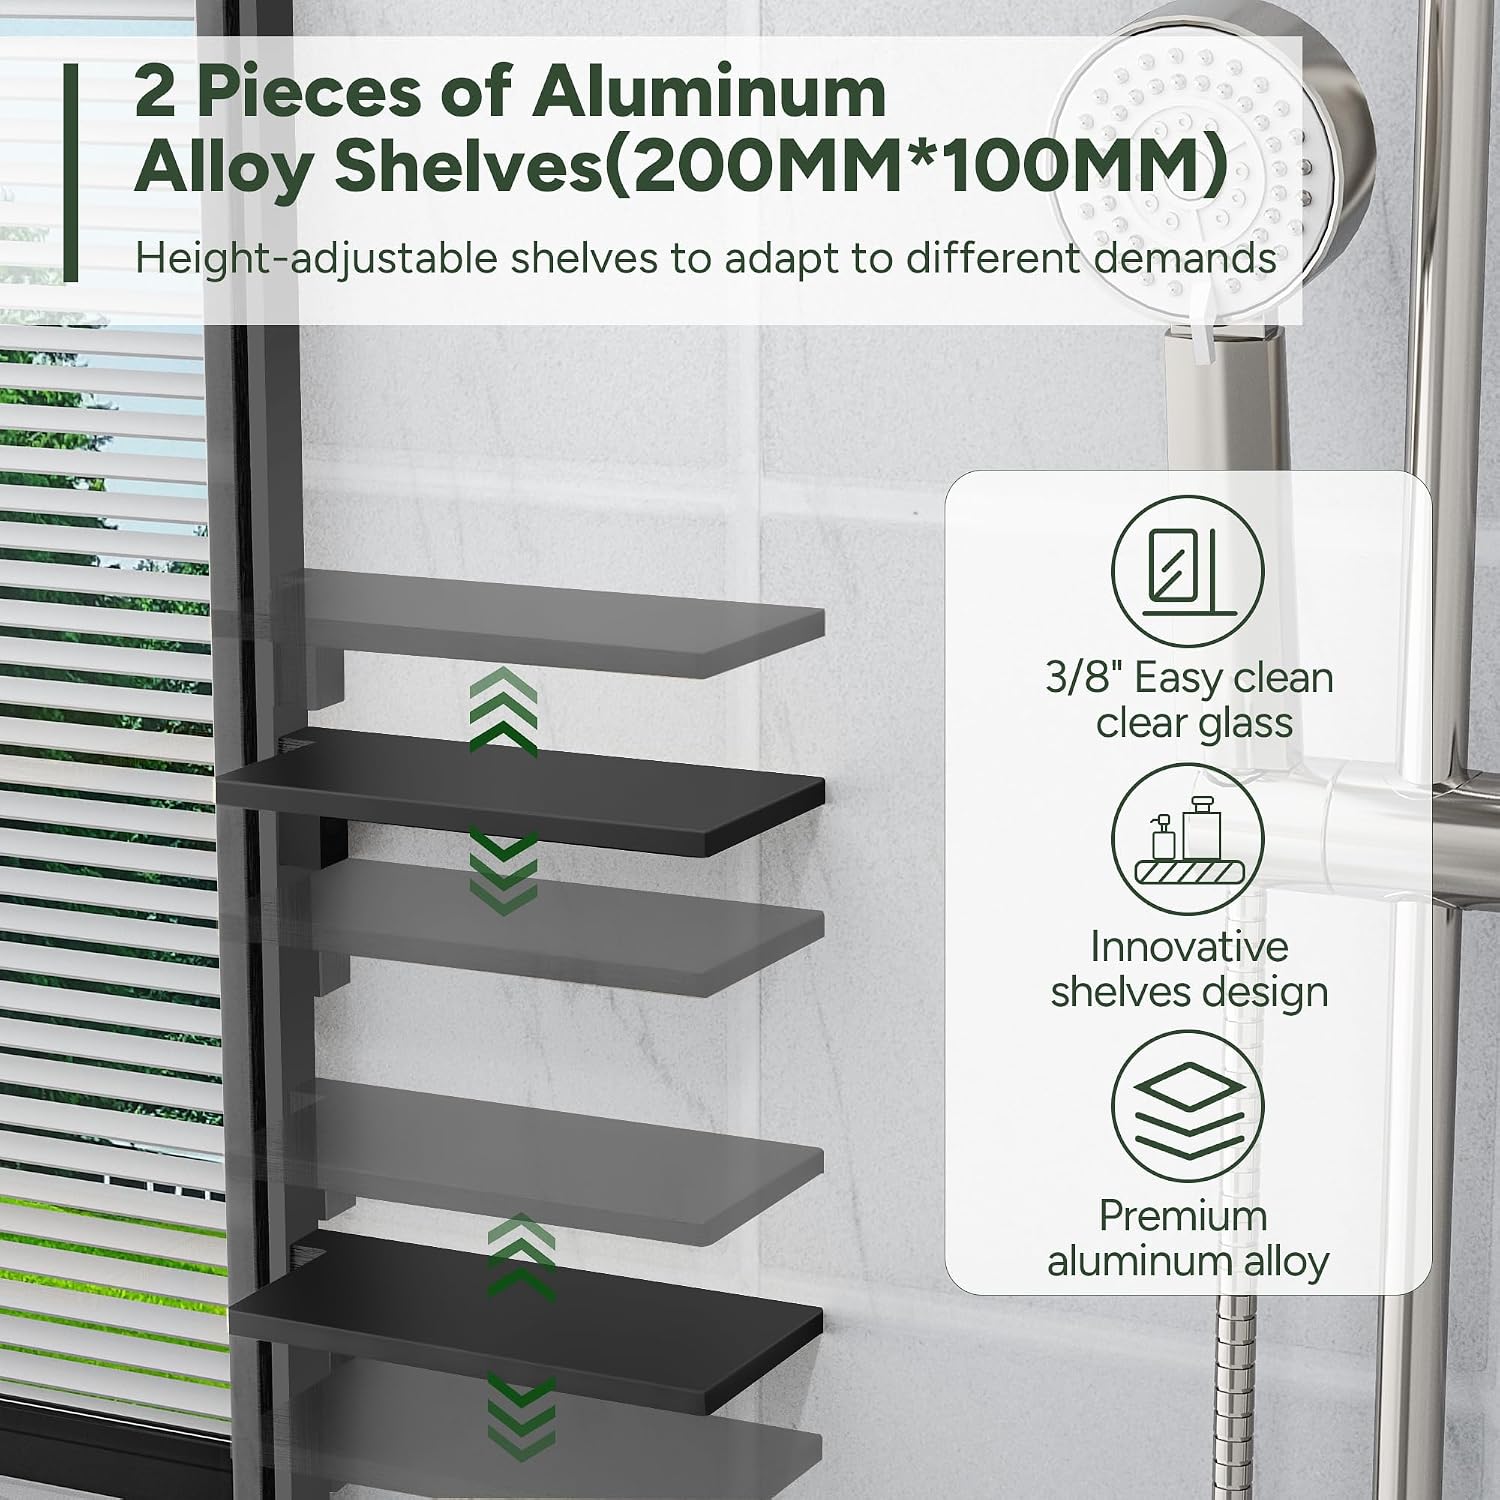
Image: Illustration of the two adjustable-height aluminum alloy shelves, demonstrating their flexible positioning for bath products.

Image: Close-up of the large fixed shelf with a central opening for hanging towels, suitable for items like phones or speakers.
4.5. Apply Waterproof Sealant
Once the panel and shelves are securely in place, apply a continuous bead of waterproof silicone sealant along all seams where the glass meets the wall profile and the shower base. This is crucial for preventing water leakage. Allow the sealant to cure for at least 24 hours before using the shower enclosure.
4.6. Reversible Installation
The Sunrosa Frameless Glass Shower Panel is designed for reversible installation, allowing it to be set up for either right or left wall configurations to best suit your bathroom layout.

Image: Diagram showing the reversible nature of the shower panel, indicating it can be installed on either the left or right side of the shower space.
4.7. Installation Video
For a visual guide, please refer to the official installation video provided by Sunrosa Store:
Video: Official installation guide for the Sunrosa Walk-in Shower Door with Shelves. This video demonstrates the step-by-step process, including marking, drilling, securing the wall profile, inserting the glass, installing the shelves, and applying sealant.
5. Operation
The Sunrosa Frameless Glass Shower Panel is designed for ease of use and to enhance your shower experience. Its open design allows for easy entry and exit, while effectively minimizing water spills compared to traditional shower curtains.
- Shelves: Utilize the adjustable internal shelves for storing bath products like shampoo and soap. The large external shelf can hold items such as your phone or a speaker.
- Towel Bar: The central opening on the large fixed shelf serves as a convenient towel bar, keeping your towel within reach and ensuring a clutter-free shower area.
6. Maintenance
Regular cleaning and maintenance will ensure the longevity and pristine appearance of your Sunrosa shower panel.
- Glass Cleaning: The 3/8" (10mm) tempered glass is designed for easy cleaning. Use a soft cloth or sponge with a non-abrasive glass cleaner. Avoid harsh chemicals or abrasive pads that could scratch the glass or damage the protective coating.
- Frame and Shelves: Clean the aluminum profiles and shelves with a soft, damp cloth and mild soap. Dry thoroughly to prevent water spots.
- Sealant Inspection: Periodically inspect the silicone sealant around the panel for any signs of wear, cracking, or mold. Reapply sealant as necessary to maintain a watertight seal.
7. Troubleshooting
If you encounter any issues with your shower panel, refer to the following common troubleshooting tips:
| Problem | Possible Cause | Solution |
|---|---|---|
| Water leaks from panel base or sides. | Inadequate or damaged silicone sealant. | Ensure all seams are properly sealed with waterproof silicone. Reapply sealant if necessary, allowing 24 hours to cure. |
| Panel feels unstable or wobbly. | Wall profile not securely fastened or wall not plumb. | Verify the wall profile is firmly attached to the wall and that the wall itself is plumb. Ensure all screws are tightened. Consider adding additional top support if needed (not included). |
| Shelves are not level or secure. | Improper installation of shelf brackets or loose screws. | Re-check shelf bracket installation and tighten all screws. Ensure shelves are correctly seated. |
| Glass appears cloudy or stained. | Hard water deposits or improper cleaning agents. | Clean with a non-abrasive glass cleaner. For hard water stains, use a vinegar-based solution or specialized hard water remover. Rinse thoroughly. |
8. Specifications
- Brand: Sunrosa
- Model: 3472B
- Dimensions: 33 5/8" - 34" (Width) x 72" (Height)
- Glass Thickness: 3/8 inches (10 MM)
- Glass Type: Clear Easy Clean Tempered Glass (ANSI Certified)
- Material: Aluminum, Glass
- Color: Matte Black
- Item Weight: Approximately 110.8 pounds
- Assembly Required: Yes
- Country of Origin: China
9. Warranty and Support
Sunrosa is committed to providing friendly after-sales service for your product. If you have any questions, concerns, or require assistance with your shower panel, please contact Sunrosa Customer Support.
For further assistance, you may visit the official Sunrosa Store on Amazon: Sunrosa Store
Ask a question about this manual
Ask about setup, troubleshooting, compatibility, parts, safety, or missing instructions. Manuals+ will review the question and use this page’s manual context to help answer it.