Introduction
Thank you for choosing the ZAQE A55 Digital Voice Recorder. This device is designed for high-quality audio recording with features such as voice activation, password protection, and a large 64GB internal memory. Please read this manual carefully to understand its functions and ensure optimal performance.

Image: The ZAQE A55 Digital Voice Recorder highlighting its key features: HD Recording, Voice Activated Recording, Password Lock, Music Playing, A-B Repeat, and Built-in Speaker.
Package Contents
- 1x ZAQE A55 Voice Recorder
- 1x Earphones
- 1x USB Type-C Cable
- 1x User Manual

Image: Visual representation of the items included in the product package.
Product Overview
Familiarize yourself with the physical components of your ZAQE A55 recorder.

Image: Front view of the ZAQE A55 recorder, displaying the screen, REC, PLAY, STOP, and MENU buttons.

Front View

Side View (with clip)

Back View
The device features a clear display, dedicated recording and playback buttons, and side controls for volume and navigation. The built-in microphone is located at the top, and the USB-C port for charging and data transfer is typically at the bottom or side.
Setup
1. Initial Charging
Before first use, fully charge the device. Connect the supplied USB Type-C cable to the recorder and a power source (e.g., computer USB port or USB wall adapter). The battery indicator on the screen will show charging status. A full charge takes approximately 3 hours.
2. Power On/Off
- Power On: Press and hold the Power button (usually on the side) for a few seconds until the screen lights up.
- Power Off: Press and hold the Power button until the device shuts down.
3. Setting Date and Time
It is recommended to synchronize the recorder's time with your local time for accurate file timestamps. This setting is usually found in the device's menu under 'System Settings' or 'Date/Time'. Refer to the on-screen prompts for navigation.
Operating Instructions
1. Basic Recording
- Ensure the recorder is powered on.
- Press the REC button once to start recording. The screen will display recording status and time.
- To pause recording, press the REC button again. Press it once more to resume.
- To stop and save the recording, press the STOP button. The file will be saved automatically.

Image: Illustrates the simple one-touch recording operation.
The recorder supports high-definition recording up to 3072kbps, with options for 512kbps and 1536kbps. These settings can typically be adjusted in the recording settings menu.

Image: The recorder's screen showing HD recording settings and a graphic representing sound waves for clear audio.
2. Voice Activated Recording (VAR)
The VAR function allows the recorder to start recording only when sound is detected, saving memory space and battery life by skipping silent periods.
- Navigate to the recording settings menu.
- Select 'Voice Activated Recording' or 'VOR' (Voice Operated Recording).
- Choose a sensitivity level (e.g., 1 to 5, where 5 is most sensitive).
- Start recording as usual. The device will now only record when sound is present.

Image: A visual explanation of Voice Activated Recording with adjustable sensitivity levels, showing the recorder in a professional environment.
3. Playback
- From the main menu, select 'Recordings' or 'Files'.
- Use the navigation buttons to select the desired audio file.
- Press the PLAY button to start playback.
- Use the volume controls (usually side buttons) to adjust the playback volume.
A-B Repeat Playback
This feature allows you to repeat a specific segment of an audio file.
- During playback, press the 'MENU' button (or a dedicated A-B button if available) to mark point A.
- Press the same button again to mark point B. The section between A and B will loop.
- Press the button a third time to exit A-B repeat mode.
Variable Speed Playback
Adjust the playback speed from -8x to +8x to listen to recordings faster or slower.
- During playback, access the playback options (often via the 'MENU' button).
- Select 'Playback Speed' and use navigation buttons to adjust.

Image: The recorder's screen showing A-B repeat markers and a slider for adjusting playback speed.
4. File Management and Transfer
The recorder has 64GB of built-in memory. To transfer files to a computer:
- Connect the recorder to your computer using the provided USB Type-C cable.
- The recorder will appear as a removable disk drive on your computer.
- Open the drive to access your recorded audio files (usually in a folder named 'RECORD' or similar).
- Copy and paste files to your computer as needed.

Image: The recorder connected to a laptop, illustrating the process of transferring recorded files.
5. Password Protection
Set a power-on password to protect your recordings and data.
- Go to 'System Settings' or 'Security' in the device menu.
- Select 'Set Password' or 'Password Protection'.
- Follow the on-screen instructions to create and confirm your password.
- Remember your password, as there may not be a recovery option.
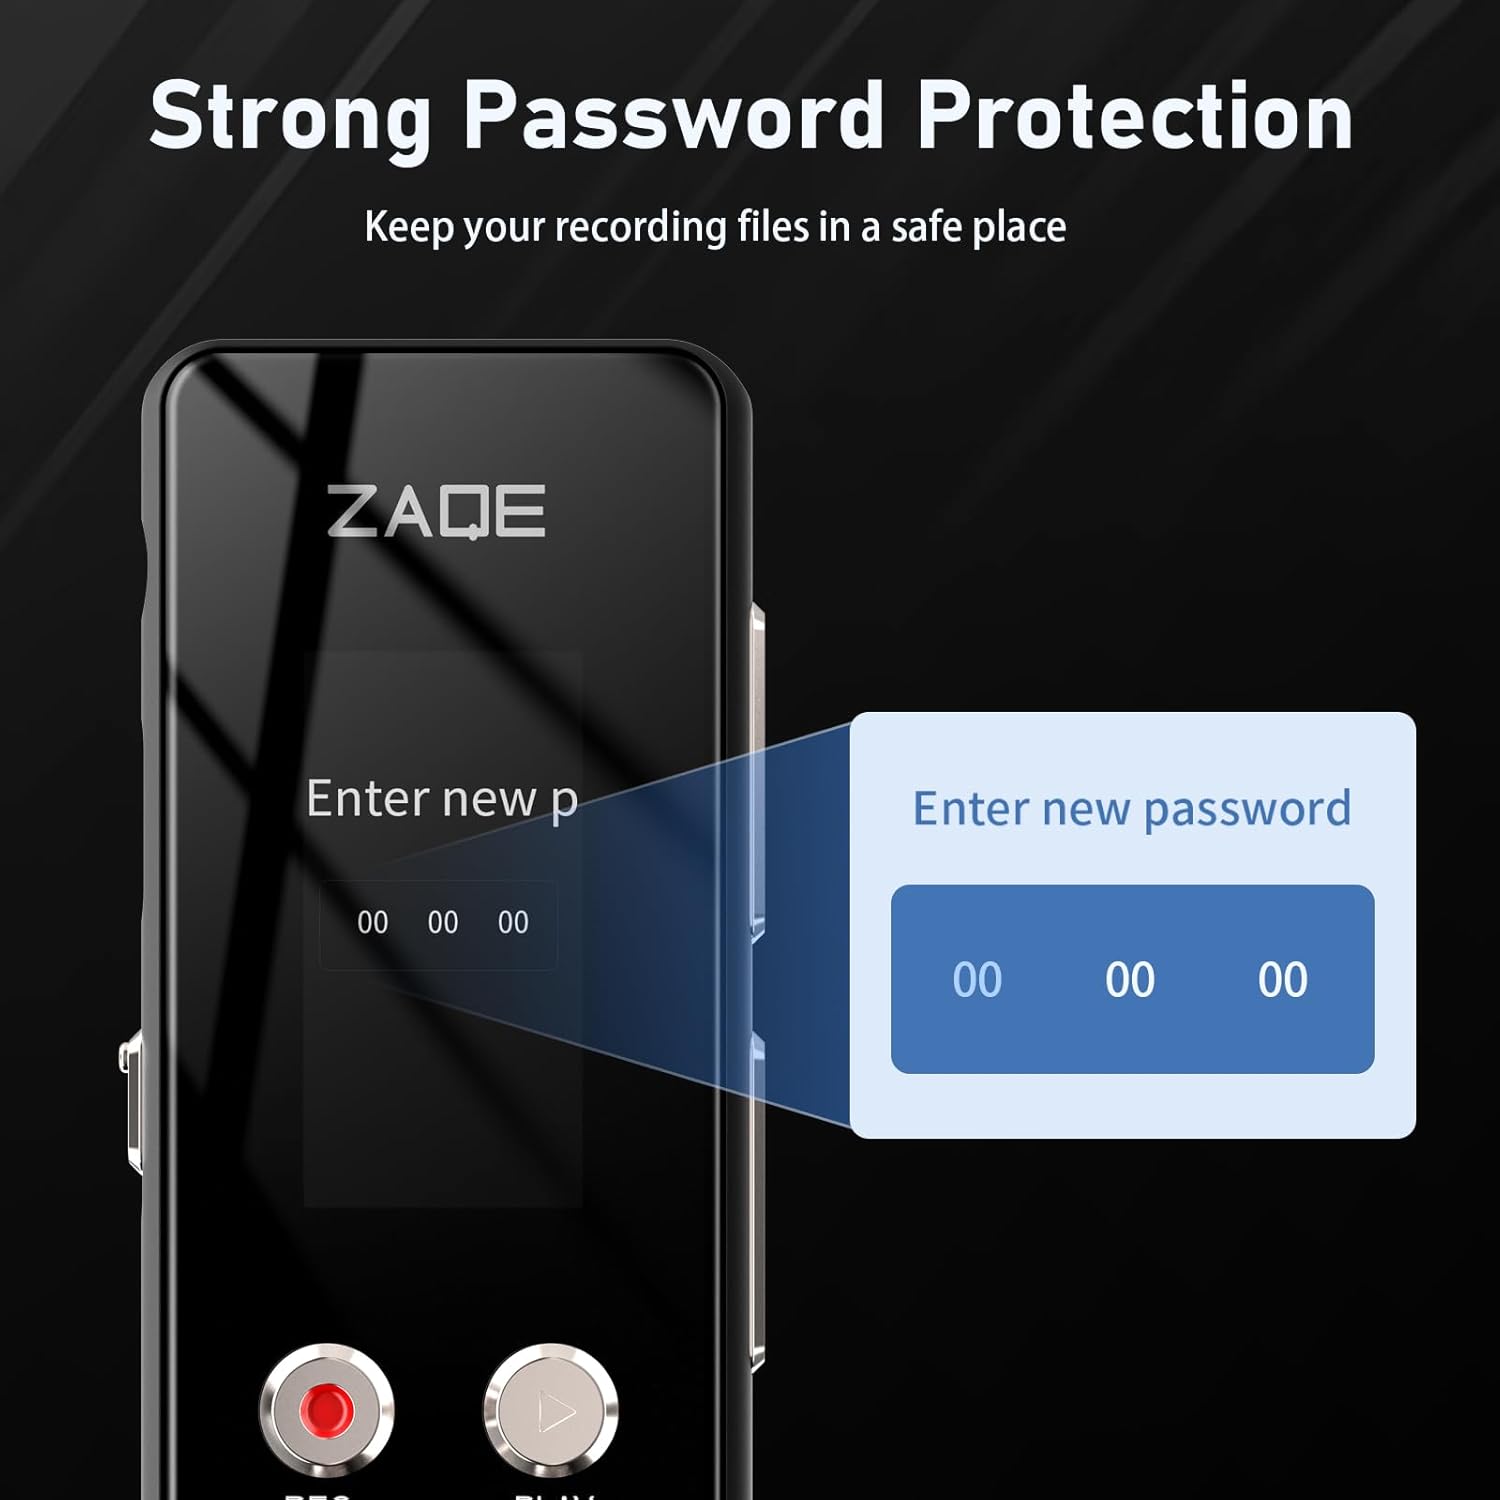
Image: The recorder's display showing the interface for setting a new password.
6. Timer Recording
Schedule the recorder to start and stop recording automatically at specific times.
- Access the 'Timer Recording' or 'Scheduled Recording' option in the menu.
- Set the desired start and end times for the recording session.
- Ensure the device has sufficient battery life for the scheduled recording.

Image: The recorder displaying options for setting start and finish times for automatic recording.
7. Other Functions
- MP3 Player: The device can play MP3 and other audio files. Transfer music files to the recorder's memory and access them via the 'Music' or 'Player' menu.
- Built-in Speaker: Play back recordings directly through the integrated speaker.
- Volume Adjustment: Use the dedicated volume buttons on the side of the device.
- Multi-language Support: Change the device's interface language through the 'System Settings' menu.
- Line-in Recording: Connect external audio sources via the 3.5mm audio input for direct recording.

Image: A comprehensive view of the recorder highlighting its various functionalities.
Specifications
| Model | A55 |
| Memory Capacity | 64 GB (Built-in) |
| Recording Bit Rate | 512kbps / 1536kbps / 3072kbps |
| Recording Format | WAV |
| Music Format Support | MP3, WAV, APE, WMA, FLAC (16bit/48khz) |
| Battery Type | Lithium Polymer |
| Battery Life (Recording) | Up to 134 hours (at 512Kbps) |
| Charging Time | Approximately 3 hours |
| Interface | USB Type-C, 3.5mm Audio Jack |
| Item Weight | 1.88 ounces (53.3 Grams) |
| Dimensions | 5.28 x 5.24 x 0.83 inches |
Troubleshooting
- Device not turning on: Ensure the battery is charged. Connect to a power source and try again. If unresponsive, perform a reset (refer to device-specific reset instructions if available, or hold power button for an extended period).
- Poor recording quality:
- Check recording bit rate settings; higher bit rates (e.g., 1536kbps, 3072kbps) offer better quality.
- Ensure the microphone is not obstructed.
- Reduce background noise in the recording environment.
- Adjust VAR sensitivity if using voice activation.
- Cannot transfer files to computer:
- Ensure the USB Type-C cable is securely connected to both the recorder and the computer.
- Try a different USB port or cable.
- Restart both the recorder and the computer.
- On some computers, you may need to select 'Mass Storage' or 'Connect to PC' option on the recorder's screen after connecting.
- Password forgotten: If you forget your password, contact customer support. There is typically no user-recoverable method to bypass a forgotten password for security reasons.
- Short battery life:
- Ensure the device is fully charged before use.
- Reduce screen brightness.
- Use Voice Activated Recording (VAR) to avoid recording silence.
- Avoid extreme temperatures.
Warranty and Support
The ZAQE A55 Digital Voice Recorder comes with a 12-month warranty from the date of purchase. This warranty covers manufacturing defects and ensures customer satisfaction.
If you encounter any issues or have questions regarding the use of your recorder, please contact ZAQE customer service. Refer to the contact information provided on the product packaging or the official ZAQE website for support.


