
MSI MPGMT201DR
MSI MPG MT201DR Dual Monitor Stand Arms User Manual
Model: MPGMT201DR
1. Introduction
This manual provides detailed instructions for the installation, operation, maintenance, and troubleshooting of the MSI MPG MT201DR Premium RGB Dual Monitor Stand Arms. Please read this manual thoroughly before use to ensure proper setup and safe operation.
The MSI MPG MT201DR is designed to enhance your workspace with ergonomic comfort and productivity. It supports monitors sized 17-35 inches, with a capacity of 44 lbs (20 kg) per screen, and features VESA compatibility (75x75mm, 100x100mm), a heavy-duty gas spring mount, and integrated RGB lighting.
2. Safety Information
Always adhere to the following safety guidelines to prevent injury or damage to the product:
- Ensure all components are securely fastened before attaching monitors.
- Do not exceed the maximum weight capacity of 44 lbs (20 kg) per screen.
- Use appropriate tools as specified in the installation section.
- Keep small parts away from children.
- Adjust gas spring tension carefully to match monitor weight.
- Avoid pinching cables during installation and adjustment.
3. Package Contents
Verify that all components are present before beginning installation. Refer to the diagram below for a visual representation of the included parts.

Figure 3.1: Included components of the MSI MPG MT201DR monitor arm kit.
| Item | Description | Quantity |
|---|---|---|
| Monitor Arm Assembly | Main arm units with gas springs | 2 |
| Desk Clamp Base | Base for clamp installation | 1 |
| Grommet Mount Plate | Plate for grommet installation | 1 |
| VESA Plates | Monitor mounting plates (75x75mm, 100x100mm) | 2 |
| Hardware Kit | Screws, washers, spacers for VESA mounting | 1 set |
| Hex Wrenches | Tools for assembly and adjustment | 2 |
| Cable Management Clips | For organizing cables along the arms | Included |
4. Setup and Installation
The MSI MPG MT201DR offers two installation methods: desk clamp and grommet mount. Choose the method suitable for your desk.
4.1 Desk Clamp Installation
- Attach the main pole to the desk clamp base.
- Secure the clamp to the edge of your desk. Ensure the desk thickness is between 10mm and 85mm. Tighten the clamp screw until the base is stable.
- Slide the monitor arms onto the main pole.
- Attach the VESA plates to the back of your monitors using the provided screws. Ensure VESA compatibility (75x75mm or 100x100mm).
- Carefully slide the monitors with attached VESA plates onto the arms' quick-release mechanism until they click into place.
- Adjust the gas spring tension using the included hex wrench to match the weight of your monitors. Turn clockwise to decrease tension (for lighter monitors) and counter-clockwise to increase tension (for heavier monitors).

Figure 4.1: Desk clamp installation of the monitor arm.
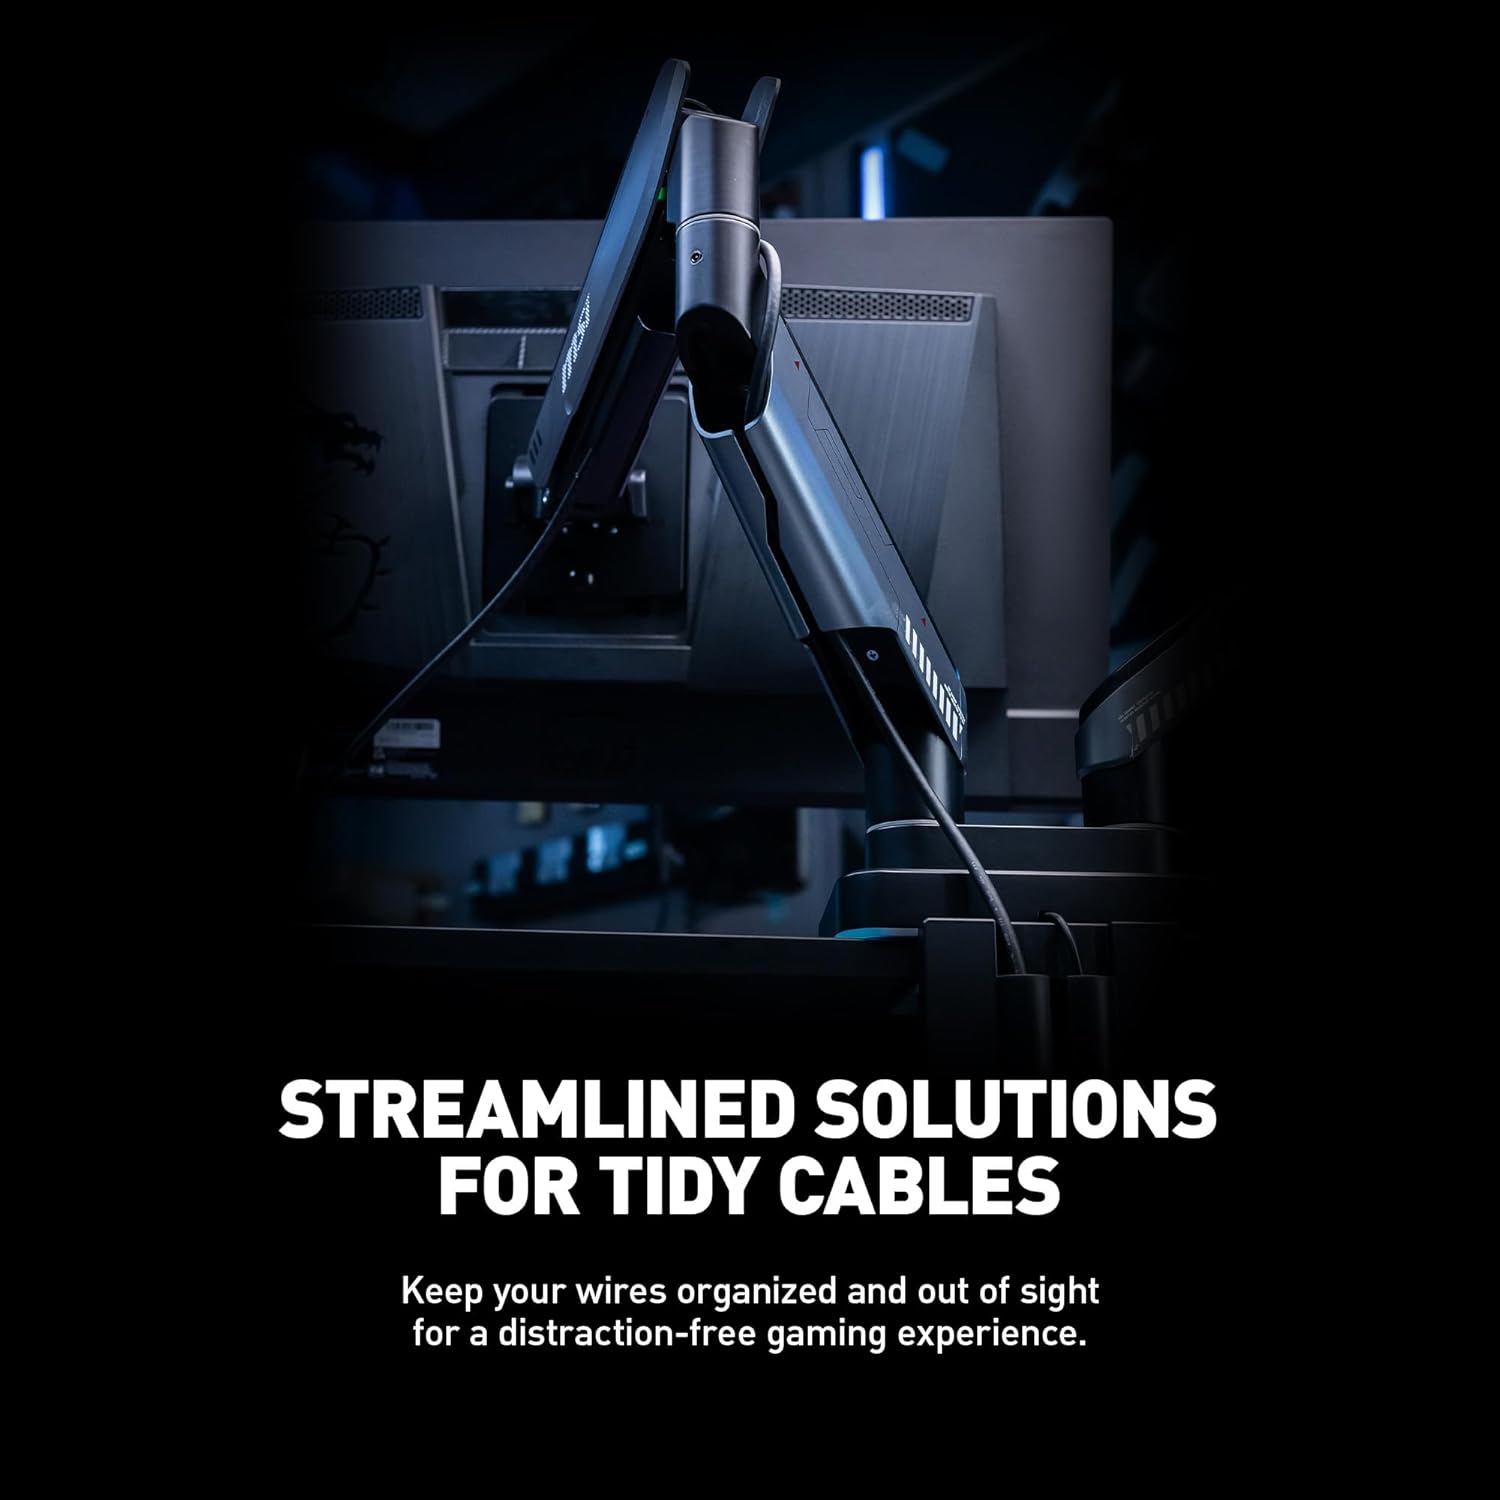
Figure 4.2: Quick release VESA plate mechanism.
4.2 Grommet Mount Installation
- If your desk has a grommet hole, insert the grommet mount plate through the hole. Ensure the desk thickness is between 10mm and 48mm.
- Secure the plate from underneath the desk using the provided hardware.
- Follow steps 3-6 from the Desk Clamp Installation section.
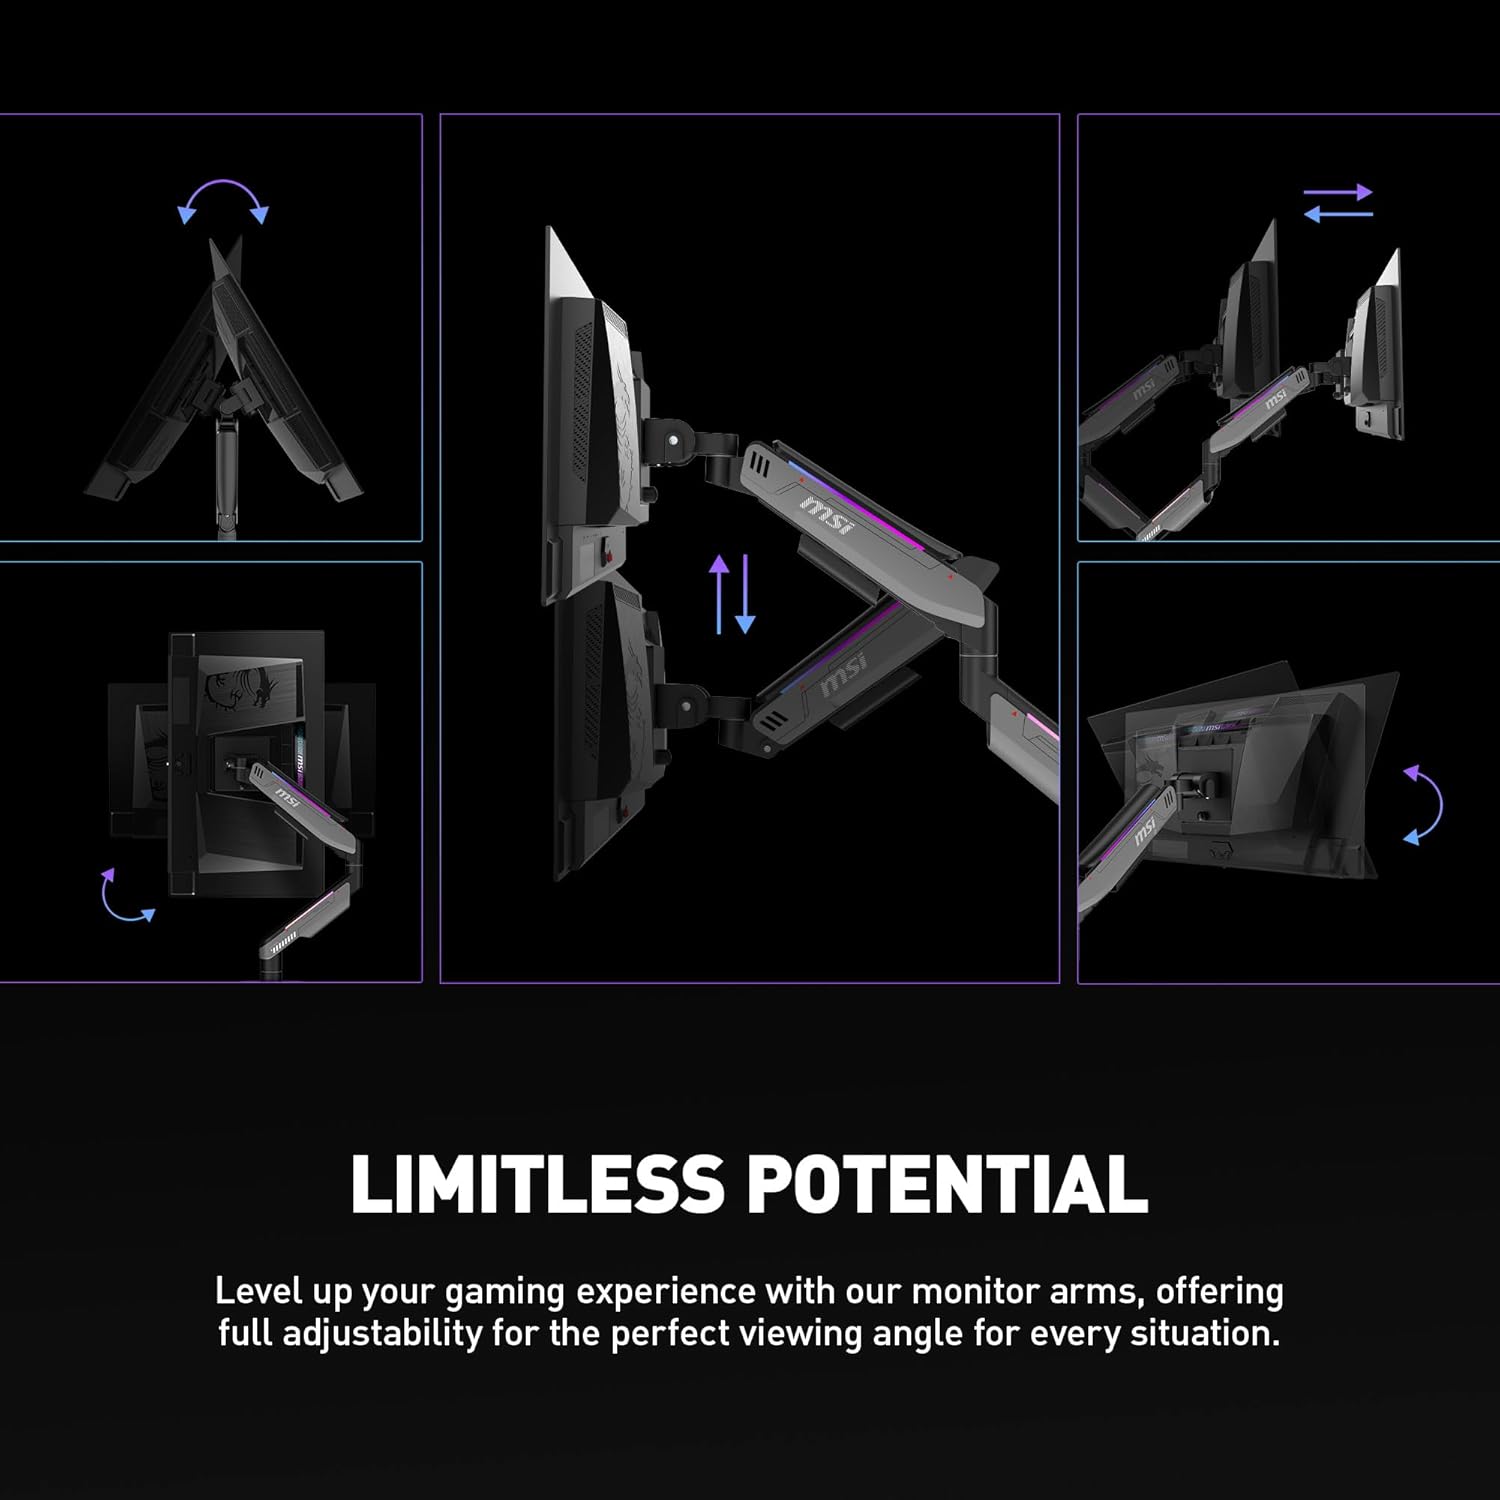
Figure 4.3: Grommet mount installation of the monitor arm.
5. Operating and Adjustments
The MSI MPG MT201DR offers extensive adjustability for optimal viewing comfort.
5.1 Monitor Positioning
- Height Adjustment: Gently push or pull the monitor up or down to the desired height. The gas spring will hold it in place.
- Tilt Adjustment: Tilt the monitor screen up to +50° or down to -20° for optimal viewing angles.
- Swivel Adjustment: Swivel the monitor left or right up to +90°/-90°.
- Rotation (Pivot): Rotate the monitor 180° (portrait to landscape) for different orientations.
- Horizontal Extension: Extend or retract the arms to adjust the distance of the monitors from your eyes.

Figure 5.1: Monitor arm adjustment capabilities.
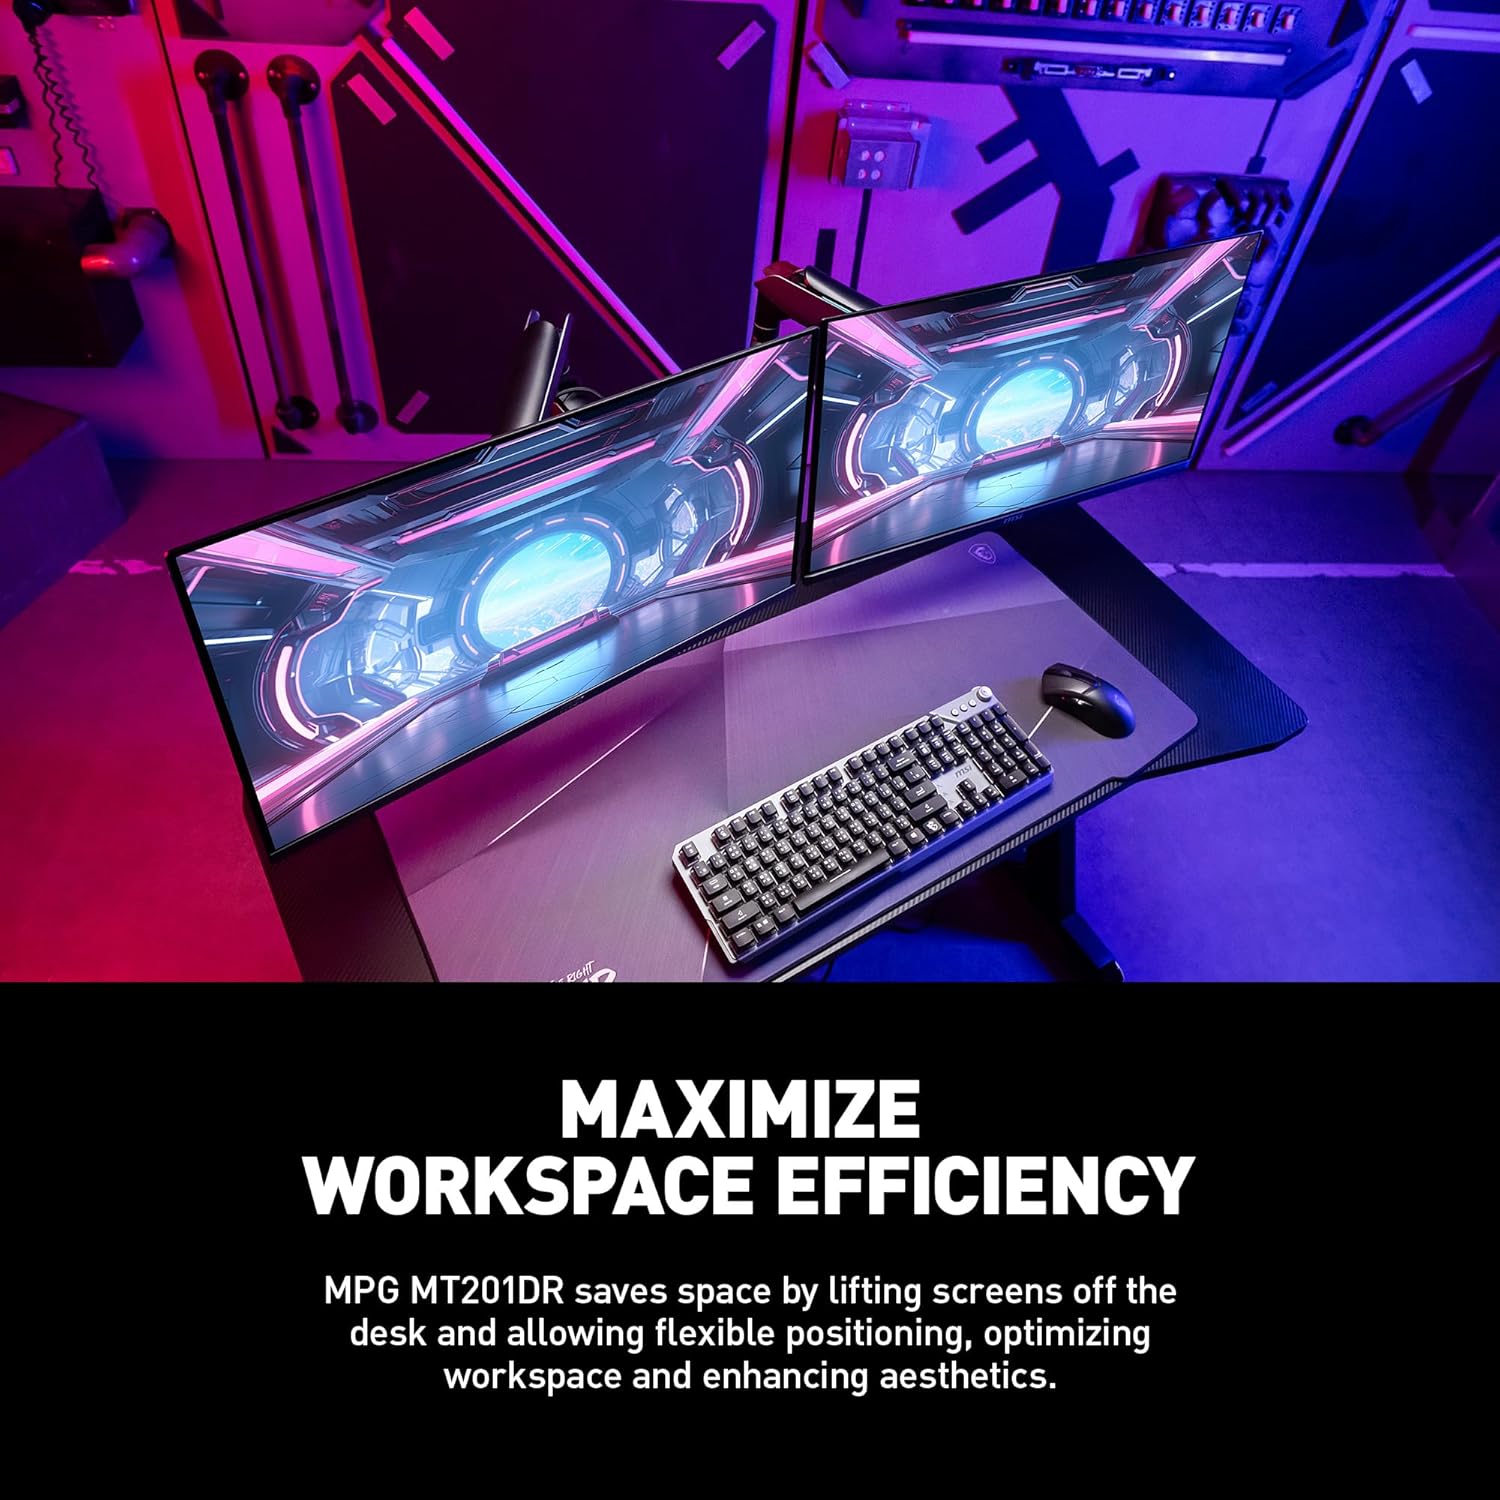
Figure 5.2: Example of flexible monitor positioning.
5.2 RGB Lighting Control
The monitor arm features integrated RGB lighting. To activate or change RGB modes, press and hold the dedicated button on the arm for 3 seconds. The lighting will cycle through various dynamic modes.

Figure 5.3: RGB lighting activation button.
5.3 Cable Management
Utilize the integrated cable management channels along the arms to keep your cables organized and out of sight. Open the covers, route your display and power cables, and then close the covers securely.

Figure 5.4: Integrated cable management system.
6. Maintenance
Regular maintenance ensures the longevity and optimal performance of your monitor arm.
- Cleaning: Wipe the surface of the monitor arm with a soft, dry cloth. Avoid using abrasive cleaners or solvents.
- Tension Adjustment: Periodically check the gas spring tension. If monitors sag or are difficult to move, adjust the tension as described in Section 4.1, step 6.
- Fastener Check: Ensure all screws and fasteners remain tight. Re-tighten if necessary.
7. Troubleshooting
This section addresses common issues you might encounter with your MSI MPG MT201DR monitor arm.
| Problem | Possible Cause | Solution |
|---|---|---|
| Monitor sags or does not stay at desired height. | Gas spring tension is too low for monitor weight. | Increase gas spring tension by turning the adjustment screw counter-clockwise. Refer to Section 4.1, step 6. |
| Monitor is difficult to move up or down. | Gas spring tension is too high for monitor weight. | Decrease gas spring tension by turning the adjustment screw clockwise. Refer to Section 4.1, step 6. |
| Monitor wobbles or feels unstable. | Base clamp/grommet is not securely tightened or VESA plate is loose. | Ensure the desk clamp or grommet mount is fully tightened. Check that the VESA plate is securely attached to both the monitor and the arm. |
| RGB lighting is not working. | USB power not connected or button not pressed correctly. | Ensure the USB cable for RGB is connected to a powered USB port. Press and hold the RGB button for 3 seconds to activate. |
8. Specifications
Detailed technical specifications for the MSI MPG MT201DR monitor arm.
| Feature | Detail |
|---|---|
| Model Number | MPGMT201DR |
| Supported Screen Size | 17 - 35 inches |
| Weight Capacity (per screen) | 2 - 20 kg (4.4 - 44 lbs) |
| VESA Compatibility | 75x75mm, 100x100mm |
| Tilt Range | +50° / -20° |
| Swivel Range | +90° / -90° |
| Screen Rotation | +180° / -180° |
| Desk Clamp Thickness | 10 - 85 mm |
| Grommet Mount Thickness | 10 - 48 mm |
| Gas Spring | Yes |
| RGB Lighting | Yes, dynamic modes |
| Product Dimensions | 12.9 x 16.77 x 7.6 inches (approximate) |
| Item Weight | 20.2 pounds (approximate) |
9. Warranty and Support
MSI provides a 3-year coverage for this product. For warranty claims or technical support, please contact MSI customer service or visit their official website.
Official MSI Support Website: www.msi.com/support
Related documentsMPGMT201DR


Ask a question about this manual
Ask about setup, troubleshooting, compatibility, parts, safety, or missing instructions. Manuals+ will review the question and use this page’s manual context to help answer it.