
1. Introduction
This manual provides detailed instructions for the Teyleten Robot ESP32-C3 Supermini Development Board. It covers essential information for setup, operation, and troubleshooting to help users effectively utilize the board's WiFi and Bluetooth capabilities.
The Teyleten Robot ESP32-C3 Supermini Development Board is a compact microcontroller board featuring the Espressif ESP32-C3 chip, offering integrated WiFi and Bluetooth connectivity. It is designed for various embedded projects, IoT applications, and rapid prototyping.
2. Package Contents
Verify that all items are present in your package:
- Teyleten Robot ESP32-C3 Supermini Development Board (3 pieces)
- Pin headers (usually included for soldering)
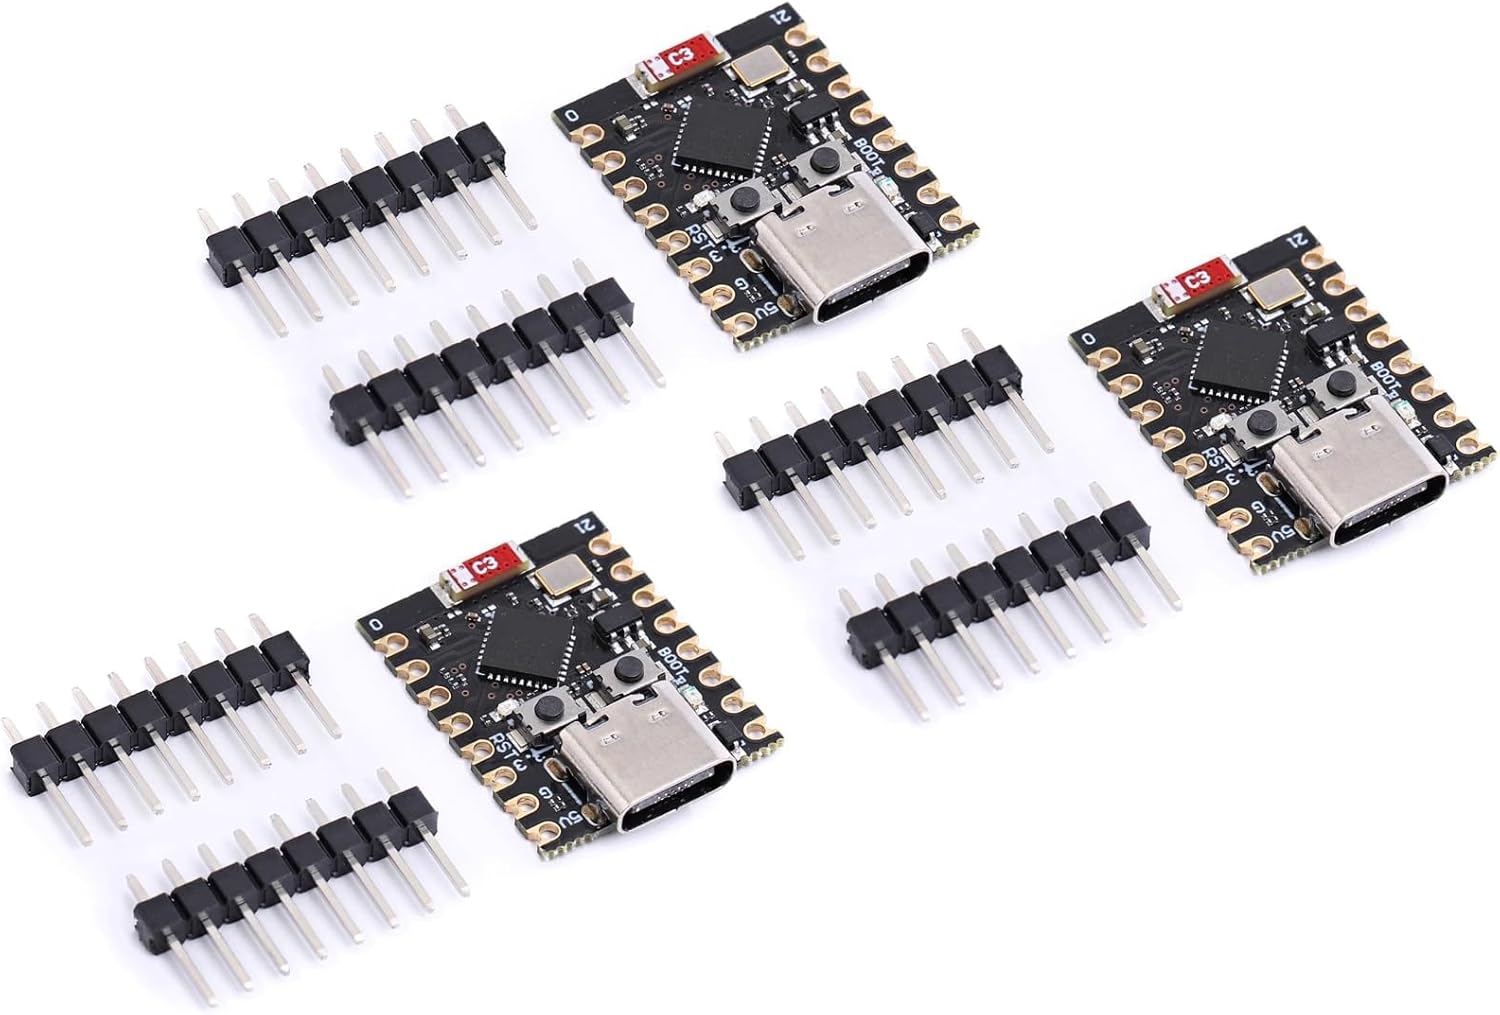
Image 2.1: Three Teyleten Robot ESP32-C3 Supermini Development Boards shown with accompanying pin headers.
3. Board Overview
The ESP32-C3 Supermini Development Board features a compact design with essential components for development. Key features include a USB-C port for power and data, BOOT and RESET buttons, and various GPIO pins.
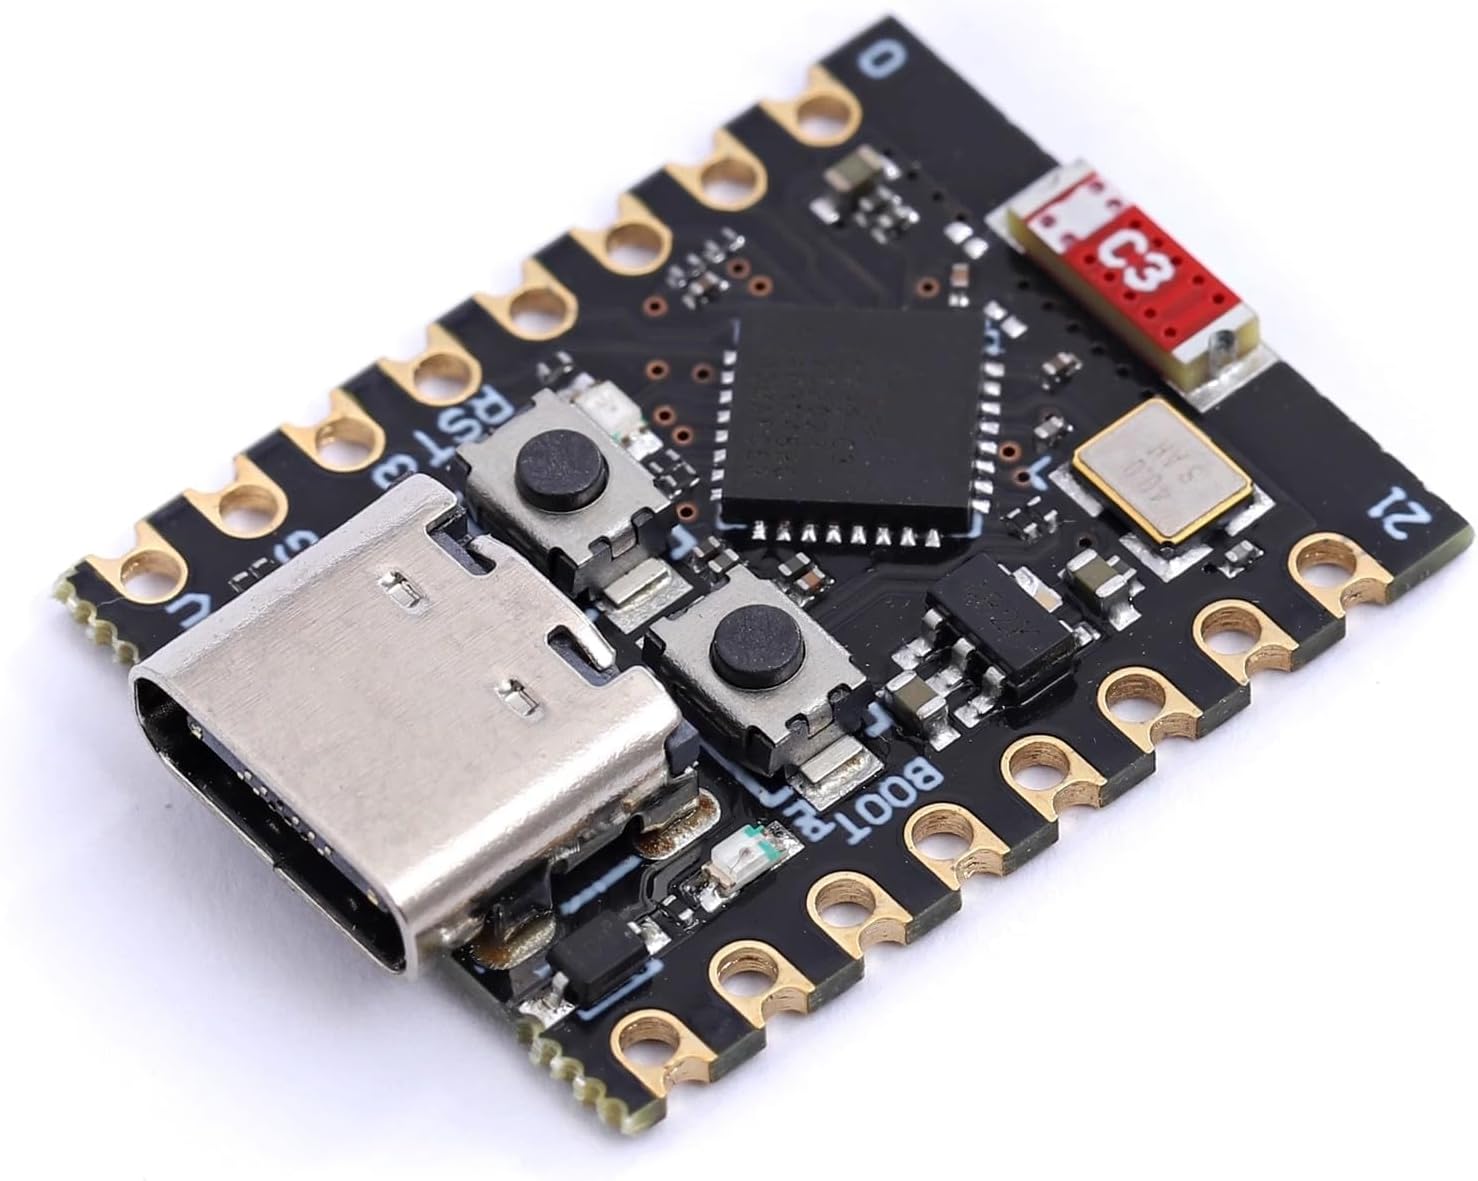
Image 3.1: Top view of the ESP32-C3 Supermini Development Board, showing the USB-C connector and control buttons.

Image 3.2: Detailed view of the USB-C port and adjacent components on the development board.

Image 3.3: Bottom view of the board, indicating pin labels and the "Super Mini" designation.
4. Setup Instructions
4.1 Power Supply
The board can be powered via the USB-C port or an external power supply. When using an external power supply, connect the positive (+) terminal to the 5V pin and the negative (GND) terminal to the GND pin. The board supports a 3.3V to 6V power supply range.
Important: When an external power supply is connected, the USB port should not be used for power simultaneously. Choose either USB power or external power, but not both.
4.2 Driver Installation
Before connecting the board to your computer, ensure you have the necessary USB-to-serial drivers installed. For most operating systems, these drivers are automatically installed. If not, refer to the Espressif documentation for your specific operating system.
4.3 Development Environment Setup
The ESP32-C3 board is compatible with various development environments, including the Arduino IDE and Espressif's ESP-IDF. Follow these general steps:
- Install the Arduino IDE or ESP-IDF.
- Add the ESP32 board support package to your chosen IDE.
- Select "ESP32C3 Dev Module" as your board in the IDE settings.
- Ensure "USB CDC On Boot" is enabled under tools if using the Arduino IDE.
4.4 Entering Download Mode
To upload firmware to the ESP32-C3, the board must be in download mode. Follow these steps:
- Press and hold the BOOT button on the ESP32-C3 board.
- While holding BOOT, briefly press the RESET button.
- Release the RESET button.
- Then, release the BOOT button.
At this point, the ESP32-C3 will enter download mode. You may need to re-enter download mode for each connection or if the port becomes unstable. Listen for the port recognition sound on your computer to confirm connection.
5. Operating Instructions
5.1 Basic Programming
Once your development environment is set up and the board is in download mode, you can upload your code. The ESP32-C3 supports C/C++ programming using the Arduino framework or Espressif's ESP-IDF. Refer to Espressif's official documentation and community resources for example code and tutorials.
The board includes integrated WiFi and Bluetooth capabilities, allowing for network communication and device pairing. Libraries for these functionalities are available within the ESP32 development ecosystem.
6. Maintenance
To ensure the longevity and optimal performance of your Teyleten Robot ESP32-C3 Supermini Development Board, follow these maintenance guidelines:
- Storage: Store the board in a dry, anti-static environment, away from direct sunlight and extreme temperatures.
- Cleaning: Use a soft, dry brush or compressed air to remove dust. Avoid using liquids or harsh chemicals.
- Handling: Handle the board by its edges to prevent damage to components and to minimize static discharge.
7. Troubleshooting
7.1 Board Not Detected / Upload Errors
- Download Mode: Ensure the board is correctly put into download mode as described in Section 4.4. This is a common cause for upload failures.
- Drivers: Verify that the correct USB-to-serial drivers are installed for your operating system.
- USB Cable: Try a different USB-C cable. Some cables are for charging only and do not support data transfer.
- IDE Settings: Double-check that "ESP32C3 Dev Module" is selected as the board and "USB CDC On Boot" is enabled in your IDE.
- Port Instability: If the port disconnects frequently, try re-entering download mode or using a different USB port on your computer.
7.2 WiFi Connectivity Issues
- Antenna Placement: Ensure the board's integrated antenna is not obstructed by other components or metal enclosures, which can degrade signal strength.
- Signal Strength: Test the board in closer proximity to your WiFi access point to rule out range issues.
- Code Verification: Confirm that your WiFi connection code (SSID, password) is correct and that the WiFi library is properly initialized.
- Power Supply: Insufficient power can sometimes affect wireless performance. Ensure a stable 5V power supply.
8. Specifications
| Feature | Detail |
|---|---|
| Brand | Teyleten Robot |
| Model Name | ESP32-C3 |
| Processor Brand | Espressif |
| Number of Processors | 1 |
| Operating System | FreeRTOS |
| Connectivity Technology | Bluetooth, USB, Wi-Fi |
| Wireless Type | Bluetooth |
| RAM | LPDDR |
| Item Weight | 1.13 ounces |
| Package Dimensions | 3.27 x 2.6 x 1.14 inches |
| ASIN | B0D47G24W3 |
| Date First Available | May 15, 2024 |
9. Warranty and Support
For warranty information and technical support, please refer to the official Teyleten Robot website or contact their customer service directly. Keep your purchase receipt for warranty claims.
Manufacturer: Teyleten Robot
Brand Store: Teyleten Robot Amazon Store