
1. Introduction
This manual provides detailed instructions for the FEARWIKY HY300 Mini Projector. Please read this manual thoroughly before using the product to ensure proper operation and to extend its lifespan. Keep this manual for future reference.
The FEARWIKY HY300 is a portable mini projector featuring 5G WIFI and Bluetooth connectivity, supporting 4K and 1080P content. Its 180° rotatable design and auto keystone correction offer flexible projection options for screens up to 130 inches.
2. Safety Information
Observe the following safety precautions to prevent fire, electric shock, or injury.
- Do not expose the projector to rain or moisture.
- Do not open the projector casing. Refer all servicing to qualified personnel.
- Ensure proper ventilation. Do not block ventilation openings.
- Use only the power adapter supplied with the projector.
- Avoid direct eye exposure to the projector lens when the lamp is on.
- Keep the projector away from heat sources and direct sunlight.
- Clean the lens only with a soft, lint-free cloth designed for optical surfaces.
3. Package Contents
Verify that all items are present in the package:
- FEARWIKY HY300 Mini Projector
- Remote Control
- Power Cable
- User Manual (this document)

Image: The FEARWIKY HY300 Mini Projector, its remote control, and power cable, as typically included in the product package.
4. Product Overview
Familiarize yourself with the components of your FEARWIKY HY300 Mini Projector.

Image: Front view of the FEARWIKY HY300 Mini Projector, showcasing its compact, white cylindrical design with an integrated stand.

Image: Rear view of the FEARWIKY HY300 Mini Projector, highlighting its connectivity ports including HDMI, USB, and 3.5mm headphone jack, along with the power input.
4.1. Ports and Connections
- HDMI Port: Connect to laptops, PCs, TV sticks, game consoles.
- USB Port: Connect USB drives for media playback.
- 3.5mm Audio Jack: Connect external headphones or speakers.
- Power Input: Connect the supplied power cable.
5. Setup
5.1. Powering On
- Connect the power cable to the projector's power input and then to a power outlet.
- Press the power button on the projector or the remote control to turn it on.
5.2. Placement and Projection
The HY300 features a 180° rotatable stand for flexible projection angles.
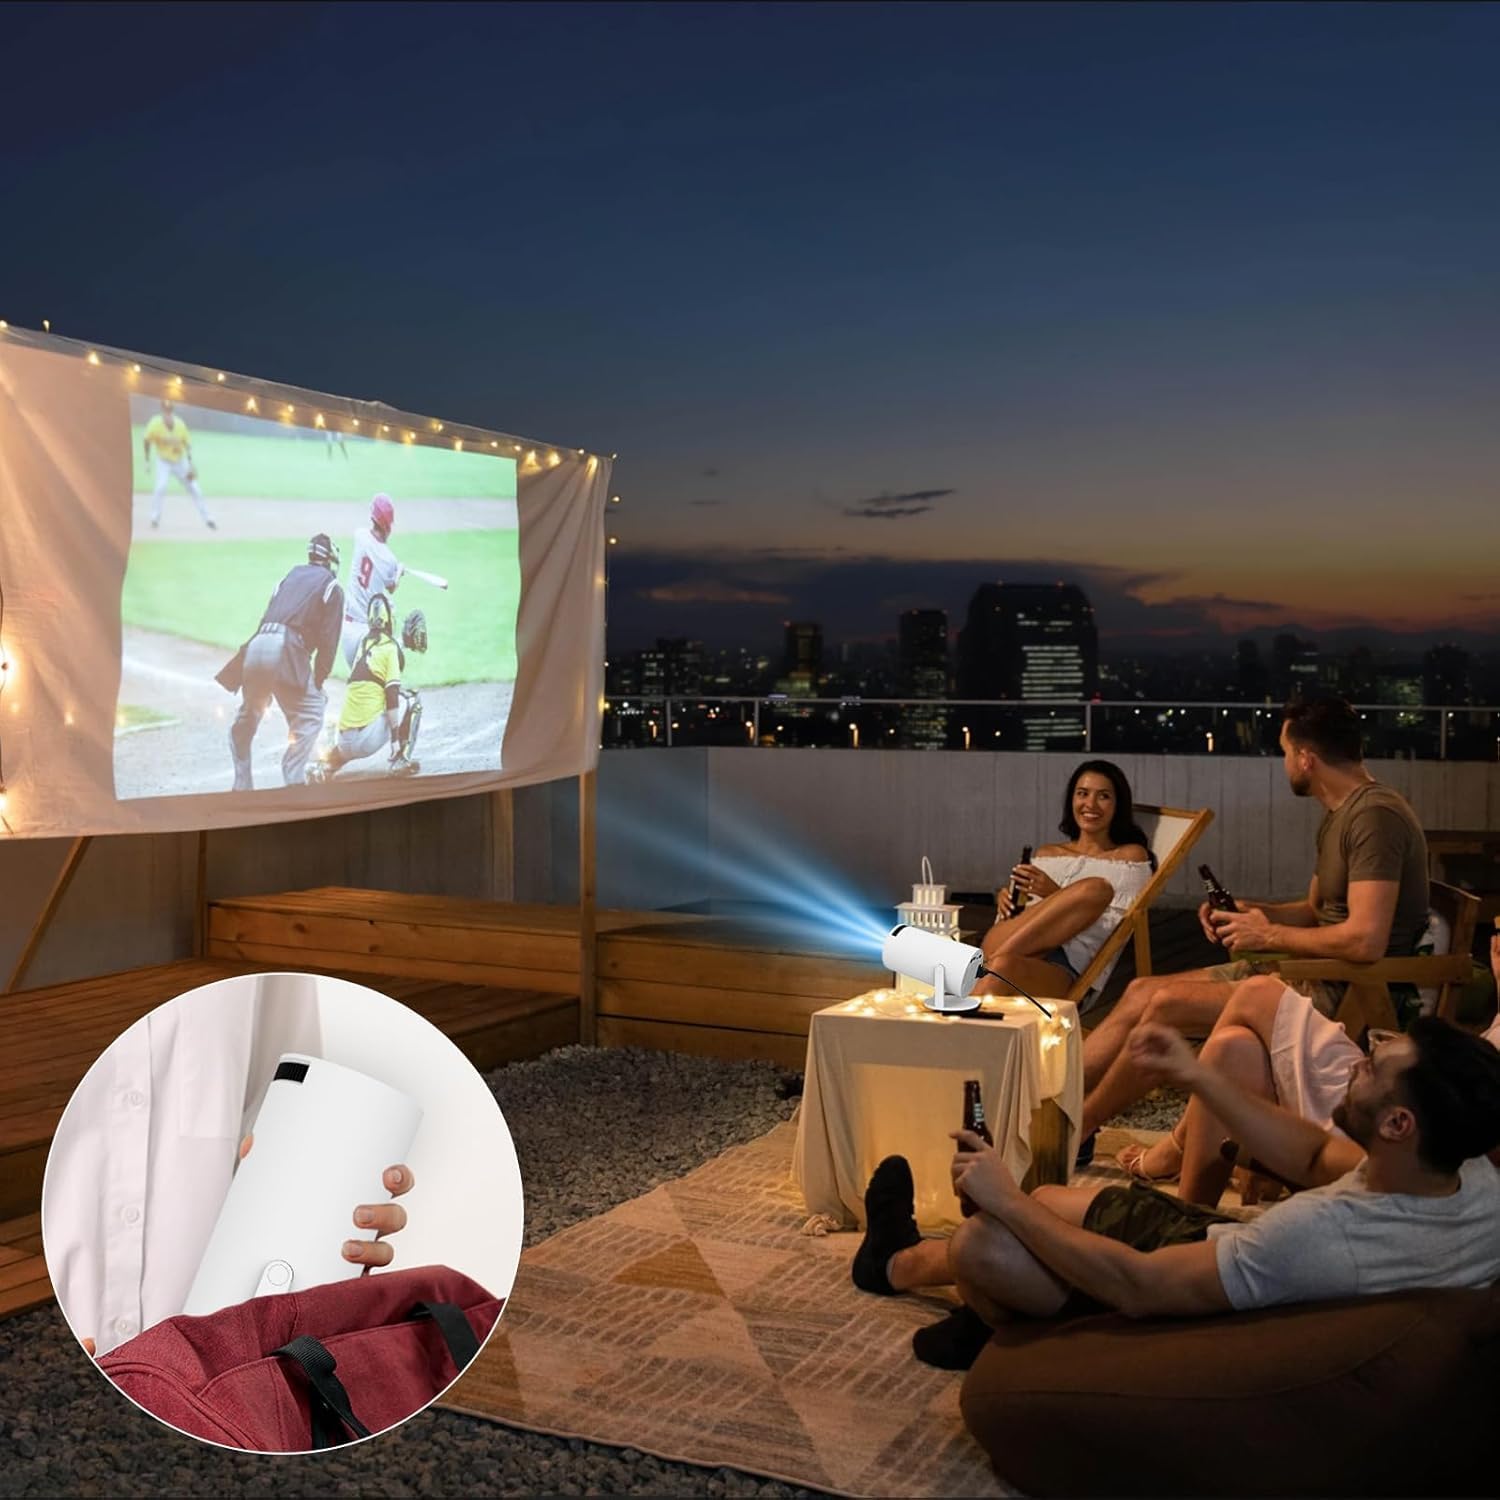
Image: The FEARWIKY HY300 Mini Projector positioned on a table, projecting a large image onto a wall, demonstrating its use in a home environment.
- Place the projector on a stable surface.
- Adjust the angle of the projector using its rotatable stand to project onto a wall or ceiling.
- The optimal projection distance ranges from 3.94 ft to 13.12 ft for a screen size of 40-130 inches.

Image: A visual guide illustrating the recommended projection distances for achieving various screen sizes, from 40 inches at 5.5 feet to 130 inches at 13.2 feet, using the FEARWIKY HY300 Mini Projector.
5.3. Focus and Keystone Correction
The projector features automatic keystone correction and manual focus adjustment.
- Auto Keystone Correction: The projector automatically corrects vertical distortion up to ±15°.
- Manual Focus: Rotate the focus ring on the projector lens to achieve a clear image.

Image: A graphic demonstrating the projector's auto keystone correction feature, which automatically adjusts the image to be rectangular, and its flexible zoom function (100%-40%).
6. Operating Instructions
6.1. Navigating the Interface
The projector runs on Android 11.0 operating system. Use the remote control to navigate the on-screen menu.
- Use the arrow keys to move between options.
- Press the "OK" button to confirm selections.
- Press the "Back" button to return to the previous screen.
6.2. Wi-Fi Connection
The projector supports 5G Wi-Fi for stable and fast wireless connection.
- Go to "Settings" on the main menu.
- Select "Network & Internet".
- Turn on Wi-Fi and select your desired network from the list.
- Enter the Wi-Fi password using the on-screen keyboard.
- Confirm to connect.

Image: A visual representation of the projector's Wi-Fi 6 capabilities, illustrating faster and more stable connections for streaming content from iOS, Android, and Windows devices.
6.3. Bluetooth Connection
Connect external audio devices via Bluetooth 5.0.
- Go to "Settings" on the main menu.
- Select "Connected Devices" or "Bluetooth".
- Turn on Bluetooth and search for available devices.
- Select your Bluetooth speaker or headphones from the list to pair.

Image: A diagram illustrating the projector's built-in Bluetooth 5.0 functionality, enabling seamless connection to external Bluetooth speakers and earphones for an enhanced audio experience.
6.4. Connecting External Devices
The projector supports various external devices via HDMI and USB ports.
- HDMI: Connect TV Stick/Box, PC, laptops, game consoles. Select the HDMI input source from the projector's menu.
- USB: Insert a USB flash drive to play media files (videos, photos, music). Select "USB" as the input source.
7. Maintenance
7.1. Cleaning the Projector
- Lens: Use a soft, lint-free cloth or lens cleaning paper. Do not use abrasive cleaners.
- Casing: Wipe with a soft, dry cloth. For stubborn marks, use a slightly damp cloth and mild detergent, then wipe dry.
- Ventilation Vents: Use a soft brush or compressed air to remove dust from the vents to ensure proper airflow.
7.2. Storage
- Store the projector in a cool, dry place away from direct sunlight and extreme temperatures.
- If storing for an extended period, place it in its original packaging or a protective case to prevent dust accumulation.
8. Troubleshooting
| Problem | Possible Cause | Solution |
|---|---|---|
| No image on screen | Power cable not connected; Projector not turned on; Incorrect input source selected. | Ensure power cable is securely connected; Press power button; Select correct HDMI/USB input. |
| Image is blurry | Focus not adjusted; Projector too close/far from screen. | Adjust the manual focus ring; Adjust projection distance. |
| Image is distorted (trapezoid shape) | Projector not perpendicular to screen. | Auto keystone correction should adjust automatically. If not, reposition the projector. |
| No sound | Volume too low; External audio device not connected or paired correctly; Muted. | Increase volume; Check Bluetooth connection or 3.5mm cable; Unmute projector. |
| Wi-Fi connection issues | Incorrect password; Router too far; Network issues. | Re-enter password; Move projector closer to router; Restart router and projector. |
9. Specifications
| Feature | Detail |
|---|---|
| Model | HY300 |
| Brand | FEARWIKY |
| Display Resolution | 3840 x 2160 (4K Supported) |
| Connectivity | Bluetooth 5.0, Wi-Fi 6 |
| Special Features | Built-In Speaker, Portable, Built-In Cooling System, Wi-Fi Ready, 180° Rotatable, Auto Keystone Correction |
| Recommended Use | Home Cinema |
| Product Dimensions | 7.48 x 3.94 x 3.94 inches |
| Item Weight | 1.1 pounds |
| Operating System | Android 11.0 (1GB RAM, 8GB ROM) |
| Projection Size | 40-130 inches |
| Projection Distance | 3.94 ft. to 13.12 ft. |
10. Warranty and Support
For warranty information and technical support, please refer to the contact details provided with your purchase or visit the official FEARWIKY website. Keep your purchase receipt as proof of purchase for warranty claims.
Protection plans are available for purchase separately:
- 2-Year Protection Plan: $5.99
- 3-Year Protection Plan: $7.99
For further assistance, please contact FEARWIKY customer service.

