
1. Introduction
Thank you for choosing the ONEVAN Cordless Impact Wrench. This manual provides essential information for the safe and efficient operation, maintenance, and troubleshooting of your tool. Please read this manual thoroughly before first use and keep it for future reference.
This powerful 20V brushless impact wrench delivers up to 700 N.m of torque and features a high-efficiency motor, multiple speed settings, and an integrated LED light, making it suitable for various heavy-duty applications.
2. Important Safety Instructions
Always follow basic safety precautions to reduce the risk of fire, electric shock, and personal injury.
- Work Area Safety: Keep your work area clean and well-lit. Do not operate power tools in explosive atmospheres, such as in the presence of flammable liquids, gases, or dust.
- Electrical Safety: Avoid body contact with earthed or grounded surfaces. Do not expose power tools to rain or wet conditions.
- Personal Safety: Always wear eye protection, hearing protection, and appropriate work gloves. Dress properly; avoid loose clothing or jewelry.
- Tool Use and Care: Do not force the power tool. Use the correct tool for your application. Disconnect the battery pack from the tool before making any adjustments, changing accessories, or storing power tools.
- Battery Pack Use and Care: Recharge only with the charger specified by the manufacturer. Do not use battery packs with any other power tools. Do not incinerate the battery pack even if it is severely damaged.
3. Product Overview
The ONEVAN Cordless Impact Wrench is designed for efficient fastening and loosening of nuts and bolts. It features a robust brushless motor for extended tool life and performance.

Figure 1: ONEVAN Cordless Impact Wrench with included batteries and charger.
Key Components:
- Impact Wrench Body
- 20V Lithium-ion Battery Pack (2x 3.0Ah)
- Battery Charger
- Square Drive Anvil
- Forward/Reverse Switch
- Speed Selector / Mode Button
- Trigger Switch
- Built-in LED Work Light
Brushless Motor Technology:

Figure 2: Benefits of the high-efficiency brushless motor, including extended lifespan and reduced noise.
The brushless motor provides increased efficiency, longer tool life, and reduced maintenance compared to traditional brushed motors. It also contributes to higher power output and lower noise levels.
4. Setup
4.1 Charging the Battery Pack
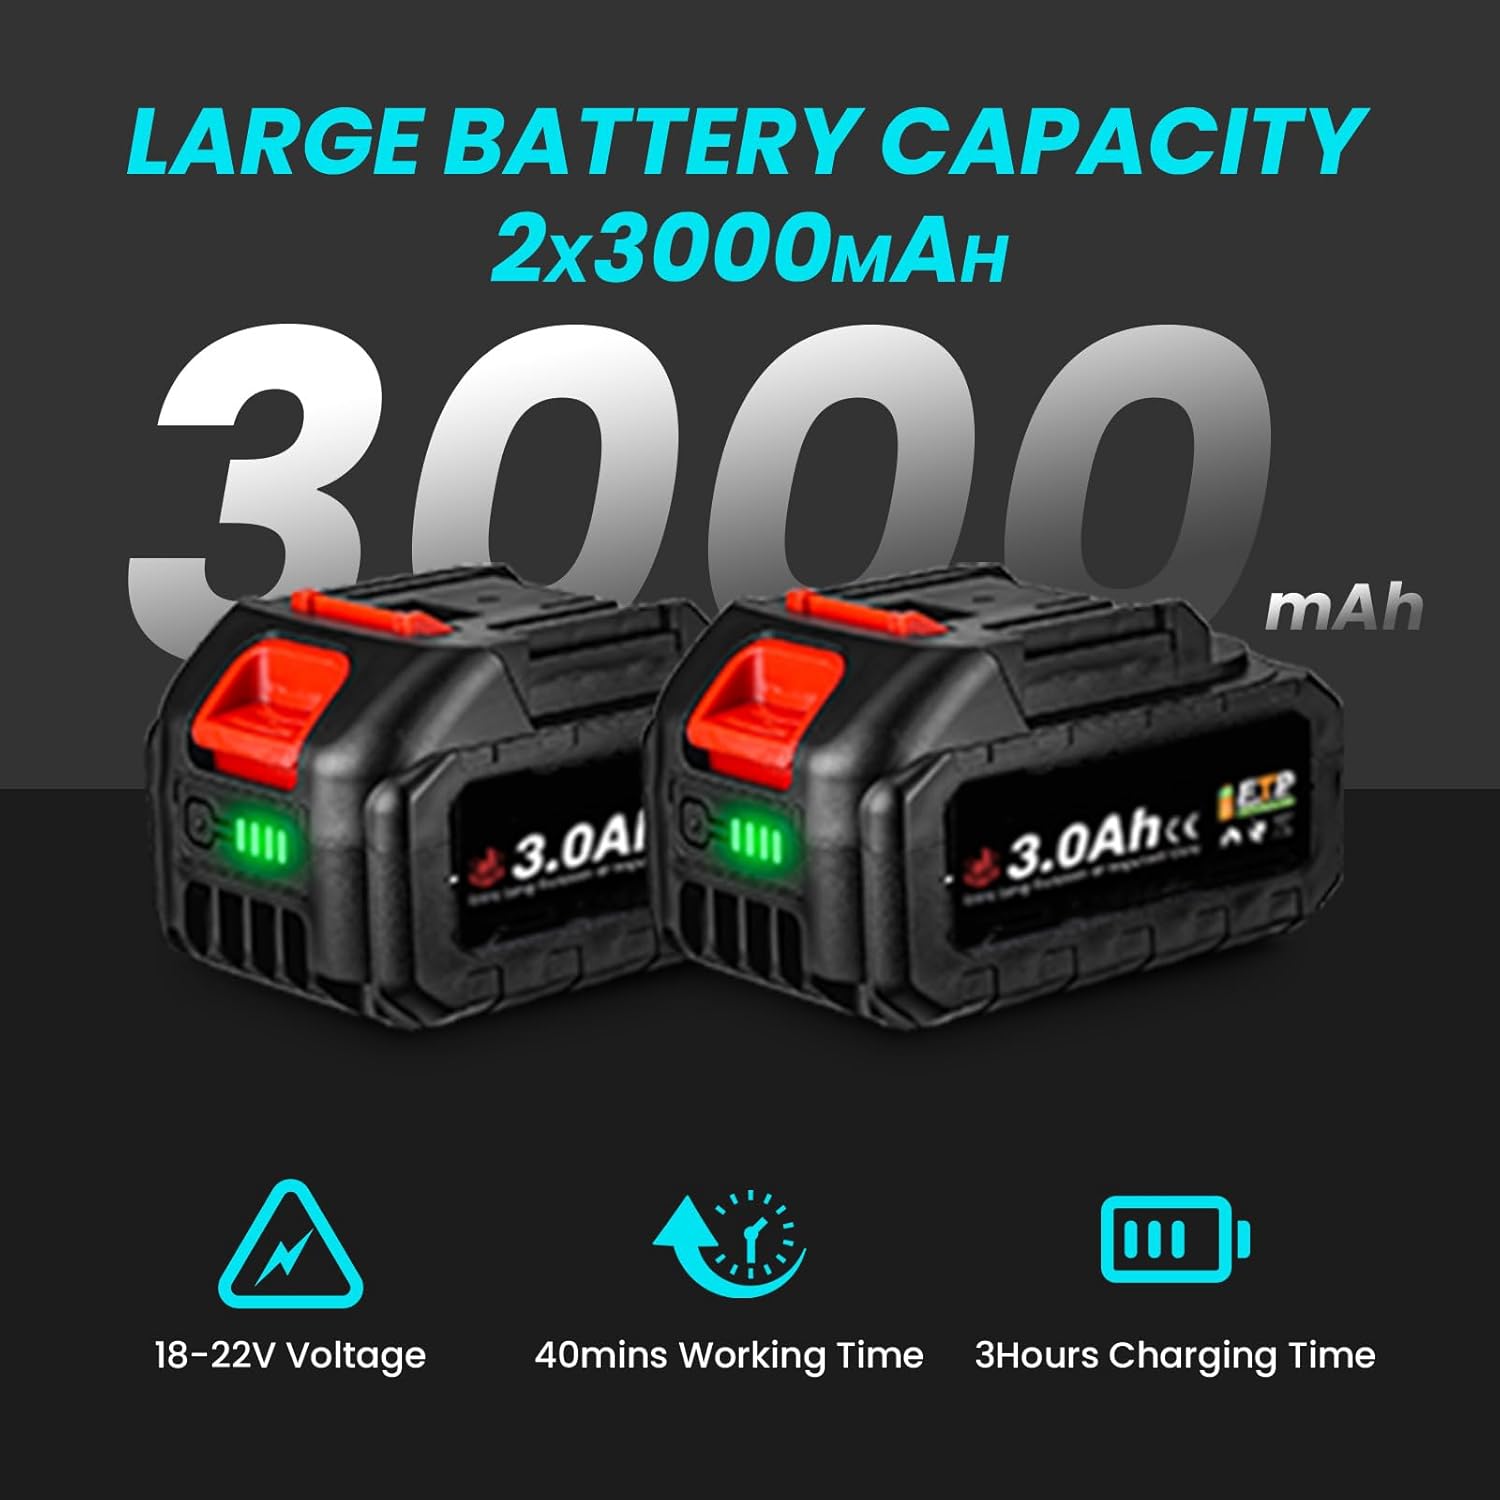
Figure 3: Two 3.0Ah Lithium-ion battery packs, indicating their large capacity and charge status.
- Ensure the battery pack is securely inserted into the charger.
- Plug the charger into a standard power outlet.
- The charging indicator on the charger will show the charging status. A full charge typically takes approximately 3 hours for a 3.0Ah battery.
- Once fully charged, disconnect the charger from the power outlet and remove the battery pack.
4.2 Installing and Removing the Battery Pack
- To Install: Align the battery pack with the receptacle on the tool handle and slide it in until it clicks into place.
- To Remove: Press the battery release button (if present) and slide the battery pack out of the tool handle.
4.3 Attaching Accessories (Sockets)
- Ensure the tool is switched off and the battery is removed.
- Push the desired impact socket onto the square drive anvil until it locks securely.
- To remove, pull the socket firmly off the anvil.
5. Operating Instructions
5.1 Powering On/Off
- To Power On: Squeeze the trigger switch. The tool will start operating.
- To Power Off: Release the trigger switch.
5.2 Forward/Reverse Rotation

Figure 4: The forward and reverse switch mechanism for tightening and loosening.
The tool features a forward/reverse switch located above the trigger. This switch also acts as a lock-off button.
- Forward Rotation (Tightening): Push the switch to the left (when viewed from the rear of the tool).
- Reverse Rotation (Loosening): Push the switch to the right.
- Lock-off: Position the switch in the center to prevent accidental starting.
5.3 Speed Settings (4 Gears)

Figure 5: The 4-gear speed indicator and mode button for adjusting RPM.
This impact wrench offers 4 adjustable speed settings (0-2300 RPM) to match the application requirements. Press the 'MODE' button to cycle through the speed settings. The selected speed will be indicated by the LED lights on the tool.
5.4 Brake Stop Function (Reverse Mode)

Figure 6: The premium brake stop feature, designed to prevent nuts or bolts from falling off once loosened.
When operating in reverse mode, the brake stop function automatically activates once the nut or bolt is loosened. This feature reduces the speed and torque, preventing the fastener from flying off or getting lost.
5.5 Built-in LED Work Light

Figure 7: The integrated LED light enhances visibility in dimly lit working conditions.
The integrated LED light automatically illuminates the work area when the trigger is pressed, improving visibility in dark or confined spaces.
5.6 Applications

Figure 8: The ONEVAN impact wrench is suitable for a variety of applications, including automotive, construction, and DIY projects.
This impact wrench is designed for heavy-duty tasks such as:
- Automotive repairs (e.g., tire removal, engine work)
- Loosening rusted bolts
- Assembly of agricultural machinery
- Construction and DIY projects requiring high torque
6. Maintenance
6.1 Cleaning
- Keep the ventilation openings of the tool clean to prevent overheating.
- Wipe the tool with a soft, damp cloth. Do not use harsh chemicals or abrasive cleaners.
6.2 Battery Care
- Store batteries in a cool, dry place away from direct sunlight and extreme temperatures.
- Do not store batteries in a discharged state for extended periods. Recharge them periodically if not in use.
6.3 Storage
- Store the tool and accessories in a secure, dry place, out of reach of children.
- Ensure the battery is removed from the tool before storage.
7. Troubleshooting
| Problem | Possible Cause | Solution |
|---|---|---|
| Tool does not start | Battery not charged or improperly installed; Forward/Reverse switch in lock position. | Charge battery; Reinstall battery correctly; Move switch to forward or reverse position. |
| Reduced power/torque | Low battery charge; Incorrect speed setting. | Recharge battery; Select a higher speed setting. |
| Tool stops during operation | Overload protection activated; Battery overheated or discharged. | Reduce load; Allow tool/battery to cool; Recharge battery. |
8. Specifications
| Feature | Specification |
|---|---|
| Model Number | sku005304 |
| Brand | ONEVAN |
| Voltage | 20 Volts |
| Max Torque | 700 Newton-meters |
| Max Speed | 2300 RPM (up to 3000 RPM for impact) |
| Power | 420 Watts |
| Battery Type | Lithium-ion |
| Battery Capacity | 3.0 Ampere-hours (each) |
| Number of Batteries | 2 |
| Head Type | Fixed Square |
| Material | Metal |
| Weight | 4.1 Kilograms |
| Special Features | Brushless Motor, 4 Speed Settings, LED Work Light, Brake Stop Function |
9. Warranty and Support
For warranty information or technical support, please refer to the documentation included with your purchase or contact ONEVAN customer service through your retailer. Keep your proof of purchase for warranty claims.
