
Moen TV6420
Moen Eva Chrome Two-Handle High Arc Widespread Bathroom Sink Faucet (Model TV6420) Instruction Manual
Installation, Operation, and Maintenance Guide
Introduction
This manual provides detailed instructions for the installation, operation, and maintenance of your Moen Eva Chrome Two-Handle High Arc Widespread Bathroom Sink Faucet, model TV6420. Please read these instructions carefully before beginning installation to ensure proper function and longevity of your product. Keep this manual for future reference.
Safety Information
- Always turn off the main water supply before installing or servicing the faucet.
- Wear safety glasses during installation.
- If you are unsure about any part of the installation process, consult a qualified plumber.
- Ensure all local plumbing and building codes are met.
Package Contents
Verify that all components are present before beginning installation:
- Widespread Faucet (Spout and Handles)
- Valve Assembly (Moen M-PACT rough-in valve)
- Drain Assembly
- Mounting Hardware
- Installation Instructions

Image: All components of the Moen Eva Chrome Faucet, including the spout, two handles, and drain assembly.
Specifications
| Brand | Moen |
| Model Name | EVA (TV6420) |
| Finish Type | Polished Chrome |
| Material | Brass (Metal Handles) |
| Mounting Type | Deck Mount, Widespread |
| Hole Count | 3-Hole |
| Number of Handles | 2 |
| Maximum Flow Rate | 1.2 Gallons Per Minute (GPM) |
| Spout Height | 6 Inches |
| Spout Reach | 4.13 Inches |
| Maximum Deck Thickness | 1.25 Inches |
| Connection Size | 1/2" |
| Special Features | Duralock Quick-Connect System, Pop Up Drain, Valve Included |
| Certifications | EPA WaterSense, NSF 61 (Safe Drinking Water Act) |

Image: Dimensional diagram of the Moen Eva Faucet, indicating spout height, spout reach, and maximum deck thickness.

Image: Illustration demonstrating a 3-hole sink configuration, suitable for this widespread faucet.

Image: Moen certification for U.S. Water Safety Standards, ensuring safe drinking water.
Installation Instructions
1. Prepare for Installation
- Turn off the water supply at the main shut-off valve.
- Clear the area under the sink.
- Remove any existing faucet and clean the sink surface.
2. Install the Valve Assembly (M-PACT System)
The Moen Eva faucet utilizes the M-PACT common valve system, which allows for future style updates without replacing plumbing. Follow the specific instructions provided with the valve for proper installation into your 3-hole sink setup. The widespread design allows for installation between 8" to 16" centers.

Image: Demonstration of installing the faucet trim onto the Moen M-PACT valve system, designed for easy upgrades.
3. Connect Water Lines (Duralock Quick-Connect)
The Duralock Quick-Connect System simplifies water line connections. Ensure a secure, tool-free connection by pushing the flexible hoses firmly into the quick-connect ports until they click into place. Verify all connections are tight to prevent leaks.

Image: Close-up of the Duralock Quick-Connect system, showing how water lines are easily and securely attached without tools.
4. Install Drain Assembly
Install the pop-up drain assembly according to the separate instructions provided with the drain. Ensure a watertight seal.
5. Test for Leaks
- Slowly turn on the main water supply.
- Check all connections for leaks. Tighten any leaking connections carefully.
- Operate the faucet handles to ensure proper water flow and temperature control.
Operation
The Moen Eva faucet features two lever handles for controlling water flow and temperature.
- Cold Water: Rotate the right handle counter-clockwise to open for cold water.
- Hot Water: Rotate the left handle counter-clockwise to open for hot water.
- Temperature Control: Adjust the handles simultaneously to achieve the desired water temperature.
- Flow Control: Rotate the handles further counter-clockwise for increased water flow. Rotate clockwise to reduce flow and turn off.
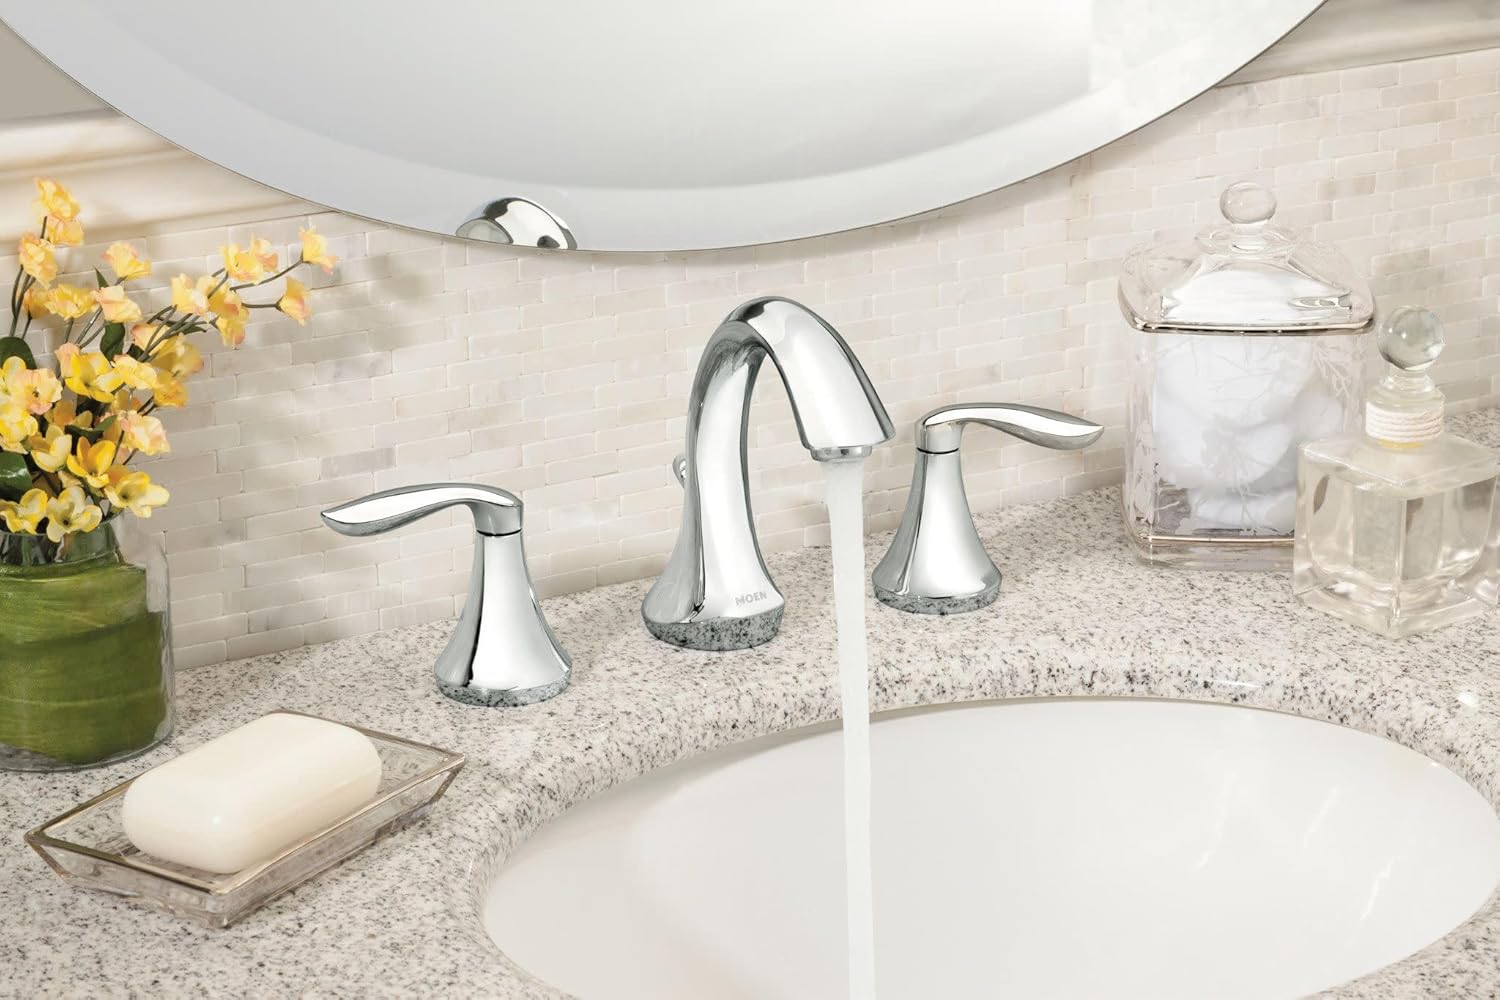
Image: The Moen Eva Faucet in operation, demonstrating water flow from the high-arc spout.
Maintenance and Cleaning
Proper care will maintain the finish and performance of your Moen faucet.
- Cleaning: Clean the faucet with a soft, damp cloth and mild soap. Rinse thoroughly with warm water and dry with a soft cloth.
- Avoid Harsh Cleaners: Do not use abrasive cleaners, harsh chemicals, or polishes containing alcohol, ammonia, or abrasives, as these can damage the chrome finish.
- Aerator Maintenance: If water flow decreases, the aerator may be clogged. Unscrew the aerator from the spout, clean any debris, and reattach.
Troubleshooting
| Problem | Possible Cause | Solution |
|---|---|---|
| Low Water Flow | Clogged aerator; partially closed shut-off valves; debris in water lines. | Clean aerator. Ensure shut-off valves are fully open. Flush water lines. |
| Leaks from Faucet Base | Loose mounting nuts; worn O-rings. | Tighten mounting nuts. Inspect and replace O-rings if necessary. |
| Leaks from Handle | Worn cartridge. | Replace the cartridge. Refer to Moen's website for specific cartridge replacement instructions for your model. |
| Water Temperature Issues | Incorrect hot/cold connections; water heater settings. | Verify hot and cold lines are connected correctly. Check water heater temperature settings. |
Warranty Information
This Moen product is backed by Moen's Limited Lifetime Warranty. For complete warranty details and terms, please refer to the official Moen website or contact Moen customer service. The warranty covers defects in material and manufacturing workmanship under normal use.
Customer Support
For further assistance, replacement parts, or technical support, please visit the official Moen website or contact their customer service department.
- Moen Official Website: www.moen.com
- Contact Information: Refer to the Moen website for current customer service phone numbers and hours of operation.
Ask a question about this manual
Ask about setup, troubleshooting, compatibility, parts, safety, or missing instructions. Manuals+ will review the question and use this page’s manual context to help answer it.