
1. Introduction
This manual provides essential information for the safe and effective operation, setup, and maintenance of your FEIFANKE MIG135 3-in-1 welding machine. The MIG135 is a versatile welding unit designed for Flux Core MIG, ARC (MMA), and Lift TIG welding processes. It features advanced IGBT inverter technology, offering an efficient 35-135A 220V output suitable for various welding tasks. Please read this manual thoroughly before operating the welder to ensure proper use and safety.
2. Safety Information
Welding operations involve significant risks. Always adhere to the following safety precautions to prevent injury or damage to equipment.
- Electric Shock: Welding current can cause fatal electric shock. Ensure proper grounding. Do not touch live electrical parts. Wear dry welding gloves and protective clothing.
- Fumes and Gases: Welding produces fumes and gases that can be hazardous to health. Work in a well-ventilated area. Use a fume extractor if necessary.
- Arc Rays: Arc rays can burn eyes and skin. Wear a welding helmet with appropriate shade filter. Use protective clothing, including long sleeves and pants.
- Fire and Explosion: Welding sparks and hot metal can cause fires or explosions. Keep flammable materials away from the welding area. Have a fire extinguisher readily available.
- Hot Parts: Welded materials and equipment can remain hot for a long time. Allow parts to cool before handling.
- Overheat Protection: The machine is equipped with overheat protection. If the machine overheats, it will automatically shut down. Allow it to cool before resuming operation.
- Overcurrent and Overload Protection: Built-in protection mechanisms safeguard the machine from overcurrent and overload conditions, ensuring safe operation and extending its lifespan.
- Waterproof Protection: The unit features waterproof protection, enhancing durability in various working environments. However, avoid direct exposure to heavy rain or submersion.
3. Package Contents
Verify that all items listed below are included in your package:
- 1 x FEIFANKE MIG135 Welder
- 1 x 2-meter MIG Torch
- 1 x 1.8-meter Earth Clamp
- 1 x 1.8-meter Electrode Holder
- 1 x 1.0mm Flux Cored Wire
- 3 x 0.8mm Contact Tips
- 3 x 1.0mm Contact Tips
- 1 x Wire Brush and Hammer
- 1 x User Manual

Image 3.1: All components included with the FEIFANKE MIG135 welder, laid out for easy identification.
4. Product Overview
The FEIFANKE MIG135 is a compact and powerful welding machine designed for various applications. Its intuitive interface and multi-process capabilities make it suitable for both beginners and experienced welders.

Image 4.1: The FEIFANKE MIG135 welding machine, showcasing its compact design and primary accessories.
4.1 Key Features
- 3-in-1 Welding Modes: Supports Flux Core MIG, ARC (MMA), and Lift TIG welding.
- Synergic Control: Automatically adjusts voltage based on selected wire diameter and current for optimal welding parameters.
- Digital LED Display: Clear display for current output and parameter settings.
- IGBT Inverter Technology: Ensures stable arc, deeper penetration, and energy efficiency.
- Safety Protections: Includes overheat, overcurrent, overload, and voltage fluctuation compensation.

Image 4.2: The clear LED display of the MIG135, indicating the selectable welding modes: MMA/Stick, Flux Core MIG, and Lift TIG.
5. Setup
Proper setup is crucial for safe and effective welding. Follow these steps carefully.
5.1 Power Connection
- Ensure the welder is switched off before connecting to power.
- Connect the power cord to a suitable 220V power outlet. Ensure the outlet is properly grounded and can handle the welder's power requirements (4000 Watts).
5.2 Earth Clamp Connection
- Connect the earth clamp cable to the negative (-) terminal on the front panel of the welder.
- Securely attach the earth clamp to the workpiece or a clean, bare metal part of the welding table. Ensure good electrical contact.
5.3 Wire Spool Installation (for Flux Core MIG)
For Flux Core MIG welding, install the wire spool as follows:
- Open the wire feed compartment cover.
- Place the wire spool onto the spool holder, ensuring it rotates freely.
- Thread the welding wire through the guide tube and into the drive roller mechanism.
- Close the drive roller tension arm and adjust the tension appropriately for the wire diameter.
- Feed the wire through the MIG torch liner until it exits the contact tip.

Image 5.1: Detailed view of the wire feed installation space, illustrating the correct placement of the spool, spacer, spring, washer, and spool lock.
5.4 Electrode Holder Connection (for ARC/MMA)
- Connect the electrode holder cable to the positive (+) terminal on the front panel.
- Insert the welding electrode into the electrode holder.
5.5 MIG Torch Connection
- Connect the MIG torch cable to the designated MIG connector on the front panel. Ensure it is securely tightened.
6. Operating Instructions
The FEIFANKE MIG135 offers three welding modes: Flux Core MIG, ARC (MMA), and Lift TIG. Switching between modes is quick and easy.

Image 6.1: The front panel of the MIG135, highlighting the ease of switching between MMA, Flux Core MIG, and Lift TIG welding modes.
6.1 Mode Selection
- Turn on the welder using the power switch.
- Use the mode selection button on the front panel to cycle through Flux Core MIG, ARC, and Lift TIG modes. The selected mode will be indicated on the LED display.
6.2 Parameter Adjustment (Synergic Control)
The MIG135 features synergic control, simplifying parameter setup.
- Select your desired welding mode.
- For Flux Core MIG, select the wire diameter (e.g., 1.0mm). The machine will suggest appropriate voltage settings.
- Adjust the main parameter knob to set the welding current (35-135A). The machine will automatically adjust other related parameters like wire feed speed for optimal performance.
- The LED display will show the current settings and recommended material thickness.

Image 6.2: The 'One-Click Synergy Control' interface, demonstrating the simple process of selecting mode and adjusting current for precise welding.
6.3 Welding Process Overview
Always wear appropriate personal protective equipment (PPE) before starting any welding operation.
- Flux Core MIG Welding: This process uses a continuously fed tubular electrode wire filled with flux, eliminating the need for external shielding gas. It is ideal for outdoor use and welding on slightly contaminated or rusty materials.
- ARC (MMA) Welding: Manual Metal Arc welding uses a consumable electrode rod coated with flux. It is versatile and suitable for various metals and thicknesses.
- Lift TIG Welding: This process uses a non-consumable tungsten electrode and requires an external shielding gas (not included). The arc is initiated by gently touching the tungsten to the workpiece and then lifting it slightly. This mode provides precise control and high-quality welds, especially on thinner materials. Note: TIG torch is not included with this package.
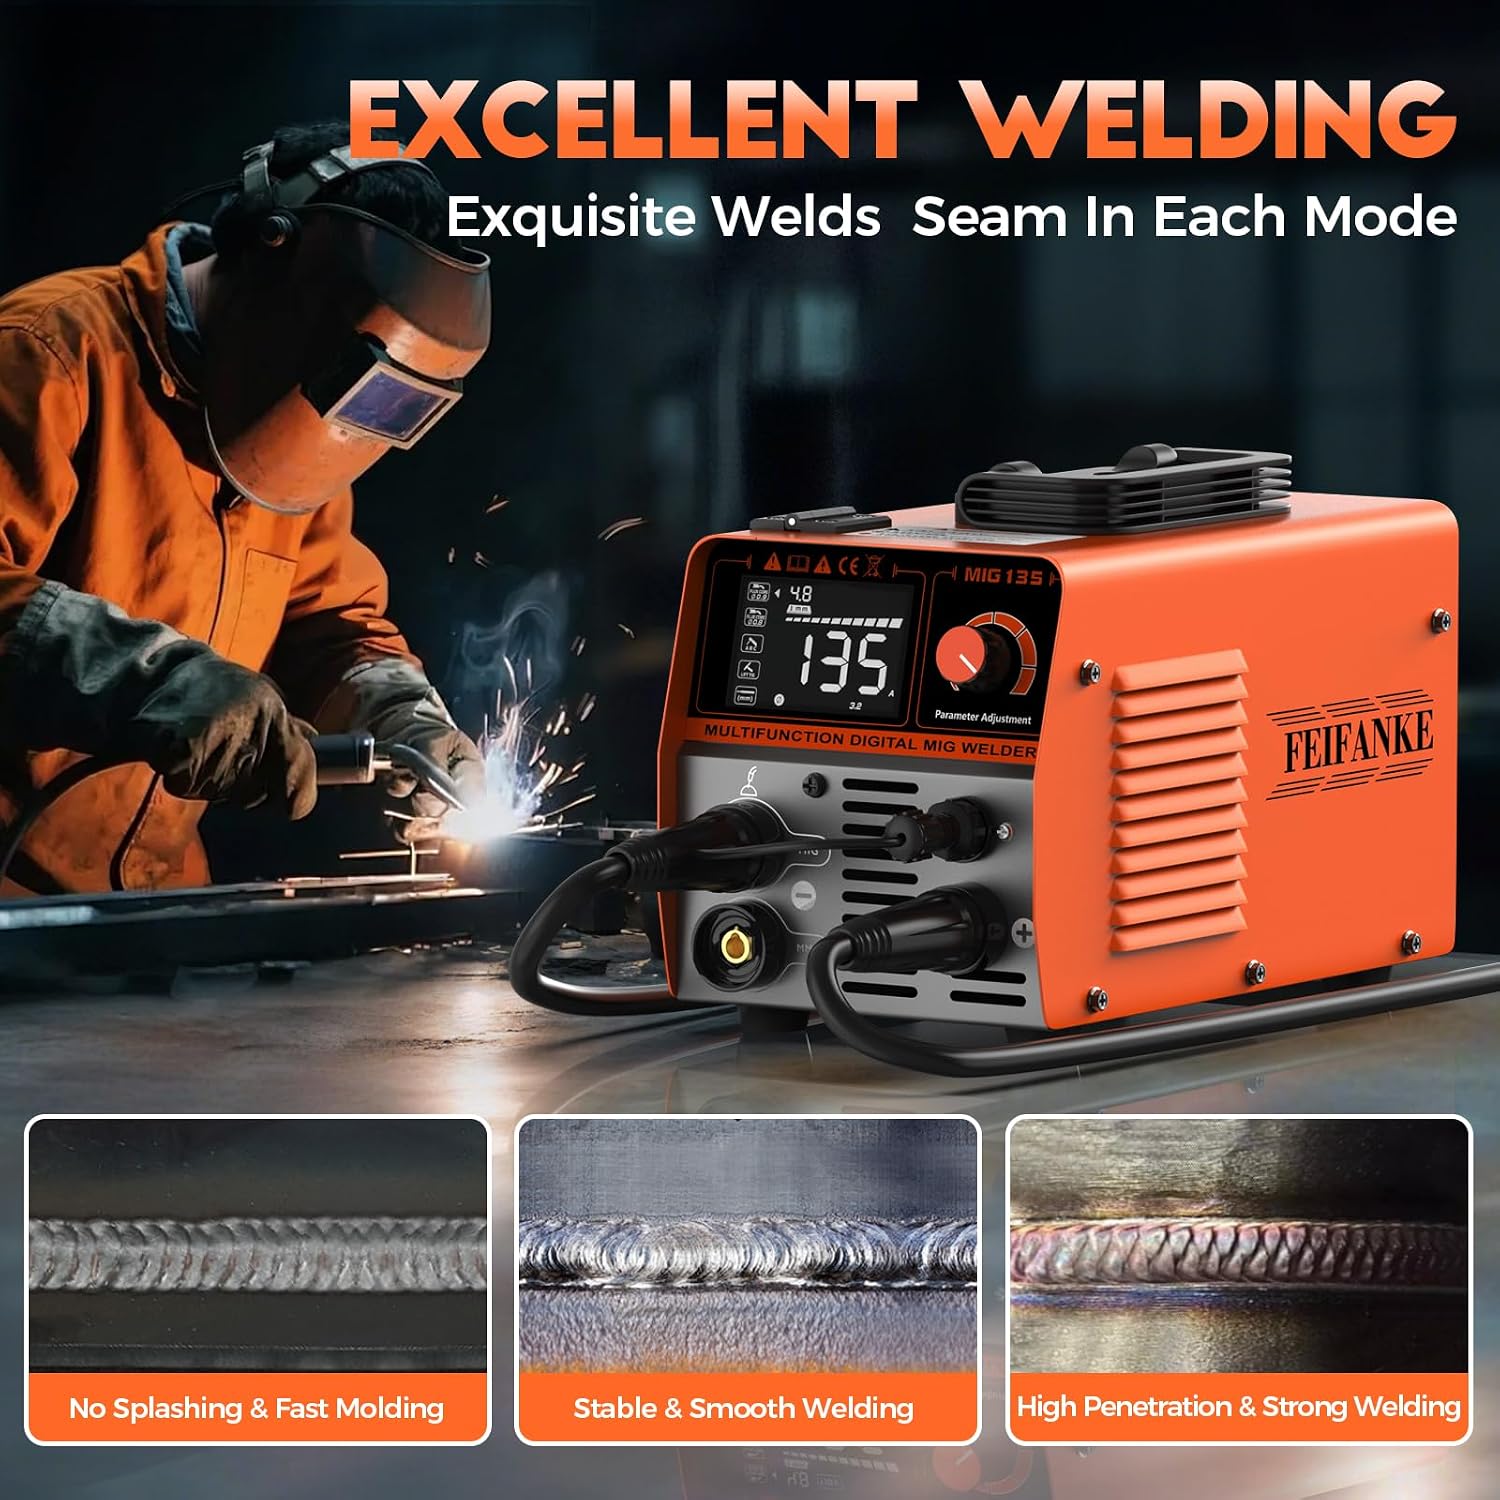
Image 6.3: An example of welding in progress, demonstrating the potential for excellent welding results with stable, smooth, and deep penetration welds.
7. Maintenance
Regular maintenance ensures the longevity and optimal performance of your welding machine.
- Cleaning: Regularly clean the exterior of the welder with a dry, soft cloth. Use compressed air to blow out dust and debris from the ventilation openings. Ensure the machine is unplugged before cleaning.
- Cable Inspection: Periodically inspect all cables (power, earth clamp, electrode holder, MIG torch) for cuts, fraying, or damage. Replace damaged cables immediately.
- Contact Tips and Nozzles: For MIG welding, regularly check and clean the contact tip and nozzle. Replace worn-out contact tips to ensure consistent wire feeding and arc stability.
- Wire Feed Mechanism: Keep the wire feed rollers clean and free from debris. Ensure proper tension for smooth wire feeding.
- Storage: Store the welder in a dry, clean environment, away from excessive dust, moisture, and corrosive substances.
8. Troubleshooting
This section addresses common issues you might encounter. For problems not listed here, contact customer support.
| Problem | Possible Cause | Solution |
|---|---|---|
| Welder does not power on | No power supply; Faulty power cord; Internal fault | Check power outlet and circuit breaker; Inspect power cord; Contact customer support |
| No arc/Weak arc | Poor earth connection; Incorrect settings; Worn electrode/contact tip; Overheat protection activated | Ensure good earth connection; Adjust current/voltage; Replace electrode/contact tip; Allow machine to cool |
| Wire feeding issues (MIG) | Incorrect wire tension; Clogged liner; Worn drive rollers; Incorrect contact tip size | Adjust wire tension; Clean/replace liner; Inspect/replace drive rollers; Use correct contact tip for wire diameter |
| Overheat indicator on | Exceeded duty cycle; Blocked ventilation | Allow machine to cool down; Clear any obstructions from ventilation openings |
| Poor weld quality | Incorrect settings; Improper technique; Contaminated workpiece | Adjust parameters; Practice welding technique; Clean workpiece thoroughly |
9. Specifications
Technical specifications for the FEIFANKE MIG135 welding machine.
| Feature | Detail |
|---|---|
| Manufacturer | FEIFANKE |
| Model Number | MIG135 |
| Product Dimensions (L x W x H) | 10 x 10 x 5 cm |
| Item Weight | 6.07 kilograms |
| Color | Orange |
| Material | Water-resistant lacquered stainless steel |
| Power Type | DC |
| Voltage | 230 Volts |
| Power | 4000 Watts |
| Output Current Range | 35-135A |
| Welding Thickness (Carbon/Stainless Steel) | 1 mm to 5 mm |
| Included Components | 1 X MIG135, 1 X 2M MIG torch, 1 X 1.8M earth clamp, 1 X 1.8M electrode holder, 1 X 1.0MM flux cored wire, 3 X 0.8MM contact tips, 3 X 1.0MM contact tips, 1 X brush and hammer, 1 X user manual. |
10. Warranty and Support
FEIFANKE is committed to providing high-quality welding equipment. Each machine undergoes strict quality and safety tests.
If you encounter any problems with your FEIFANKE MIG135 welding machine, please do not hesitate to contact our customer support. Our team is available to assist you with troubleshooting, parts, and any other inquiries you may have.
Please refer to your purchase documentation for specific warranty terms and contact information.