1. Overview
The Baseus SpaceMate(MAC) Docking Station is an 11-in-1 USB-C hub designed to expand the connectivity of your MacBook or Windows laptop. It provides multiple ports for external displays, high-speed data transfer, power delivery, network connection, and audio output, enhancing your productivity and workspace organization.
Key Features:
- 11-in-1 Connectivity: Features 3 HDMI ports, 2 USB-A (10Gbps), 1 USB-C (10Gbps), 2 USB-A (480Mbps), 100W PD input, Gigabit Ethernet, and a 3.5mm AUX jack.
- Triple 4K Display: Supports up to three 4K displays at 60Hz for macOS and Windows laptops, utilizing DisplayLink technology for extended desktop functionality.
- Innovative Upright Design: Sleek design with a magnetic base for stable placement and cable management. Includes an LED screen for port status and a screen-lock button for privacy.
- Super-Fast Data Transfer: Achieve 10Gbps transfer speeds via USB 3.1 ports, allowing quick transfer of large files.
- 100W Power Delivery: Provides up to 85W pass-through charging to your laptop (100W input required).
2. Setup Guide
2.1. Package Contents:
Please ensure all items are present:
- Baseus SpaceMate(MAC) Docking Station
- USB-C to USB-C Cable (integrated or included)
- User Manual (this document)
Note: Power adapter and input cable are not included. A PD 100W adapter and a PD cable are recommended for optimal charging efficiency.
2.2. Connecting the Docking Station:
- Place the docking station on a stable surface. The magnetic base ensures secure positioning.
- Connect the integrated USB-C cable from the docking station to a USB-C port on your laptop.
- For power delivery, connect a compatible USB-C power adapter (100W recommended) to the PD input port on the docking station.
- Connect your external monitors to the HDMI ports on the docking station.
- Connect any other peripherals (USB devices, Ethernet cable, audio devices) to their respective ports.

Image: Front and rear view of the Baseus SpaceMate Docking Station, highlighting its various input and output ports.
2.3. Driver Installation (Crucial for Display Functionality):
The docking station utilizes DisplayLink technology for multi-monitor support, especially for macOS. It is essential to install the DisplayLink driver for proper functionality of the HDMI ports.
- Visit the official DisplayLink website (https://www.synaptics.com/products/displaylink-graphics/downloads) to download the latest DisplayLink driver compatible with your operating system (macOS or Windows).
- Follow the on-screen instructions to install the driver.
- After installation, ensure the DisplayLink Manager application is set to launch automatically at system startup. This is critical for consistent multi-monitor functionality.
- Restart your computer if prompted.
3. Operating Instructions
3.1. Display Connectivity:
The docking station supports single, dual, and triple display setups at 4K resolution (3840x2160) at 60Hz via its HDMI ports.

Image: A MacBook Pro connected to the Baseus SpaceMate Docking Station, extending its display across three external 4K monitors, demonstrating a triple display setup for macOS.

Image: Visual representation of a triple display setup on macOS, with the laptop screen (A) and three external monitors (B, C, D) connected to the docking station.

Image: A table illustrating the supported resolutions and refresh rates for single, dual, and triple display configurations in Mac MST Mode (macOS DP1.4).

Image: Visual representation of a triple display setup for Windows laptops, with the laptop screen (A) and three external monitors (B, C, D) connected to the docking station.

Image: A table illustrating the supported resolutions and refresh rates for single, dual, and triple display configurations in Windows MST Mode (Windows DP1.4 output with DSC).
3.2. Data Transfer:
The docking station features high-speed USB ports for efficient data transfer:
- 2 x USB-A (10Gbps) & 1 x USB-C (10Gbps): Ideal for connecting external SSDs, flash drives, or other high-speed storage devices. Transfer 20GB files in approximately 20 seconds.
- 2 x USB-A (480Mbps): Suitable for connecting peripherals like keyboards, mice, or printers.

Image: The docking station facilitating fast data transfer between a laptop and an external SSD, highlighting the 10Gbps speed capability.
3.3. Power Delivery:
The USB-C PD input port supports up to 100W power input, providing up to 85W pass-through charging to your connected laptop. This allows you to charge your laptop while using the docking station with a single cable connection.

Image: A diagram illustrating the power flow, showing 100W input to the docking station from a power adapter and 85W output to a MacBook Pro for charging.
3.4. Network Connection:
The Gigabit Ethernet port provides a stable and fast wired network connection, supporting speeds up to 1Gbps. This is ideal for reliable internet access and large file transfers over a local network.

Image: A close-up view of the Gigabit Ethernet port on the Baseus SpaceMate Docking Station, with an Ethernet cable plugged in, indicating stable network expansion.
3.5. Audio Connectivity:
The integrated 3.5mm AUX jack allows you to connect headphones, speakers, or microphones for high-quality audio input and output without delay.

Image: A user enjoying audio through headphones connected to the 3.5mm AUX port of the docking station, demonstrating seamless audio and visual synchronization.
3.6. Screen-Lock Button:
The screen-lock button on top of the docking station provides a quick way to secure your sensitive information. Press it once for Windows or twice for macOS to lock your screen instantly.

Image: A hand pressing the screen-lock button on the top of the docking station, with icons indicating single press for Windows and double press for macOS to protect privacy.
3.7. LED Display:
The built-in LED screen on the front of the docking station intelligently displays the connection status of each port, providing visual feedback on active connections for screen casting, data transfer, charging, Ethernet, and audio.
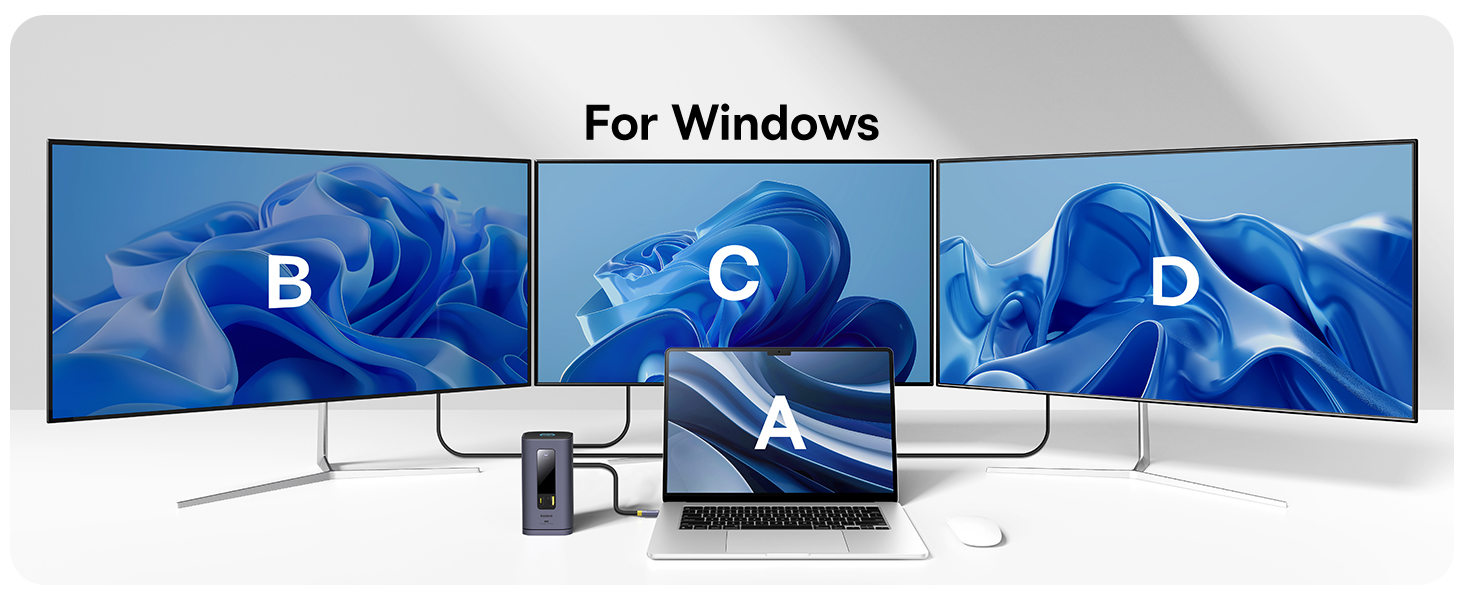
Image: The LED display on the docking station illuminating icons for Screen Casting, Data Transfer, Charging, Ethernet, and Audio, indicating active connections.
4. Maintenance and Care
- Keep the docking station in a dry environment and avoid exposure to liquids.
- Clean the surface with a soft, dry cloth. Do not use abrasive cleaners or solvents.
- Ensure proper ventilation around the device to prevent overheating, especially during prolonged use with multiple connected devices.
- Avoid dropping or subjecting the device to strong impacts.
- When disconnecting, always pull from the plug, not the cable, to prevent damage.
5. Troubleshooting Common Issues
| Problem | Possible Cause | Solution |
|---|---|---|
| No external display or unstable HDMI connection. | DisplayLink driver not installed or not running; faulty cables; incorrect display settings. | Ensure DisplayLink driver is installed and DisplayLink Manager is running (set to auto-launch). Try different HDMI cables. Check display settings on your laptop to detect monitors. Restart the docking station and laptop. |
| Docking station feels warm/hot. | Normal operation under heavy load; insufficient ventilation. | Some heat is normal, especially when charging or driving multiple displays. Ensure the docking station is placed in a well-ventilated area and not covered. If excessively hot, disconnect and allow to cool. |
| USB ports or Ethernet not working. | Loose connection; driver issue; power issue. | Ensure all cables are securely connected. Reinstall DisplayLink driver. Verify the docking station is receiving sufficient power, especially if using power-hungry devices. Try connecting devices to different ports. |
| Laptop not charging or charging slowly. | Insufficient power adapter; non-PD compatible cable. | Ensure you are using a 100W PD power adapter and a USB-C cable that supports Power Delivery. Check if the power adapter is properly connected to the docking station. |
6. Product Specifications
| Feature | Detail |
|---|---|
| Model Number | 11 in 1 |
| Brand | Baseus |
| Color | Grey |
| Hardware Interface | USB 3.1 Type A, USB 3.1 Type C, Ethernet, HDMI, USB 2.0 Type A, 3.5mm Audio |
| HDMI Ports | 3 x HDMI (up to 4K@60Hz) |
| USB Data Ports | 2 x USB-A (10Gbps), 1 x USB-C (10Gbps), 2 x USB-A (480Mbps) |
| Power Delivery (PD) | 100W Input, 85W Output (Pass-through charging) |
| Ethernet Port | Gigabit Ethernet (up to 1Gbps) |
| Audio Jack | 3.5mm AUX In/Out |
| Compatible Devices | For M1/M2/M3 Mac and Windows laptops |
| Item Weight | 1.5 pounds |
| Package Dimensions | 7.17 x 4.76 x 3.03 inches |
| Date First Available | May 9, 2024 |
7. Warranty and Customer Support
Baseus products are designed and manufactured to the highest quality standards. For information regarding warranty coverage, please refer to the warranty card included with your product or visit the official Baseus website.
If you encounter any issues or have questions about your Baseus SpaceMate(MAC) Docking Station, please contact Baseus customer support through their official website or the retailer where you purchased the product. Please have your product model number and purchase details ready when contacting support.