
1. Introduction
This manual provides detailed instructions for the setup, operation, maintenance, and troubleshooting of your ATTACK SHARK X11 Lightweight Wireless Gaming Mouse. Designed for optimal performance and comfort, the X11 offers versatile connectivity options and customizable features to enhance your gaming and productivity experience.
2. Product Features
- Tri-Mode Connection: Supports 2.4G wireless, USB-C wired, and Bluetooth connectivity for versatile use across various devices.
- High-Performance Sensor: Equipped with the PAW3311 Optical sensor, offering 6 adjustable DPI levels (800-22000), 300 IPS tracking speed, 1000Hz response rate, and 35G acceleration. DPI changes are indicated by different internal RGB lighting colors.
- RGB Backlight Charging Dock: Features a magnetic charging dock with customizable RGB backlight effects, providing convenient charging and a stylish desktop presence. The USB receiver can be plugged into the dock for 2.4GHz mode, reducing cable clutter.
- Ultralight & Ergonomic Design: Weighs approximately 62g, ensuring effortless portability and reduced hand fatigue during extended use. Its ergonomic contours provide a comfortable grip.
- Durable Switches: Utilizes HUYU Switches and TTC Encoder Technology for crisp, reliable clicks with a lifespan of 20 million clicks, ensuring durability and precise operation.
- Programmable Buttons: Features 5 programmable buttons, allowing customization of DPI, polling rate, LOD, shortcuts, and macros via dedicated driver software.
- Wide Compatibility: Compatible with Windows XP, Vista, 7, 8, 10, and Mac operating systems.
3. Setup
3.1 Package Contents
Ensure all items are present in the package:
- ATTACK SHARK X11 Gaming Mouse
- RGB Charging Dock
- USB-C Cable
- USB Receiver (located at the bottom of the mouse)
- User Manual (this document)
3.2 Initial Charging
Before first use, fully charge the mouse. Connect the USB-C cable to the charging dock and then to a power source (e.g., computer USB port, USB wall adapter). Place the mouse onto the magnetic charging dock. The RGB lighting on the dock will indicate charging status.

Image: The ATTACK SHARK X11 Gaming Mouse in red, shown with its magnetic RGB charging dock. The mouse is positioned above the dock, illustrating the wireless charging capability.

Image: A close-up of the magnetic RGB charging dock, with the mouse hovering above it, showing the magnetic connection points and the vibrant RGB lighting at the base.
3.3 Connecting the Mouse
The ATTACK SHARK X11 offers three connection modes:
- 2.4G Wireless Mode: Locate the USB receiver at the bottom of the mouse. Plug the receiver into an available USB port on your computer or directly into the USB port on the charging dock. Turn the mode switch at the bottom of the mouse to "2.4G". The mouse should connect automatically.
- Bluetooth Mode: Turn the mode switch at the bottom of the mouse to "BT". Press and hold the BT toggle button (usually near the mode switch) for 3 seconds to enter pairing mode. On your computer or device, search for Bluetooth devices and select "ATTACK SHARK X11" to pair. The mouse supports BT1 and BT2 channels for connecting to two different Bluetooth devices.
- USB-C Wired Mode: Connect the USB-C cable directly from the mouse to your computer's USB port. The mouse will function as a wired mouse and charge simultaneously. This mode is plug-and-play.

Image: A visual representation of the tri-mode connectivity, showing the mouse connected via 2.4GHz wireless, Bluetooth, and USB-C wired modes to a laptop and charging dock.
3.4 Software Installation (Optional)
To customize the 5 programmable buttons, DPI settings, polling rate, LOD, and macro functions, download the official ATTACK SHARK X11 driver software from the manufacturer's website. Follow the on-screen instructions for installation.

Image: A screenshot of the ATTACK SHARK X11 driver software interface, displaying options for customizing button assignments, DPI settings, and other mouse attributes.
4. Operating Instructions
4.1 DPI Adjustment
The mouse features 6 adjustable DPI levels (800-1600-2400-3200-5000-22000). Use the DPI switch button located at the bottom of the mouse to cycle through the settings. Each DPI level corresponds to a different RGB lighting color inside the mouse for visual indication.
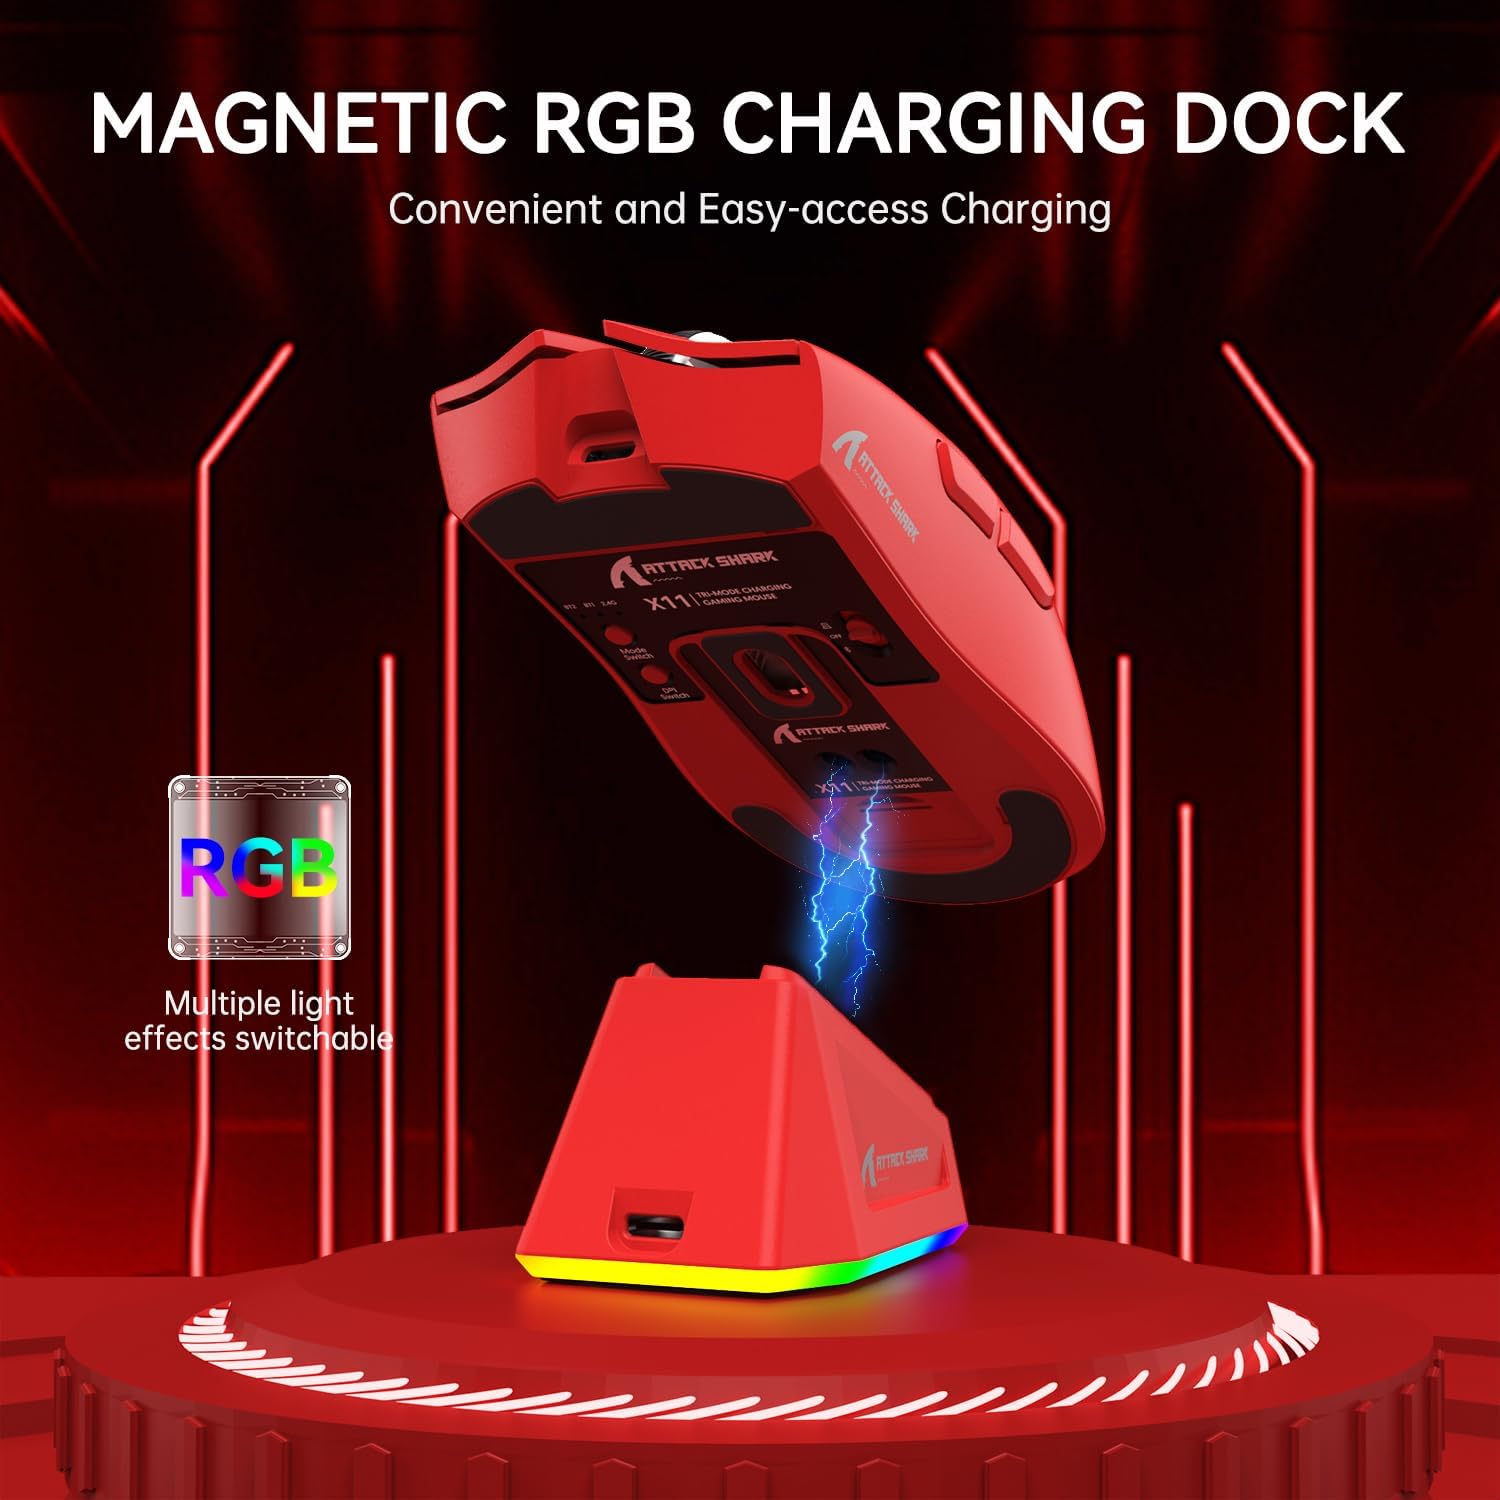
Image: An illustration highlighting the PAW3311 optical sensor of the ATTACK SHARK X11 mouse, detailing its high sensitivity (22000 DPI), tracking speed (300 IPS), and acceleration (35G).
4.2 Using Programmable Buttons
The X11 mouse has 5 programmable buttons. Once the driver software is installed (see Section 3.4), you can assign various functions, macros, or shortcuts to these buttons to suit your specific needs for gaming or productivity.
4.3 Ergonomic Design and Grip
The mouse's lightweight (62g) and ergonomic design are crafted for comfort during prolonged use. Experiment with different grip styles (palm, claw, fingertip) to find what feels most natural and reduces strain for your hand.
5. Maintenance
5.1 Cleaning
To maintain optimal performance and hygiene:
- Use a soft, dry cloth to wipe the mouse surface regularly.
- For stubborn dirt, slightly dampen the cloth with water or a mild, non-abrasive cleaner.
- Avoid using harsh chemicals, solvents, or abrasive materials.
- Clean the optical sensor area at the bottom of the mouse with a cotton swab to ensure accurate tracking.
5.2 Battery Care
Regularly place the mouse on its charging dock when not in use to ensure it's always ready. Avoid completely draining the battery frequently to prolong its lifespan.
6. Troubleshooting
6.1 Connectivity Issues
- Mouse not responding (2.4G/Bluetooth): Ensure the mouse is charged. Check the mode switch at the bottom of the mouse to confirm it's in the correct mode (2.4G or BT). For 2.4G, ensure the USB receiver is securely plugged in. For Bluetooth, re-enter pairing mode and re-pair with your device.
- Interference: If experiencing intermittent connection, try moving the mouse closer to the receiver/device or away from other wireless devices that might cause interference.
6.2 Tracking Problems
- Inaccurate tracking: Clean the optical sensor at the bottom of the mouse. Ensure you are using the mouse on a suitable surface (a mouse pad is recommended).
- DPI settings: Verify the DPI setting is appropriate for your task. Adjust using the DPI switch.
6.3 Charging Issues
- Mouse not charging on dock: Ensure the charging dock is powered and the mouse is correctly aligned on the magnetic contacts. Check the USB-C cable connection to the dock and power source.
7. Specifications
| Feature | Detail |
|---|---|
| Model Number | X11 (506d43fb-0f04-4431-babb-4966f7c866ac) |
| Connectivity | Tri-Mode (2.4G Wireless, Bluetooth, USB-C Wired) |
| Sensor | PAW3311 Optical Sensor |
| DPI Levels | 800-1600-2400-3200-5000-22000 (Adjustable) |
| Tracking Speed | 300 IPS |
| Acceleration | 35G |
| Polling Rate | 1000Hz |
| Switches | HUYU Switch & TTC Encoder |
| Click Lifespan | 20 Million Clicks |
| Buttons | 5 Programmable Buttons |
| Weight | Approx. 62g (2.19 ounces) |
| Dimensions | 7.01 x 4.53 x 2.05 inches (Package) |
| Compatibility | Windows XP/VISTA/7/8/10, Mac |
8. Official Product Videos
Watch these official videos from ATTACK SHARK US for more insights into your X11 Gaming Mouse:
Video: An official product video showcasing the ATTACK SHARK X11 Lightweight Wireless Gaming Mouse, highlighting its RGB charging dock and various features. This video provides a general overview of the product.
Video: A concise official video demonstrating the lightweight design and wireless capabilities of the ATTACK SHARK X11 Gaming Mouse, ideal for understanding its portability and core functionality.
9. Warranty and Support
Your ATTACK SHARK X11 Gaming Mouse comes with a standard manufacturer's warranty. For detailed warranty information, technical support, or service inquiries, please visit the official ATTACK SHARK website or contact their customer support directly. Keep your purchase receipt for warranty claims.
For additional resources and FAQs, please visit the ATTACK SHARK Store on Amazon.


