
Introduction
This manual provides detailed instructions for the setup, operation, and maintenance of your ATTACK SHARK X11 Lightweight Wireless Gaming Mouse. Please read this manual thoroughly before using the product to ensure optimal performance and longevity.
Product Overview
Components
- ATTACK SHARK X11 Wireless Gaming Mouse
- RGB Charging Dock
- USB-C Cable
- 2.4G USB Receiver
Key Features
- Tri-Mode Connection: Supports 2.4G wireless, Bluetooth, and USB-C wired connections.
- PAW3311 Optical Sensor: High-performance sensor with up to 22000 DPI.
- RGB Backlight Charging Dock: Convenient charging with customizable RGB lighting.
- Ultralight Design: Weighs approximately 62g for comfortable extended use.
- HUYU Switch & TTC Encoder: Ensures precise clicks and long lifespan (20 million clicks).
- 5 Programmable Buttons: Customizable via dedicated software.
Product Diagram
Refer to the diagrams below for an overview of the mouse components and features.

Image: The ATTACK SHARK X11 Wireless Gaming Mouse shown with its RGB charging dock and USB receiver. The mouse is black with a blue LED indicator. The charging dock has an RGB light strip at its base.

Image: An exploded view of the ATTACK SHARK X11 mouse, detailing its internal components including the lightweight material case, engineering curved keys, PCB, lithium battery, TTC encoder, HUYU white spots, PAW3311 sensors, and mouse bottom case.
Setup
Charging the Mouse
Before first use, fully charge the mouse using the provided USB-C cable and RGB charging dock.
- Connect the USB-C cable to the charging dock and a power source (e.g., computer USB port, USB wall adapter).
- Place the mouse onto the charging dock, ensuring the magnetic contacts align. The RGB lighting on the dock will indicate charging status.
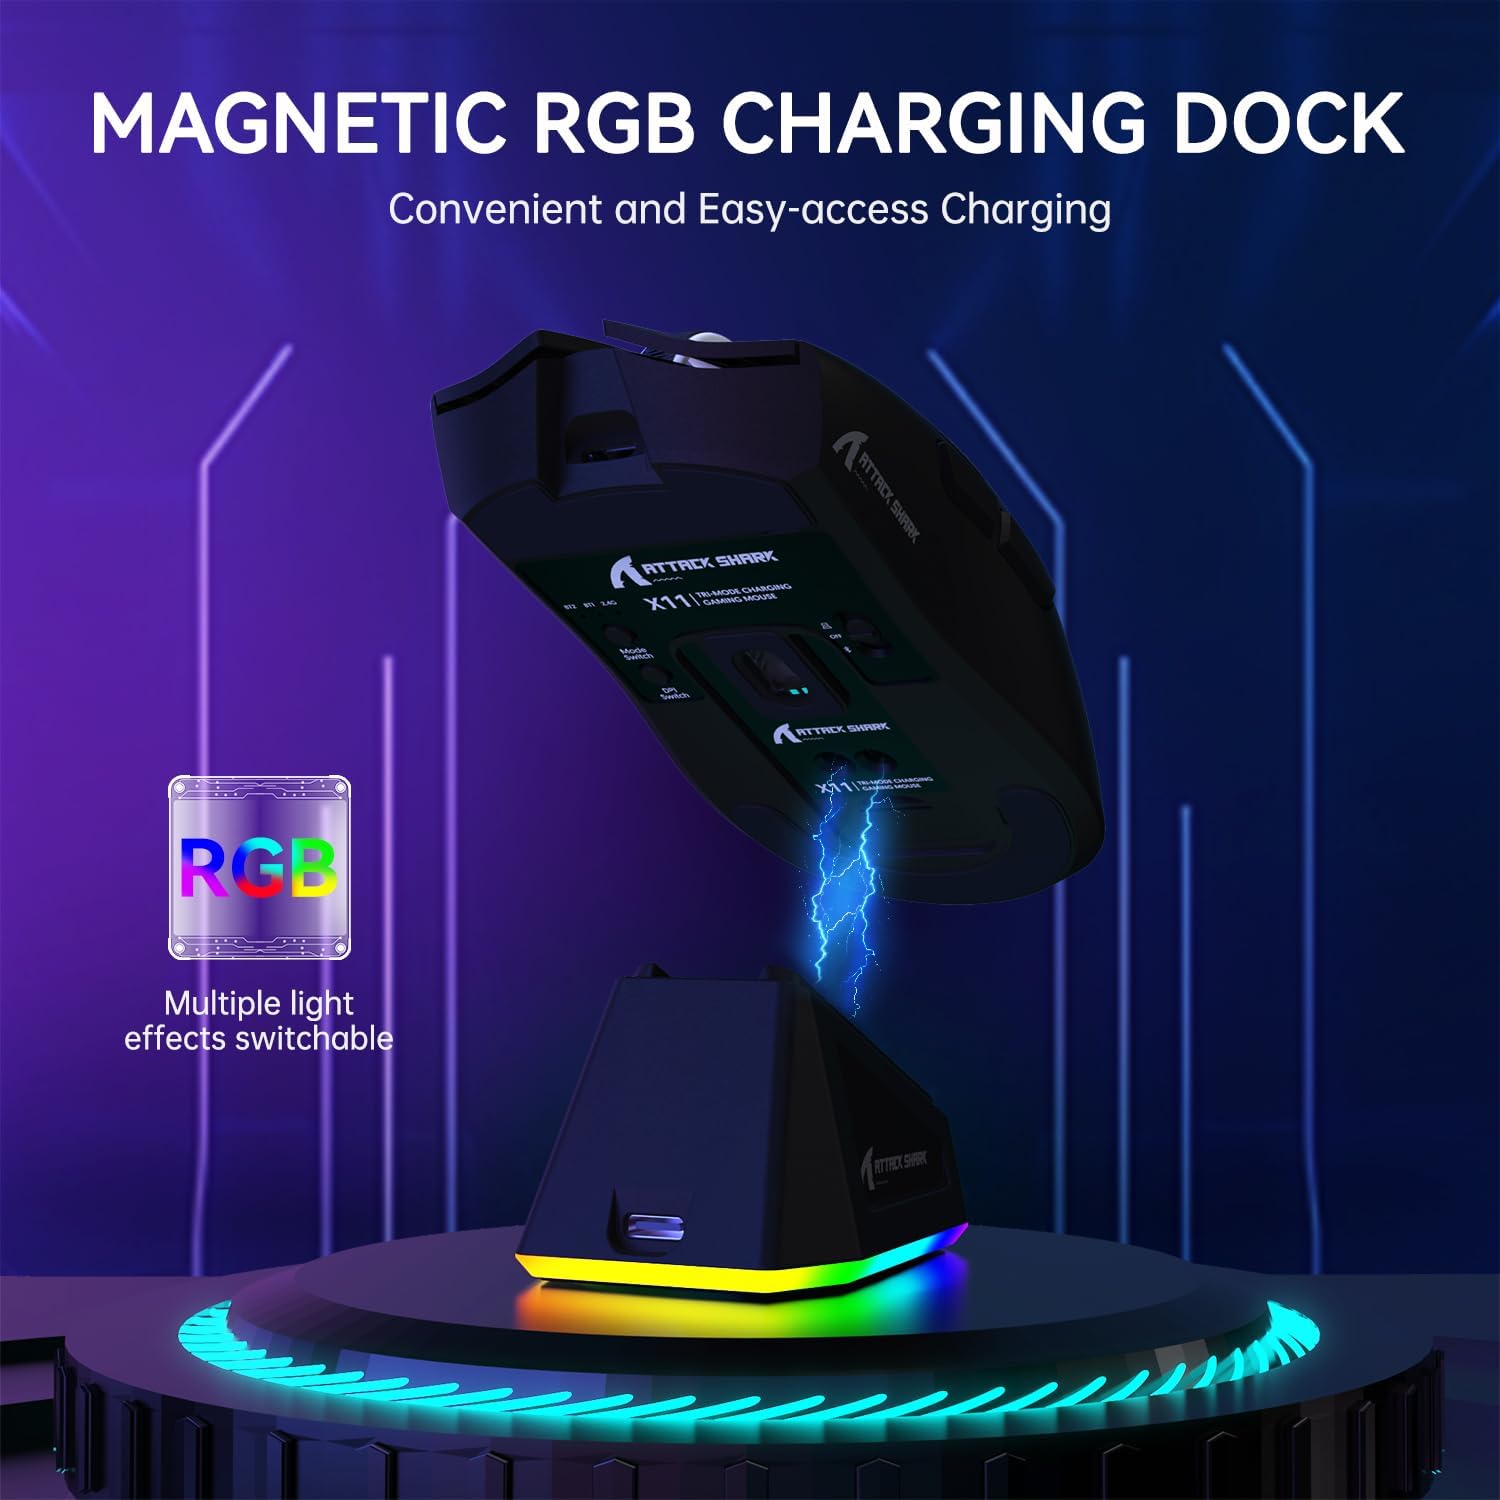
Image: The ATTACK SHARK X11 mouse magnetically attached to its RGB charging dock, illustrating the charging process.
Connecting the Mouse
The ATTACK SHARK X11 offers three connection modes: 2.4G Wireless, Bluetooth, and USB-C Wired.
2.4G Wireless Connection
- Locate the 2.4G USB receiver at the bottom of the mouse.
- Plug the USB receiver into an available USB port on your computer.
- Switch the mode button on the bottom of the mouse to the 2.4G position.
- The mouse should automatically connect. If not, refer to the troubleshooting section.
Bluetooth Connection
- Switch the mode button on the bottom of the mouse to the Bluetooth (BT) position.
- On your computer or device, enable Bluetooth and search for new devices.
- Select "ATTACK SHARK X11" from the list of available devices to pair.
- For multiple Bluetooth devices (BT1/BT2/BT3), short press the BT switching key on the mouse to cycle through channels. Press and hold for 3 seconds to enter pairing mode for a new device.
USB-C Wired Connection
- Connect the USB-C cable directly from the mouse to a USB port on your computer.
- The mouse will automatically switch to wired mode and function as a plug-and-play device.

Image: The ATTACK SHARK X11 mouse connected wirelessly to a laptop via its 2.4GHz USB receiver, demonstrating tri-mode connectivity options.
Operating Instructions
DPI Adjustment
The mouse features 6 adjustable DPI settings (800-1600-2400-3200-5000-22000). The DPI button is located on the bottom of the mouse. Each DPI setting is indicated by a different color light inside the mouse.
Programmable Buttons
The ATTACK SHARK X11 has 5 programmable buttons. To customize these buttons, DPI settings, polling rate, LOD, shortcuts, and macros, download and install the official driver software from the ATTACK SHARK website.

Image: A screenshot of the ATTACK SHARK X11 mouse software interface, showing options for button settings, DPI adjustment, light settings, and polling rate, with a visual representation of the mouse and its programmable buttons.
RGB Backlight Customization
The RGB backlight on the charging dock can be customized. Refer to the driver software for detailed options or use the physical button on the dock (if available) to cycle through effects.
Maintenance
Cleaning
To clean the mouse, use a soft, dry cloth. For stubborn dirt, a slightly damp cloth with mild soap can be used, ensuring no liquid enters the mouse. Avoid abrasive cleaners or solvents.
Storage
Store the mouse in a cool, dry place away from direct sunlight and extreme temperatures when not in use for extended periods.
Battery Care
To prolong battery life, avoid fully discharging the mouse frequently. Charge it regularly, especially if it will be stored for a long time.
Troubleshooting
| Problem | Possible Cause | Solution |
|---|---|---|
| Mouse not responding | Low battery; Incorrect connection mode; USB receiver not plugged in; Bluetooth not paired. | Charge the mouse; Ensure correct mode (2.4G/BT/Wired) is selected; Re-plug USB receiver; Re-pair Bluetooth. |
| Lag or erratic movement | Interference; Dirty sensor; Surface issues. | Move closer to receiver/device; Clean optical sensor; Use on a clean, non-reflective mouse pad. |
| Software not detecting mouse | Driver not installed correctly; Compatibility issues. | Reinstall driver software; Ensure mouse is connected via wired or 2.4G mode (Bluetooth may not be supported by software); Check compatibility (Windows XP/VISTA/7/8/10/MAC). |
Specifications
- Model: ATTACK SHARK X11
- Connection Modes: 2.4G Wireless, Bluetooth 5.2, USB-C Wired
- Sensor: PAW3311 Optical Sensor
- DPI: 800-1600-2400-3200-5000-22000 (Adjustable)
- Tracking Speed: 300 IPS
- Response Rate: 1000Hz
- Acceleration: 35G
- Switches: HUYU Switch
- Click Lifespan: 20 Million Clicks
- Buttons: 5 Programmable Buttons
- Weight: Approximately 62g
- Compatibility: Windows XP / VISTA / 7 / 8 / 10 / MAC
- Package Dimensions: 7.01 x 4.53 x 2.05 inches
Warranty and Support
For warranty information and technical support, please visit the official ATTACK SHARK website or contact their customer service. Keep your purchase receipt for warranty claims.
Official Website: ATTACK SHARK Store on Amazon
Additional Resources
No official product videos from the seller are available in the provided data.


