
FORGING MOUNT FM4533
FORGING MOUNT Triple Monitor Desk Stand FM4533 Instruction Manual
Model: FM4533
Introduction
This manual provides comprehensive instructions for the installation, operation, and maintenance of your FORGING MOUNT Triple Monitor Desk Stand, model FM4533. This stand is designed to support three computer screens ranging from 13 to 27 inches, with individual monitor weight capacity up to 17.6 lbs (8 kg) per arm. It features gas spring arms for flexible adjustment, including swivel, tilt, and rotation capabilities, to optimize your viewing experience and workspace ergonomics.
Safety Information
Please read all instructions carefully before installation and use. Failure to follow these instructions may result in property damage, serious injury, or death. If you do not understand these instructions, or have doubts about the safety of the installation, please contact customer support.
- Verify that the mounting surface (desk) can safely support the combined weight of the stand and all attached monitors.
- Do not exceed the maximum weight capacity of 17.6 lbs (8 kg) per arm.
- Ensure all screws are securely tightened before use. Do not overtighten.
- Keep children away from moving parts during adjustment.
- This product is intended for indoor use only.
Package Contents
Verify that all components are present and undamaged before proceeding with installation. If any parts are missing or damaged, contact customer support.
- Main Pole Assembly
- Gas Spring Monitor Arms (3x)
- VESA Plates (3x)
- C-Clamp Assembly
- Grommet Mount Assembly
- Hardware Kit (screws, washers, Allen keys)
- Instruction Manual
Specifications
| Brand | FORGING MOUNT |
| Model Number | FM4533 |
| Material | Alloy Steel, Aluminum |
| Monitor Size Compatibility | 13 - 27 inches |
| Weight Capacity per Arm | Up to 17.6 lbs (8 kg) |
| VESA Compatibility | 75x75mm, 100x100mm |
| Swivel Range | 180° |
| Tilt Range | +90° to -85° |
| Rotation | 360° |
| Max Extension | 66.4 inches (approx. 168.6 cm) |
| Item Weight | 14.72 pounds (approx. 6.68 kg) |
Setup and Installation
Follow these steps to properly install your triple monitor desk stand.
1. Choose Mounting Method
The stand supports two installation methods: C-clamp or Grommet mount. Ensure your desk thickness is compatible with the chosen method.

Image Description: This image illustrates the desk thickness requirements for both C-clamp and Grommet mounting options. The C-clamp mount is suitable for desk thicknesses between 0.39 and 3.14 inches. The Grommet mount is suitable for desk thicknesses between 0.39 and 1.96 inches.
- C-Clamp Mount: Suitable for desk thickness 0.39" - 3.14" (10mm - 80mm). Attach the C-clamp to the edge of your desk and tighten the knob until secure.
- Grommet Mount: Suitable for desk thickness 0.39" - 1.96" (10mm - 50mm). Requires an existing grommet hole or drilling a hole in your desk. Secure the grommet plate and bolt through the hole.
2. Assemble the Main Pole and Arms
Attach the main pole to your chosen desk mount. Then, slide the three gas spring arms onto the main pole and secure them at your desired height using the provided clamps.

Image Description: This image displays the fully assembled FORGING MOUNT Triple Monitor Desk Stand, including the central pole, three gas spring arms, and the desk clamp mechanism. It shows the VESA plates ready for monitor attachment.
3. Attach Monitors
Attach the VESA plates to the back of your monitors using the appropriate screws from the hardware kit. Then, slide the monitors (with attached VESA plates) onto the ends of the gas spring arms. Ensure they click securely into place.
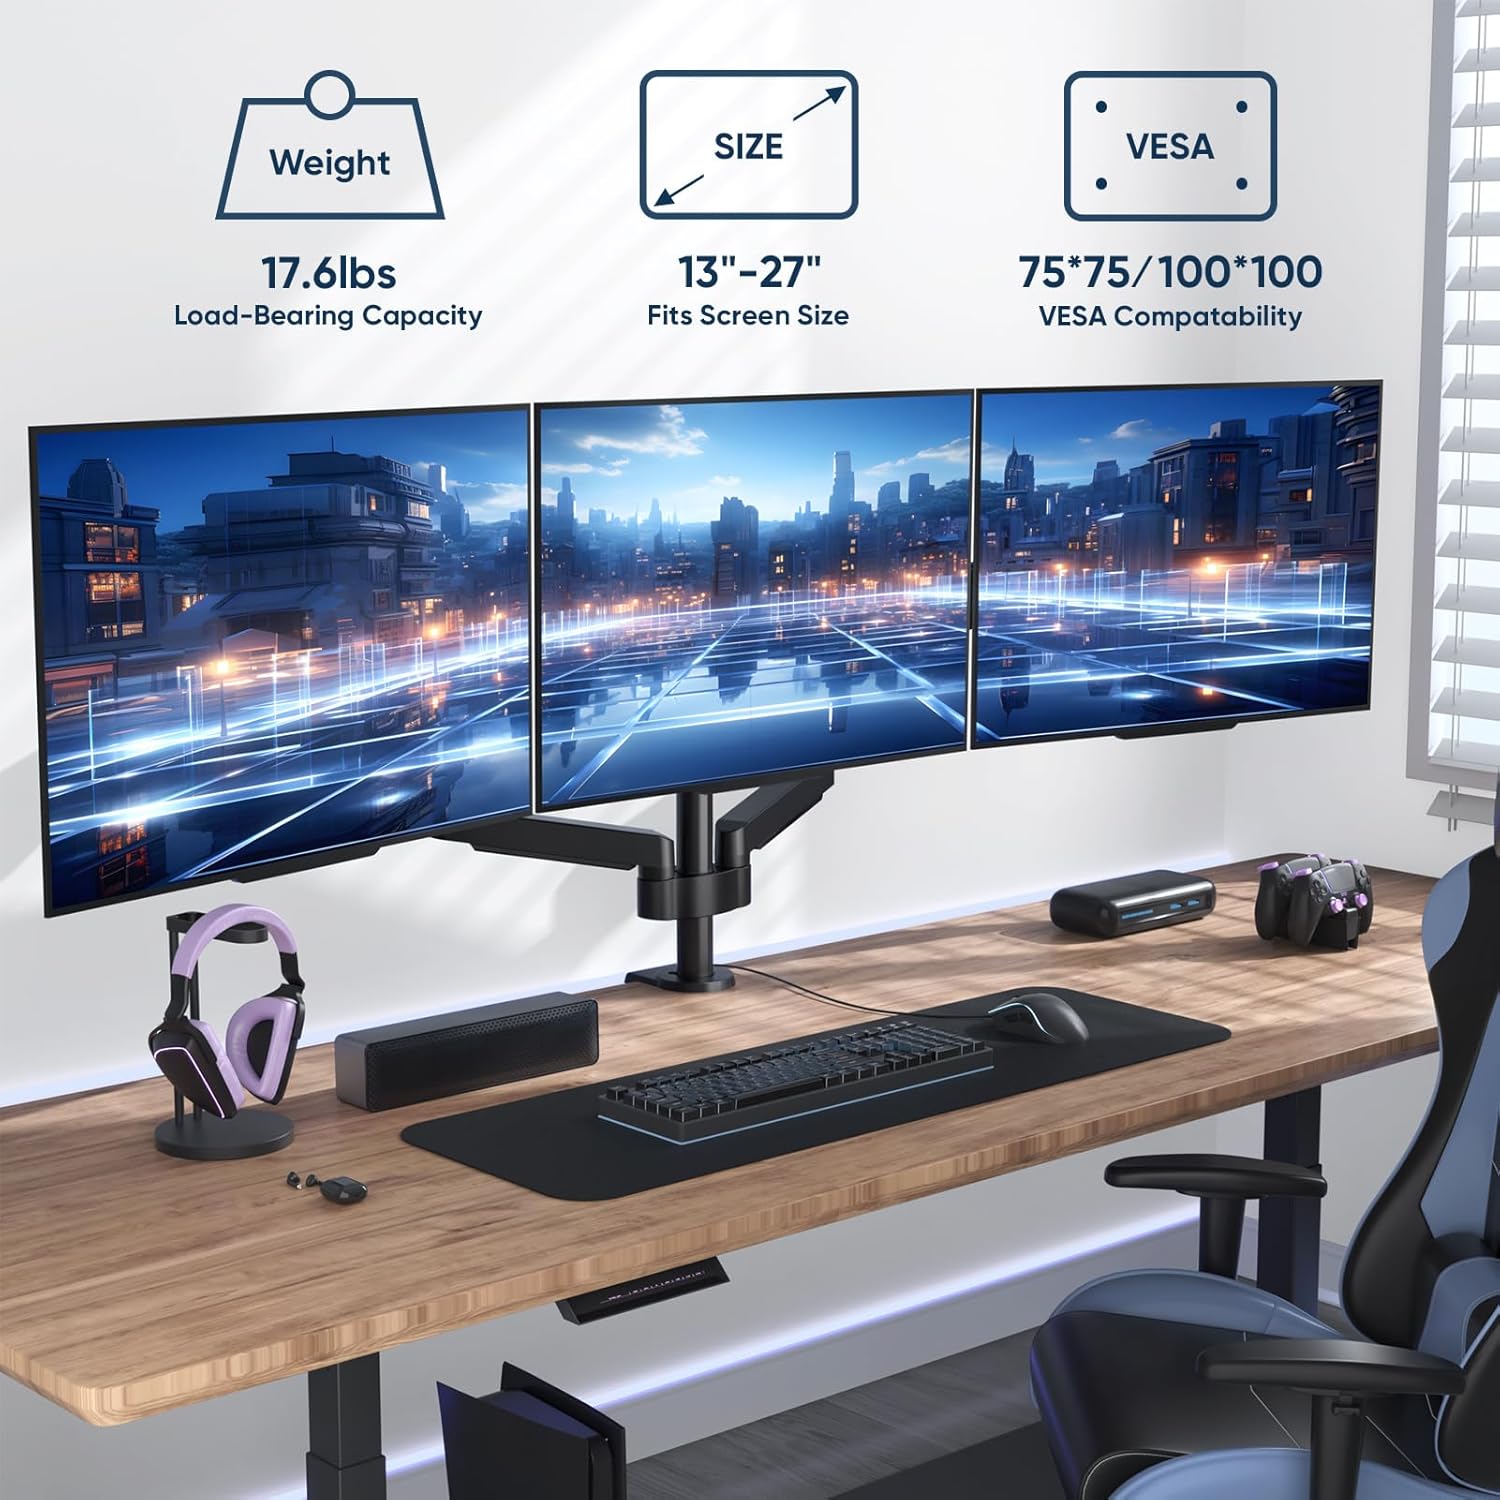
Image Description: This image shows three monitors successfully mounted on the desk stand in a typical workspace setup. Overlaid graphics highlight key specifications: 17.6 lbs load-bearing capacity per arm, compatibility with 13"-27" screens, and 75x75mm/100x100mm VESA compatibility.
Operating and Adjustments
The gas spring arms allow for flexible positioning of your monitors. Adjustments can be made for height, tilt, swivel, and rotation.
1. Gas Spring Tension Adjustment
The gas spring tension needs to be adjusted to match the weight of your monitors for optimal movement and stability. Use the provided Allen key to adjust the tension screw located on each arm.
- Turn clockwise (-) to reduce tension for lighter monitors.
- Turn counter-clockwise (+) to increase tension for heavier monitors.

Image Description: This image illustrates the adjustment points for the monitor arms. It shows how to adjust the gas spring tension using an Allen key (clockwise for lighter monitors, counter-clockwise for heavier monitors), and demonstrates the swivel and tilt capabilities of the monitor mount.
2. Swivel, Tilt, and Rotation
Once the gas spring tension is correctly set, you can freely adjust the position of your monitors:
- Swivel: Rotate the monitor horizontally up to 180° for optimal viewing angles.
- Tilt: Adjust the monitor vertically from +90° to -85° to reduce glare and improve ergonomics.
- Rotation: Rotate the monitor 360° to switch between landscape and portrait orientations.

Image Description: This image visually demonstrates the full motion capabilities of the monitor stand. It shows a monitor swiveling 180 degrees, tilting from +90 to -85 degrees, and rotating 360 degrees, allowing for flexible screen positioning.

Image Description: This diagram provides detailed product dimensions and articulation ranges. It highlights the maximum extension of 66.4 inches and shows the various swivel (±180°), tilt (90°), and rotation (360°) points across the three monitor arms.
Maintenance
Regular maintenance ensures the longevity and safe operation of your monitor stand.
- Cleaning: Wipe the stand with a soft, damp cloth. Avoid abrasive cleaners or solvents.
- Periodic Checks: Periodically check all screws and connections to ensure they remain tight. Re-tighten if necessary.
- Gas Spring Adjustment: If monitors begin to sag or are difficult to adjust, re-evaluate and adjust the gas spring tension as described in the "Operating and Adjustments" section.
Troubleshooting
| Problem | Possible Cause | Solution |
|---|---|---|
| Monitor sags or does not stay in position. | Gas spring tension is too low for the monitor's weight. | Increase gas spring tension by turning the adjustment screw counter-clockwise (+). |
| Monitor is difficult to move or push down. | Gas spring tension is too high for the monitor's weight. | Decrease gas spring tension by turning the adjustment screw clockwise (-). |
| Stand feels unstable or wobbles. | Desk clamp or grommet mount is not securely tightened. | Ensure the C-clamp or grommet mount is fully tightened to the desk. Check all arm connections. |
| Monitors are not level. | Minor variations in arm position or VESA plate attachment. | Adjust individual monitor tilt and rotation. Ensure VESA plates are mounted squarely. |
Warranty Information
For detailed warranty information regarding your FORGING MOUNT Triple Monitor Desk Stand FM4533, please refer to the warranty card included with your product or visit the official FORGING MOUNT website. Warranty terms and conditions may vary by region and retailer.
Customer Support
If you have any questions, require assistance with installation, or encounter issues not covered in this manual, please contact FORGING MOUNT customer support. Contact details can typically be found on the product packaging, the official FORGING MOUNT website, or through your retailer.
Additional Resources
No official seller videos were found for this product in the provided data. Please refer to the written instructions and diagrams for guidance.
Related documentsFM4533

Ask a question about this manual
Ask about setup, troubleshooting, compatibility, parts, safety, or missing instructions. Manuals+ will review the question and use this page’s manual context to help answer it.