
ELEGOO Saturn 4 Ultra
Contents
ELEGOO Saturn 4 Ultra Smart Resin 3D Printer Instruction Manual
Brand: ELEGOO | Model: Saturn 4 Ultra
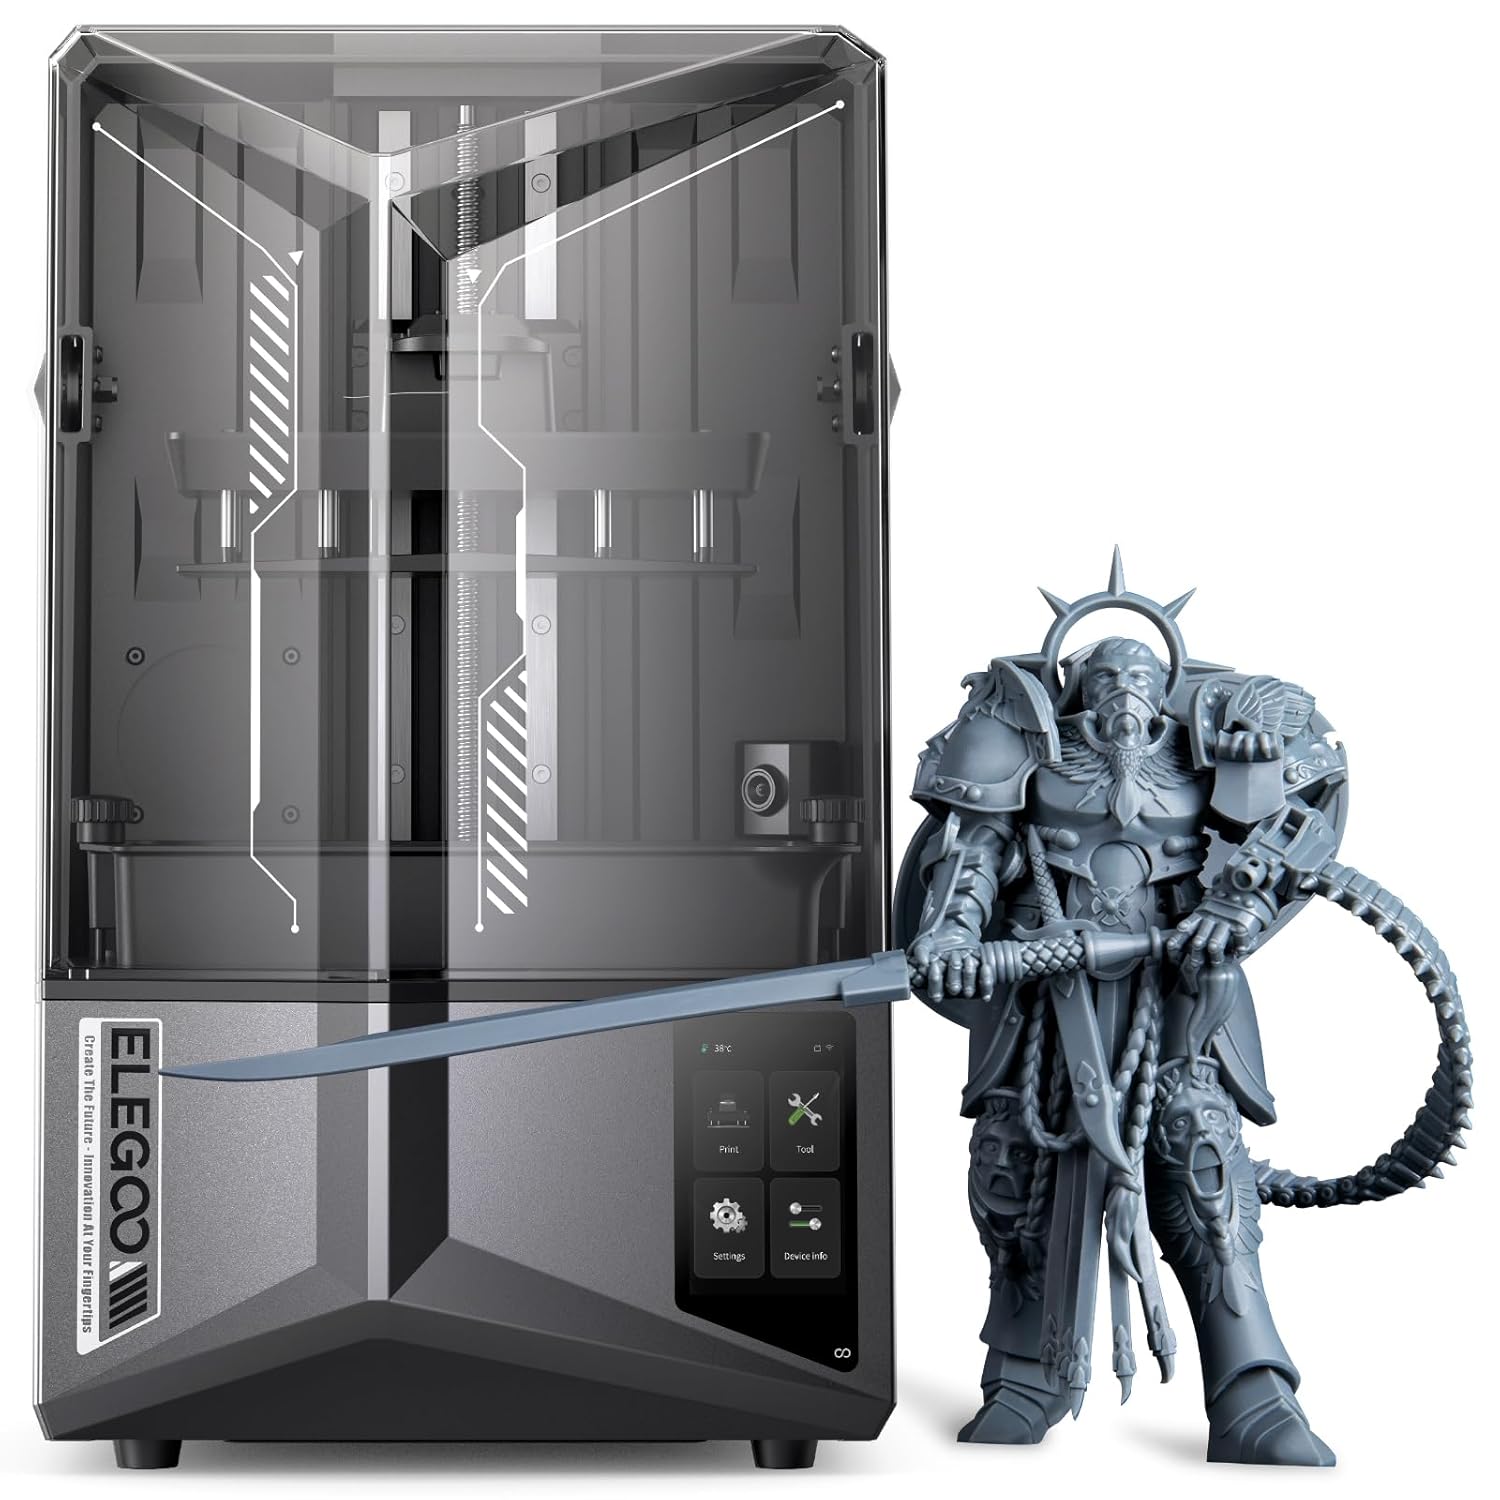
Image: The ELEGOO Saturn 4 Ultra 3D printer shown alongside a detailed 3D printed model.
1. Safety Information
Please read this manual carefully before operating the ELEGOO Saturn 4 Ultra 3D printer. Failure to follow safety guidelines may result in injury or damage to the device.
- Always operate the printer in a well-ventilated area to minimize exposure to resin fumes.
- Wear appropriate personal protective equipment (PPE), including gloves and safety glasses, when handling resin or uncured prints.
- Keep the printer and resin out of reach of children and pets.
- Do not expose resin to direct sunlight or UV light, as this will cause it to cure.
- Ensure the power supply is correctly connected and the voltage matches your region's requirements.
- Avoid touching moving parts of the printer during operation.
- In case of emergency, immediately disconnect the power supply.
2. Package Contents
The ELEGOO Saturn 4 Ultra package includes the following items:
- ELEGOO Saturn 4 Ultra 3D Printer
- Build Plate
- Resin Vat
- Power Adapter
- USB Drive
- Scraper (Metal)
- Scraper (Plastic)
- Hex Wrenches (various sizes)
- Funnel Filters
- Disposable Gloves
- Dust Mask
- User Manual (this document)
3. Setup
3.1 Unboxing and Initial Inspection
Carefully remove the printer from its packaging. Inspect all components for any signs of damage during transit. Remove all protective films and packaging materials from the printer.
3.2 Automatic Leveling
The ELEGOO Saturn 4 Ultra features an automatic leveling system, eliminating the need for manual calibration. The build plate automatically levels itself when it descends to the LCD screen, ensuring it is ready for immediate use out of the box.

Image: Visual representation of the automatic leveling mechanism in action, showing the build plate adjusting itself.
3.3 Mini Heater Installation
To ensure optimal resin temperature for printing, you may install the optional Mini Heater. Follow these steps:
- Lift the top cover of the printer.
- Use a 2.5mm hex key to loosen the four screws at the back of the top cover that secure the filler plate.
- Remove the filler plate.
- Take out the mounting bracket of the Mini Heater. Determine the installation orientation based on the button hole and screw holes.
- Position the mounting bracket on the outer side of the top cover's back.
- Use a 2.5mm hex key to tighten the two screws securing the mounting bracket from the inside. (Use the two screws that originally secured the filler plate).
- Take out the Mini Heater. Align the Mini Heater with the button hole and screw holes on the mounting bracket and place it in the installation position.
- Use a 2.0mm hex key to tighten the two screws securing the Mini Heater.
- Plug in the Mini Heater's power cord.
- Turn on the Mini Heater.
- Ensure the top cover is securely closed for optimal heating performance.
Video: Step-by-step guide on how to install the Mini Heater for the ELEGOO Saturn 4 Ultra 3D printer.
4. Operating the Printer
4.1 Printing Process Overview
The Saturn 4 Ultra incorporates several advanced features to streamline your printing experience:
- Inclined Release Technology: This advanced technology significantly reduces the release force, accelerating printing speeds up to 150 mm/h and increasing success rates.
- AI Camera Monitoring: An integrated AI camera monitors the printing process in real-time, automatically detecting anomalies and capturing time-lapse footage of the entire print.
- Mechanical Sensors: Mechanical sensors evaluate resin levels, alert for material shortages, detect foreign objects, and assist with leveling issues, ensuring a safer and more reliable printing experience.
- Power Outage Recovery: The printer features a power outage recovery function, allowing you to resume printing after an interruption.
- Temperature Protection: Printing pauses if the temperature exceeds 80°C until it cools down, protecting the printer and print.
- Wi-Fi File Transfer & Cluster Printing: Supports Wi-Fi file transfer at 6-10 Mbps (2.4G and 5G networks) and network control for multiple machines, optimizing productivity.

Image: Diagram illustrating the intelligent mechanical sensors that provide print protection and smart alerts.

Image: Visual of the AI camera system, highlighting its intelligent detection capabilities and time-lapse recording.

Image: Illustration of multiple printers engaged in cluster printing, managed via Wi-Fi for enhanced productivity.

Image: Dynamic view of the printer utilizing inclined release technology for rapid resin printing.
5. Maintenance
5.1 ACF Film Replacement
The ACF (Advanced Composite Film) in your resin vat is a consumable part that may need replacement over time due to wear or damage. Follow the instructions in the video below for proper replacement.
Video: Detailed instructions on how to replace the ACF film in an ELEGOO Saturn 3 Ultra resin vat. The process is similar for the Saturn 4 Ultra.
5.2 Cleaning the Printer and Resin Vat
Regular cleaning ensures optimal performance and longevity of your printer. After each print, carefully clean the build plate and resin vat. If using a wash and cure station for post-processing, refer to its specific instructions.

Image: Close-up of the resin vat, flip-up cover, capacitive touch screen, and replaceable resin tank lock, highlighting user-friendly design elements.
Video: Overview of the ELEGOO Mercury X Bundle Wash and Cure Machine. While not the printer itself, this video demonstrates post-processing steps relevant to resin 3D printing.
6. Troubleshooting
If you encounter issues with your ELEGOO Saturn 4 Ultra, consider the following common troubleshooting steps:
- Print Failure: Check resin exposure settings, ensure the build plate is clean and properly leveled, and verify the ACF film is intact.
- Layer Shifting: Tighten all screws on the build plate and Z-axis, and ensure the printer is on a stable surface.
- Resin Not Curing: Confirm the UV light source is functioning, check resin expiration date, and ensure proper exposure settings.
- Printer Not Responding: Restart the printer, check all cable connections, and ensure the firmware is up to date.
- AI Camera Alerts: Follow on-screen prompts for detected anomalies. Clean the camera lens if image quality is poor.
For more detailed troubleshooting, refer to the official ELEGOO support resources.
7. Specifications
Key technical specifications for the ELEGOO Saturn 4 Ultra 3D Printer:
| Feature | Detail |
|---|---|
| Product Dimensions (L x W x H) | 26 x 26.8 x 45.2 cm |
| Item Weight | 14.5 Kilograms |
| Manufacturer Reference | EL-3D-S4U |
| Material | Aluminum |
| Printing Technology | MSLA |
| Power Consumption | 144 Watt |
| Supported File Formats | STL, OBJ, GCODE |
| Compatible Devices | Laptop |
| Operating System | Windows 10, macOS, Linux |

Image: The 12K Monochrome LCD screen, highlighting its high resolution for detailed prints.

Image: Diagram illustrating the COB (Chip-on-Board) and Fresnel lens setup, ensuring perfect and uniform light distribution for precise prints.
8. Warranty and Support
The ELEGOO Saturn 4 Ultra 3D printer comes with a standard manufacturer's warranty. Please refer to the warranty card included in your package for specific terms and conditions. For technical support, troubleshooting assistance, or spare parts, please visit the official ELEGOO website or contact their customer service directly.
You can find additional resources and contact information on the ELEGOO Brand Store.
Ask a question about this manual
Ask about setup, troubleshooting, compatibility, parts, safety, or missing instructions. Manuals+ will review the question and use this page’s manual context to help answer it.