
1. Introduction
The COMOMY Baby Gate Wall Protectors are designed to safeguard your walls and doorways from potential damage caused by pressure-mounted baby gates, pet gates, and other tension-based barriers. This manual provides essential information for proper installation, usage, and maintenance to ensure optimal performance and protection.

Image 1.1: The COMOMY 4-Pack Baby Gate Wall Protectors, showing their circular design and grey non-slip backing.
2. Product Overview
2.1 Package Contents
- 4 x COMOMY Baby Gate Wall Protectors
- Instruction Manual
2.2 Key Features
- Ultimate Wall Protection: Prevents scratches, dents, and damage to walls and doorways.
- Robust and Slip-Resistant: Constructed from durable PVC material with a silicone cushioning for enhanced grip and stability.
- Hassle-Free Installation: No tools required for basic setup; simply place between the gate and wall.
- Versatile Compatibility: Suitable for various pressure-mounted gates including baby gates, pet gates, and stair gates.
- Integrated Extender: Each wall cup includes a 0.9-inch extender for optimal fit.

Image 2.1: Illustration highlighting the rubber backing for preventing gate sliding and wall scuffing, and rounded corners for safety.
3. Setup and Installation
The COMOMY Baby Gate Wall Protectors are designed for quick and easy installation without the need for tools. Follow these steps to properly install the protectors:
- Loosen Pressure Bolt: Begin by slightly loosening the pressure bolt on your baby gate that will make contact with the wall.
- Position Wall Protector: Place the COMOMY wall protector between the pressure bolt of the gate and the wall surface. Ensure the silicone (grey) side faces the wall for maximum grip and protection. The gate's pressure foot should fit securely into the recessed area of the protector.
- Tighten Pressure Bolt: Carefully tighten the pressure bolt until the gate is firmly secured against the wall protector. Do not overtighten, but ensure sufficient pressure to hold the gate in place.
- Repeat for All Corners: Repeat steps 1-3 for all four corners of your pressure-mounted gate to ensure even distribution of pressure and comprehensive wall protection.

Image 3.1: Step-by-step visual guide for installing the wall protectors with a pressure-mounted gate.
For enhanced stability, the protectors feature a small central hole. While not required for installation, this allows for optional screw mounting if a more permanent fixture is desired (screws not included).
4. Usage
The COMOMY Baby Gate Wall Protectors are designed for versatile use with various types of pressure-mounted gates and tension rods. Their primary function is to distribute pressure over a larger surface area, preventing damage and increasing stability.
4.1 Compatible Applications
- Baby Gates
- Pet Gates
- Stair Gates
- Wooden Gates
- Shower Tension Rods
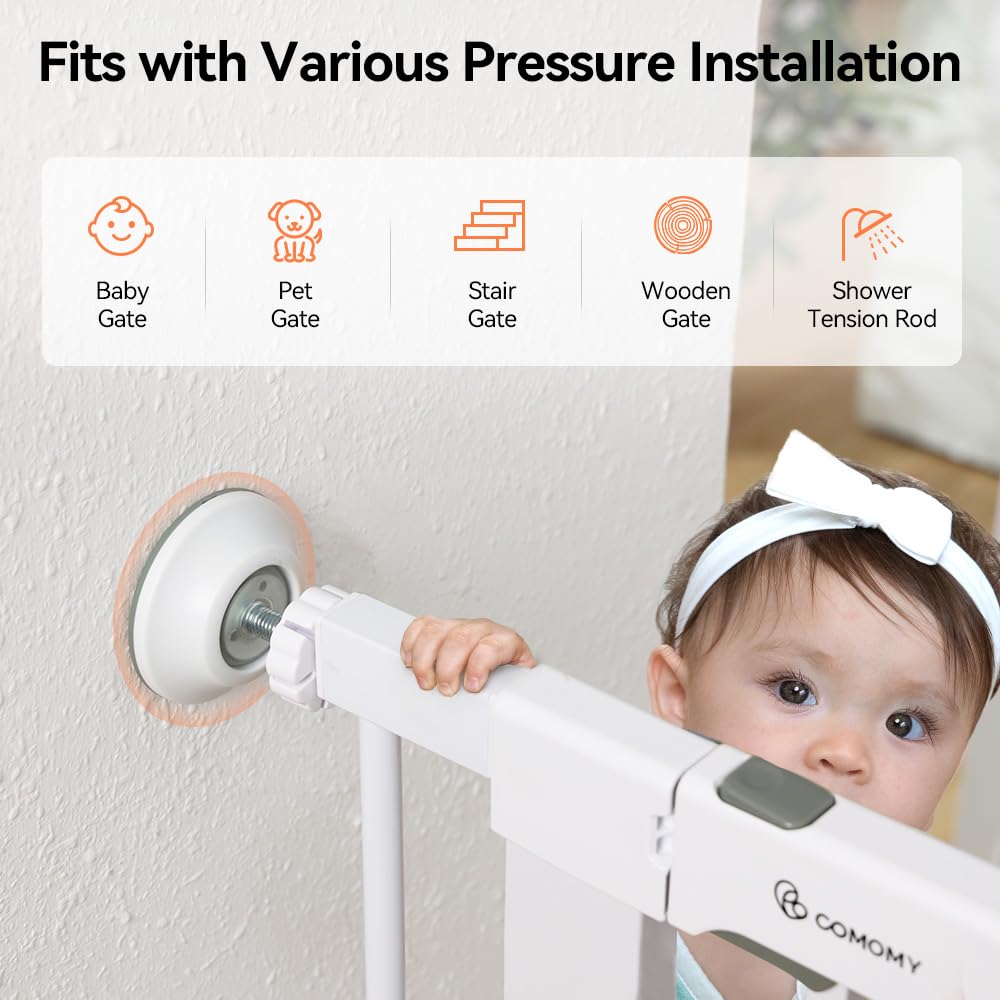
Image 4.1: The wall protectors are compatible with a wide range of pressure-mounted installations.
Always ensure the gate's pressure foot fits securely within the protector's recess. The 0.9-inch extender provides additional depth, but always check your doorway or baseboard for overall compatibility to achieve the best wall protection and gate stability.
5. Maintenance
To maintain the effectiveness and appearance of your COMOMY Baby Gate Wall Protectors, regular cleaning is recommended.
- Cleaning: The protectors can be easily washed with mild soap and water. The silicone backing can be removed for thorough cleaning if necessary.
- Drying: Ensure the protectors are completely dry before re-installing them to maintain optimal grip.
- Inspection: Periodically inspect the protectors for any signs of wear or damage. Replace if the silicone backing is compromised or if the plastic body is cracked.
6. Troubleshooting
6.1 Gate Instability or Slippage
- Check Tightness: Ensure the pressure bolts of the gate are tightened sufficiently to create firm contact with the wall protectors.
- Proper Placement: Verify that the gate's pressure foot is centered and fully seated within the recess of the wall protector.
- Clean Surfaces: Ensure both the wall surface and the silicone backing of the protector are clean and free of dust or debris that could reduce friction.
6.2 Wall Damage Despite Protectors
- Overtightening: Excessive tightening of the gate's pressure bolts can still cause indentations or damage, especially on softer wall materials. Adjust pressure to be firm but not extreme.
- Gate Movement: If the gate is frequently bumped or pulled with significant force, it can still cause stress on the wall. Ensure the gate is installed in a stable location and consider optional screw mounting if persistent issues occur.
- Compatibility: Confirm that the size of your gate's pressure foot is appropriate for the protector's recess.
7. Specifications
| Attribute | Detail |
|---|---|
| Product Dimensions | 2.8 x 2.8 x 0.9 inches |
| Material Composition | PVC |
| Item Weight | 6 ounces (for the pack) |
| Color | White |
| Batteries Required | No |

Image 7.1: Detailed dimensions of the COMOMY Baby Gate Wall Protector.
8. Warranty and Support
COMOMY is committed to providing high-quality products. For any quality concerns or support needs, please contact our customer service team. Specific warranty details may vary; please refer to your purchase documentation for more information.
For further assistance, visit the COMOMY Store on Amazon.