
1. Introduction
This manual provides essential instructions for the proper use, maintenance, and care of your SPI 18-010-9 Digital Caliper. This precision measuring instrument is designed for accurate internal, external, depth, and step measurements. Please read this manual thoroughly before operating the device to ensure optimal performance and longevity.
The SPI 18-010-9 Digital Caliper features IP54 protection, making it resistant to dust and water splashes, suitable for various industrial and scientific applications. It offers measurements in inches, millimeters, and fractions, with a clear digital display for easy reading.
2. Safety Information
- Handle the caliper with care to avoid dropping or impacting it, which can affect its accuracy.
- Keep the caliper clean and free from debris, especially the measuring surfaces and the digital scale.
- Avoid exposing the caliper to extreme temperatures, direct sunlight, or high humidity.
- Do not attempt to disassemble the caliper, as this will void any warranty and may damage the instrument.
- When replacing the battery, ensure correct polarity and dispose of old batteries responsibly.
3. Product Overview
The SPI 18-010-9 Digital Caliper consists of several key components:
- Outside Jaws: Used for external measurements.
- Inside Jaws: Used for internal measurements.
- Depth Rod: Used for depth measurements.
- Step Measuring Faces: Used for step measurements.
- Main Beam: The main body of the caliper with the measurement scale.
- Digital Display: Shows the measurement reading.
- Roller Wheel: For fine adjustment of the slider.
- Locking Screw: To fix the slider in position.
- Control Buttons: Power ON/OFF, Zero, Inch/mm/Fraction conversion.

Figure 3.1: Front view of the SPI Digital Caliper, showing the digital display and measurement scale.
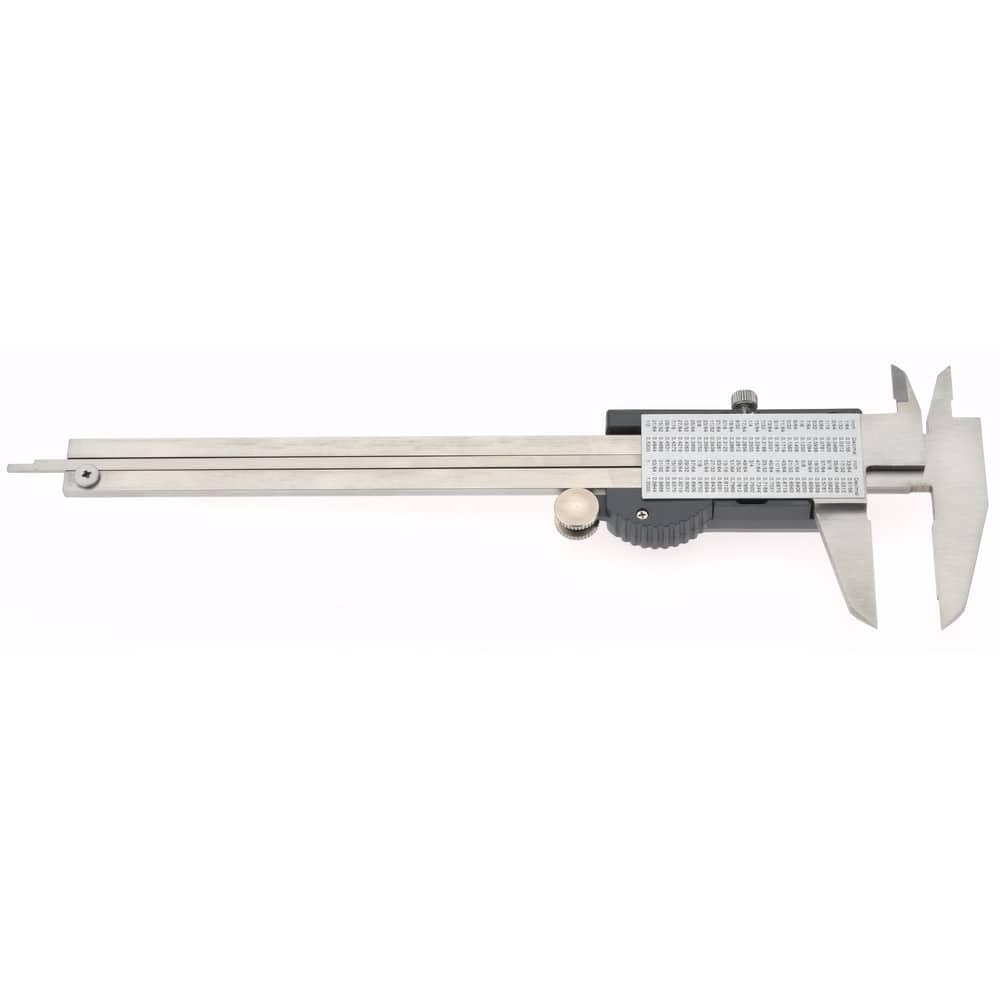
Figure 3.2: Side view of the SPI Digital Caliper, highlighting the depth rod and main beam.

Figure 3.3: Close-up of the inch/decimal/fraction conversion chart located on the caliper body.
4. Setup
4.1 Battery Installation
- Locate the battery compartment cover on the digital display unit.
- Slide the cover open or unscrew it, depending on the design.
- Insert a new CR2032 3V lithium battery, ensuring the positive (+) side faces upwards.
- Close the battery compartment securely.
4.2 Initial Zeroing
- Press the ON/OFF button to power on the caliper.
- Gently close the outside measuring jaws completely.
- Press the ZERO button. The display should now read "0.00" (or "0.000" depending on the unit setting).
- The caliper is now ready for accurate measurements.
5. Operating Instructions
5.1 Power On/Off
- Press the ON/OFF button to turn the caliper on.
- The caliper features an automatic off function to conserve battery life after a period of inactivity.
- To manually turn off, press and hold the ON/OFF button.
5.2 Unit Conversion
Press the IN/MM/F button to cycle through measurement units: inches, millimeters, and fractions (if available on your model). The selected unit will be indicated on the digital display.
5.3 Taking Measurements
Ensure the caliper is zeroed before taking any measurements.
- Outside Measurement: Open the outside jaws and place the object between them. Close the jaws firmly but gently until they contact the object. Read the measurement on the display.
- Inside Measurement: Close the inside jaws and insert them into the opening to be measured. Open the jaws until they contact the inner surfaces. Read the measurement on the display.
- Depth Measurement: Place the end of the main beam on the top surface of the object. Extend the depth rod into the hole or recess until it touches the bottom. Read the measurement on the display.
- Step Measurement: Place the step measuring face of the fixed jaw on the higher surface. Extend the slider until the step measuring face of the moving jaw rests on the lower surface. Read the measurement on the display.
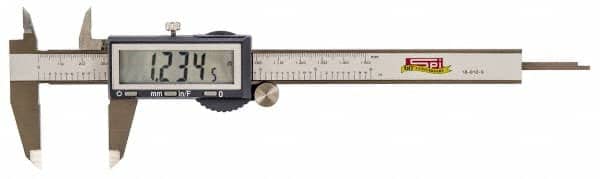
Figure 5.1: The digital display showing a measurement of 1.2345 inches.
6. Maintenance
6.1 Cleaning
- Wipe the caliper clean with a soft, dry cloth after each use.
- For stubborn dirt, use a cloth lightly dampened with isopropyl alcohol. Avoid harsh chemicals or abrasive cleaners.
- Ensure the measuring surfaces and the digital scale are free from dust, oil, and moisture.
6.2 Storage
- Store the caliper in its protective case when not in use.
- Keep the caliper in a dry environment, away from direct sunlight and extreme temperatures.
- For long-term storage, remove the battery to prevent leakage.
7. Troubleshooting
| Problem | Possible Cause | Solution |
|---|---|---|
| Display is blank or flickering | Low or dead battery; poor battery contact | Replace the battery; ensure battery is correctly seated. |
| Inaccurate readings | Caliper not zeroed; dirt on measuring surfaces; damaged scale | Re-zero the caliper; clean measuring surfaces; inspect for damage. |
| Slider movement is stiff | Dirt or debris on the main beam | Clean the main beam thoroughly. |
| Buttons unresponsive | Battery issue; internal malfunction | Replace battery; if problem persists, contact support. |
8. Specifications
- Model: SPI 18-010-9
- Measurement Range: 0 to 6 inches (0 to 150 mm)
- Resolution: 0.0005 inches (0.01 mm)
- Accuracy: ±0.0015 inches (±0.03 mm)
- Protection Level: IP54 (Dust and water splash resistant)
- Display: 1/2-inch LC Digital Display
- Measurement Types: 4-way (Outside, Inside, Depth, Step)
- Material: Hardened Stainless Steel
- Jaw Length: 1.56 inches
- Jaw Thickness: 0.136 inches
- Power: CR2032 3V Lithium Battery (Automatic off function)
9. Warranty and Support
For warranty information or technical support regarding your SPI 18-010-9 Digital Caliper, please refer to the documentation provided with your purchase or contact the manufacturer, MSC Industrial, directly. Keep your purchase receipt as proof of purchase.
Manufacturer: MSC Industrial
