
Zstar DE32P
Zstar Portable Dehumidifier User Manual
Model: DE32P | Capacity: 32 Pints
1. Introduction
Thank you for choosing the Zstar 32 Pints Portable Dehumidifier. This appliance is designed to efficiently remove excess moisture from your indoor environment, creating a more comfortable and healthier living space. It is ideal for basements, bedrooms, offices, and other areas up to 3,000 square feet. Please read this manual thoroughly before operating the unit to ensure proper use, maintenance, and safety.

Figure 1: Zstar 32 Pints Portable Dehumidifier. This image shows the compact, white dehumidifier with its top control panel and water tank indicator.
2. Important Safety Instructions
To reduce the risk of fire, electric shock, or injury when using your dehumidifier, follow these basic precautions:
- Read all instructions before using the appliance.
- Do not operate the dehumidifier with a damaged cord or plug.
- Ensure the unit is placed on a stable, level surface to prevent tipping.
- Do not block air inlets or outlets. Maintain at least 8 inches (20 cm) clearance around the unit.
- Unplug the dehumidifier before cleaning or performing any maintenance.
- Do not use the appliance near water or in excessively wet environments.
- Keep children and pets away from the unit during operation.
- Only use the provided drain hose for continuous drainage.

Figure 2: Auto Shut-off Protection. This image illustrates the dehumidifier's automatic shut-off feature when the water tank is full, indicated by a flashing 'Tank Full' symbol and a beeping sound.
3. Product Overview
Components:
- Control Panel
- Air Outlet
- Air Inlet (with washable filter)
- Water Tank (4.4L / 1.16 Gallons capacity)
- Drainage Outlet
- Built-in Handles
- 360° Moveable Wheels
- Power Cord
- Drain Hose (16.4 inches)

Figure 3: Dehumidifier Dimensions and Key Components. This diagram highlights the unit's dimensions (19.7"H x 12.2"D x 8.3"W) and points out the built-in handles, washable filter, and draining hose.

Figure 4: Detailed Product Features. This image provides close-up views of the hidden handle, included drain hose, 360° moveable wheels, and the drainage outlet.
4. Setup
Unpacking:
- Carefully remove the dehumidifier from its packaging.
- Remove all packing materials and ensure no components are missing.
- Inspect the unit for any shipping damage. If damaged, contact customer support.
Placement:
- Place the dehumidifier on a firm, level surface that can support its weight when the water tank is full.
- Ensure there is at least 8 inches (20 cm) of space around the unit for proper airflow.
- Avoid placing the unit near heat sources, in direct sunlight, or in areas exposed to freezing temperatures.
Power Connection:
Plug the power cord into a grounded electrical outlet. The unit is ready for operation.
5. Operating Instructions
Control Panel:

Figure 5: Smart Control Panel. This image displays the top-mounted control panel with buttons for Timer Setting, Humidity & Timer Increment, Humidity & Timer Decrement, Airflow Speed, and On/Off.

Figure 6: Detailed Control Panel Functions. This image provides a closer look at the control panel, explaining how to enter/exit 'Comfort' mode by holding the Timer or Humidity Decrement button for 3 seconds.
Basic Operation:
- Power On/Off: Press the On/Off button to turn the unit on or off.
- Set Humidity Level: Use the Humidity & Timer Incr (+) and Humidity & Timer Decr (-) buttons to set your desired humidity level (35%-85%). The unit will operate until the set humidity is reached. Optimal humidity is typically 45%-55%.
- Fan Speed: Press the Airflow Speed button to cycle through High, Medium, and Low fan speeds.
- Timer Setting: Press the Timer Setting button to set an auto-on or auto-off timer (1-24 hours).
- Comfort Mode: Hold the Humidity & Timer Decr (-) button for 3 seconds to enter Comfort Mode. In this mode, the unit automatically adjusts humidity for optimal human comfort. Hold again for 3 seconds to exit.
Drainage Options:
- Manual Drainage (Water Tank): When the water tank is full, the unit will automatically shut off, beep, and the 'Tank Full' indicator will flash. Carefully remove the tank, empty the water, and reinsert it properly.
- Continuous Drainage (Drain Hose): For continuous operation without emptying the tank, attach the included 16.4-inch drain hose to the drainage outlet at the back of the unit. Ensure the hose is sloped downwards to allow gravity drainage into a suitable drain or container.
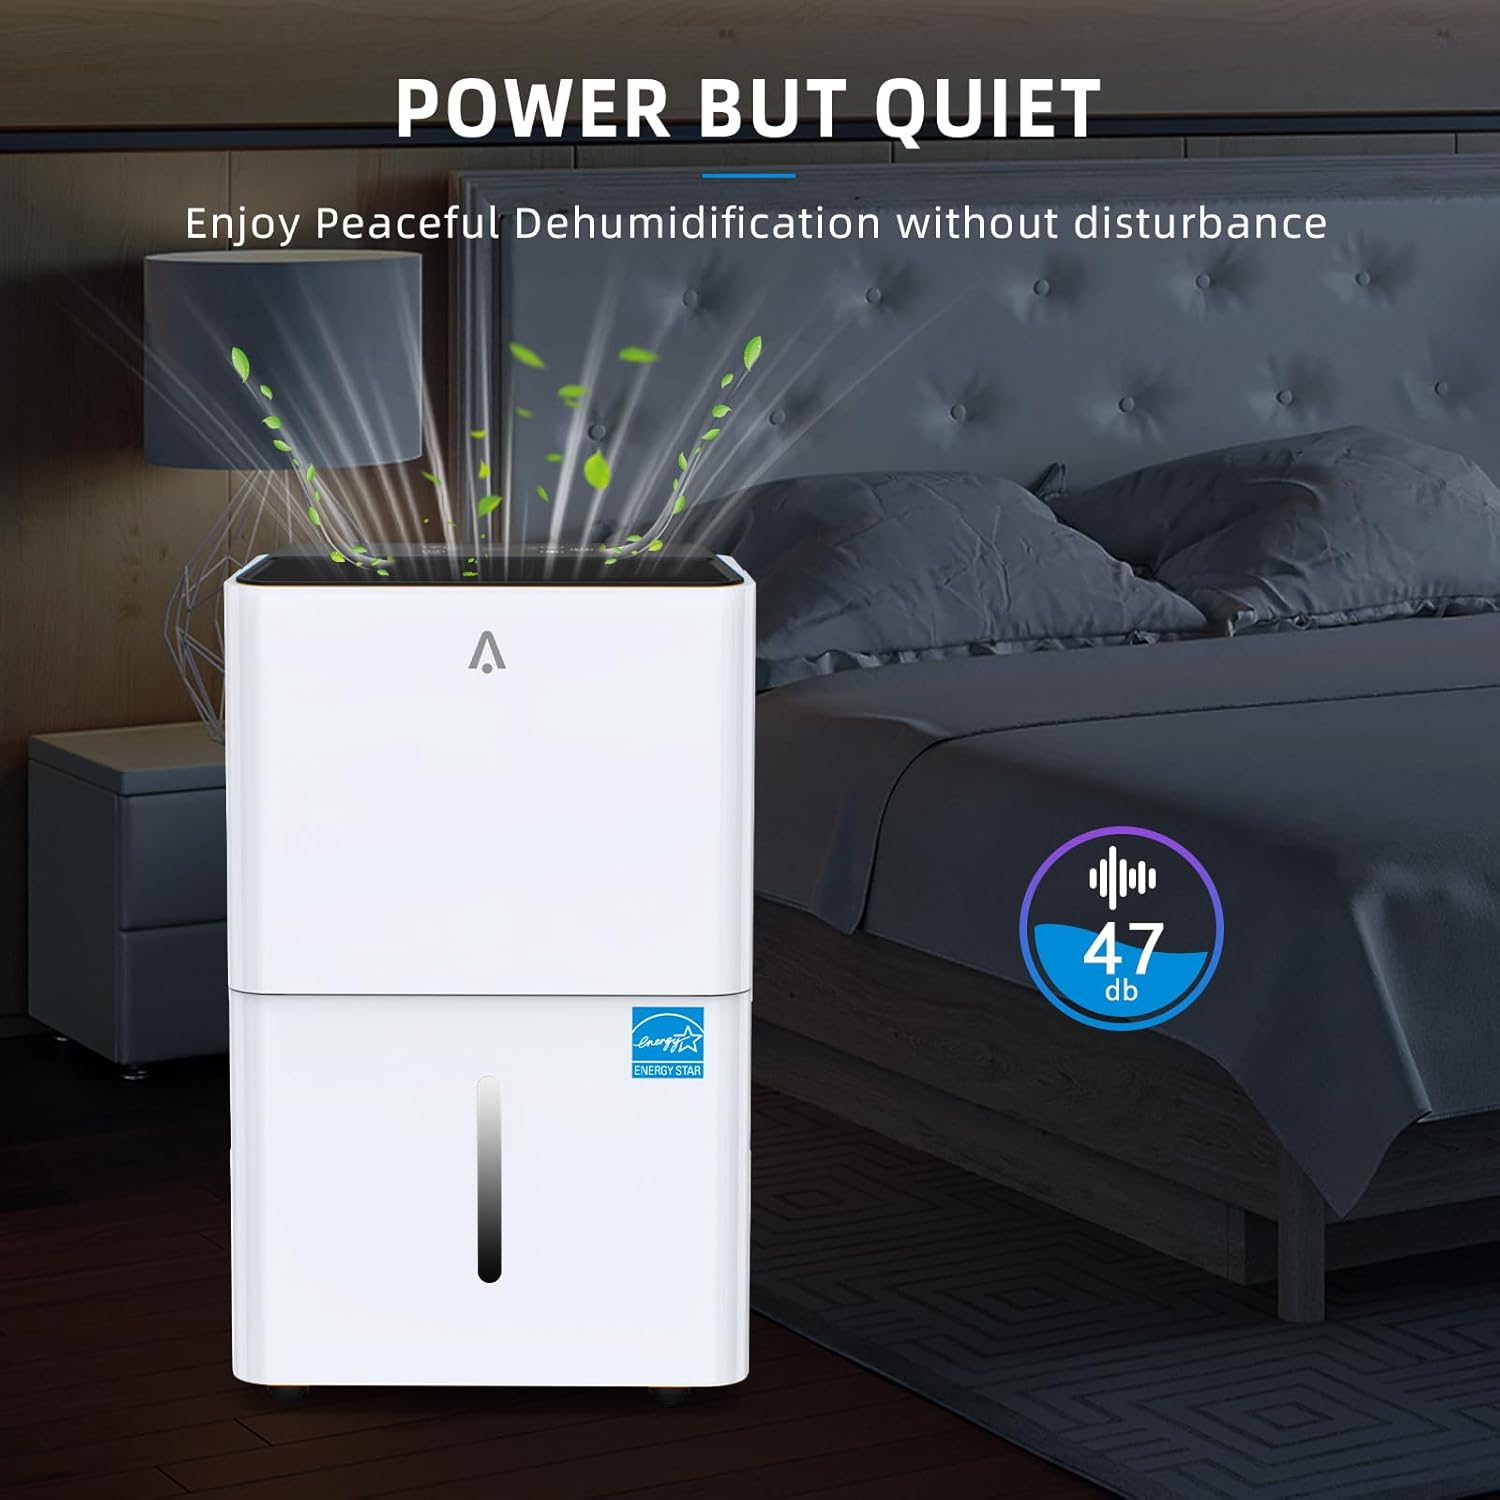
Figure 7: Quiet Operation. This image shows the dehumidifier in a bedroom setting, emphasizing its low noise level (47dB) for peaceful dehumidification.

Figure 8: Silent Operation and Timer. This image highlights the unit's quiet performance (Noise < 47dB) and its 24-hour timing function for scheduled operation.
6. Maintenance
Cleaning the Air Filter:
The detachable filter should be cleaned regularly (every 2-4 weeks, depending on usage) to ensure optimal performance and air quality.
- Unplug the dehumidifier from the power outlet.
- Remove the air filter from the back of the unit.
- Wash the filter with warm, soapy water. Rinse thoroughly.
- Allow the filter to air dry completely before reinserting it. Do not use a dryer or direct heat.
Cleaning the Water Tank:
Clean the water tank periodically to prevent mold and mildew growth.
- Remove the water tank from the unit.
- Wash the tank with mild detergent and water.
- Rinse thoroughly and dry before placing it back into the dehumidifier.
Storing the Dehumidifier:
If storing the unit for an extended period:
- Empty and clean the water tank.
- Clean the air filter.
- Coil the power cord neatly.
- Store the unit upright in a cool, dry place, away from direct sunlight and extreme temperatures.
7. Troubleshooting
| Problem | Possible Cause | Solution |
|---|---|---|
| Dehumidifier does not turn on. | No power; Water tank full or not properly inserted; Temperature too low. | Check power connection; Empty and reinsert water tank correctly; Ensure room temperature is above 41°F (5°C). |
| No water collected. | Humidity setting too high; Air filter clogged; Room temperature too low; Unit size too small for area. | Lower desired humidity setting; Clean air filter; Ensure room temperature is adequate; Consider unit capacity for room size. |
| Unit is noisy. | Unit not on a level surface; Air filter clogged. | Place on a flat, stable surface; Clean air filter. |
| Frost on coils. | Low room temperature. | The unit has an auto-defrost function. If frost persists, increase room temperature. |
8. Specifications
| Feature | Specification |
|---|---|
| Model Name | DE32P |
| Capacity | 32 Pints/Day |
| Floor Area Coverage | Up to 3,000 Sq.Ft |
| Product Dimensions (D x W x H) | 12.2" x 8.3" x 19.7" |
| Water Tank Capacity | 4.4L (1.16 Gallons) |
| Noise Level | 47 dBs (approx.) |
| Humidity Settings | 35%-85% |
| Special Features | Adjustable Humidity Control, Automatic Moisture Removal, Automatic Shutoff, Portable, Timer |
| Included Components | Dehumidifier, Drain Hose, Water Tank, User Manual |
| Item Weight | 29.8 pounds |

Figure 9: Coverage Area Chart. This chart illustrates the recommended coverage areas for different dehumidifier capacities: 25 pints for 1500 sq.ft, 32 pints for 3000 sq.ft, and 50 pints for 4500 sq.ft.
9. Warranty and Support
Zstar products are manufactured with high-quality materials and craftsmanship. For warranty information and customer support, please refer to the warranty card included with your purchase or visit the official Zstar website. Keep your purchase receipt as proof of purchase for any warranty claims.
For further assistance, please contact Zstar customer service.
Related documentsDE32P


Ask a question about this manual
Ask about setup, troubleshooting, compatibility, parts, safety, or missing instructions. Manuals+ will review the question and use this page’s manual context to help answer it.