
1. Important Safety Instructions
Please read all safety instructions carefully before using the Tipdiy G90 Robot Vacuum Cleaner. Keep this manual for future reference.
- This appliance can be used by children aged 8 years and above and persons with reduced physical, sensory or mental capabilities or lack of experience and knowledge if they have been given supervision or instruction concerning use of the appliance in a safe way and understand the hazards involved.
- Children should be supervised to ensure that they do not play with the appliance.
- Cleaning and user maintenance shall not be made by children without supervision.
- Only use the original power adapter provided by the manufacturer.
- Do not use the robot vacuum in wet environments or near water.
- Ensure the charging base is placed on a flat surface against a wall, with no obstacles within 1 meter (3 feet) in front and 0.5 meters (1.5 feet) on either side.
- Remove any loose cables, small objects, or fragile items from the cleaning path before operation.
2. Product Overview
2.1 Package Contents
Please check that all components are present in your package:
- Tipdiy G90 Robot Vacuum Cleaner
- Charging Base
- Power Adapter
- Side Brushes
- Dustbin
- Mop Pad and Water Tank Assembly
- User Manual
2.2 Robot Components
Familiarize yourself with the main parts of your Tipdiy G90 Robot Vacuum Cleaner.
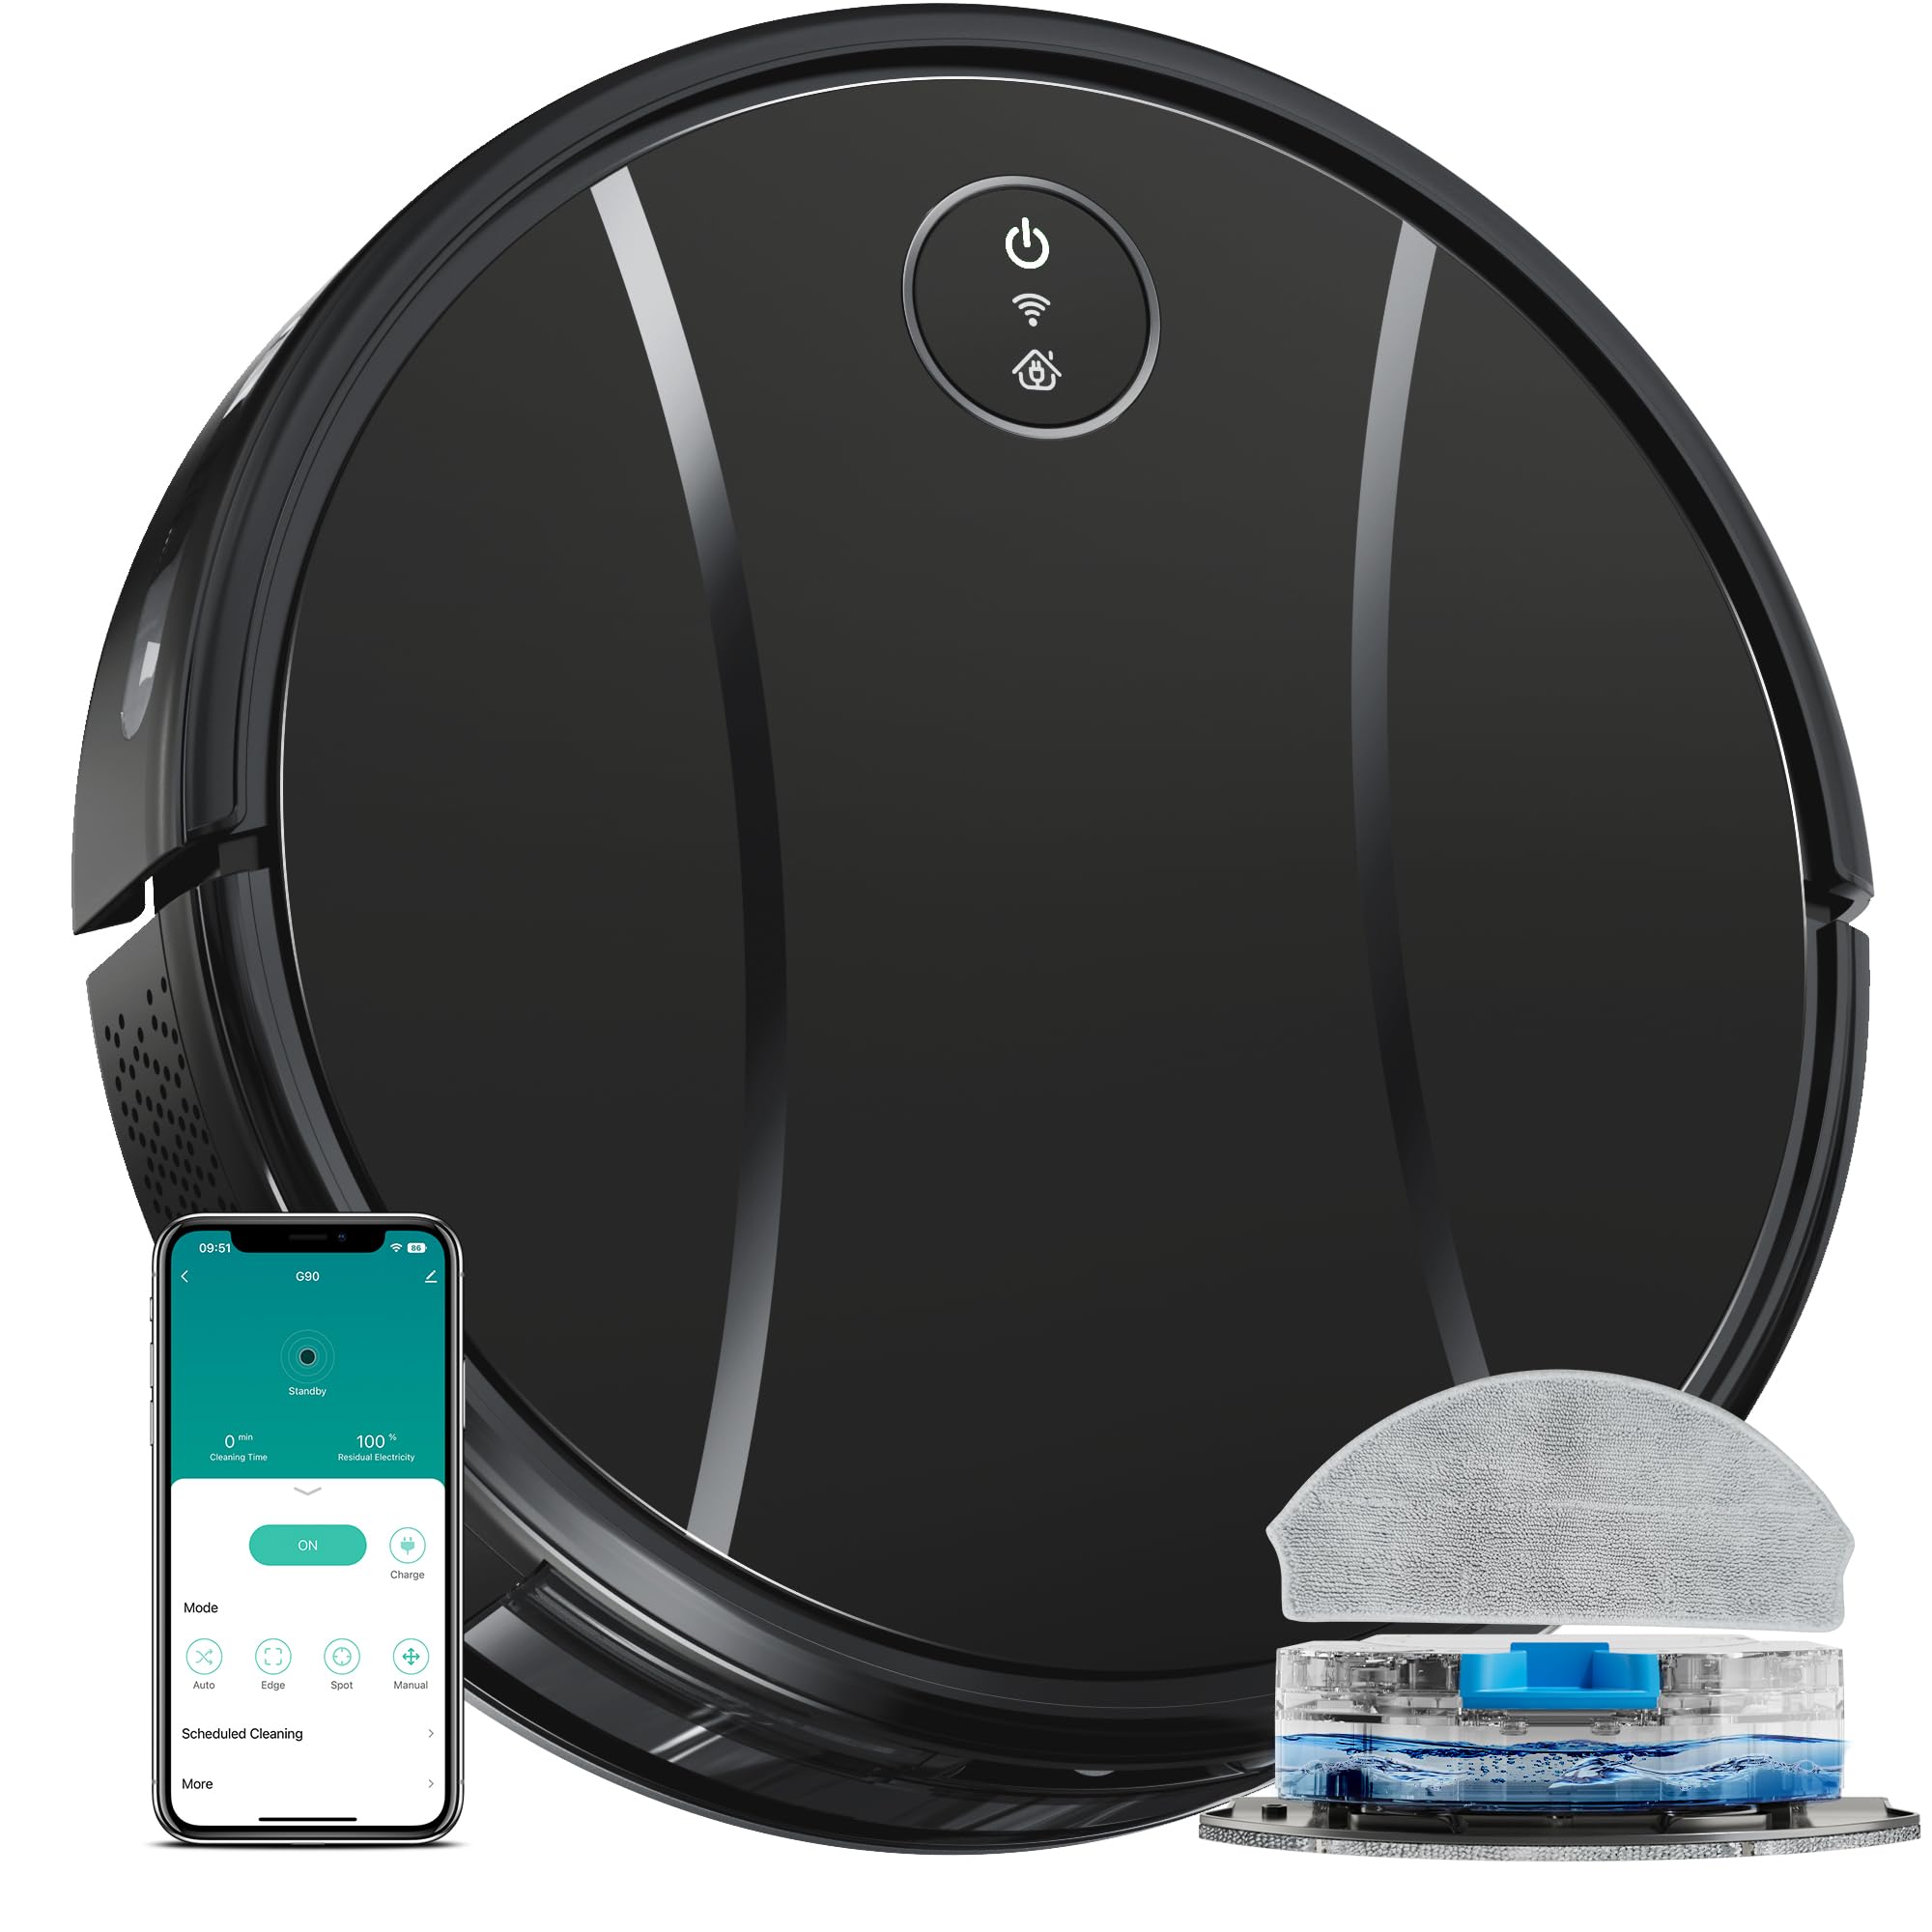
Image: Top view of the Tipdiy G90 Robot Vacuum Cleaner, showing its circular design and main control button.
3. Setup
3.1 Charging Base Placement
Place the charging base against a wall on a hard, level surface. Ensure there are no obstacles within 1 meter (3 feet) in front and 0.5 meters (1.5 feet) on either side of the charging base to allow the robot to dock properly.
3.2 Initial Charging
Connect the power adapter to the charging base and plug it into a wall outlet. Place the robot vacuum onto the charging base. The indicator light on the robot will show charging status. For first use, charge the robot for at least 6 hours to ensure the battery is fully conditioned.

Image: The Tipdiy G90 Robot Vacuum Cleaner automatically returning to its charging base. This illustrates the intelligent self-charging feature.
3.3 App Installation and Connection
- Download the companion app from your smartphone's app store (search for 'Tipdiy Robot' or refer to the QR code in the quick start guide).
- Register an account and log in.
- Follow the in-app instructions to add your Tipdiy G90 Robot Vacuum Cleaner. Ensure your robot is charged and your phone is connected to a 2.4GHz Wi-Fi network during the pairing process.

Image: A collage demonstrating the advanced app control features, including cleaning modes (Edge, Smart, Spot), scheduling options, intensity adjustment (Quiet, Normal, Strong), and battery power display.
4. Operating the Robot Vacuum
4.1 Starting/Stopping Cleaning
- Manual Start: Press the power button on the robot once to start cleaning in Auto mode. Press again to pause.
- App Control: Use the Tipdiy app to start, pause, or stop cleaning from anywhere.
4.2 Cleaning Modes
The Tipdiy G90 offers various cleaning modes accessible via the app:
- Auto Mode: The robot intelligently navigates and cleans your entire floor area.
- Edge Mode: The robot cleans along walls and furniture edges.
- Spot Mode: The robot focuses on a specific area, cleaning in a spiral pattern for concentrated cleaning.
- Smart Mode: An optimized cleaning pattern for general use.
4.3 Scheduling
Set up cleaning schedules through the Tipdiy app. You can choose specific times and days for the robot to automatically start cleaning.
4.4 Suction Intensity Adjustment
Adjust the suction power (Quiet, Normal, Strong) via the app to suit your cleaning needs and floor type.
4.5 Mopping Function
To use the mopping function, fill the water tank and attach the mop pad. Install the water tank assembly into the robot. The robot will then vacuum and mop simultaneously. Ensure to remove the water tank when not in use or when charging.

Image: The Tipdiy G90 Robot Vacuum Cleaner actively mopping a wooden floor, demonstrating its all-floor extended mopping capability with a larger water tank and adjustable settings.
4.6 Obstacle Avoidance
The Tipdiy G90 is equipped with real-time sensing technology to detect and avoid obstacles, navigating smoothly around furniture and other items in your home.

Image: The Tipdiy G90 Robot Vacuum Cleaner navigating around a toy basket, illustrating its obstacle avoidance with real-time sensing capabilities.
5. Maintenance
Regular maintenance ensures optimal performance and extends the lifespan of your robot vacuum.
5.1 Emptying the Dustbin
Open the top cover of the robot and remove the dustbin. Open the dustbin lid and empty its contents into a trash can. It is recommended to empty the dustbin after each cleaning cycle.
5.2 Cleaning the Filter
Remove the filter from the dustbin. Tap the filter gently to remove dust. The filter is made of sponge material and can be rinsed with water if necessary, but ensure it is completely dry before reinserting. Replace the filter every 3-6 months depending on usage.
5.3 Cleaning the Main Brush
Remove the main brush cover and lift out the main brush. Use the cleaning tool (if provided) to remove hair and debris tangled around the brush. Reinstall the brush and cover.
5.4 Cleaning Side Brushes
Periodically check the side brushes for tangled hair or debris. Gently pull them off to clean. If they are worn or damaged, replace them with new ones.
5.5 Cleaning Sensors and Charging Contacts
Wipe the cliff sensors, wall sensors, and charging contacts on both the robot and the charging base with a clean, dry cloth. This prevents dust buildup from affecting performance.
5.6 Mopping Pad Maintenance
After each mopping session, remove the mop pad from the water tank. Rinse it thoroughly with water and allow it to air dry completely before storing or reusing.
6. Troubleshooting
If you encounter issues with your Tipdiy G90, please refer to the following common problems and solutions:
| Problem | Possible Cause | Solution |
|---|---|---|
| Robot does not turn on | Low battery; Power button not pressed correctly | Place robot on charging base; Press and hold power button for 3 seconds |
| Robot cannot charge | Charging contacts dirty; Charging base not powered | Clean charging contacts; Ensure power adapter is connected and plugged in |
| Robot gets stuck frequently | Too many obstacles; Cliff sensors dirty | Clear the cleaning area; Clean cliff sensors |
| Poor cleaning performance | Dustbin full; Brushes tangled; Filter clogged | Empty dustbin; Clean main and side brushes; Clean/replace filter |
| App connection failed | Incorrect Wi-Fi password; Not 2.4GHz Wi-Fi; Robot too far from router | Verify Wi-Fi details; Ensure 2.4GHz network; Move robot closer to router |
If the problem persists, please contact customer support.
7. Specifications
| Feature | Specification |
|---|---|
| Brand | Tipdiy |
| Model Name | G90 |
| Color | Ink Black |
| Product Dimensions (L x W x H) | 33.02 x 33.02 x 7.59 cm (13 x 13 x 3 inches) |
| Item Weight | 3.3 Kilograms (7.28 lbs) |
| Special Feature | Edge Cleaning |
| Surface Recommendation | Wood |
| Controller Type | App Control |
| Included Components | Robot Vacuum |
| Filter Type | Sponge |
| Battery Life | 120 minutes |
8. Warranty and Support
The Tipdiy G90 Robot Vacuum Cleaner comes with a standard manufacturer's warranty. Please refer to the warranty card included in your package for specific terms and conditions.
For technical support, troubleshooting assistance, or warranty claims, please contact Tipdiy customer service through the contact information provided on the official Tipdiy website or within the companion app.

