
Introduction
This manual provides detailed instructions for the installation, operation, and maintenance of your Philips WiFi Smart Lock with Fingerprint Keypad. Please read this manual thoroughly before installation and use to ensure proper function and safety.
What's in the Box
The Philips WiFi Smart Lock package includes the following components:
- Philips 3000 Series Retrofit Lock
- Philips Wireless Fingerprint Keypad
- Mounting Hardware (screws and wall anchors)
- CR123A Batteries (2)
- Door Position Sensor (sensor and magnet)
- Pry Key
- Setting Pin
- Mounting Adapters (4)
- User Manual

Image: All components included in the Philips Smart Lock package.
Compatibility
Before installation, ensure your door meets the following compatibility requirements:
- Works only with single-cylinder deadbolts.
- Ensure the thumb turn, bolt, lever, and latch are separate.
- Compatible only with indoor thumb turns that rotate 90 degrees. Thumb turns that rotate 45 or 180 degrees are not compatible.
- The distance between the two mounting plate screws should be either 24.5 mm (31/32") or 28 mm (1-1/8").
- For 24.5 mm, the space between the center of the mounting plate screw and the center of the thumb turn must be 3.2 mm (1/8").
- For 28 mm, it needs to be 1.2 mm (3/64").

Image: Door compatibility check for single-cylinder deadbolts.
Video: Detailed guide on how to install the Philips 3000 Series Retrofit Lock.
Video: Information regarding 300 Series Door Compatibility.
Setup and Installation
Follow these steps to install your Philips WiFi Smart Lock:
- Prepare Your Existing Deadbolt: Use the supplied adhesive strip to hold the keyed side of the lock in place.
- Remove Your Existing Thumb Turn: Use a #2 Phillips screwdriver to remove the mounting screws holding the existing thumb turn and back plate. Remove the interior deadbolt components. Attention: Ensure the Latch Bolt is fully retracted (in the unlocked position). Keep the original Mounting Plate Screws for the next installation.
- Take off the Mounting Plate: Insert the Pry Key into the notch of the Wing Latches and pry them open. Take off the Mounting Plate from the lock.
- Attach the Mounting Plate: Place the mounting plate on the interior of the door. Insert the mounting screws that were previously removed from the thumb turn to secure the mounting plate. Keep the tailpiece horizontal and in the middle of the hole.
- Choose and Attach Correct Mounting Adapter: Four adapters are provided. Check the shape of the tailpiece protruding through the latch and select the appropriate adapter. Place the correct adapter into the tailpiece. One of the triangle shaped nubs should face up if you have the correct adapter. Keep the nub horizontal and in the middle of the hole.
- Prepare Your Retrofit Lock: Remove the battery cover by pressing down on the indented circle on the top and pulling the bottom of the battery cover. While holding the batteries in place, remove the plastic battery tab. Make sure that the batteries are properly seated in their compartments.
- Reset the Philips Retrofit Lock: Press and hold the Reset Button for at least 5 seconds until you hear a voice prompt. The lock is now ready to install.
- Rotate the Outer Shell to the Correct Orientation: When the hinges are on the left side of the door, rotate the Thumb Turn towards the extreme left. When the hinges are on the right side of the door, rotate the Thumb Turn towards the extreme right. Attention: Ensure to stand in the room and face the door during installation. Ensure the Batteries are kept perpendicular to the ground.
- Open the Wing Latches: Keep your door in the unlocked position. Pull out both side wing latches to prepare for mounting.
- Attach the Philips Wi-Fi Retrofit Lock: Align the lock with the mounting plate and press firmly until it clicks into place.
- Remove the Battery Tab: While holding the batteries in place, remove the plastic battery isolation tab. Make sure that the batteries are properly seated in its compartment.
- Place the Battery Cover: Place the battery cover back onto the smart lock.
Video: Philips 3000 Series Lock Installation Video.
Operating Instructions
Unlocking/Locking Methods
Your Philips Smart Lock offers multiple ways to unlock and lock your door:
- App Remote Control: Use the Philips Home Access APP to remotely control or configure the door lock anytime, anywhere.
- Fingerprint: The Smart Keypad allows entry using registered fingerprints (up to 50 fingerprints).
- PIN Code: Enter a unique PIN code on the Smart Keypad (up to 100 PIN codes for family, guests, tenants).
- Traditional Key: The lock remains compatible with your original keys.
- Voice Assistant: Control the lock using Amazon Alexa or Google Assistant.
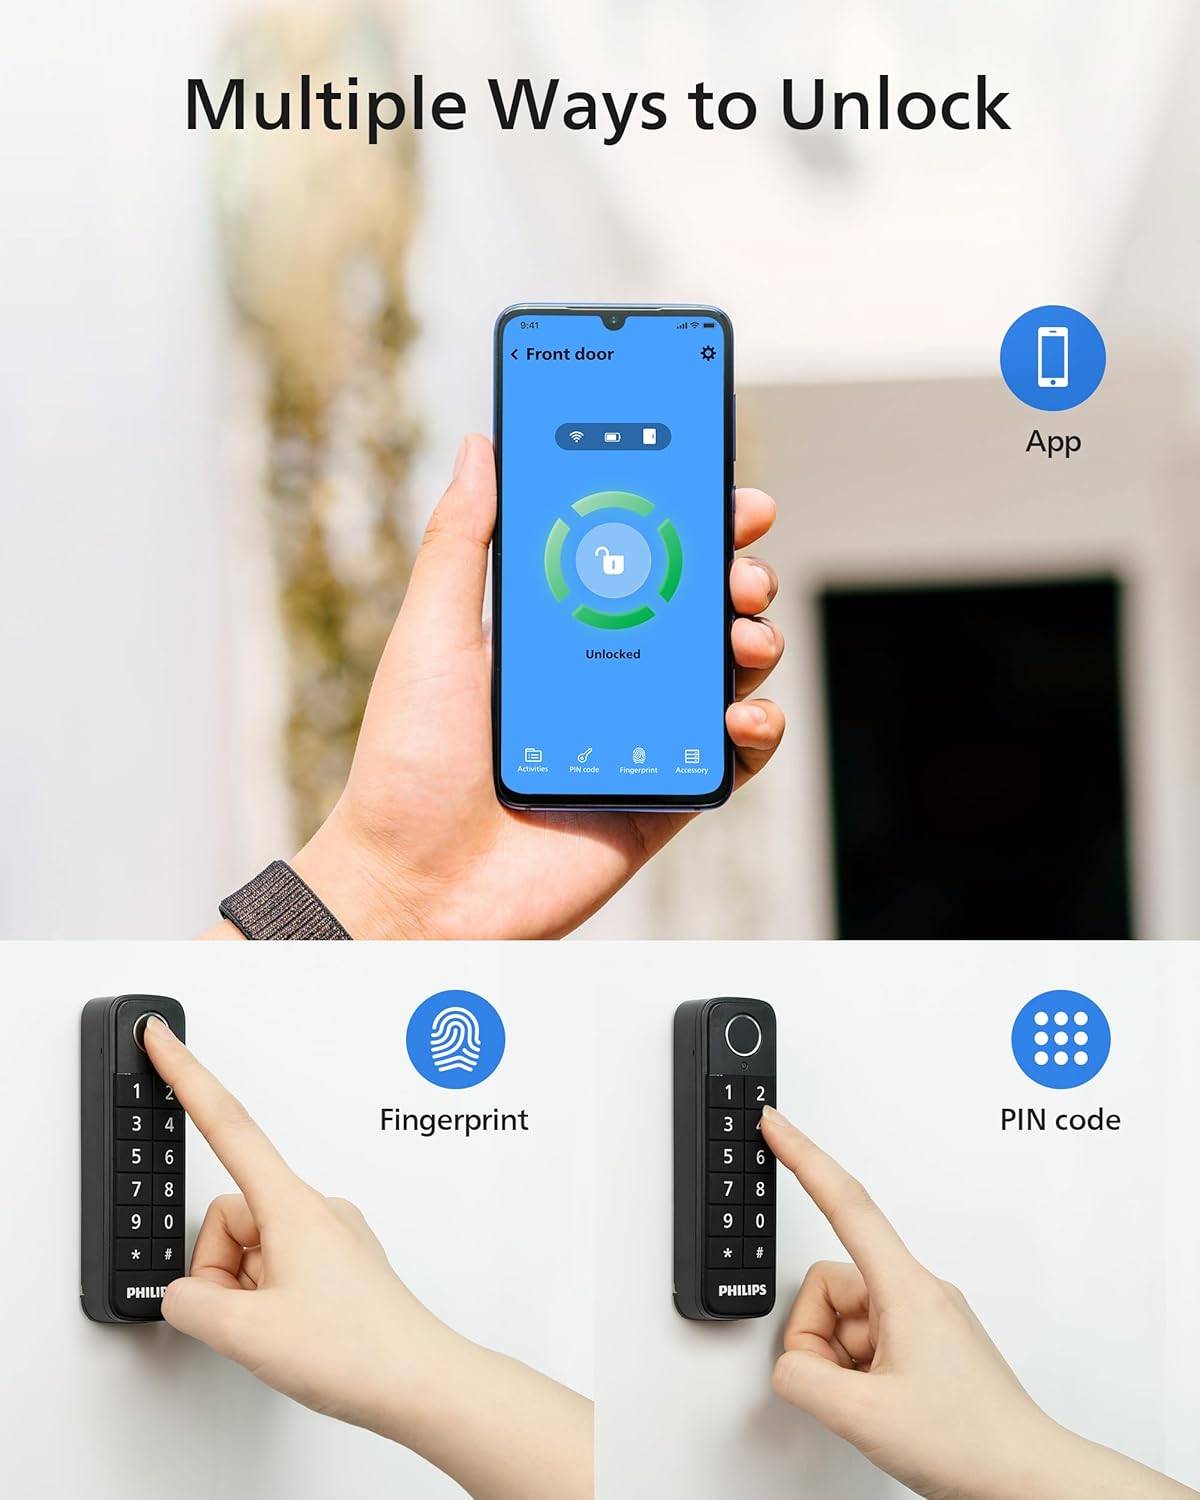
Image: Multiple ways to unlock your smart lock.
Remote Control & Monitoring
The Philips Home Access APP provides comprehensive control and monitoring features:
- Remote Lock/Unlock: Control your deadbolt lock from anywhere with built-in Wi-Fi, no extra bridge required.
- Real-Time Notifications: Receive instant alerts when your door is unlocked or locked.
- Status Logging: All locking and unlocking events are recorded in the app, allowing you to review who accessed your home and when.

Image: Control your smart lock from anywhere with the app.
Smart Auto-Lock
The auto-locking feature ensures your door is always secure. Once the door is shut, the electronic door lock will automatically engage. This feature relies on the door sensor.

Image: Hands-free auto-lock feature.
Voice Assistant Integration
The Philips Smart Lock is compatible with Amazon Alexa and Google Assistant, allowing for convenient voice control.

Image: Works with voice assistants.
Sharing Access
Easily share access to your home with family, friends, or service providers. You can grant temporary or permanent access permissions through the Philips Home Access APP.
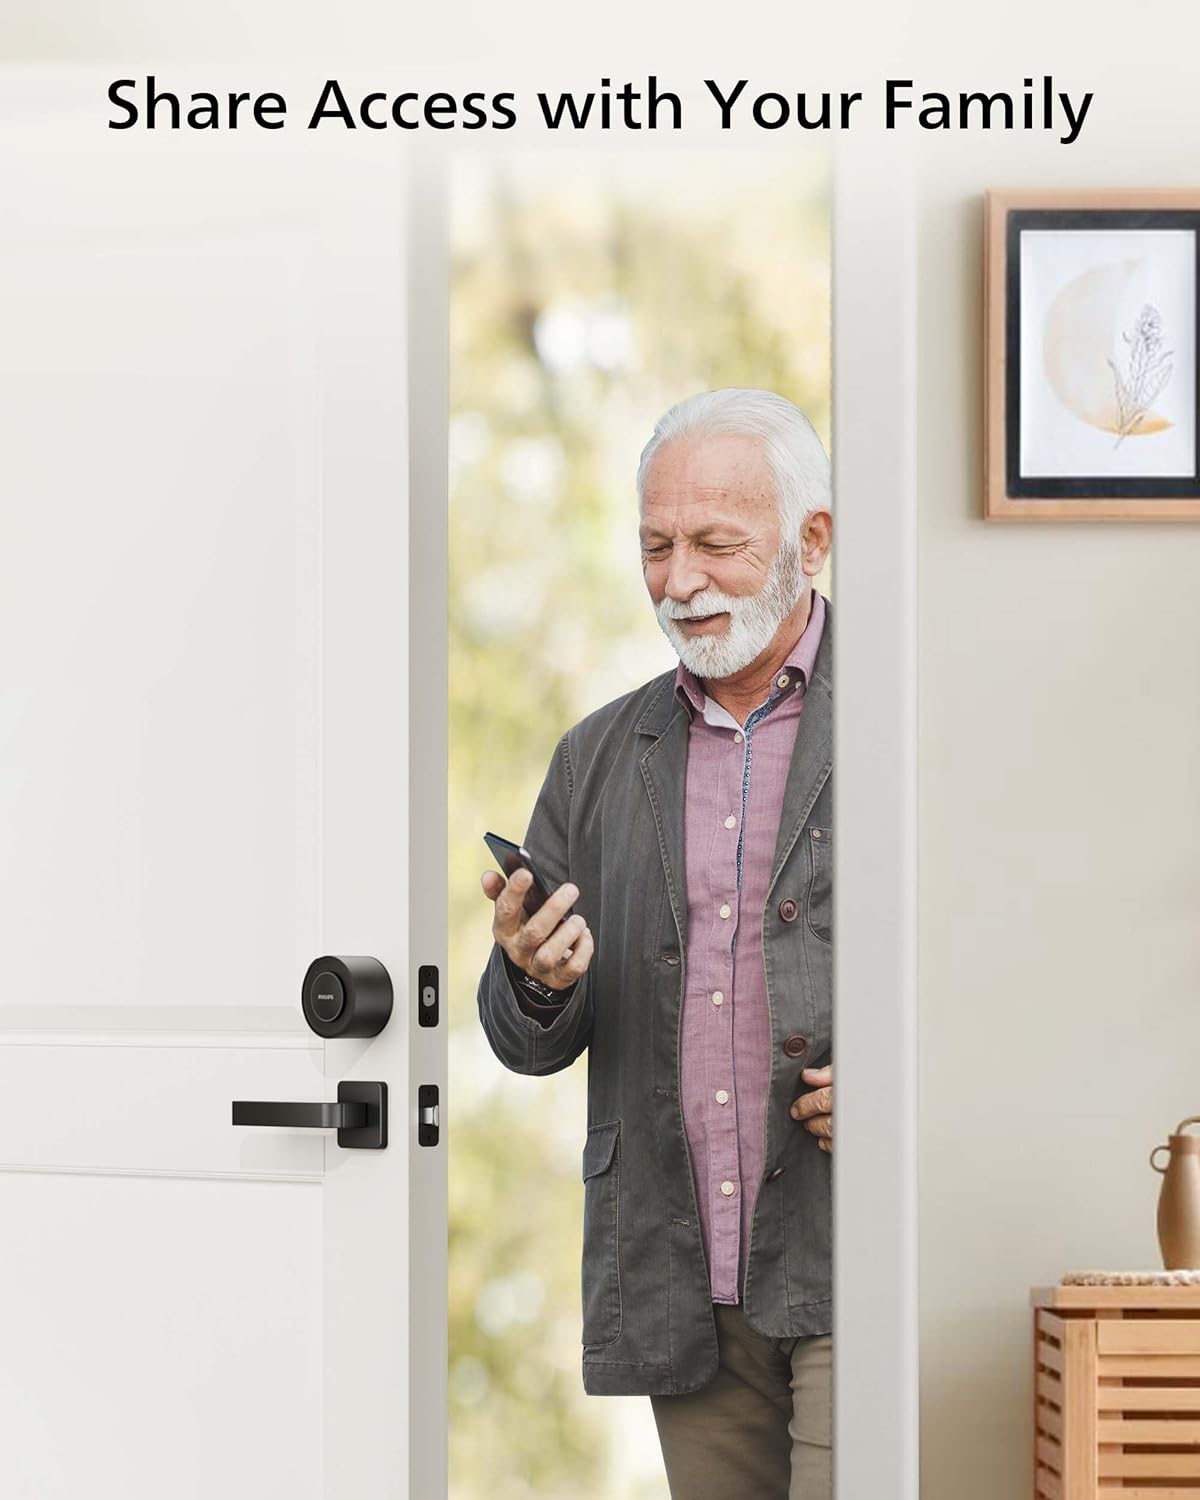
Image: Share access with your family and trusted individuals.
Door Sensor Precautions
The door sensor, consisting of a sensor and a magnet, detects if the door is open or closed and automatically locks it when shut. Observe the following precautions:
- Ensure the center of the sensor aligns with the center of the magnet.
- The distance between the sensor and magnet should be less than 20mm.
- When installing on a metal door frame, it may impact the performance of the door sensor.
- The distance between the sensor and retrofit lock should be less than 1 meter.

Image: Door sensor installation guidelines.
Battery Information
The Philips Smart Lock uses CR123A batteries.
- Comes with CR123A batteries pre-installed.
- Replace only with quality CR123A batteries after use.
- Typical battery life: up to 5 months under normal use.
- Battery life varies by usage and environment.
- Avoid placing the lock in extreme heat, cold, or direct weather exposure.

Image: Battery tips for long-lasting power.
Troubleshooting: Wi-Fi Connection
If the Wi-Fi connection fails, please follow these tips:
- Check if the Wi-Fi connection is stable.
- Ensure the network is 2.4GHz, as the lock only supports 2.4GHz.
- Keep the router and lock within 65ft (20m).
- Avoid walls and interference sources like microwaves.
- Too many devices connected to Wi-Fi may affect the lock's connection.
- Ensure the lock's firmware and app are up-to-date. If an update is available, please upgrade promptly.

Image: Wi-Fi connection troubleshooting tips.
Specifications
| Feature | Detail |
|---|---|
| Model Name | Philips 3000 Series |
| Item Model Number | DDL230X-1HWP |
| Lock Type | Biometric, Deadbolt, Keypad, Smart Lock |
| Special Features | Auto-Lock, Built-in Wi-Fi, APP Remote Control, Fingerprint Keypad, PIN Code, Keyless Entry Door Lock, Upgrade Your Existing Deadbolt |
| Material | Zinc |
| Item Dimensions L x W x H | 2.9 x 3 x 2.2 inches (74.44mm x 76.89mm x 56.22mm) |
| Item Weight | 1 Pounds (0.45 kg) |
| Color | Matte Black |
| Connectivity Protocol | Bluetooth, Wi-Fi (2.4GHz only) |
| Controller Type | Amazon Alexa, Google Assistant |
| Batteries | 2 CR123A batteries required (included) |
| Fingerprint Capacity | Up to 50 fingerprints |
| PIN Code Capacity | Up to 100 PIN codes |
Maintenance
To ensure the longevity and optimal performance of your Philips Smart Lock, follow these maintenance guidelines:
- Regularly check battery levels via the Philips Home Access APP and replace batteries promptly when low.
- Keep the lock and keypad clean using a soft, dry cloth. Avoid abrasive cleaners or solvents.
- Ensure the door and frame are free of obstructions that could impede the deadbolt's operation.
- Periodically check the tightness of mounting screws.
- Keep the door sensor clean and ensure proper alignment for accurate door status detection.
Warranty and Support
Philips offers comprehensive customer support for your smart lock:
- Phone Support: Available Monday-Friday, 8 AM PST, and Saturday, 9 AM to 5 PM PST.
- Email Assistance: Available 24/7.
- For specific warranty details, please refer to the warranty card included in your package or visit the official Philips support website.


