1. Introduction
The PGST WiFi+GSM/4G Home Smart Alarm System is a comprehensive security solution designed to protect your home or business. It features dual network connectivity (WiFi and GSM/4G) for reliable communication, smart app integration (Smart Life and Tuya App), and compatibility with voice assistants like Google Assistant and Alexa. This manual provides detailed instructions for setting up, operating, and maintaining your alarm system.

Figure 1: Overview of the PGST Smart Alarm System components, including the main control panel, motion sensors, door/window sensors, remote controls, RFID tags, and wired siren.
2. Package Contents
Verify that all items are present in your package:
- 1 x Alarm system PG-103 Host
- 3 x Wireless PIR Detector (Motion Sensors)
- 2 x Remote Control
- 6 x Door Sensor
- 1 x PE-513 Wired Siren
- 2 x RFID Tag
- 1 x SOS Button
- Power Adapter
- User Manual (this document)

Figure 2: A visual representation of the alarm system's main components, including the control panel, motion sensor, door sensor, remote control, RFID tag, and siren.
3. Setup
3.1 Initial Setup of the Main Alarm Host
- Power Connection: Connect the provided power adapter to the main alarm host and plug it into a standard electrical outlet.
- SIM Card Installation (Optional): If you plan to use GSM/4G features (SMS alerts, call functions), insert a compatible SIM card into the designated slot on the main alarm host. Ensure the SIM card is active and has sufficient balance/data.
- WiFi Connection: The system supports 2.4GHz WiFi networks. Follow the on-screen prompts on the alarm host's 2.3-inch TFT colorful LCD screen to connect to your home WiFi network.

Figure 3: The main alarm host's display, showing its intuitive interface for system control and status monitoring.
3.2 App Installation and Connection
Download the 'Smart Life' or 'Tuya App' from your smartphone's app store (iOS App Store or Google Play Store). Register an account and follow the in-app instructions to add your PGST alarm system. This will enable remote control, notifications, and system management.
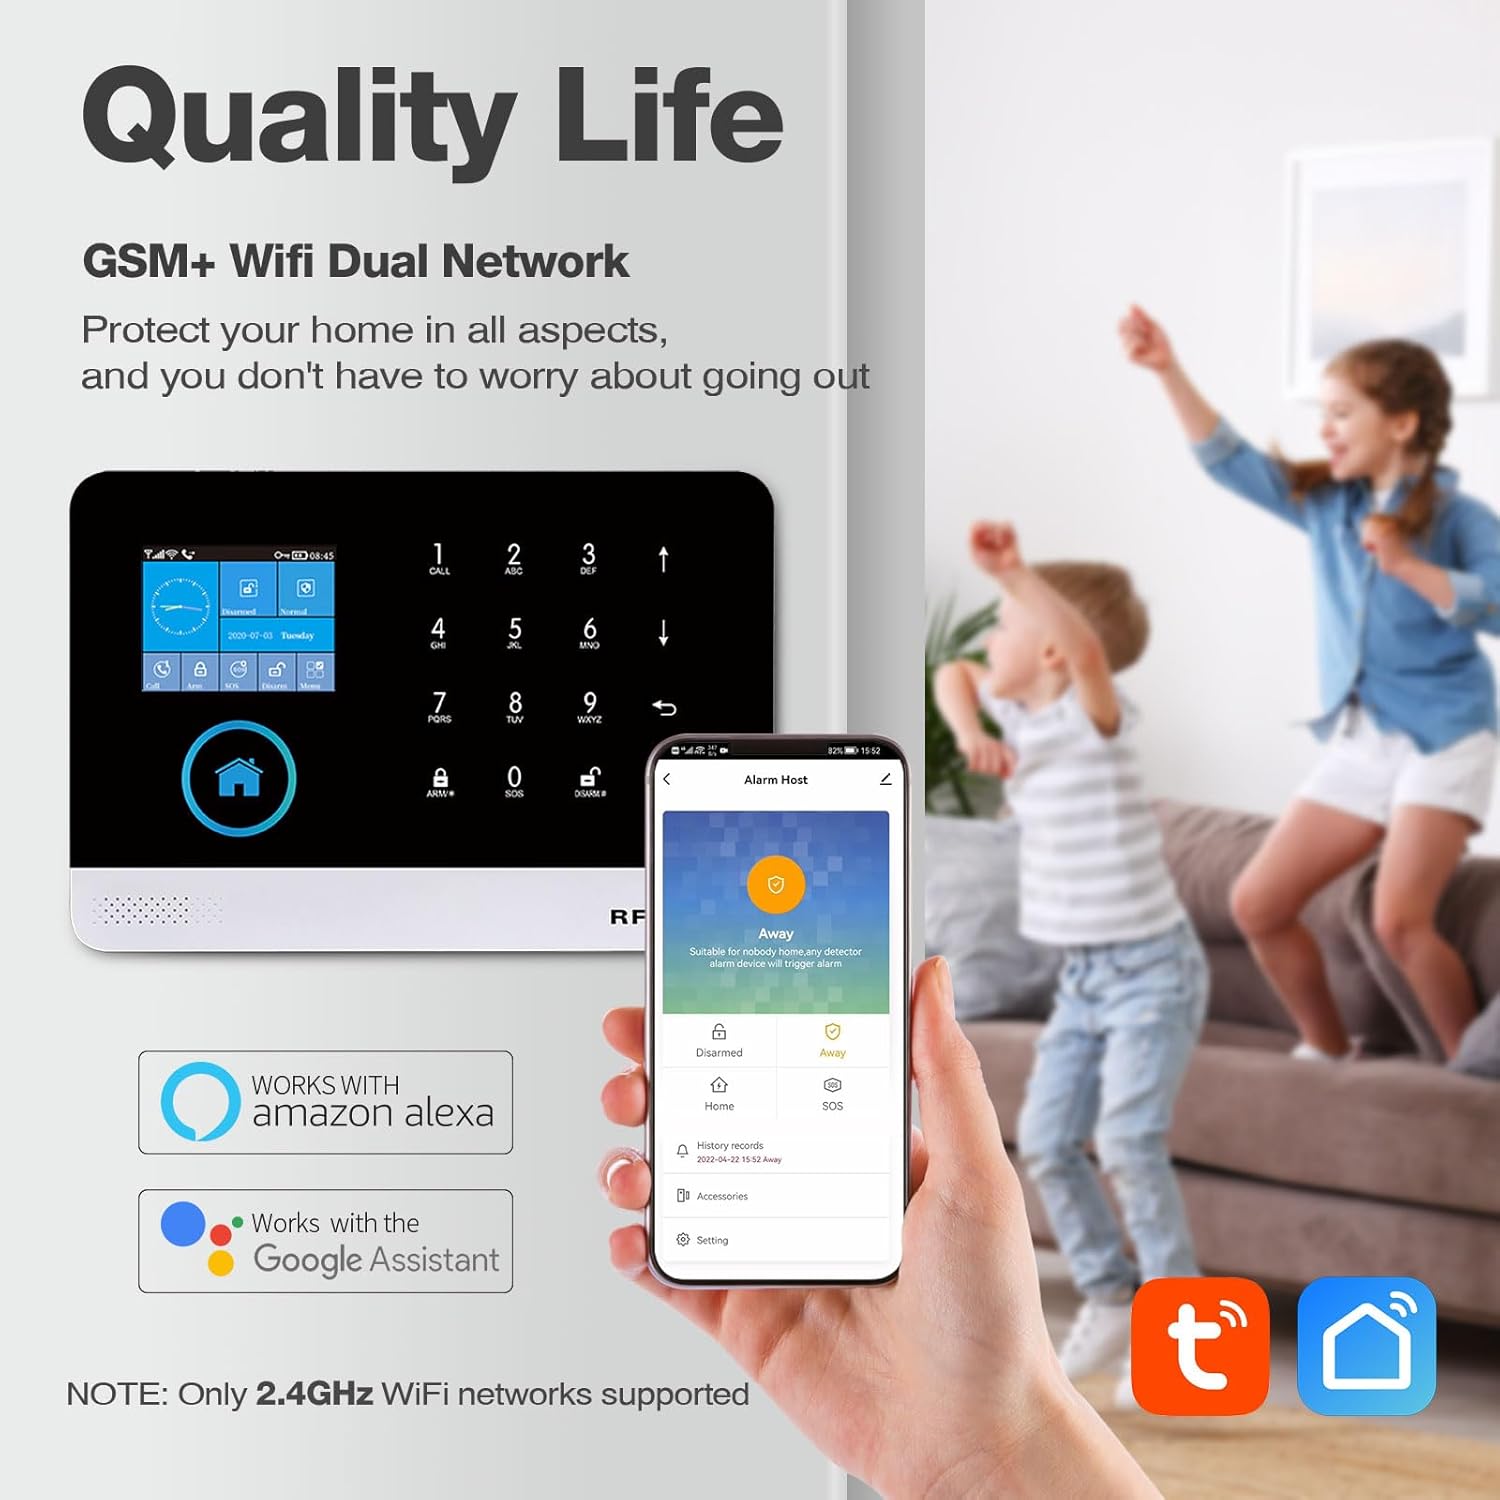
Figure 4: The alarm system supports both GSM and WiFi networks for robust connectivity, and integrates seamlessly with the Smart Life and Tuya apps for remote management.
3.3 Accessory Pairing
The following video demonstrates the pairing process for various accessories with the PGST103 alarm system. Please follow the steps carefully for each accessory.
Video 1: Detailed guide on pairing various accessories, including remote controls, RFID tags, magnetic door sensors, infrared detectors, SOS buttons, doorbells, and wireless sirens, with the PGST103 WiFi+GSM/4G Alarm System.
3.3.1 Remote Control Pairing
To pair a remote control, navigate to the 'Menu' on the alarm host, then 'Parts', and select 'Remote'. Click 'Add' and then press any button on the remote control to complete the pairing. Once paired, the remote can arm and disarm the system.
3.3.2 RFID Tag Pairing
From the 'Menu', go to 'Parts', then 'RFID'. Click 'Add' and place the RFID tag on the corresponding position of the host for sensing. The system will confirm successful learning. RFID tags can then be used to arm or disarm the system.
3.3.3 Magnetic Door/Window Sensor Pairing
Access 'Menu', then 'Parts', and select 'Detector'. Click 'Add'. Choose 'Door Alarm' in the first line and 'Out Arm Active' in the second line. Confirm, then separate the two parts of the door sensor to pair successfully. When armed, separating the sensor parts will trigger the alarm.
3.3.4 Infrared Detector Pairing (Motion Sensor)
First, turn on the switch of the infrared detector and allow it to enter self-test mode. On the alarm host, go to 'Menu', 'Parts', then 'Detector'. Click 'Add'. Select 'Panic Alarm' in the first line and '24 Hours Active' in the second line. Confirm, then wave your hand in front of the infrared detector to complete pairing. When armed, the infrared detector will trigger the alarm upon sensing human body movement.
3.3.5 SOS Button Pairing
From the 'Menu', go to 'Parts', then 'Detector'. Click 'Add'. Select 'Panic Alarm' in the first line and '24 Hours Active' in the second line. Confirm, then press the SOS button. Once paired, pressing the SOS button when the host is armed will trigger the alarm.
3.3.6 Doorbell Pairing
Navigate to 'Menu', 'Parts', then 'Detector'. Click 'Add'. Select 'Door Alarm' in the first line and 'Doorbell' in the second line. Confirm, then press the doorbell button. The host will receive a reminder when the doorbell is pressed.
3.3.7 Wireless Sound and Light Siren Pairing
Turn on the siren switch. Long press the button on the siren until you hear three beeps. On the alarm host, go to 'Menu', 'Parts', then 'Siren Learn'. Confirm. When the main unit alarms, the paired siren will also sound.
3.3.8 Smoke Detector Pairing
From the 'Menu', go to 'Parts', then 'Detector'. Click 'Add'. Select 'Gas Alarm' in the first line and '24 Hours Active' in the second line. Confirm. Press and hold the smoke detector button. Once paired, the smoke detector will trigger the alarm on the host when smoke is detected.
4. Operating Instructions
4.1 Arming and Disarming
The system offers various arming and disarming modes:
- Away Arm: All sensors are active. Ideal when no one is home.
- Home Arm: Perimeter sensors (e.g., door/window) are active, while internal motion sensors may be inactive. Ideal when people are inside.
- Delay Arm: Provides a set time delay before the system fully arms, allowing you to exit without triggering the alarm.
- Timely Arm: Scheduled arming/disarming at specific times.
You can arm/disarm the system using:
- Remote Control
- RFID Tags
- Smart Life/Tuya App
- Alarm Host Keypad

Figure 5: The system allows for scheduled arming and disarming, saving time and effort by automating security routines.
4.2 Instant APP Notifications
When a sensor is triggered, your smartphone will receive real-time notifications via the Smart Life or Tuya App. This allows you to monitor your property's safety anytime, anywhere.

Figure 6: Real-time app notifications keep you informed of any security events, such as a door or window opening.
4.3 Voice Control Integration
The PGST alarm system is compatible with Google Assistant and Amazon Alexa. You can use voice commands to arm or disarm your system, check its status, and more.

Figure 7: Seamless integration with Amazon Alexa and Google Assistant allows for convenient voice control of your alarm system.
4.4 Bidirectional Voice Intercom Function
The main alarm host supports a bidirectional voice intercom function, allowing you to communicate through the system. This feature can be useful for checking in on family members or pets when you are away.

Figure 8: The bidirectional voice intercom allows for two-way communication through the alarm panel, enhancing connectivity with your home.
4.5 Multi-Language Support
The system supports 9 languages, allowing you to switch freely between them for the menu display, voice operation prompts, and alarm SMS settings.

Figure 9: The alarm system offers multi-language support, providing flexibility for users from various linguistic backgrounds.
5. Maintenance
5.1 Battery Backup
The main alarm host includes a backup battery to ensure continuous operation during power outages. The system will send an SMS notification if the power goes off and when it comes back on.
5.2 Sensor Battery Replacement
Individual sensors (motion detectors, door/window sensors, SOS button) are battery-powered. When a sensor's battery is low, the system will typically provide an alert. Refer to the specific sensor's mini-manual or the main alarm host's interface for instructions on replacing batteries. Always use the recommended battery type.
6. Troubleshooting
- System not connecting to WiFi: Ensure your WiFi network is 2.4GHz. The system does not support 5GHz networks. Verify your WiFi password is correct.
- Sensors not triggering alarm: Check if the sensor is properly paired with the main host (refer to Section 3.3). Ensure the sensor's battery is not low. Verify the sensor is installed correctly within its effective range.
- No app notifications: Check your smartphone's notification settings for the Smart Life/Tuya App to ensure notifications are enabled. Verify the app is connected to the alarm host and your phone has internet access.
- GSM/4G functions not working: Ensure a valid and active SIM card is inserted correctly. Check the SIM card's balance and network coverage in your area.
7. Specifications
| Feature | Detail |
|---|---|
| Brand | PGST |
| Model Number | PG103-4GUS-D |
| Connectivity Technology | Wireless (WiFi, GSM/4G) |
| Power Source | Battery Powered |
| Compatible Devices | Smartphone (Smart Life/Tuya App), Google Assistant, Alexa |
| Item Dimensions L x W x H | 9 x 6 x 6 inches |
| Item Weight | 1.32 pounds (0.6 Kilograms) |
| Installation Type | Self-Adhesive |
| Alert Type | Motion |
| Control Method | App, Remote, Touch |
| Recommended Uses | Home Security |
8. Warranty and Support
For warranty information and technical support, please refer to the contact details provided on the product packaging or the official PGST website. Keep your purchase receipt as proof of purchase for warranty claims.


