
Introduction
The OLIGHT Odin S is a high-performance, rail-mounted tactical weaponlight designed for reliability and versatility. It delivers a powerful 1500 lumens output with a beam distance of 250 meters, providing both a bright hotspot and ample spill. Featuring an upgraded magnetic remote pressure switch with a secure screw cap design, it ensures stable and secure light control. The Odin S is built with an integrated mounting bracket and screw-locking rail clamp for robust support, even under heavy recoil. It offers dual power options, including a standard 3500 mAh rechargeable battery and compatibility with non-rechargeable batteries, making it adaptable for various operational needs.

The OLIGHT Odin S weaponlight, shown with its included remote pressure switch and the Picatinny rail mounting system. This tactical flashlight is designed for rail mounting.
What's in the Box
Verify that all the following components are included in your package:
- Odin S (Battery Included) x 1
- Rail Mount x 1
- Charging Cable x 1
- Pressure Switch x 1
- Pressure Switch Mount x 1
- H2.5 Wrench x 1
- Screws x 2
- Self-Locking Band x 4
- Battery Holder x 1
- User Manual x 1
Setup
1. Mounting the Weaponlight
The Odin S comes with an integrated mounting bracket designed for secure attachment to Picatinny rails. Use the provided H2.5 wrench and screws to firmly attach the weaponlight to your rail system. Ensure the screw-locking mechanism is engaged for maximum stability.

The Odin S features a robust construction designed for reliability under heavy recoil. Key elements include an integrated mounting bracket for secure attachment, a screw-locking mechanism for stability, and a durable screw-cap design for the remote switch connection. Internal electronics are potted for added reliability.
2. Connecting the Remote Pressure Switch
Attach the remote pressure switch to the tail cap of the Odin S. The upgraded magnetic remote switch features a secure screw cap design. Push the connector onto the tail cap and then rotate the screw cap to lock it firmly in place. Use the self-locking bands to manage the cable and secure the pressure switch mount to your desired location on the rail.

The upgraded magnetic remote pressure switch features a secure screw cap design, ensuring a firm and stable connection to the weaponlight. This dual-locking mechanism prevents accidental disconnections during use.

The pressure switch mount for the Odin S is designed to fit Picatinny rails and occupies approximately 10 rail slots, or 3.75 inches, of rail space.
3. Battery Installation and Charging
The Odin S comes with a 3500 mAh rechargeable battery pre-installed. To charge the battery, connect the magnetic charging cable to the tail cap of the weaponlight. The indicator light on the charging cable will show the charging status. When using non-rechargeable batteries (compatible with 2*CR123A via the included battery holder), do not attempt to charge the light with the magnetic charging cable.
Operating Instructions
1. Basic Operation
The Odin S can be operated using either the tail switch or the remote pressure switch.
- Tail Switch: Press the tail switch for momentary on. Click for constant on/off.
- Remote Pressure Switch: The remote pressure switch features two buttons: one for low output and one for high output. Press and hold either button for momentary activation. Click for constant on/off.
2. Strobe Function
The strobe function can be enabled or disabled. To enable or disable the strobe function, quickly press the tail switch or the remote switch five times or more, and hold it for more than 1 second at the last press. Once the strobe function is enabled, double pressing the tail switch or remote switch will activate it.
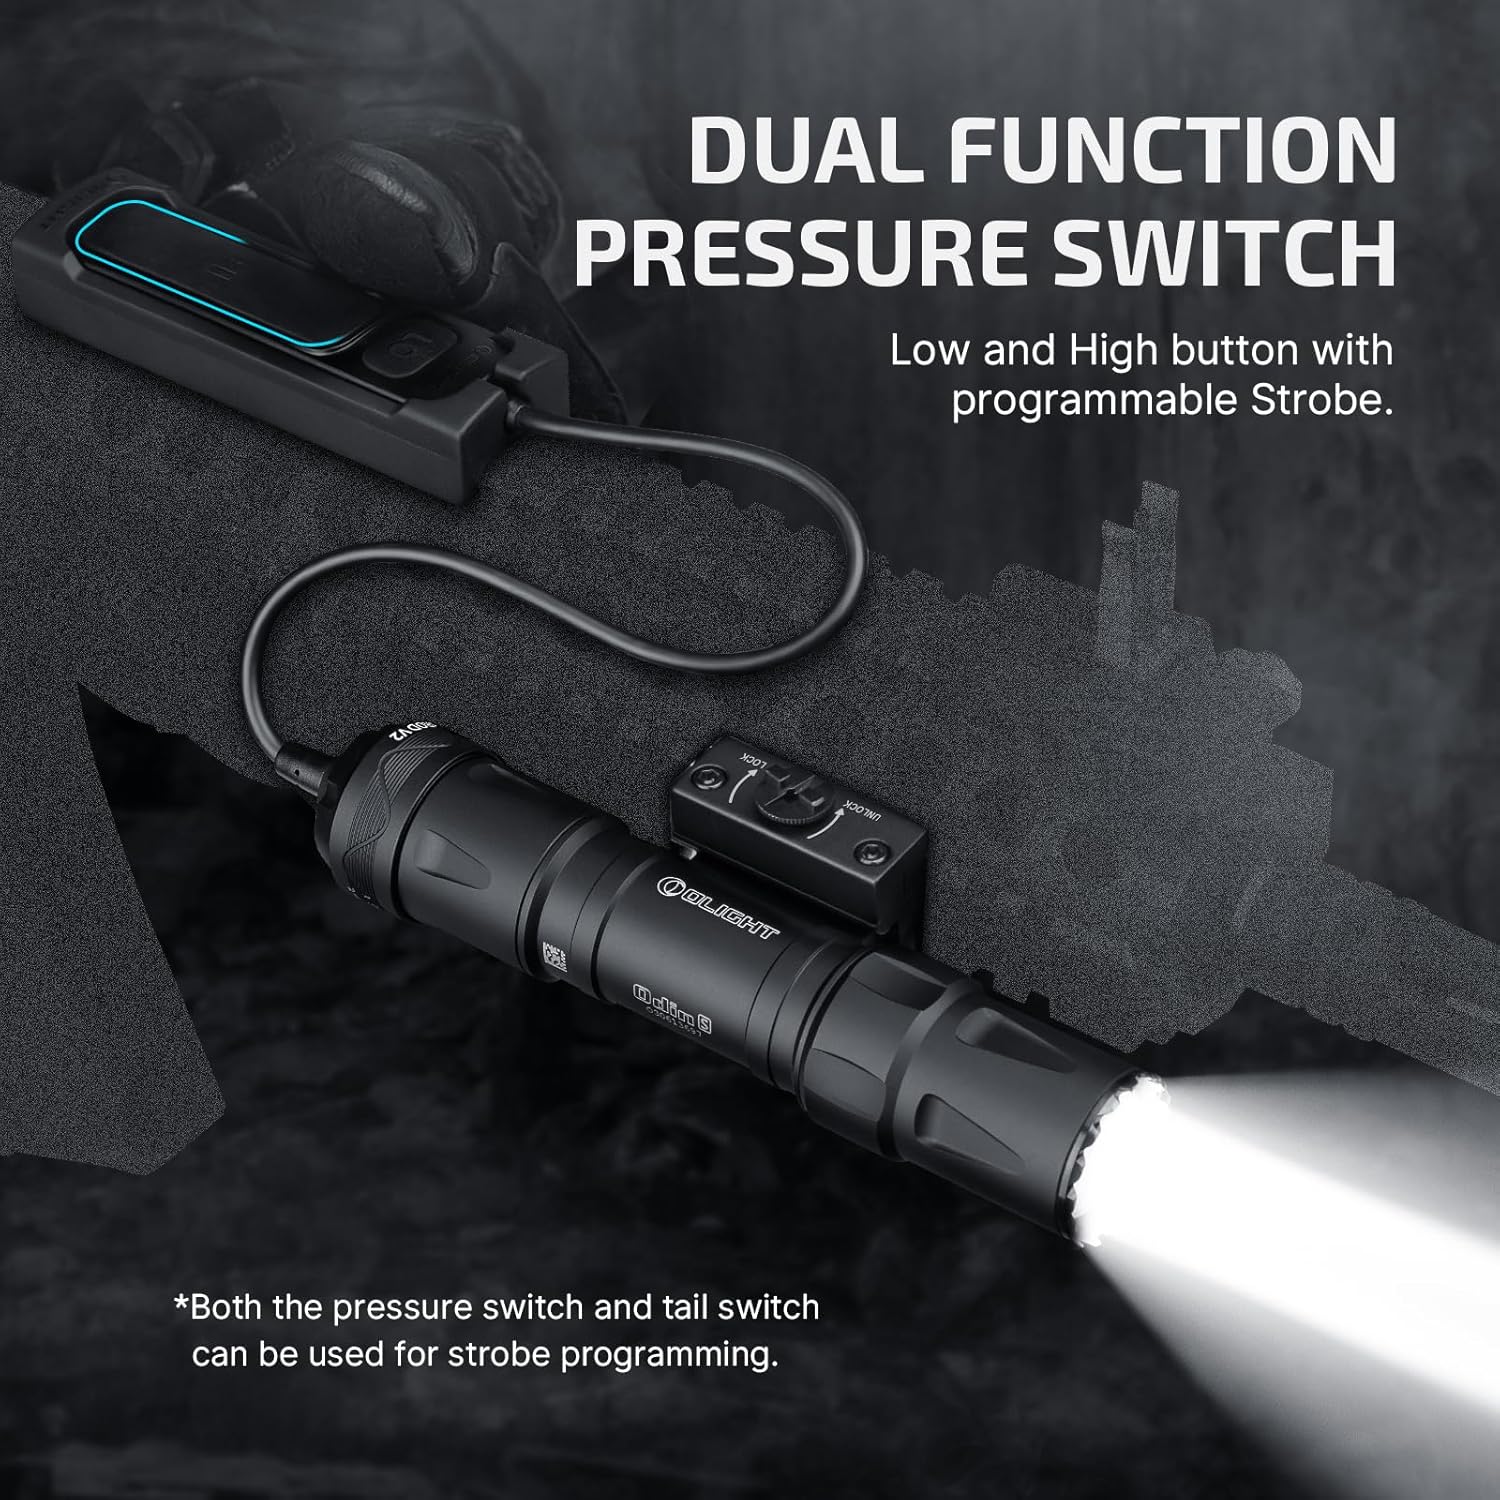
The remote pressure switch offers dual functionality with distinct buttons for low and high light output. The strobe function can be enabled or disabled by quickly pressing the tail switch or remote switch five times or more, then holding for over 1 second on the last press. Once enabled, a double press activates the strobe.
3. Dual Power Options
The Odin S is designed to operate with two types of power sources:
- Rechargeable Battery: The included 3500 mAh rechargeable battery provides extended runtime.
- Non-Rechargeable Batteries: The light is compatible with two non-rechargeable CR123A batteries when used with the provided battery holder. This offers flexibility in situations where recharging is not feasible.
Maintenance
1. Cleaning
Regularly clean the lens and body of the weaponlight with a soft, clean cloth. For stubborn dirt, a slightly damp cloth can be used. Do not use abrasive cleaners or solvents, as they may damage the finish or optical components.
2. Battery Care
To maintain optimal battery life and performance:
- Charge the rechargeable battery fully before first use.
- Avoid completely draining the rechargeable battery.
- Store the weaponlight with a partially charged battery if not used for extended periods.
- If using non-rechargeable batteries, remove them if the light will not be used for a long time to prevent leakage.
3. General Care
Inspect the O-rings and threads periodically. Apply a thin layer of silicone grease to the O-rings if they appear dry or worn to maintain the waterproof seal. Ensure all connections, especially the remote pressure switch, are clean and secure.
Troubleshooting
- Light Not Turning On:
- Check if the battery is fully charged.
- Ensure the battery is inserted with correct polarity.
- Verify that the tail cap is fully tightened.
- Confirm the remote pressure switch is securely connected and locked.
- Dim Output or Flickering:
- Battery may be low; recharge or replace.
- Clean the battery contacts and tail cap threads.
- Ensure the tail cap is fully tightened.
- Strobe Function Not Activating:
- Ensure the strobe function has been enabled as per the operating instructions (five or more quick presses, then hold).
- Double-press the switch quickly to activate strobe once enabled.
- Magnetic Charging Not Working:
- Ensure the magnetic charging cable is clean and properly seated on the tail cap.
- Verify the charging cable is connected to a working USB power source.
- Note: Only the included rechargeable battery can be charged via the magnetic charging cable. Do not attempt to charge non-rechargeable batteries this way.
Specifications
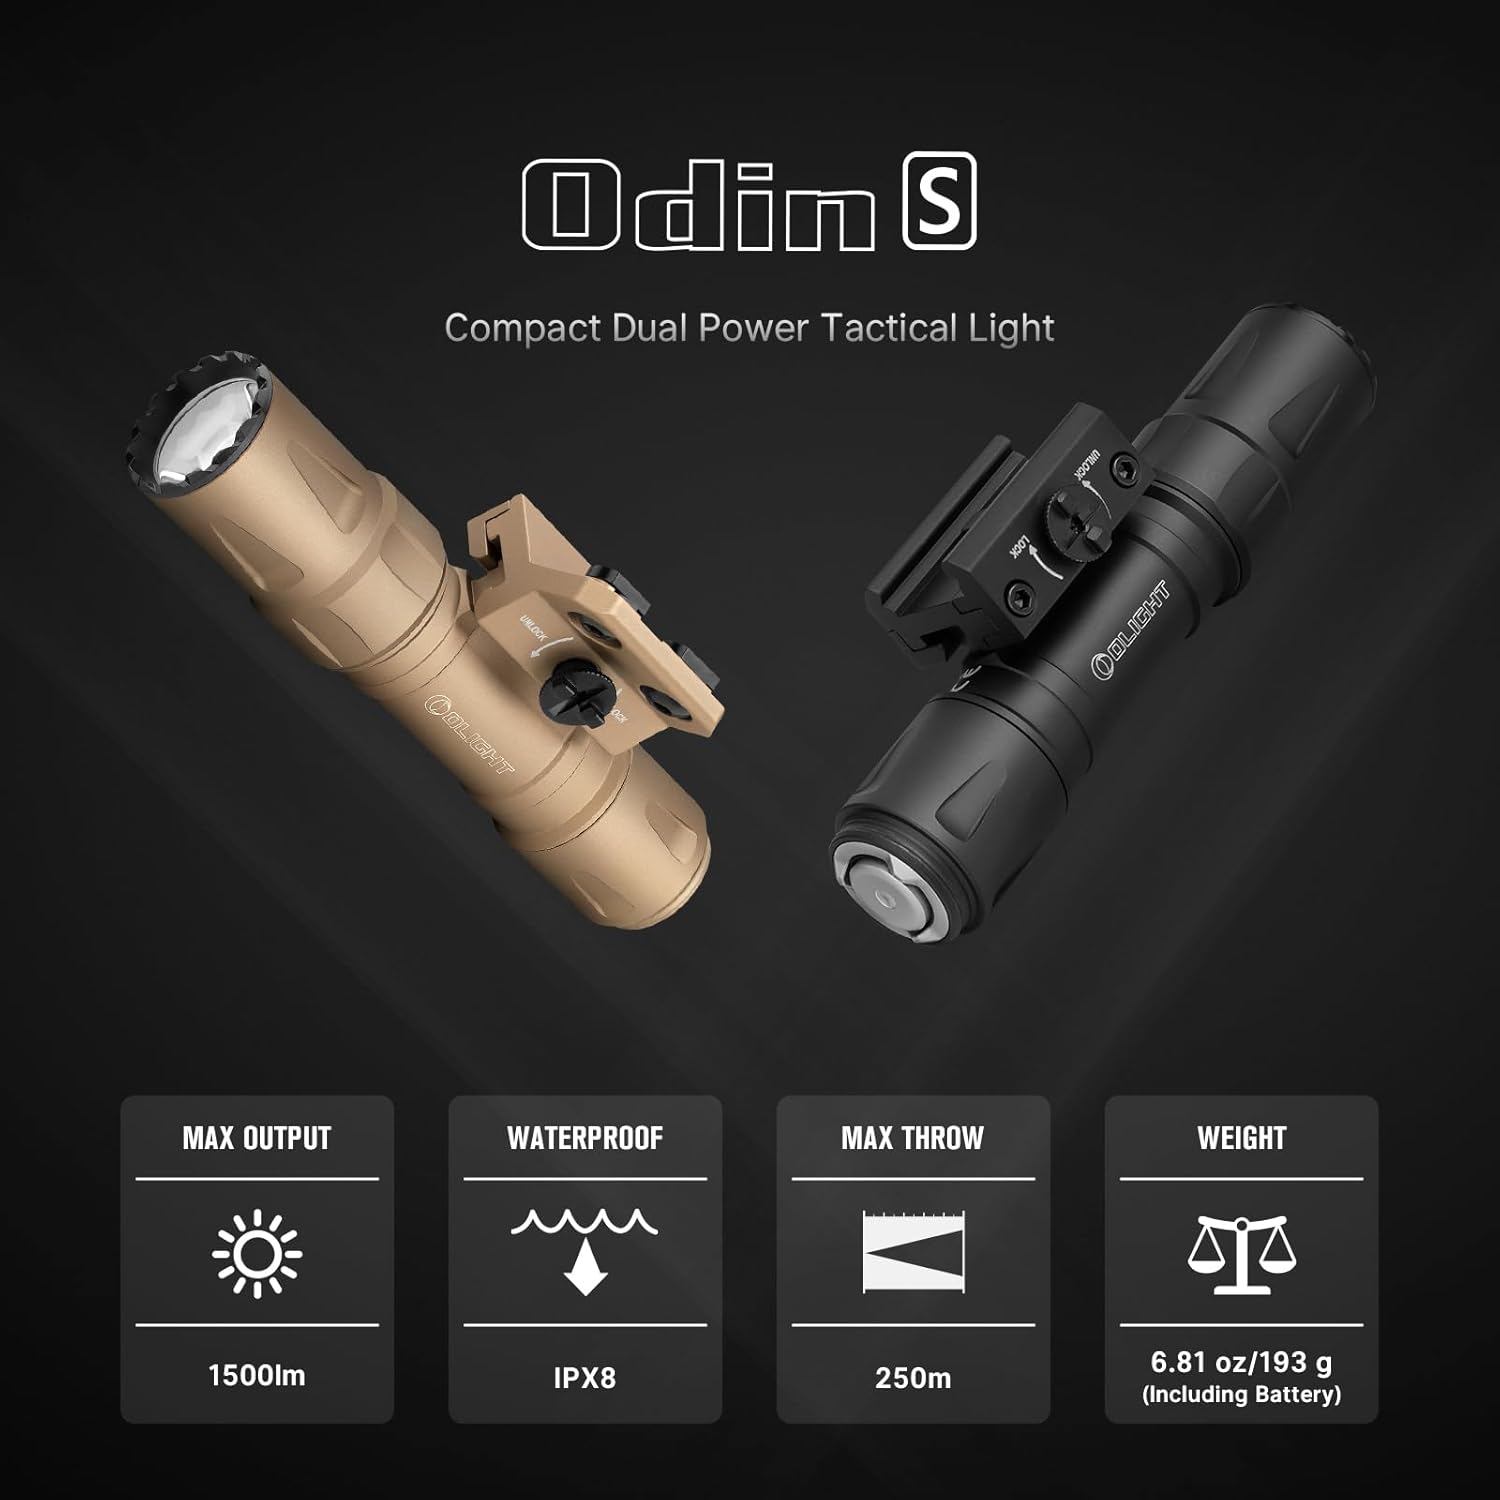
This image illustrates the key performance metrics of the Odin S: a maximum output of 1500 lumens, IPX8 waterproof rating, a beam throw distance of up to 250 meters, and a weight of 6.81 ounces including the battery.

The Odin S provides a powerful 1500-lumen output with a 250-meter throw, suitable for illuminating large areas. Its compact design, measuring 5.02 inches in length and 1.14 inches in diameter, allows for easy integration onto various platforms.

Constructed from aerospace-grade aluminum alloy with a Type III hard anodized finish, the Odin S is built for extreme durability. It boasts an IPX8 waterproof rating, allowing for continuous submersion, and is resistant to 1.5-meter impacts, ensuring performance in harsh environments.

This table provides a comprehensive overview of the Odin S's performance characteristics. It details the high and low output modes, corresponding runtimes, beam throw distances, and candela values for both the included rechargeable battery and compatible non-rechargeable batteries.
| Feature | Specification |
|---|---|
| Model | Odin S |
| Part Number | O-ODINS-BK-P-300000 |
| Light Source Type | LED |
| Max Output | 1500 Lumens |
| Max Throw Distance | 250 Meters |
| Water Resistance Level | IPX8 Waterproof |
| Material | Aerospace-grade Aluminum Alloy |
| Finish Type | Type III Hard Anodized |
| Impact Resistance | 1.5 Meters |
| Product Dimensions (L x W x H) | 5.02" x 1.14" x 1.14" (127.5mm x 29mm x 29mm) |
| Item Weight | 1.12 pounds (508g) |
| Power Source | Battery Powered |
| Battery Type | 1 x 3500 mAh Lithium Ion (included) or 2 x CR123A (not included) |
| Special Features | Rechargeable, Remote Control, Strobe, Waterproof |
| Mounting Type | Rifle Mount (Picatinny Rail) |
Warranty & Support
Warranty Information
OLIGHT provides a lifetime warranty for the Odin S weaponlight, covering manufacturing defects and material flaws. This warranty ensures long-term reliability and customer satisfaction. For specific terms and conditions, please refer to the official OLIGHT warranty policy or contact customer support.
Customer Support
For any questions, technical assistance, or warranty claims, please contact OLIGHT customer support through their official website or the contact information provided in your product packaging. You can also visit the official OLIGHT Store on Amazon for more information and product updates.


