
1. Introduction
Thank you for choosing the QOFOWIN Wireless Remote Control Switch. This device is designed for convenient remote operation of various DC electrical appliances, offering high power capacity and a long-range wireless signal. Please read this manual thoroughly before installation and use to ensure safe and optimal performance.
2. Product Features
- High Power Capacity: Equipped with a 30A relay, capable of handling high-power electrical appliances for stable and safe control.
- Easy Installation: Simple setup by connecting the wireless RF switch between your device and its power supply.
- Extended Signal Range: Utilizes a 433MHz wireless signal, allowing control from up to 328 feet (100 meters) in open spaces, with good penetration through floors and doors.
- Multiple Operating Modes: Features a learning button to delete old codes and re-learn new ones, supporting three distinct modes: Momentary (Point Dynamic), Self-locking, and Interlock. The factory default is Interlock mode.
- Wide Application: Ideal for industrial control, safety systems, lighting, DC motors, lamps, fans, dust collectors, remote control applications, wireless security alarms, wireless door alarms, and various other wireless control needs.
3. Specifications
| Manufacturer | QOFOWIN |
| Part Number | PC-3249 |
| Item Weight | 3.17 ounces |
| Product Dimensions | 0.26 x 1.77 x 0.79 inches |
| Model Number | 915d4e45-5a1b-4f0a-a579-1d3218e91460 |
| Size | 12V-72V/30A relay/328ft |
| Max Wattage | 360 watts |
| Item Package Quantity | 1 |
| Switch Style | Kill Switch |
| Special Features | No Programming Required (for initial use, but modes can be programmed) |
| Batteries Included? | No |
| Batteries Required? | No |
| Connectivity Technology | Radio Frequency (433MHz) |
| Max Supported Devices | 32 |
| Compatible Devices | DC Motors, Luminaire, Fans, Security Alarms, Garage Doors, etc. |
4. Safety Information
Always disconnect the power supply to the electrical appliance before installing or performing any maintenance on the wireless remote control switch. Failure to do so may result in electric shock, injury, or damage to the device. Ensure all wiring is correct and secure according to the provided diagrams.

Image: Safety warning to disconnect power before connecting the receiver to electrical wires.
5. Package Contents
- 1 x QOFOWIN Wireless Remote Control Receiver (30A Relay)
- 2 x Remote Control Transmitters (Key Fob Style)
- 1 x Instruction Guide

Image: The QOFOWIN Wireless Remote Control Switch receiver unit shown with two accompanying key fob style remote controls.
6. Setup & Installation
6.1. Wiring Diagram
Connect the receiver unit according to the following diagram. Ensure correct polarity for DC input and output. The input voltage range is DC 12V-72V.
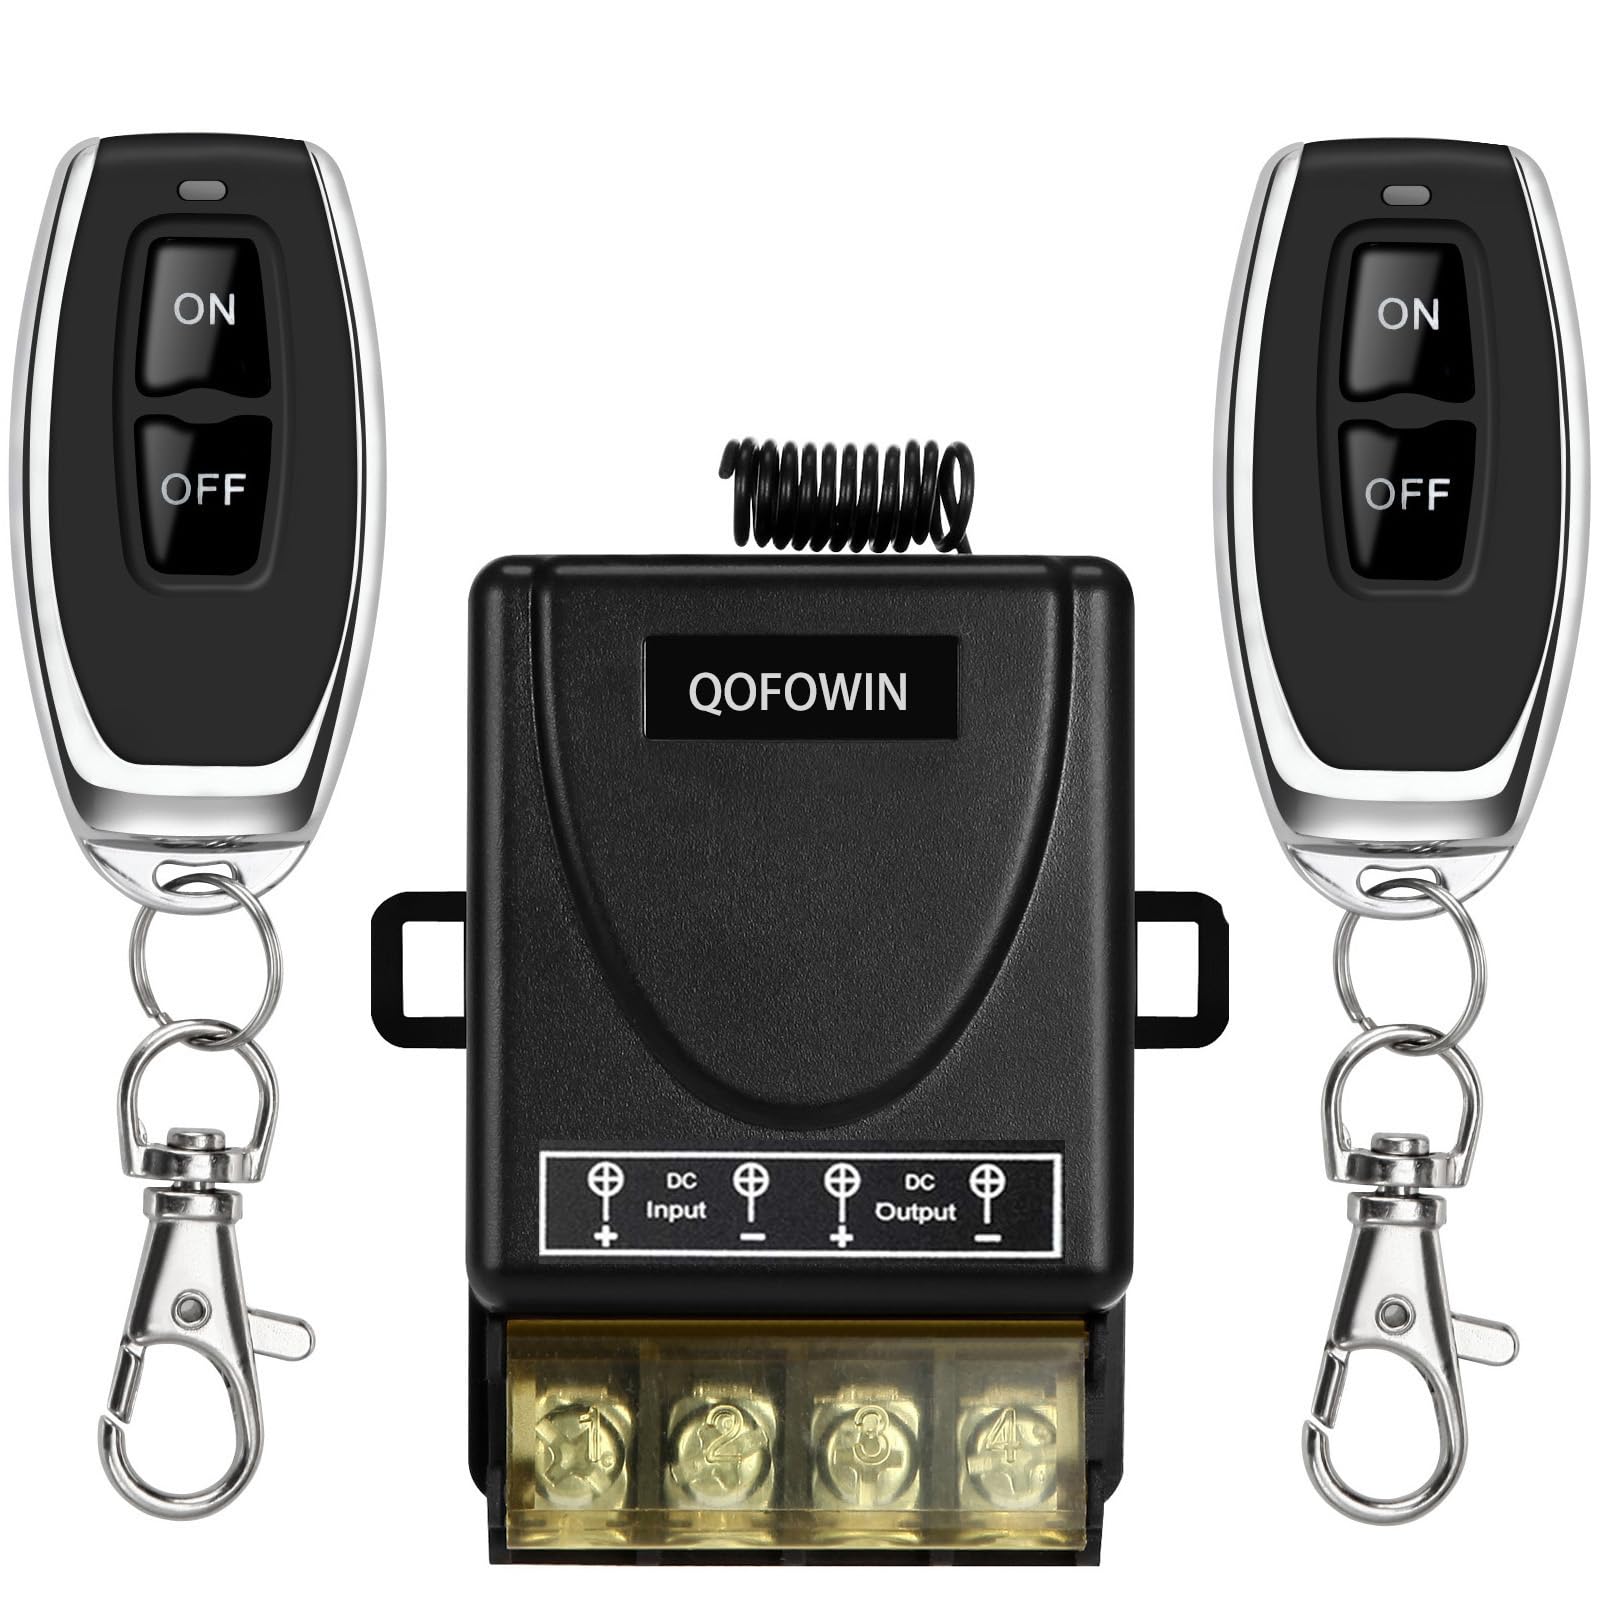
Image: Detailed wiring diagram illustrating how to connect the DC input and output to the receiver, with an example of controlling a light bulb. Positive (+) and Negative (-) terminals are clearly marked for both input and output.
6.2. Clearing Existing Codes
Before programming new remote controls or changing modes, it is recommended to clear any previously stored codes.
- Ensure the controller is powered on.
- Locate the 'decode' button on the receiver unit.
- Press the 'decode' button 8 consecutive times. The indicator light will flash, confirming that all stored codes have been cleared.
Video: Demonstrates how to clear existing codes from the QOFOWIN Wireless Remote Control Switch by pressing the decode button multiple times until the indicator light flashes, confirming the process.
6.3. Programming Operating Modes
The QOFOWIN Wireless Remote Control Switch supports three operating modes: Momentary, Toggle, and Latched. Follow the instructions below to program your desired mode.
6.3.1. Momentary Mode (Mode 1)
In Momentary mode, the relay activates only while the remote button is pressed and held. It deactivates upon release.
- Ensure the controller is powered on.
- Press the 'decode' button on the receiver unit 1 time. The indicator light will flash once.
- Immediately press the desired button on your remote control (e.g., 'ON' button). The indicator light on the receiver will flash, confirming successful pairing in Momentary mode.
Video: Illustrates how to program the QOFOWIN Wireless Remote Control Switch into Momentary mode. The video shows pressing the decode button once, then pressing a remote button to pair, and demonstrates the momentary action of the relay.
6.3.2. Toggle Mode (Mode 2)
In Toggle mode, pressing the remote button once activates the relay, and pressing the same button again deactivates it.
- Ensure the controller is powered on.
- Press the 'decode' button on the receiver unit 2 times. The indicator light will flash twice.
- Immediately press the desired button on your remote control. The indicator light on the receiver will flash, confirming successful pairing in Toggle mode.
Video: Shows the process of setting the QOFOWIN Wireless Remote Control Switch to Self-locking (Toggle) mode. It demonstrates pressing the decode button twice and then pairing with a remote button to achieve toggle functionality.
6.3.3. Latched Mode (Mode 3)
In Latched mode, one remote button activates the relay, and another remote button deactivates it. This mode requires two distinct buttons on the remote.
- Ensure the controller is powered on.
- Press the 'decode' button on the receiver unit 3 times. The indicator light will flash three times.
- Immediately press the 'ON' button on your remote control. The indicator light on the receiver will flash.
- Then, press the 'OFF' button on the same remote control. The indicator light will flash again, confirming successful pairing in Latched mode.
Video: Demonstrates how to program the QOFOWIN Wireless Remote Control Switch for Latched mode, involving pressing the decode button three times and then pairing with two separate remote buttons for ON/OFF control.
7. Operating the Device
Once programmed, operate the device using the paired remote control according to the selected mode (Momentary, Toggle, or Latched).

Image: The wireless remote control switch being used to operate a water pump, open a garage door, and manage an irrigation system, highlighting its versatility and long-range capability.
8. Troubleshooting
- Remote not responding: Ensure the controller is powered on. Check remote control battery. Re-pair the remote control following the programming instructions.
- Limited range: The 328ft range is for open spaces. Obstacles like walls and metal structures can reduce range. Try repositioning the receiver or remote.
- Incorrect operation mode: If the device is not behaving as expected (e.g., staying on when it should turn off), re-program the desired operating mode (Momentary, Toggle, or Latched) as described in Section 6.3.
- Device not powering on: Verify the input voltage is within the 12V-72V DC range and that all wiring connections are secure and correct. Check for any blown fuses in your power supply circuit.
- Difficulty with installation: The product is designed for easy wiring. If you encounter difficulties, consult a qualified electrician.
9. Maintenance
The QOFOWIN Wireless Remote Control Switch requires minimal maintenance. Keep the unit clean and dry. Avoid exposing it to extreme temperatures, moisture, or corrosive environments. Periodically check wiring connections for tightness and signs of wear.
10. Warranty and Support
For warranty information or technical support, please contact QOFOWIN customer service through the retailer where you purchased the product. Provide your model number (12V-72V/30A relay/328ft) and purchase details for faster assistance.