
ROPVACNIC S1
ROPVACNIC Robot Vacuum Cleaner and Mop Combo User Manual
Model: S1
Introduction
This user manual provides essential information for the safe and efficient operation of your ROPVACNIC Robot Vacuum Cleaner and Mop Combo. Please read this manual thoroughly before using the product and retain it for future reference.
The ROPVACNIC Robot Vacuum Cleaner and Mop Combo is designed to provide automated cleaning for various floor types, offering both vacuuming and mopping functionalities. It features 4000Pa suction power, personalized cleaning adjustments, and self-charging capabilities.
Safety Instructions
Always follow basic safety precautions when using electrical appliances to reduce the risk of fire, electric shock, or injury.
- Do not operate the robot vacuum near open flames or heat sources.
- Ensure the charging base is placed on a flat, stable surface against a wall.
- Keep loose clothing, hair, and body parts away from moving parts.
- Do not allow children to operate the robot vacuum. Supervise children and pets when the device is in use.
- Do not use the robot vacuum to pick up large debris, sharp objects, or liquids.
- Unplug the charging base during long periods of non-use.
- Only use the original power adapter and charging base provided with the product.
- Do not immerse the robot vacuum or its charging base in water.
Package Contents
Verify that all items are present in the package:
- ROPVACNIC Robot Vacuum Cleaner
- Charging Base
- Power Adapter
- Side Brushes (2 pairs)
- Mop Pad (1)
- Dustbin
- Water Tank
- Cleaning Tool
- User Manual
- Remote Control
- HEPA Filters (2)

Image: All components included in the ROPVACNIC Robot Vacuum Cleaner package, including the robot, charging base, remote control, brushes, and cleaning tools.
Product Diagram
Familiarize yourself with the main components of your robot vacuum.
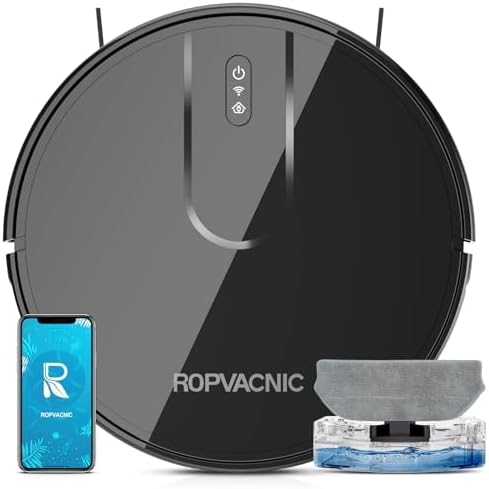
Image: Top view of the ROPVACNIC Robot Vacuum Cleaner, showing the power button, Wi-Fi indicator, and dustbin access.
- Main Unit: Houses the motor, battery, and sensors.
- Dustbin: Collects dry debris.
- Water Tank: Holds water for mopping function.
- Side Brushes: Sweep debris into the vacuum's path.
- Charging Contacts: Connects to the charging base.
- Universal Wheel: Allows for 360-degree movement.
- Cliff Sensors: Detects drops to prevent falls.
Setup
1. Install Side Brushes
Press the side brushes onto the square posts at the bottom of the robot until they click into place. Ensure the brushes are correctly aligned (L for left, R for right).
2. Place the Charging Base
Place the charging base against a wall in an open, uncluttered area. Ensure there is at least 0.5 meters (1.6 feet) of clear space on both sides and 1.5 meters (4.9 feet) in front of the charging base. Connect the power adapter to the charging base and plug it into a wall outlet.

Image: The robot vacuum automatically returning to its charging base, illustrating the self-charging feature.
3. Initial Charge
Place the robot vacuum onto the charging base, ensuring the charging contacts align. The indicator light on the robot will show charging status. For first-time use, fully charge the robot for at least 6 hours.
4. Connect to App (Optional)
For enhanced control and scheduling, download the "ROPVACNIC Smart" app from your app market. Follow the in-app instructions to connect your robot. This typically involves pressing and holding the power button for 5 seconds, then long-pressing the "power" and "home" buttons for 5 seconds until the green light flashes, connecting to 2.4GHz Wi-Fi, and adding your S1 robot vacuum to the app.

Image: Screenshot of the ROPVACNIC Smart app interface, showing options for scheduling, cleaning modes, and water control settings.
For app connection details, refer to the APP Instruction in the package or visit https://a.smart321.com/ropvacnicsmart.
Operating Instructions
Starting a Cleaning Cycle
- Manual Start: Press the power button on the robot or the "Clean" button on the remote control.
- App Control: Use the ROPVACNIC Smart app to start, stop, or schedule cleaning.
- Voice Control: Compatible with Amazon Alexa and Google Home. Enable the ROPVACNIC skill/action and use commands like "Alexa, turn on vacuum cleaner."
Cleaning Modes
The robot vacuum offers multiple cleaning modes to suit different needs:
- Auto Cleaning: The robot automatically navigates and cleans the entire floor area.
- Spot Cleaning: Concentrates cleaning on a specific dirty area. Place the robot in the center of the area and activate spot cleaning.
- Edge Cleaning: Cleans along walls and furniture edges.
- Scheduled Cleaning: Set specific times for the robot to clean automatically via the app.
- Manual Control: Use the remote control or app to direct the robot's movement.

Image: Illustrations of different cleaning modes including Smart, Edge, Scheduled, Spot, and Manual, demonstrating the robot's versatility.
Using the Mopping Function
To use the mopping function:
- Fill the water tank with clean water. Do not use cleaning solutions that may clog the nozzle.
- Attach the mop pad securely to the water tank.
- Insert the filled water tank into the robot vacuum.
- Select the desired water flow setting (4-stage adjustment) via the app.
- Start a cleaning cycle. The robot will vacuum and mop simultaneously.
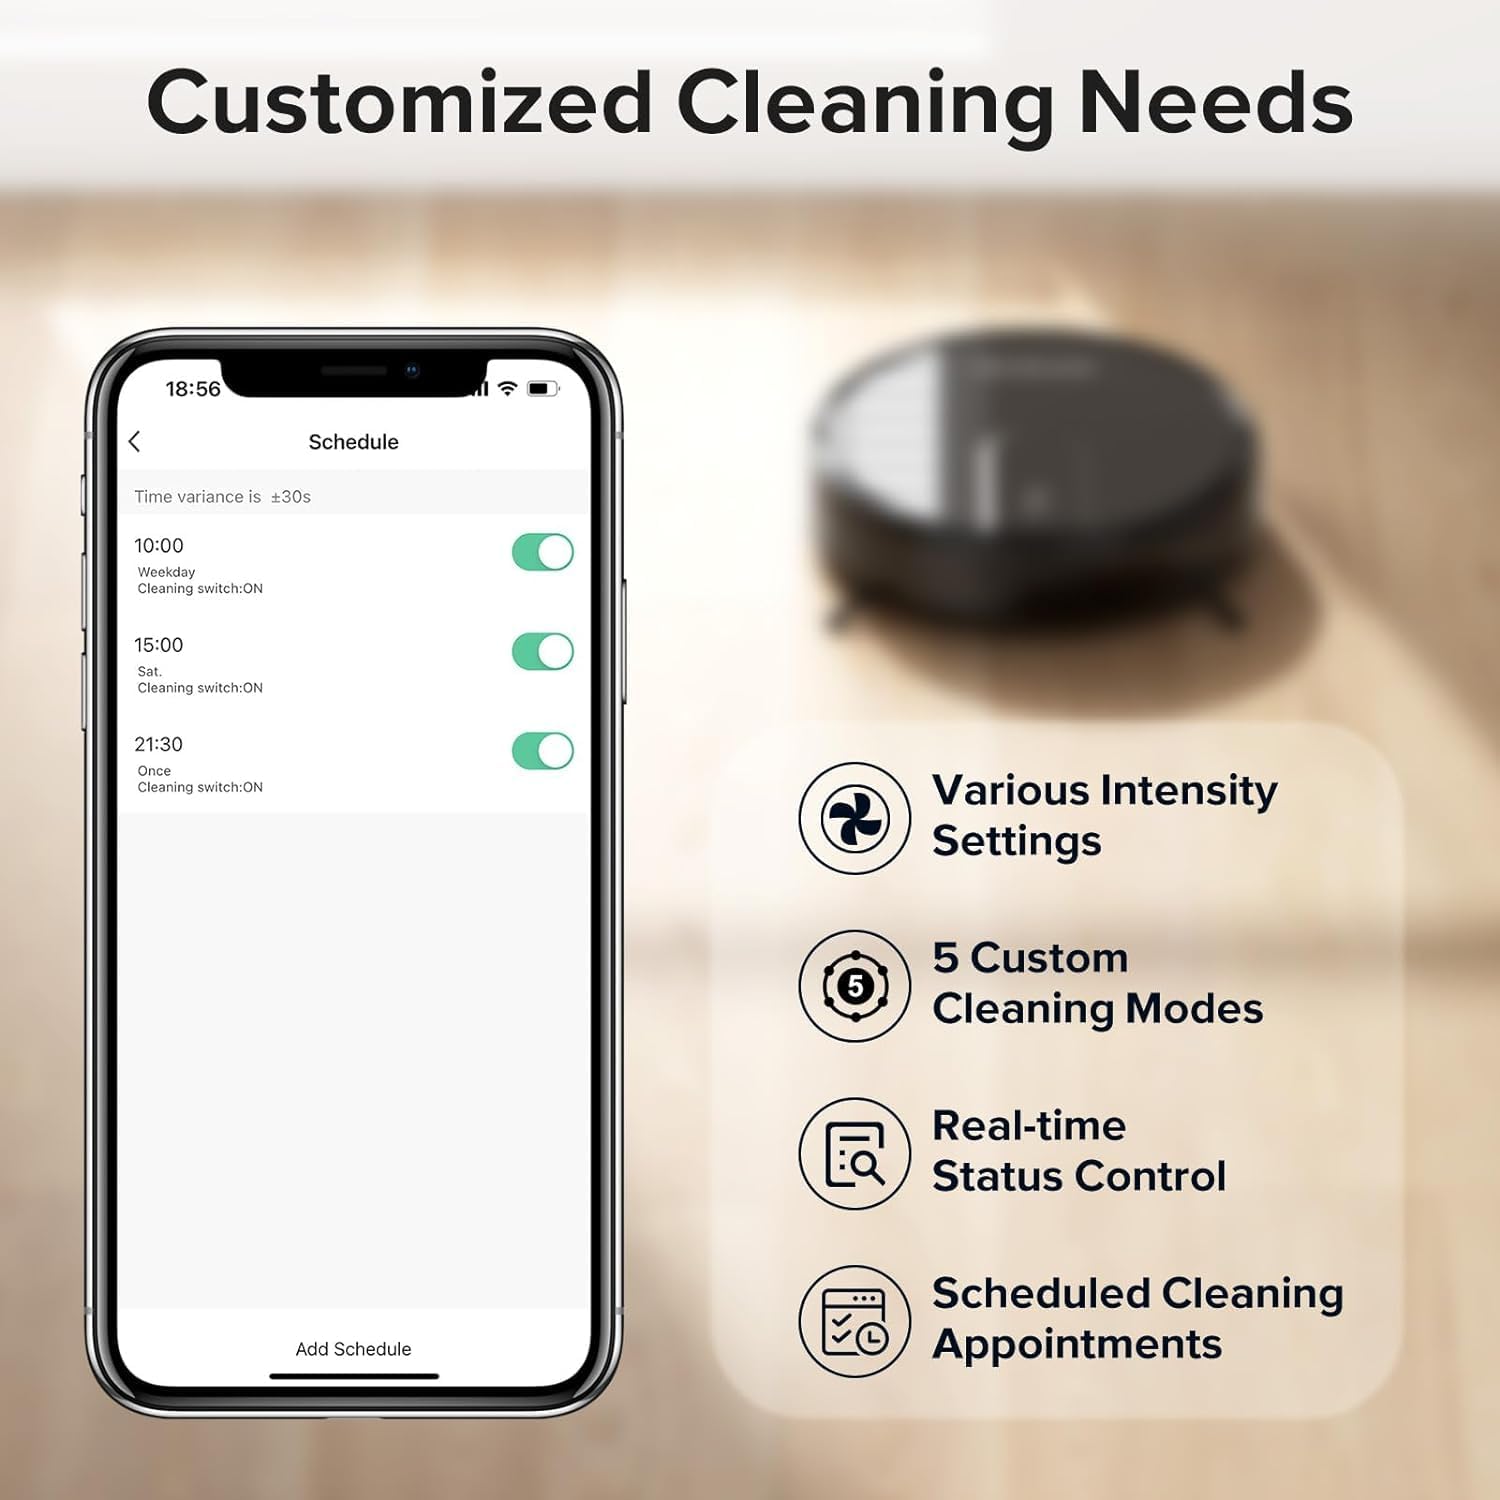
Image: The ROPVACNIC Robot Vacuum actively mopping a hard floor, showing the water flow and coverage area.
The robot features an electrically controlled water tank for precise water output and a large, thickened flannel particle mopping pad for effective cleaning.
Maintenance
Regular maintenance ensures optimal performance and extends the lifespan of your robot vacuum.
Emptying the Dustbin
Empty the dustbin after each cleaning cycle or when the "Dustbin Full" indicator appears. Press the release button to remove the dustbin, open it, and discard the contents. Rinse the dustbin with water if necessary, and allow it to air dry completely before reinserting.
Cleaning Filters
Tap the HEPA filter to remove loose dirt. Rinse the primary filter with water. Do not wash the HEPA filter. Replace filters every 3-6 months, or more frequently depending on usage.
Cleaning Side Brushes
Check side brushes regularly for tangled hair or debris. Use the provided cleaning tool or scissors to cut and remove any tangled material. Replace worn or damaged brushes.
Cleaning Sensors and Charging Contacts
Wipe the cliff sensors and charging contacts on both the robot and the charging base with a clean, dry cloth. This prevents charging issues and ensures proper navigation.
Cleaning the Mop Pad and Water Tank
After mopping, remove the mop pad and wash it thoroughly. Allow it to air dry. Empty any remaining water from the water tank and rinse it. Ensure the water tank is dry before storage.
Troubleshooting
| Problem | Possible Cause | Solution |
|---|---|---|
| Robot does not turn on. | Low battery; Power switch off. | Charge the robot; Ensure power switch is ON. |
| Robot cannot charge. | Charging contacts dirty; Charging base not powered. | Clean charging contacts; Check power connection to charging base. |
| Robot gets stuck frequently. | Obstacles (cables, rugs); Cliff sensors dirty. | Clear obstacles; Clean cliff sensors. |
| Poor cleaning performance. | Dustbin full; Filters clogged; Brushes tangled. | Empty dustbin; Clean/replace filters; Clean brushes. |
| Mopping function not working. | Water tank empty; Mop pad not attached correctly. | Fill water tank; Reattach mop pad securely. |
| App connection issues. | Incorrect Wi-Fi (not 2.4GHz); Robot not in pairing mode. | Ensure 2.4GHz Wi-Fi; Re-enter pairing mode as per setup instructions. |
Specifications
| Feature | Detail |
|---|---|
| Brand | ROPVACNIC |
| Model | S1 |
| Suction Power | 4000Pa |
| Battery Capacity | 4400 mAh |
| Max Runtime | 120 minutes |
| Mopping Area | Up to 2683 sqft |
| Water Tank Capacity | 250 ML |
| Control Methods | App, Remote Control, Voice (Amazon Echo, Google Home) |
| Special Features | Pet hair pick-up, Simultaneous vacuuming & mopping, Advanced Obstacle Avoidance, Self-charging |
| Dimensions (approx.) | 42.4 x 33.7 x 10.9 cm (Parcel Dimensions) |
| Item Weight | 3.2 kg |

Image: The ROPVACNIC Robot Vacuum demonstrating its 4000Pa suction power, effectively cleaning various types of debris.

Image: Illustration of the robot vacuum's self-charging capability and its 120-minute max runtime with a 4400 mAh battery.
Warranty and Support
For warranty information and technical support, please refer to the warranty card included in your package or contact ROPVACNIC customer service through the contact information provided on the official ROPVACNIC website or within the ROPVACNIC Smart app.
Please have your product model (S1) and purchase details ready when contacting support.
Related documentsS1


Ask a question about this manual
Ask about setup, troubleshooting, compatibility, parts, safety, or missing instructions. Manuals+ will review the question and use this page’s manual context to help answer it.