
1. Important Safety Information
Read all instructions carefully before installation and use. Failure to follow these instructions may result in electric shock, fire, or personal injury. This appliance is not intended for use by persons with reduced physical, sensory, or mental capabilities, or lack of experience and knowledge, unless they have been given supervision or instruction concerning use of the appliance by a person responsible for their safety.
- Electrical Installation: All electrical connections must be performed by a qualified electrician in accordance with national and local electrical codes.
- Ventilation: Ensure proper ventilation in the sauna room as specified by sauna construction guidelines.
- Water Application: Only pour water on the sauna stones. Do not pour water directly on the heating elements or control unit. Use only clean tap water.
- Clearances: Maintain specified safety distances from walls, benches, and other materials. Refer to the installation diagram for exact measurements.
- Children: Keep children away from the heater when it is in operation. The heater surface and stones become extremely hot.
- Flammable Materials: Never place flammable materials on or near the heater.
2. Package Contents
Verify that all components are present before beginning installation:
- Harvia KIP-80W Sauna Heater
- Harvia Xenio Digital Wall Control
- Harvia CX004 Wireless Module
- Sauna Stones (Black Vulcanite)
- Mounting Hardware
- Instruction Manuals for Heater and Control Unit
3. Setup and Installation
3.1 Heater Placement and Mounting
The Harvia KIP-80W heater is designed for wall mounting. Ensure the sauna room size is appropriate for an 8kW heater (up to 425 cubic feet).

Image: Harvia KIP-80W Electric Sauna Heater. This image shows the stainless steel heater unit with sauna stones visible in the top basket.
- Select a suitable location on the sauna wall, ensuring required safety clearances from benches and other structures.
- Mark the mounting points for the heater bracket.
- Securely fasten the mounting bracket to the wall using appropriate hardware.
- Lift the heater onto the bracket, ensuring it is firmly seated and level.
3.2 Electrical Connections
WARNING: All electrical work must be performed by a licensed electrician.
- Ensure the main power supply to the sauna is disconnected before starting any electrical work.
- Connect the heater to the appropriate power supply (240V, 1-phase) as per the wiring diagram provided with the heater.
- Connect the Xenio Digital Wall Control to the heater and power supply according to its specific wiring instructions.
- Connect the CX004 Wireless Module to the Xenio control unit.
3.3 Sauna Stone Placement
Proper stone placement is crucial for efficient heating and safe operation.
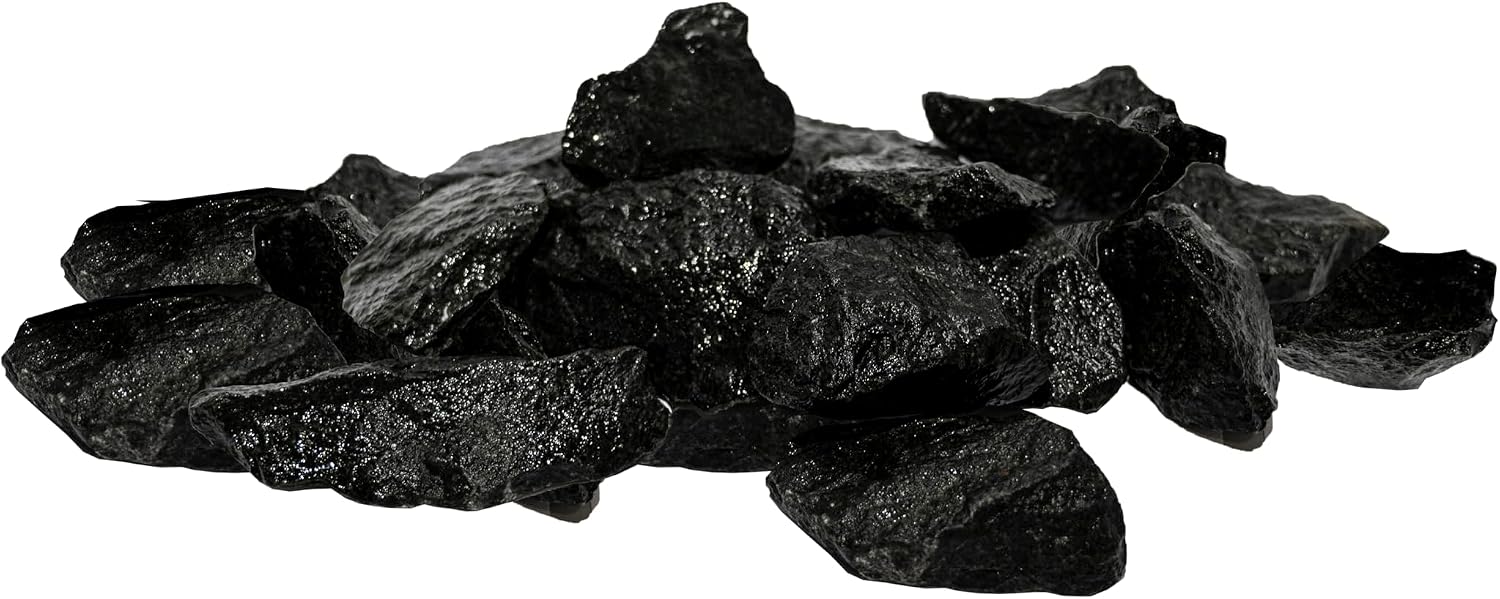
Image: Harvia Black Vulcanite Sauna Heater Stones. This image displays a pile of dark, irregularly shaped sauna stones.
- Rinse the sauna stones thoroughly to remove any dust or debris.
- Place the larger stones at the bottom of the heater's stone compartment, ensuring they do not block the air circulation channels.
- Arrange smaller stones on top, filling the compartment loosely. Do not pack stones too tightly, as this restricts airflow and can damage heating elements.
- Ensure no heating elements are visible after stones are placed.

Image: Harvia KIP-80W Heater installed in a sauna room, viewed from the side. The heater is positioned between two wooden benches, with stones visible in the top basket.
4. Operating Instructions (Xenio Digital Wall Control)
The Harvia Xenio Digital Wall Control provides precise control over your sauna heater.

Image: Harvia Xenio Digital Wall Control. This shows a black digital control panel with red LED display indicating temperature and time, along with touch buttons for power, menu, temperature adjustment, and wireless connectivity.
4.1 Basic Operation
- Power On/Off: Press the power button (circle with vertical line) to turn the heater on or off. The display will illuminate when on.
- Temperature Adjustment: Use the '+' and '-' buttons to set the desired sauna temperature. The current temperature and target temperature will be displayed.
- Operating Time: Press the 'MENU' button to access settings, then navigate to adjust the operating time. The heater typically has a maximum operating time for safety.
- Pre-setting Time: The Xenio control allows you to pre-set a start time for your sauna. Refer to the detailed Xenio manual for specific instructions on this feature.
4.2 Using the CX004 Wireless Module
The CX004 Wireless Module enables remote control of your sauna via a mobile application.

Image: Harvia Xenio WiFi Sauna Remote Control Box. The packaging shows a smartphone screen displaying the MyHarvia app interface for remote sauna control, alongside the Xenio digital control unit.
- App Download: Download the 'MyHarvia' application from your device's app store (available for iOS and Android).
- Pairing: Follow the instructions within the MyHarvia app to pair your smartphone with the CX004 Wireless Module. This typically involves activating a pairing mode on the Xenio control and confirming within the app.
- Remote Control: Once paired, you can remotely turn the heater on/off, adjust temperature, and set operating times from your mobile device.
- Safety Features: The app and control system include safety features to prevent unintended operation. Always ensure the sauna is clear before remote activation.
4.3 Applying Water to Stones
For a traditional sauna experience, carefully ladle small amounts of water onto the hot sauna stones. This creates steam (löyly) and increases humidity.
- Use a dedicated sauna ladle and bucket.
- Pour water slowly and evenly over the stones.
- Avoid pouring excessive amounts of water at once, as this can cool the stones too quickly and potentially damage the heater.
- Never pour water directly onto the heating elements.
5. Maintenance
5.1 Heater and Stones
- Stone Inspection: Periodically inspect the sauna stones (at least once a year, or more frequently with heavy use). Replace any cracked, crumbling, or discolored stones. Rearrange stones to ensure good airflow.
- Heater Cleaning: Ensure the heater is completely cool and disconnected from power before cleaning. Wipe the exterior with a damp cloth. Do not use abrasive cleaners.
- Mineral Deposits: If hard water is used, mineral deposits may accumulate on the stones and heater. These can be carefully brushed off when the heater is cold.
5.2 Sauna Room
- Ventilation: Ensure the sauna room's ventilation system is clear and functioning correctly.
- Wood Surfaces: Clean wooden surfaces with a mild sauna cleaner or simply wipe with a damp cloth. Avoid harsh chemicals that can damage the wood.
6. Troubleshooting
If you encounter issues with your Harvia sauna heater, refer to the following common problems and solutions:
| Problem | Possible Cause | Solution |
|---|---|---|
| Heater does not turn on. | No power, circuit breaker tripped, control unit error. | Check main power supply and circuit breaker. Ensure control unit is properly connected and powered. |
| Heater does not heat sufficiently. | Incorrect temperature setting, poor stone placement, faulty heating element. | Verify temperature setting. Rearrange stones for better airflow. If problem persists, contact a qualified technician. |
| Control unit display is blank. | No power to control unit, loose connection. | Check power supply to the control unit and all wiring connections. |
| Wireless control not connecting. | Pairing issue, Wi-Fi signal problem, app error. | Ensure CX004 module is powered. Re-attempt pairing process. Check Wi-Fi signal strength. Restart app/phone. |
| Heater makes unusual noises. | Loose stones, foreign object in heater. | Turn off and cool heater. Inspect stone compartment for loose items or debris. |
For issues not listed here or if troubleshooting steps do not resolve the problem, contact Harvia customer support or a qualified service technician.
7. Specifications
- Model: Harvia KIP-80W
- Power Output: 8 kW
- Voltage: 240V, 1-Phase
- Recommended Sauna Room Size: Up to 425 cubic feet (CF)
- Product Dimensions: 20 x 15 x 26 inches (Height x Width x Depth)
- Control Unit: Harvia Xenio Digital Wall Control
- Wireless Connectivity: Harvia CX004 Wireless Module
- Sauna Stones: Included (Black Vulcanite)
8. Warranty and Support
Harvia products are designed and manufactured in Finland, reflecting a commitment to quality and durability. For specific warranty terms and conditions, please refer to the warranty card included with your product or visit the official Harvia website.
For technical assistance, spare parts, or warranty claims, please contact Harvia customer support or your authorized Harvia dealer. When contacting support, please have your product model (KIP-80W) and serial number available.


