
Introduction
Welcome to the world of sewing with your new Lumina Linda sewing machine. This manual provides essential information for setting up, operating, maintaining, and troubleshooting your machine. Designed with beginners in mind, the Lumina Linda offers ease of use and reliable performance for a variety of sewing projects, from simple repairs to creative crafts. Please read this manual thoroughly before using your machine to ensure safe and efficient operation.
Important Safety Instructions
When using an electrical appliance, basic safety precautions should always be followed, including the following:
- Read all instructions before using this sewing machine.
- Keep fingers away from all moving parts. Special care is required around the sewing machine needle.
- Always use the proper needle plate. The wrong plate can cause the needle to break.
- Do not use bent needles.
- Do not pull or push fabric while stitching. This may deflect the needle, causing it to break.
- Switch the sewing machine off when making any adjustments in the needle area, such as threading the needle, changing the needle, threading the bobbin, or changing the presser foot.
- Always unplug the sewing machine from the electrical outlet when removing covers, lubricating, or when making any other user servicing adjustments mentioned in the instruction manual.
- Never drop or insert any object into any opening.
- Do not use outdoors.
- Do not operate where aerosol (spray) products are being used or where oxygen is being administered.
Product Overview
Key Features
- 12 Built-in Stitches: Includes essential stitches for basic sewing, fashion, quilting, and decorative projects, along with a four-step buttonhole.
- Full Metal Frame: Provides stability and durability for consistent, skip-free sewing.
- Compact & Portable Design: Lightweight and easy to transport, ideal for small spaces or classes.
- Versatile Free Arm: Simplifies sewing of cylindrical items like cuffs, sleeves, and pant hems.
- Front-Loading Bobbin: Easy access for bobbin insertion and threading.
- Easy Stitch Selection: Intuitive dial for choosing desired stitches.
- Adjustable Thread Tension: Allows for fine-tuning stitch quality.
Machine Components and Dimensions

Figure 1: Lumina Linda Sewing Machine with key components and dimensions. The machine measures 13.5 inches in length, 5.7 inches in width, and 10.6 inches in height, featuring a carry handle, free arm, and a dial for 12 built-in stitches.
Durable Construction
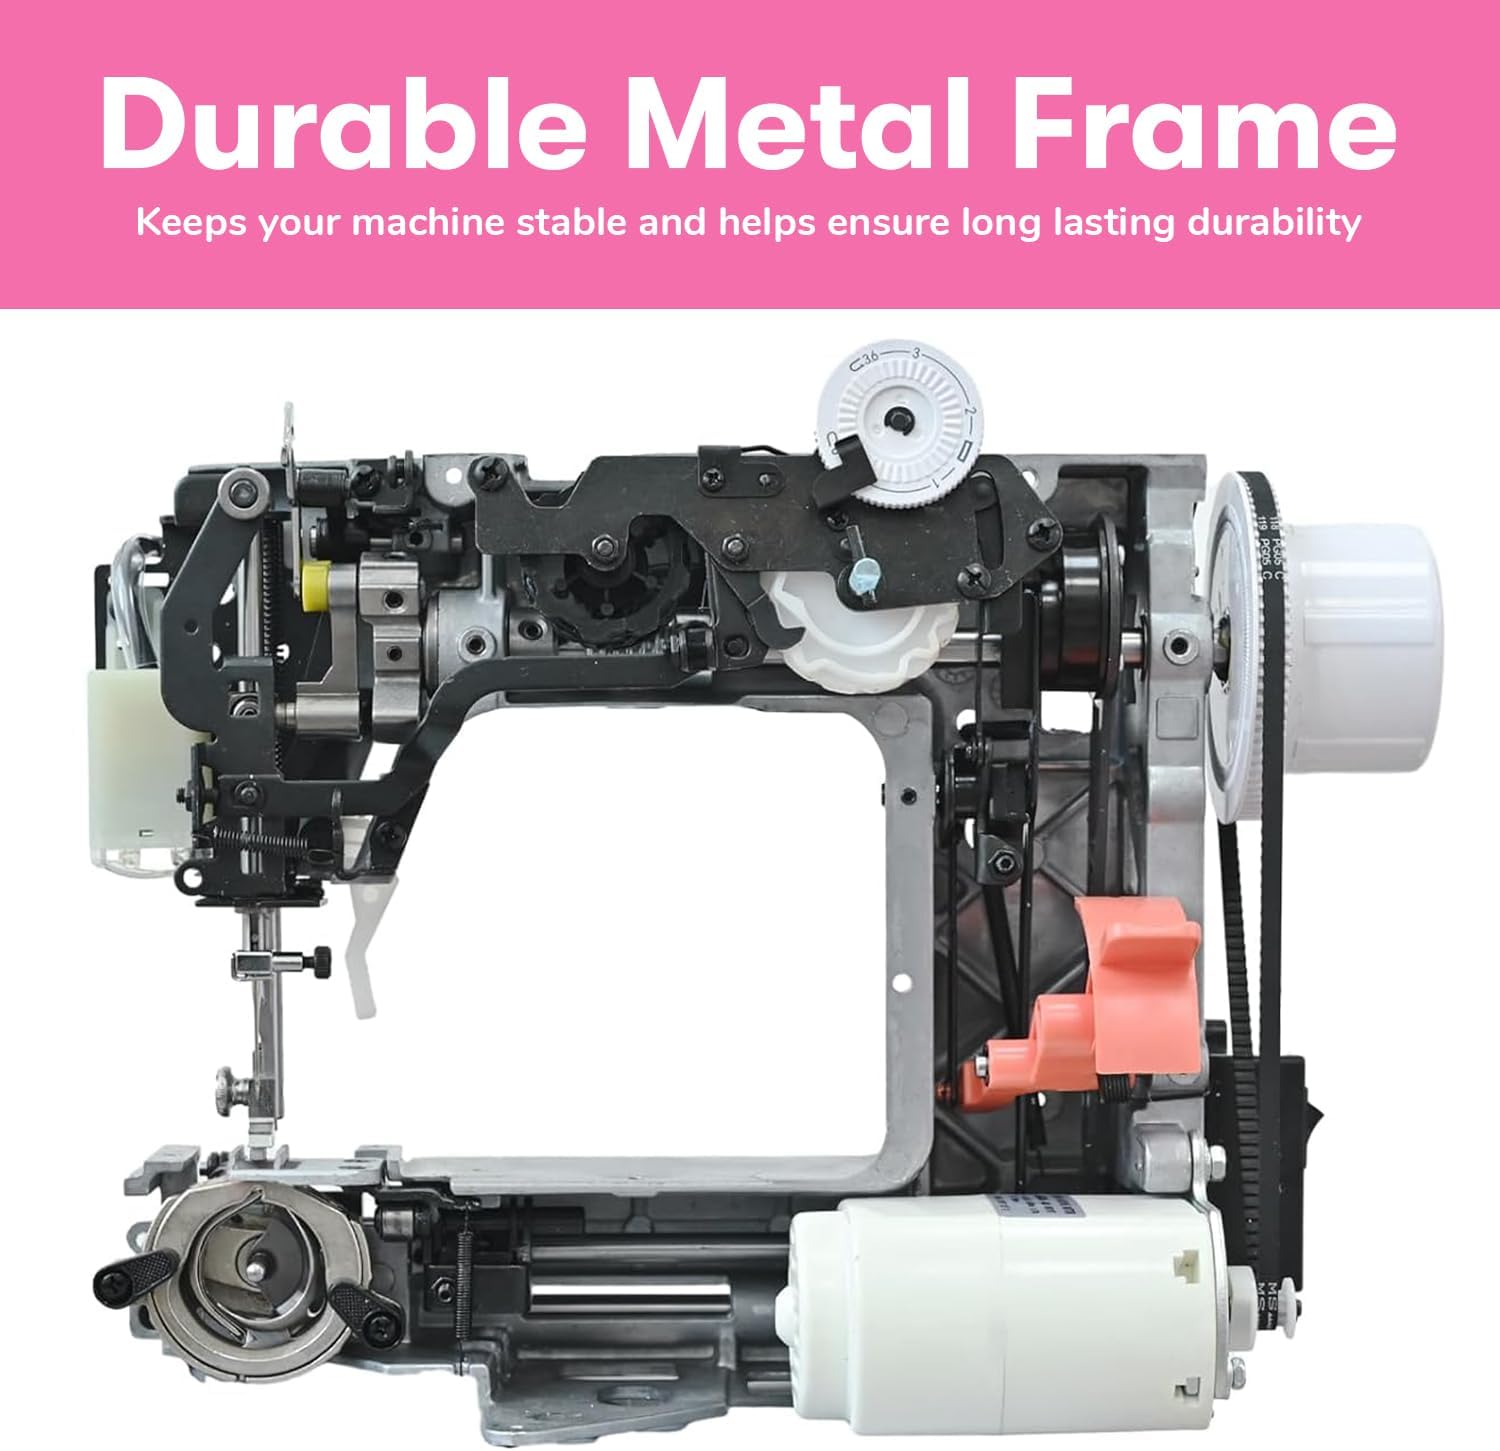
Figure 2: Internal view highlighting the durable metal frame of the Lumina Linda sewing machine, designed for stability and longevity.
Included Accessories
Your Lumina Linda sewing machine comes with the following accessories:
- Foot pedal
- Buttonhole foot and standard foot
- Power cord
- Machine cover
- Spool pin disc
- Spools
- Brush
- 2 bobbins
- Seam ripper/buttonhole opener
- Needle set
Setup
Unpacking and Power Connection
- Carefully remove the machine from its packaging.
- Place the machine on a stable, flat surface.
- Connect the foot pedal to the machine's designated port.
- Plug the power cord into the machine and then into a suitable electrical outlet.
Threading the Machine
Proper threading is crucial for good stitch quality. Follow these steps for both the upper thread and the bobbin.
Winding the Bobbin
- Place a spool of thread on the spool pin.
- Guide the thread through the upper thread guide and around the bobbin winding tension disc.
- Insert the thread through the hole in the bobbin from the inside out.
- Place the bobbin onto the bobbin winder spindle and push it to the right.
- Hold the thread end and press the foot pedal gently. Once a few turns are made, cut the excess thread.
- Continue winding until the bobbin is full. Push the spindle to the left and remove the bobbin.
Inserting the Front-Loading Bobbin
- Open the bobbin cover located at the front of the machine.
- Insert the wound bobbin into the bobbin case, ensuring the thread unwinds in the correct direction (usually counter-clockwise).
- Draw the bobbin thread through the tension spring and into the thread guide.
- Close the bobbin cover.
Threading the Upper Thread
- Raise the needle to its highest position using the handwheel.
- Place a spool of thread on the spool pin.
- Guide the thread through the upper thread guide.
- Follow the numbered threading path indicated on the machine, ensuring the thread passes through the tension discs and into the take-up lever.
- Thread the needle from front to back.
- Hold the upper thread, turn the handwheel to lower and raise the needle, catching the bobbin thread. Pull both threads under the presser foot and to the back.
Operating Instructions
Basic Sewing Operations

Figure 3: Demonstrates the easy stitch selection dial, adjustable stitch length, and adjustable thread tension features of the Lumina Linda sewing machine.
- Select a Stitch: Turn the stitch selector dial to choose one of the 12 built-in stitches. Refer to the stitch chart on the machine for options.
- Adjust Stitch Length/Width: While the Lumina Linda has preset stitch length and width for ease of use, some adjustments can be made via the tension dial if needed for specific fabrics.
- Place Fabric: Lift the presser foot, place your fabric under it, and lower the presser foot.
- Start Sewing: Gently press the foot pedal to begin sewing. The harder you press, the faster the machine will sew.
- Reverse Stitching: Use the reverse lever/button for back-tacking at the beginning and end of seams to secure stitches.
- Finish Sewing: When finished, raise the needle to its highest position, lift the presser foot, and pull the fabric away from the machine. Cut the threads using the thread cutter or scissors.
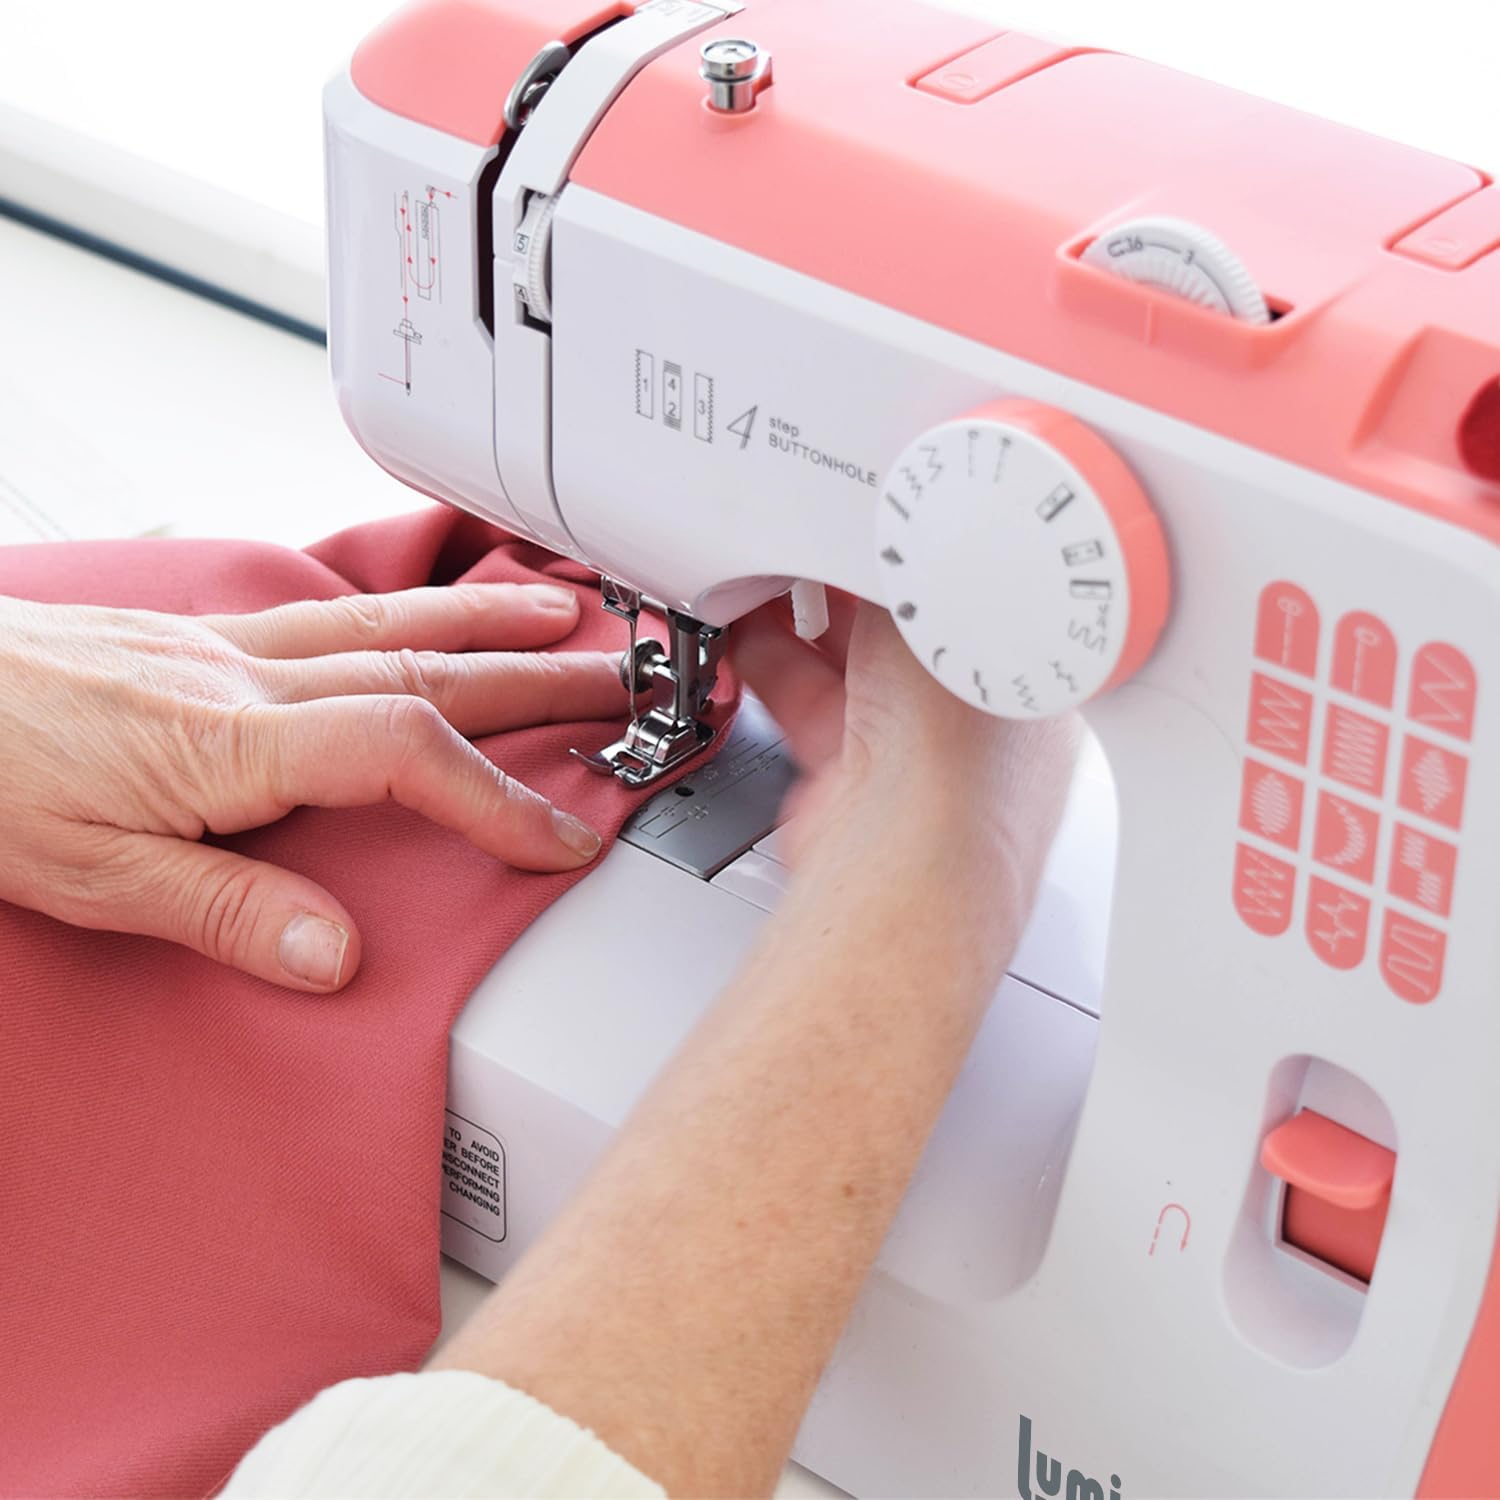
Figure 4: A user operating the Lumina Linda sewing machine, demonstrating how to guide fabric for a straight seam.
Four-Step Buttonhole
The Lumina Linda features a straightforward four-step buttonhole process:
- Attach the buttonhole foot.
- Mark the desired buttonhole length on your fabric.
- Set the stitch selector dial to the first buttonhole step (usually indicated by a symbol).
- Sew the first side of the buttonhole, stopping at the marked length.
- Switch to the second step to create the bottom bar tack.
- Switch to the third step to sew the second side of the buttonhole.
- Switch to the fourth step to create the top bar tack.
- Carefully cut open the buttonhole using a seam ripper, being careful not to cut the stitches.
Using the Free Arm
To use the free arm, simply slide off the accessory storage compartment. This exposes the narrow free arm, which is ideal for sewing:
- Cuffs
- Sleeves
- Pant hems
- Small, tubular items
Maintenance
Cleaning Your Machine
Regular cleaning helps maintain your machine's performance. Always unplug the machine before cleaning.
- Remove Lint: Use the included brush to remove lint and dust from the bobbin area, feed dogs, and under the needle plate.
- Wipe Exterior: Wipe the exterior surfaces with a soft, dry cloth. Do not use harsh chemicals or abrasive cleaners.
- Needle Plate: Remove the needle plate (if applicable) to access and clean the feed dogs and bobbin area more thoroughly.
Needle Replacement
Replace your needle regularly (after 8-10 hours of sewing or when it becomes dull/bent) to prevent skipped stitches and fabric damage.
- Turn off and unplug the machine.
- Loosen the needle clamp screw.
- Remove the old needle.
- Insert a new needle with the flat side facing the back of the machine, pushing it up as far as it will go.
- Tighten the needle clamp screw securely.
Troubleshooting
If you encounter issues with your Lumina Linda, consult this section for common problems and solutions.
| Problem | Possible Cause | Solution |
|---|---|---|
| Skipped Stitches | Incorrect needle, bent needle, improper threading, wrong needle size for fabric. | Replace needle, re-thread machine, use correct needle type/size. |
| Thread Breaking | Incorrect threading, tension too tight, poor quality thread, bent needle, burr on needle plate. | Re-thread, adjust tension, use quality thread, replace needle, check for burrs. |
| Fabric Jamming | Incorrect presser foot pressure, pulling fabric, tangled bobbin thread. | Adjust presser foot pressure, guide fabric gently, check bobbin area for tangles. |
| Machine Not Starting | Power cord not plugged in, foot pedal not connected, power switch off. | Check all connections, ensure power switch is on. |
Specifications
| Feature | Detail |
|---|---|
| Model Number | Linda |
| Brand | Lumina |
| Product Dimensions | 13.5"D x 5.7"W x 10.6"H |
| Item Weight | 13 Pounds |
| Material | Metal (Full Metal Frame) |
| Power Source | AC (Electric) |
| Built-in Stitches | 12 |
| Buttonhole Type | Four-Step |
| Bobbin Type | Front-Loading |
| UPC | 198168760666 |
Warranty and Support
Warranty Information
Your Lumina Linda sewing machine is covered by a manufacturer's warranty against defects in materials and workmanship. Please refer to the warranty card included with your purchase for specific terms, conditions, and duration. Keep your proof of purchase for warranty claims.
Customer Support
For technical assistance, troubleshooting beyond this manual, or warranty service, please contact Lumina customer support. Contact information can typically be found on the Lumina website or on the packaging of your product.
