
1. Introduction
Thank you for choosing the Lavinda 35000RPM Professional Cordless Electric Nail Drill. This device is designed to provide a smooth, efficient, and professional-grade nail care experience for both salon and home use. It features an upgraded 2nd generation coreless motor for low noise and vibration, a smart safety monitoring system, and a portable rechargeable design for convenience.
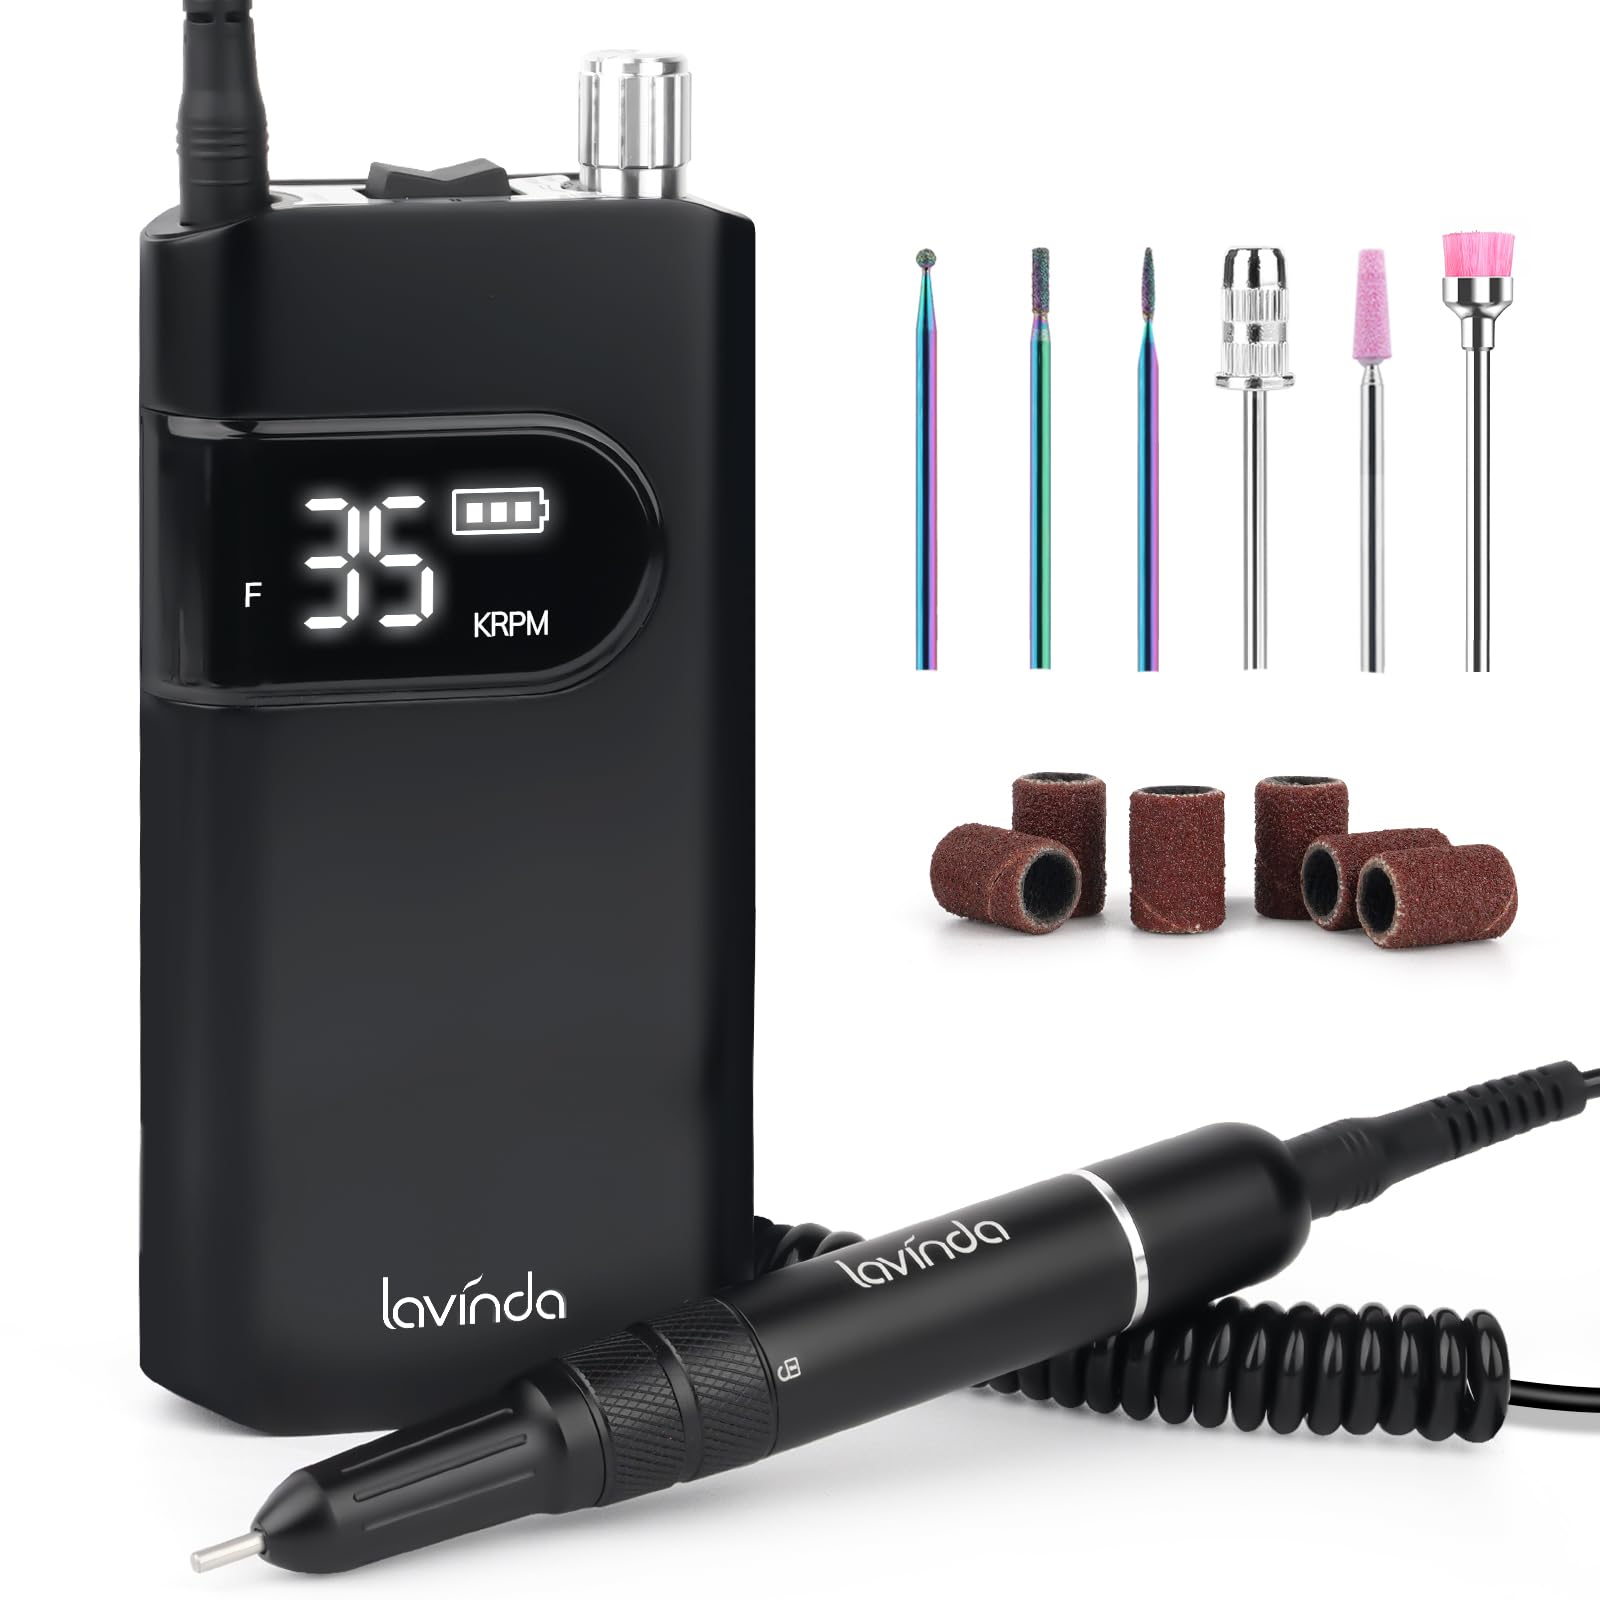
Figure 1: Lavinda 35000RPM Professional Cordless Electric Nail Drill.
2. Safety Information
Please read all instructions carefully before using the device. Keep this manual for future reference.
- This product is intended for nail work only.
- Keep the device away from water and moisture.
- Do not disassemble or attempt to repair the device yourself. Contact customer support if issues arise.
- Keep out of reach of children.
- Always turn off the machine before changing drill bits.
- Avoid touching the rotating bit during operation.
- Use appropriate safety precautions, such as wearing protective eyewear, to prevent injury from flying debris.
3. Product Overview
3.1 Components
The Lavinda Electric Nail Drill comes with the following components:
- Main Control Unit (Power Box)
- Handpiece (Nail Drill Pen)
- USB-C Charging Cable
- 6 Multifunction Nail Drill Bits (3/32”)
- Sanding Bands
- User Manual

Figure 2: Included components of the Lavinda Electric Nail Drill.
3.2 Device Features
- Upgraded 2nd Generation Coreless Motor: Delivers outstanding performance with low noise, minimal heat, and reduced vibration.
- 35,000 RPM Max Speed: Provides powerful and efficient nail care.
- Smart Safety Monitoring System: Features a self-protection chip that displays a triangle warning icon for improper use and an "E2" error code for overload, ensuring safe operation.
- Rechargeable & Portable: High-capacity battery for long-lasting power and a lightweight, compact design for easy transport.
- Beginner-Friendly Design: Intuitive controls make it easy for all skill levels.

Figure 3: Dimensions and control layout of the nail drill.
3.3 Official Product Video
Video 1: An overview of the Lavinda Rechargeable Nail Efile, demonstrating its features and portability for acrylic and gel nails.
4. Setup
4.1 Charging the Device
Before first use, fully charge the main control unit. Connect the provided USB-C charging cable to the Type-C charging port on the unit and plug the other end into a suitable power adapter (not included).

Figure 4: Charging the main control unit.
4.2 Attaching/Changing Drill Bits
Ensure the device is turned off before changing any drill bits to prevent injury.
- Twist the handpiece to the 'Unlock' position (indicated by an open padlock icon).
- Carefully pull out the current drill bit.
- Insert the desired drill bit into the handpiece.
- Twist the handpiece back to the 'Lock' position (indicated by a closed padlock icon) to secure the bit.

Figure 5: Steps for replacing a nail drill bit.
5. Operating Instructions
5.1 Power On/Off and Speed Adjustment
- Connect the handpiece to the main control unit.
- Slide the ON/OFF switch to the 'ON' position to power on the device.
- Rotate the speed control knob to adjust the RPM (rotations per minute). The current speed will be displayed on the screen.
- To turn off, slide the ON/OFF switch to the 'OFF' position.
5.2 Forward/Reverse and Pause Functions
- The F/R/Pause button allows you to switch between Forward (F) and Reverse (R) rotation directions, or pause the operation (PP).
- Select the appropriate direction based on your dominant hand and the area of the nail you are working on.
5.3 Smart Safety Monitoring System
- If improper use is detected, a triangle warning icon will appear on the display, prompting corrective action.
- If the device overloads, an "E2" error code will be displayed. Turn off the device, check for any obstructions or issues, and restart.
5.4 Applications of Drill Bits
The versatile kit includes 6 high-quality 3/32” nail drill bits suitable for various tasks:
- Grinding: For shaping and refining nail surfaces.
- Polishing: To achieve a smooth and shiny finish.
- Shaping: Ideal for acrylic, gel, and natural nails.
- Cuticle Work: Gently push back or remove excess cuticles.
- Callus Removal: Effective for pedicure treatments.

Figure 6: Versatile applications for manicure and pedicure.

Figure 7: Detailed view of the 6 multifunction nail drill bits and their uses.
5.5 Low Noise Operation
The advanced coreless motor ensures a quiet operation, typically below 40dB, providing a comfortable user experience.

Figure 8: Noise level comparison for the nail drill.
6. Maintenance
6.1 Cleaning
- After each use, gently wipe the handpiece and main unit with a soft, dry cloth.
- Clean drill bits using a small brush or an appropriate bit cleaner to remove dust and debris.
- Ensure all components are dry before storing.
6.2 Storage
Store the device and its accessories in the provided carrying case in a cool, dry place, away from direct sunlight and extreme temperatures.
7. Troubleshooting
- Device not turning on: Ensure the device is fully charged and the ON/OFF switch is in the 'ON' position.
- Drill bit not rotating: Check if the handpiece is twisted to the 'Lock' position and the bit is securely inserted.
- "E2" Error Code: Indicates an overload. Turn off the device, remove the bit, check for any obstructions, and restart. Reduce pressure during use.
- Triangle Warning Icon: Indicates improper use. Adjust your technique or ensure the bit is correctly installed.
- Excessive vibration or noise: Ensure the drill bit is properly inserted and locked. If the issue persists, the bit might be damaged and needs replacement.
8. Specifications
| Brand Name | Lavinda |
| Model Name | LA-905B |
| Item Model Number | LA-905B |
| Manufacturer | Lavinda |
| Power Source | Battery Powered |
| Input Power | 35 Watts |
| Maximum Rotational Speed | 35000 RPM |
| Material Type | Metal |
| Package Dimensions | 9.17 x 9.13 x 2.4 inches |
| Item Weight | 2.14 Pounds |
9. Warranty & Support
For any product inquiries, technical support, or warranty claims, please contact Lavinda customer service through the retailer where the product was purchased. Please retain your proof of purchase for warranty validation.