
1. Introduction
This manual provides comprehensive instructions for the safe and efficient operation of your Capresso 12-Cup Touchscreen Coffee Maker, Model 496.01. Please read all instructions carefully before first use and retain this manual for future reference.

Figure 1: The Capresso 12-Cup Touchscreen Coffee Maker with its glass carafe.
2. Important Safeguards
When using electrical appliances, basic safety precautions should always be followed to reduce the risk of fire, electric shock, and/or injury to persons, including the following:
- Read all instructions.
- Do not touch hot surfaces. Use handles or knobs.
- To protect against fire, electric shock, and injury to persons, do not immerse cord, plugs, or appliance in water or other liquid.
- Close supervision is necessary when any appliance is used by or near children.
- Unplug from outlet when not in use and before cleaning. Allow to cool before putting on or taking off parts, and before cleaning the appliance.
- Do not operate any appliance with a damaged cord or plug or after the appliance malfunctions, or has been damaged in any manner. Return appliance to the nearest authorized service facility for examination, repair, or adjustment.
- The use of accessory attachments not recommended by the appliance manufacturer may result in fire, electric shock, or injury to persons.
- Do not use outdoors.
- Do not let cord hang over edge of table or counter, or touch hot surfaces.
- Do not place on or near a hot gas or electric burner, or in a heated oven.
- Always attach plug to appliance first, then plug cord into the wall outlet. To disconnect, turn any control to “off,” then remove plug from wall outlet.
- Do not use appliance for other than intended use.
- Scalding may occur if the lid is removed during the brewing cycle.
3. Product Components
Familiarize yourself with the parts of your Capresso coffee maker:
- Water Reservoir
- Water Level Indicator
- Touchscreen Display Panel
- Filter Basket (removable)
- Glass Carafe with Handle
- Heating Plate
- Lid

Figure 2: Overview of the touchscreen display and its functions.

Figure 3: The removable filter basket and cone filter for coffee grounds.
4. Setup
- Unpack: Carefully remove all packaging materials and place the coffee maker on a flat, stable surface.
- Initial Cleaning: Before first use, wash the glass carafe and filter basket in warm, soapy water. Rinse thoroughly and dry. Wipe the exterior of the coffee maker with a damp cloth.
- First Brew Cycle (without coffee): Fill the water reservoir to the MAX line with fresh cold water. Place the empty carafe on the heating plate. Run a full brew cycle without coffee grounds to clean the internal components. Discard the water.
- Plug In: Connect the power cord to a standard 120V AC electrical outlet. The touchscreen display will illuminate.

Figure 4: The power cord for connecting the coffee maker to an electrical outlet.
5. Operating Instructions
5.1. Setting the Clock
- Press the TIME icon on the touchscreen.
- Use the +/- buttons (if available, or repeatedly tap TIME) to adjust the hour.
- Press TIME again to set the minutes.
- Press TIME a third time to confirm.
5.2. Brewing Coffee
- Fill Water Reservoir: Open the lid and fill the water reservoir with fresh, cold water to the desired cup marking on the side indicator. Do not exceed the MAX line.
- Add Coffee Grounds: Place a cone-style paper filter or the reusable filter (if included) into the filter basket. Add the desired amount of ground coffee. A general guideline is one tablespoon of coffee per cup.
- Place Carafe: Ensure the glass carafe is empty and properly seated on the heating plate.
- Select Cup Size: Press the SIZE icon to select the number of cups (2-12).
- Select Brew Strength: Press the BOLD icon to cycle through mild, medium, or bold strength settings.
- Start Brewing: Press the BREW icon to begin the brewing process. The indicator light will illuminate.
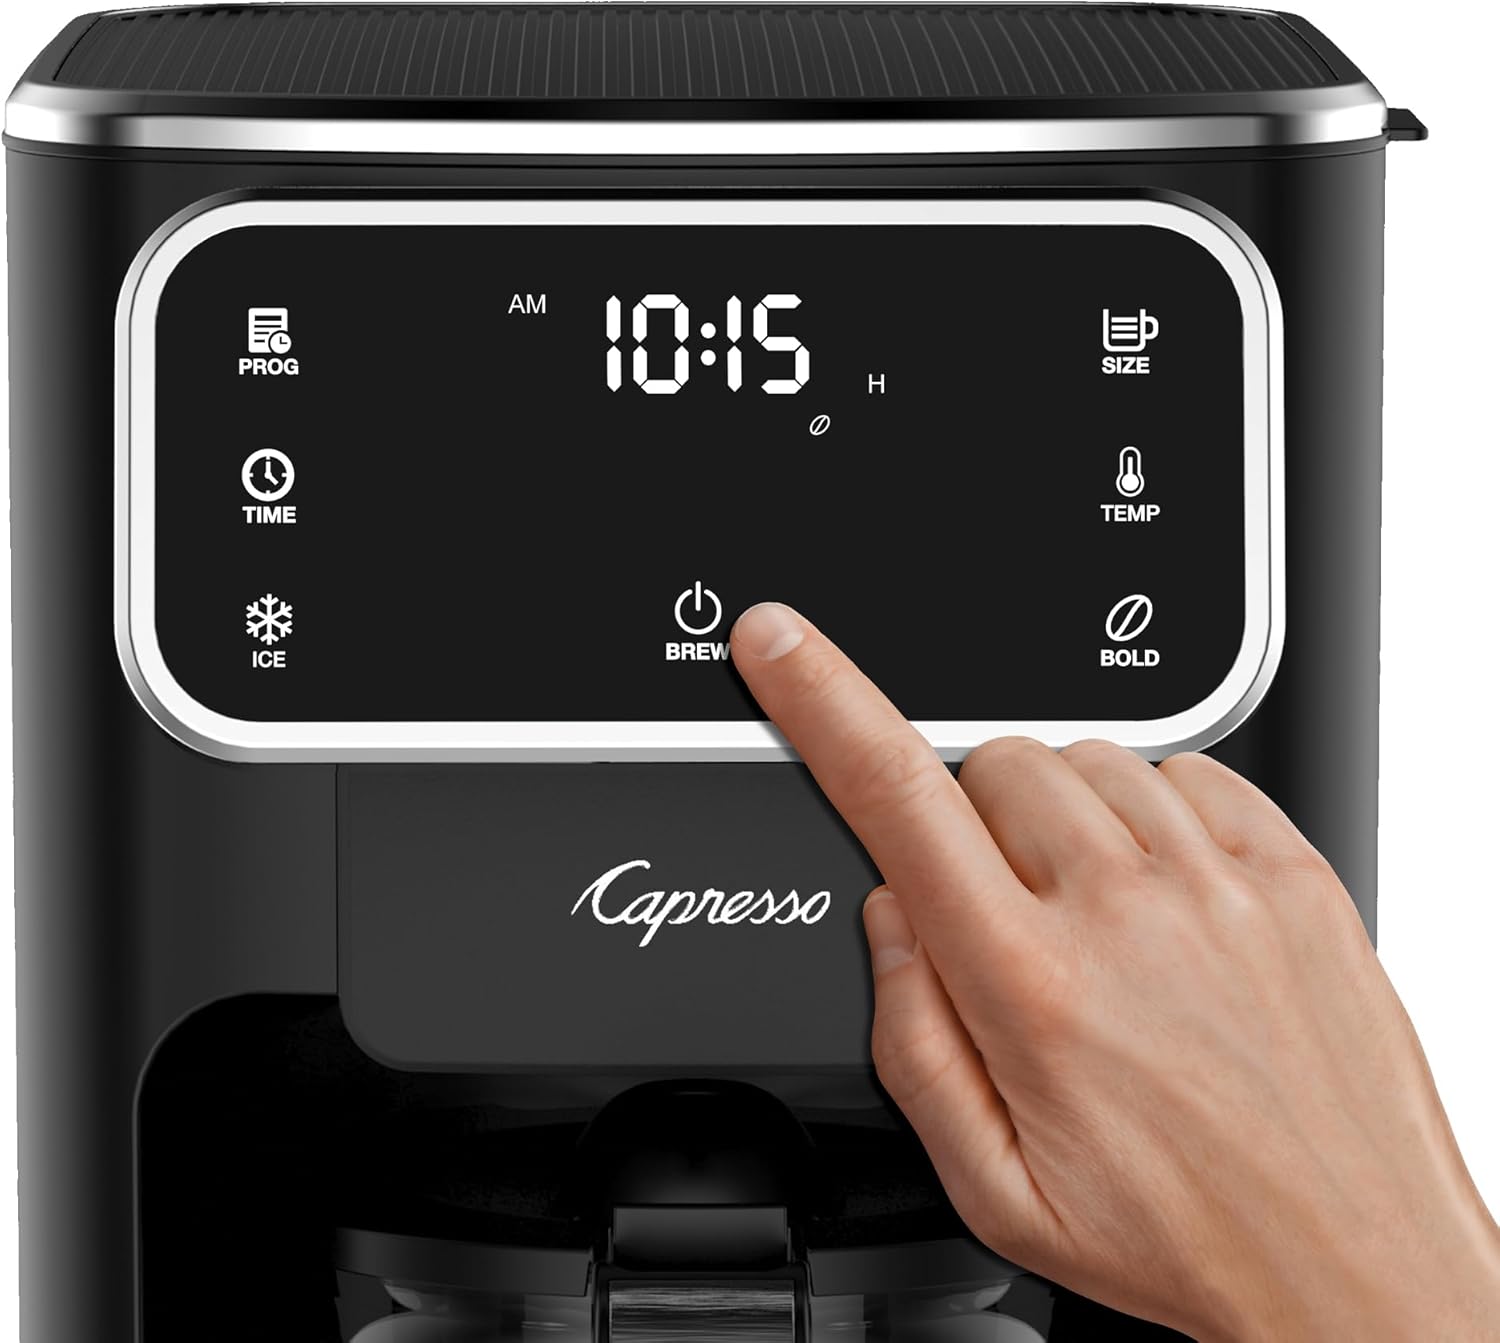
Figure 5: A hand pressing the BREW button on the touchscreen display to start coffee preparation.

Figure 6: Close-up of the water level indicator on the side of the coffee maker.
5.3. Iced Coffee Mode
The Iced Coffee Mode is designed to brew a concentrated coffee that can be poured over ice without becoming diluted.
- Follow steps 1-3 from


