
1. Introduction
Thank you for choosing the lightmaXX Slim Spot ARC 18x 10W RGBW, IP65 LED PAR Spot. This professional lighting fixture is designed for stage, event, and architectural lighting applications, offering robust construction and versatile color mixing capabilities. Its IP65 rating ensures suitability for outdoor use. This manual provides essential information for safe installation, operation, and maintenance of your device. Please read it thoroughly before first use.
2. Safety Instructions
- Electrical Safety: Always connect the device to a grounded power outlet. Ensure the voltage matches the specifications. Disconnect power before any service or maintenance.
- Installation: Mount the fixture securely using appropriate hardware. Ensure the mounting surface can support the weight of the fixture. Avoid mounting near flammable materials.
- Temperature: The fixture can become hot during operation. Allow sufficient cooling time before handling. Ensure adequate ventilation around the unit.
- Eye Protection: Do not stare directly into the light source, as it can cause eye damage.
- IP65 Rating: While rated for outdoor use, ensure all connections are properly sealed and protected from direct water jets or prolonged submersion.
- Maintenance: Refer to the maintenance section for cleaning and care. Do not attempt to repair the unit yourself; contact qualified service personnel.
3. Package Contents
Please check that all items are present and in good condition upon unpacking:
- lightmaXX Slim Spot ARC 18x 10W RGBW, IP65 LED PAR Spot
- Mounting bracket
- Power cable
- Instruction Manual (this document)
4. Product Overview
The lightmaXX Slim Spot ARC features 18 powerful 10W RGBW LEDs, providing a wide range of color mixing options. Its robust housing and IP65 rating make it suitable for various environments.
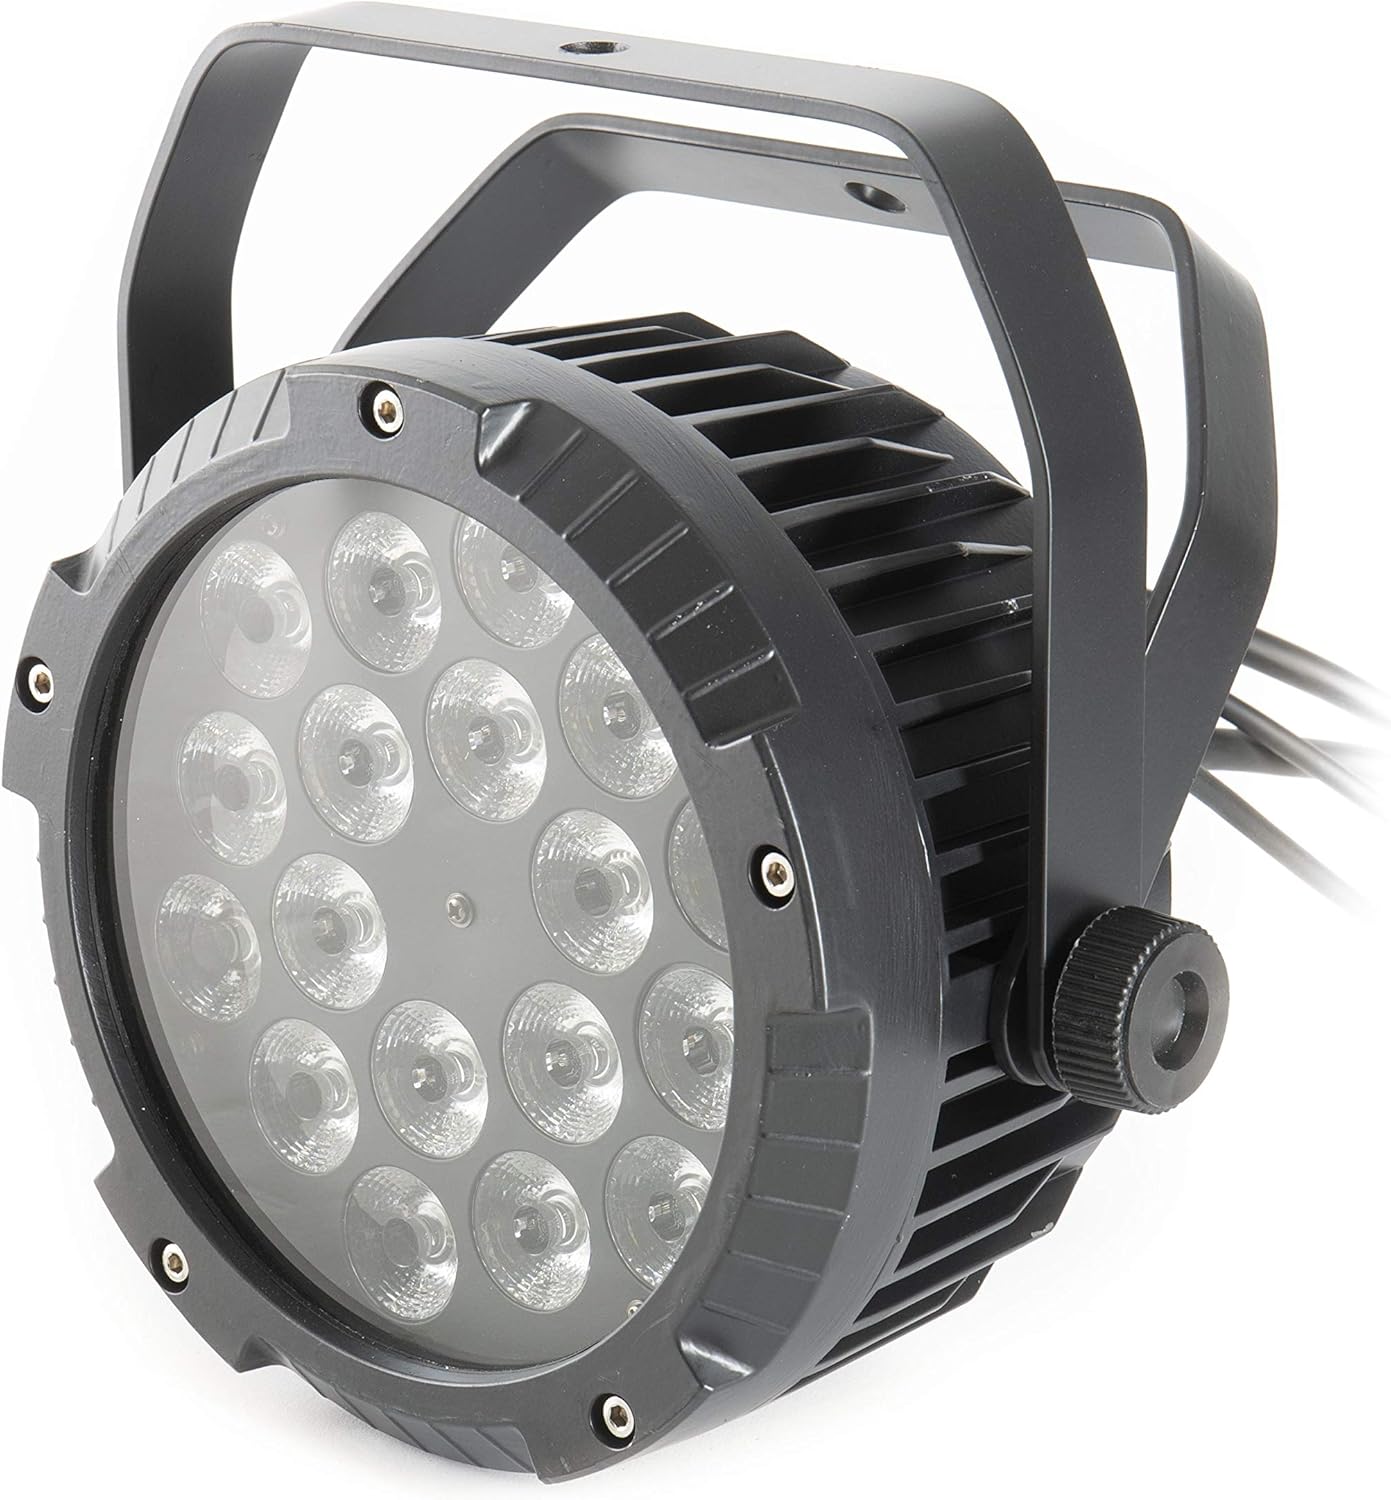
Figure 4.1: Front view of the lightmaXX Slim Spot ARC LED PAR, showing the 18 LED lenses and the sturdy black housing with mounting bracket.

Figure 4.2: Rear view of the lightmaXX Slim Spot ARC LED PAR, displaying the control panel with a digital display and four buttons (MENU, UP, DOWN, ENTER), along with Power In/Out and DMX In/Out connections.
4.1 Components
- LED Array: 18x 10W RGBW LEDs for rich color mixing.
- Control Panel: Digital display and four buttons (MENU, UP, DOWN, ENTER) for setting modes and parameters.
- Power Connections: IP65-rated Power In and Power Out connectors for daisy-chaining power.
- DMX Connections: IP65-rated DMX In and DMX Out connectors for DMX control.
- Mounting Bracket: Adjustable bracket for floor standing or truss mounting.
5. Setup
5.1 Mounting
- Attach the mounting bracket to the fixture using the provided screws.
- Securely fasten the fixture to a truss, stand, or flat surface using appropriate clamps or bolts (not included). Ensure the mounting point can safely support the fixture's weight (approximately 4.87 kg).
- Adjust the angle of the fixture using the side knobs on the mounting bracket.
5.2 Power Connection
- Connect the provided power cable to the 'POWER IN' connector on the rear of the fixture.
- Plug the other end of the power cable into a suitable grounded power outlet (230V AC, 50/60Hz).
- For daisy-chaining multiple units, connect a power cable from the 'POWER OUT' of the first fixture to the 'POWER IN' of the next. Observe the maximum power load for daisy-chaining.
5.3 DMX Connection (Optional)
To control the fixture via DMX, you will need a DMX controller and DMX cables.
- Connect a DMX cable from your DMX controller's 'DMX OUT' to the 'DMX IN' connector on the first fixture.
- For multiple fixtures, connect a DMX cable from the 'DMX OUT' of the first fixture to the 'DMX IN' of the next, and so on.
- Ensure all DMX connections are secure and properly sealed for IP65 integrity.
6. Operating
The Slim Spot ARC can be operated in several modes: Standalone (Auto, Sound-Active, Static Color) or DMX control.

Figure 6.1: The lightmaXX Slim Spot ARC LED PAR emitting a warm white light, showcasing its color mixing capabilities.
6.1 Control Panel Navigation
Use the four buttons on the rear panel to navigate the menu and adjust settings:
- MENU: Cycles through the main menu options.
- UP: Increases the value or moves up in the menu.
- DOWN: Decreases the value or moves down in the menu.
- ENTER: Confirms the selection or enters a submenu.
6.2 DMX Mode
To control the fixture via DMX, set the DMX address:
- Press MENU until 'Addr' or 'DMX Address' appears on the display.
- Use UP and DOWN to set the desired DMX start address (e.g., 001).
- Press ENTER to confirm.
- Consult your DMX controller's manual and the fixture's DMX channel chart (usually found in a separate DMX appendix or on the manufacturer's website) to understand the control functions for each DMX channel.

Figure 6.2: The lightmaXX Slim Spot ARC LED PAR emitting a vibrant blue light, demonstrating its RGBW color capabilities.
6.3 Standalone Modes
The fixture offers several standalone modes for operation without a DMX controller:
- Auto Mode: Press MENU until 'Auto' appears. Use UP/DOWN to select different built-in programs. Press ENTER to confirm.
- Sound-Active Mode: Press MENU until 'Sound' or 'SoUn' appears. The fixture will react to ambient sound via its built-in microphone. Use UP/DOWN to adjust sensitivity if available. Press ENTER to confirm.
- Static Color Mode: Press MENU until 'Color' or 'CoLo' appears. Use UP/DOWN to select a preset static color or adjust individual RGBW values. Press ENTER to confirm.
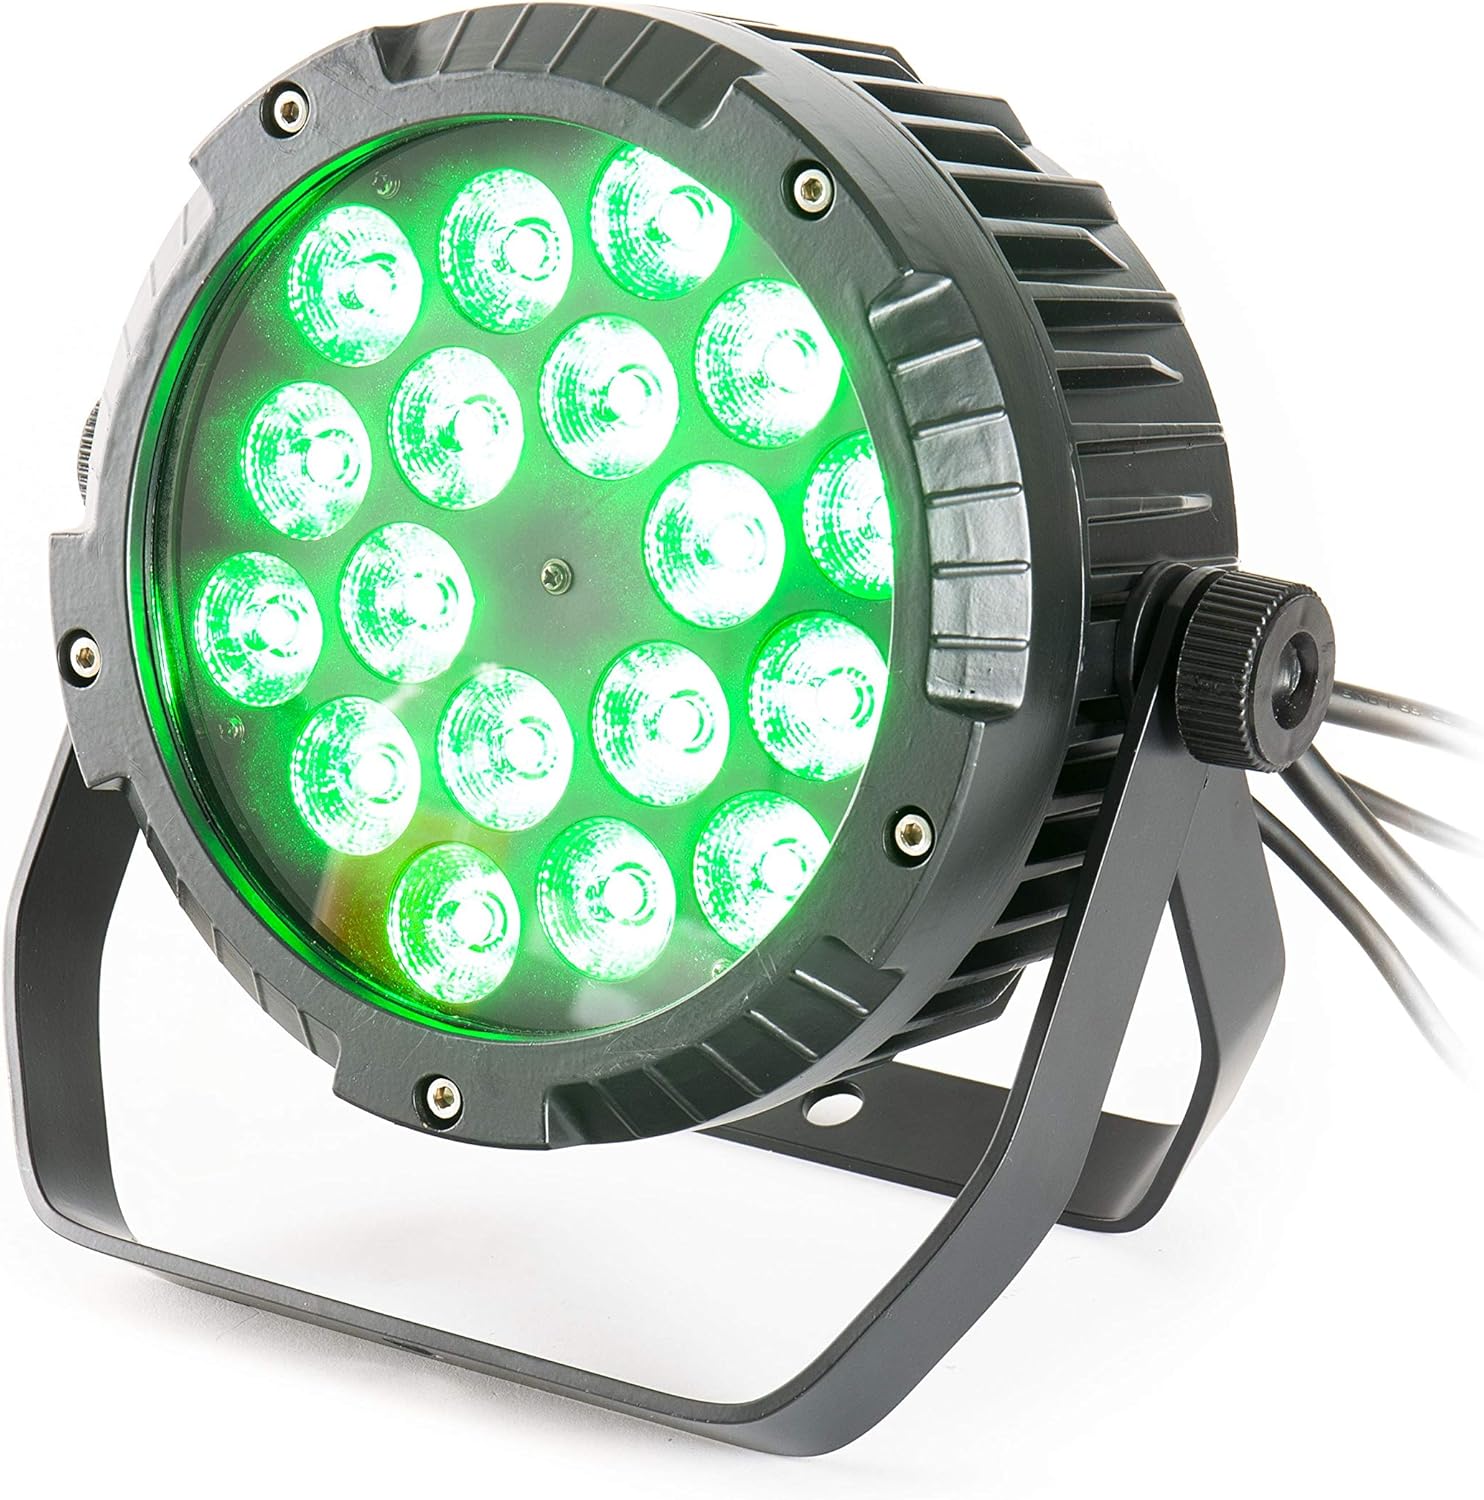
Figure 6.3: The lightmaXX Slim Spot ARC LED PAR emitting a bright green light, highlighting its versatile color output.
7. Maintenance
Regular maintenance ensures optimal performance and longevity of your lightmaXX Slim Spot ARC.
- Cleaning: Periodically clean the lens and housing with a soft, lint-free cloth. For stubborn dirt, use a mild glass cleaner. Ensure the fixture is powered off and cool before cleaning. Do not use abrasive cleaners or solvents.
- Inspection: Regularly check power and DMX cables for damage. Inspect mounting hardware for security.
- Storage: When not in use, store the fixture in a dry, dust-free environment.
8. Troubleshooting
If you encounter issues with your lightmaXX Slim Spot ARC, refer to the following common problems and solutions:
| Problem | Possible Cause | Solution |
|---|---|---|
| Fixture does not power on | No power supply; faulty cable; power outlet issue | Check power cable connection; try a different power outlet; test cable for continuity. |
| No DMX control | Incorrect DMX address; faulty DMX cable; DMX controller issue; incorrect DMX mode | Verify DMX address setting; check DMX cable connections; ensure DMX controller is functioning; set fixture to DMX mode. |
| Colors are incorrect or inconsistent | DMX channel mapping issue; internal fault | Refer to DMX channel chart for correct mapping; if problem persists, contact support. |
| Fixture overheats | Poor ventilation; ambient temperature too high | Ensure adequate airflow around the fixture; operate within specified temperature ranges. |
If the problem persists after trying these solutions, please contact lightmaXX customer support or a qualified technician.
9. Specifications
Detailed technical specifications for the lightmaXX Slim Spot ARC 18x 10W RGBW, IP65 LED PAR Spot:
| Feature | Specification |
|---|---|
| Brand | lightmaXX |
| Model | Slim Spot ARC 18x 10W RGBW |
| Light Source | 18x 10W RGBW LEDs |
| Ingress Protection (IP) Rating | IP65 |
| Product Dimensions | 26.3 x 25.2 x 25 cm |
| Weight | 4.87 kg |
| Manufacturer Reference | LIG0015728-000 |
| First Available Date | October 23, 2018 |
| Country of Origin | Germany |
10. Warranty and Support
lightmaXX products are designed and manufactured to the highest quality standards. This product comes with a standard manufacturer's warranty against defects in materials and workmanship. Please retain your proof of purchase for warranty claims.
For technical support, service, or warranty inquiries, please contact your local lightmaXX dealer or visit the official lightmaXX website for contact information. Do not attempt to open or repair the device yourself, as this will void the warranty.