
Silverlit 88528
Robo Rapidfire Instruction Manual
Model: 88528
Introduction
The Silverlit Robo Rapidfire is an innovative 2-in-1 remote-controlled robot designed for interactive play. It features a unique convertible remote control that allows for two distinct play modes: controlling the robot directly or using the controller as a blaster to engage the robot. Equipped with shooting capabilities for up to 10 darts, sound, and light effects, the Robo Rapidfire provides an engaging experience for users aged 5 and up. This manual provides essential information for setup, operation, and maintenance of your Robo Rapidfire.
Safety Information
- Not suitable for children under 3 years due to small parts. Recommended age is 5 years and up.
- Always supervise children during play.
- Do not aim darts at eyes or face. Use only darts supplied with this product.
- Keep away from water and excessive moisture.
- Do not modify the product or its components.
- Ensure proper battery installation and disposal.
Package Contents
Please check that all items listed below are included in your package:
- 1 x Robo Rapidfire Robot
- 1 x Convertible Remote Control / Blaster
- 1 x Target
- 1 x Gatling Cannon attachment
- 10 x Darts

Image: The Robo Rapidfire product box, displaying the robot, remote control, target, and darts, illustrating the contents of the package.
Setup
1. Battery Installation
The Robo Rapidfire requires 2 Lithium Ion batteries (not included) for operation. Ensure batteries are inserted with correct polarity.
- Locate the battery compartment on the robot and the remote control.
- Use a screwdriver to open the battery compartment covers.
- Insert the required batteries, matching the (+) and (-) terminals.
- Replace the covers and secure with screws.
2. Attaching the Gatling Cannon
The Gatling cannon can be attached to the robot for RC Blasting mode or to the remote control for Target Blasting mode.
- Identify the attachment points on the robot's front and on the remote control.
- Align the Gatling cannon with the desired attachment point and firmly push until it clicks into place.

Image: The Robo Rapidfire robot with the Gatling cannon securely attached to its front, ready for remote-controlled blasting.
3. Loading Darts
Load the provided darts into the Gatling cannon's rotating drum.
- Gently push each dart into the openings of the rotating drum until it is fully seated.
- Ensure darts are not bent or damaged before loading.
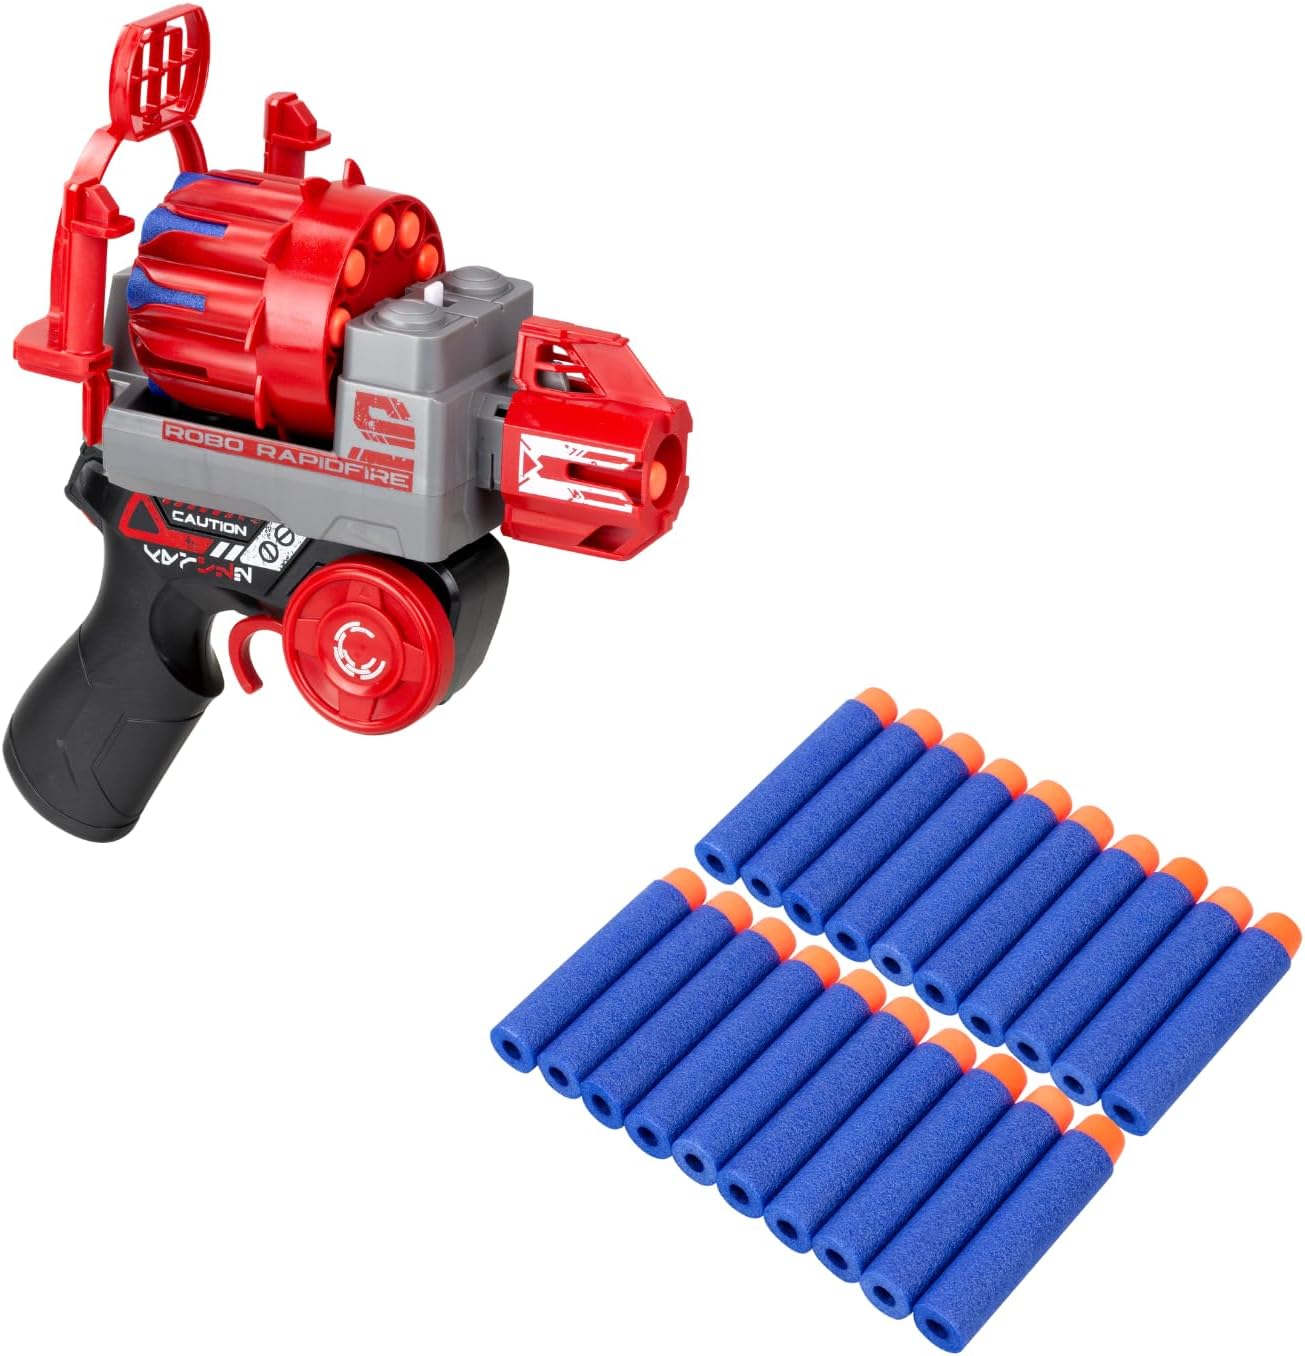
Image: The convertible remote control in blaster mode, shown alongside the 10 blue darts, illustrating the ammunition for the device.
Operating Instructions
1. Power On/Off
- Locate the power switch on both the robot and the remote control.
- Slide the switch to the "ON" position to power on. The robot will emit sound and light effects.
- Slide the switch to the "OFF" position when not in use to conserve battery life.
2. Selecting Play Mode
The Robo Rapidfire offers two distinct play modes:
- RC Blasting Mode: Use the remote control to maneuver the robot and activate its shooting function. In this mode, the Gatling cannon is attached to the robot.
- Target Blasting Mode: Transform the remote control into a blaster and shoot darts at the robot. The robot will react when hit. In this mode, the Gatling cannon is attached to the remote control.

Image: The Robo Rapidfire in RC Blasting mode, showing the remote control being used to operate the robot and its attached Gatling cannon.
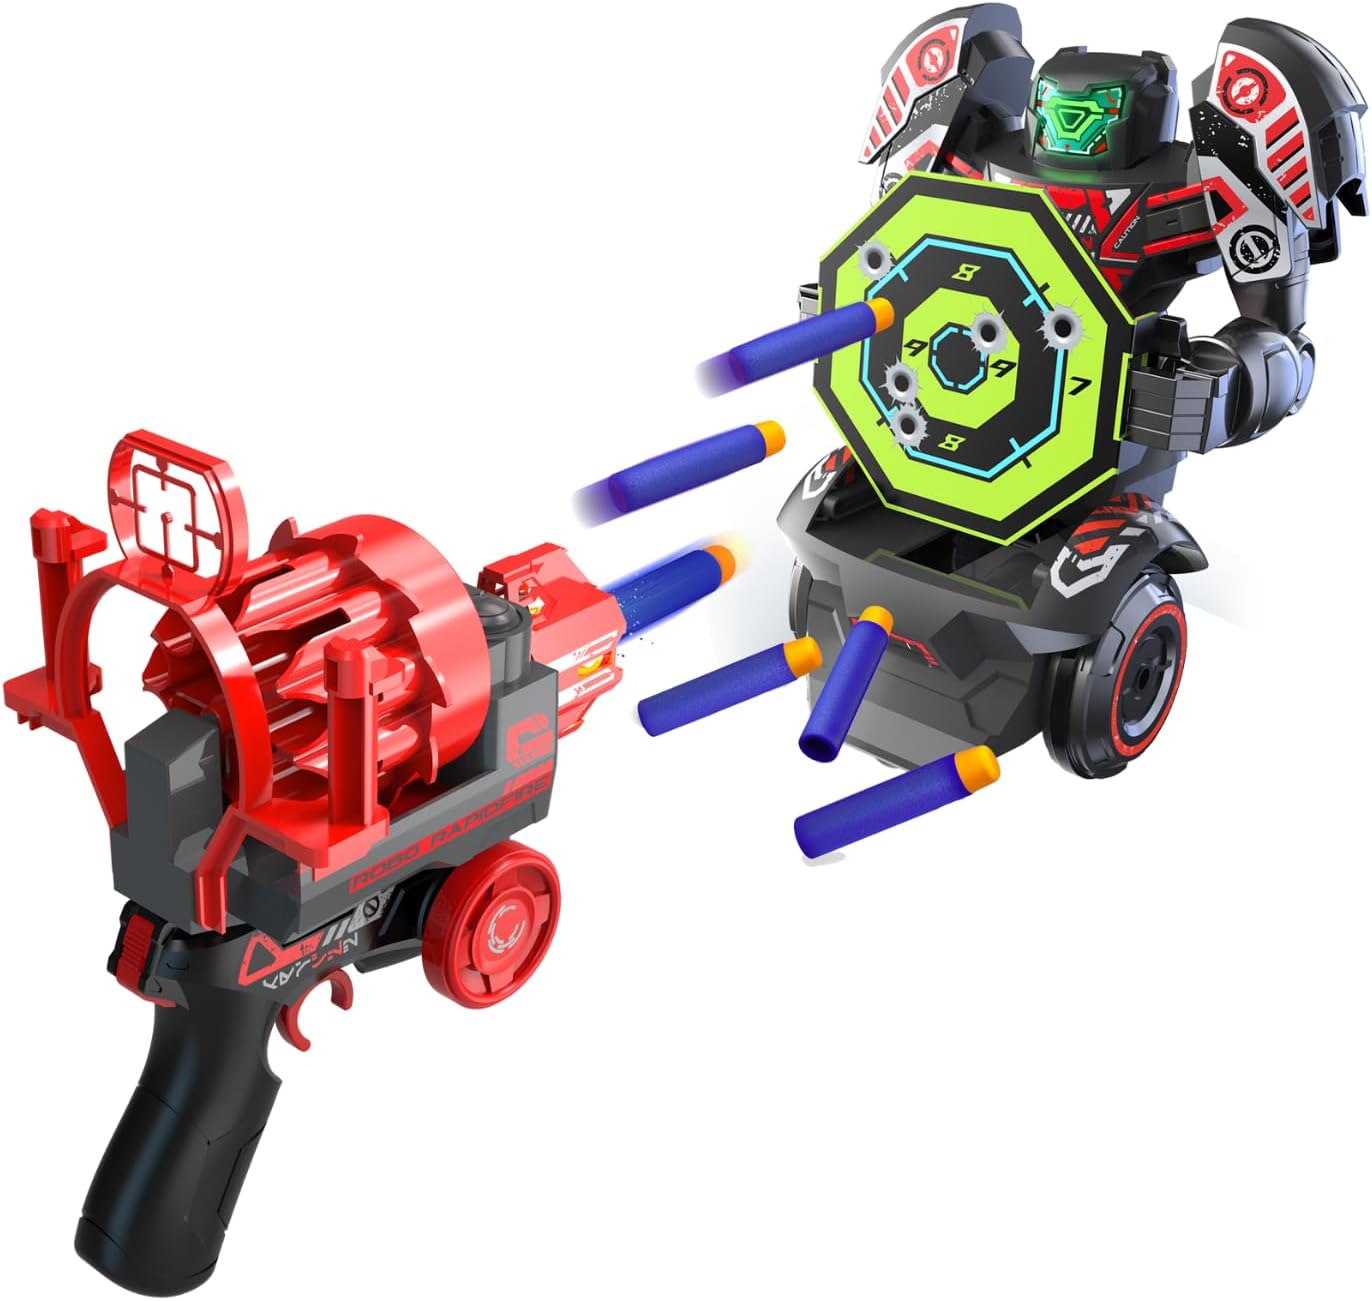
Image: The Robo Rapidfire in Target Blasting mode, with the robot holding its target and the remote control used as a blaster to shoot darts at it.
3. Movement Controls (RC Blasting Mode)
Use the joystick or directional buttons on the remote control to guide the robot:
- Forward/Backward: Push the joystick up/down.
- Turn Left/Right: Push the joystick left/right.
4. Shooting Function
- RC Blasting Mode: Press the designated shooting button on the remote control to fire darts from the robot's Gatling cannon.
- Target Blasting Mode: Squeeze the trigger on the transformed remote control (blaster) to fire darts at the robot.
5. Using the Target
The included target can be held by the robot for interactive play in Target Blasting Mode. When the robot is hit by darts, it will react with movement, sound, and light effects.
Maintenance
- Cleaning: Wipe the robot and remote control with a soft, dry cloth. Do not use harsh chemicals or abrasive cleaners.
- Storage: Store the Robo Rapidfire in a cool, dry place away from direct sunlight when not in use. Remove batteries if storing for extended periods to prevent leakage.
- Darts: Inspect darts regularly for damage. Replace worn or damaged darts to ensure optimal performance and safety.
Troubleshooting
| Problem | Possible Cause | Solution |
|---|---|---|
| Robot / Remote not turning on | Batteries are dead or incorrectly installed. | Check battery polarity. Replace with fresh batteries. |
| Robot not responding to remote | Out of range; interference; low batteries in either unit. | Move closer to the robot. Ensure no strong interference sources. Replace batteries. |
| Darts not firing or firing weakly | Darts are damaged or improperly loaded; low battery. | Ensure darts are fully seated and undamaged. Replace batteries. |
| Robot not reacting to being shot (Target Blasting Mode) | Darts not hitting the target area; robot's power is off. | Aim for the target area. Ensure robot is powered on. |
Specifications
- Model Number: 88528
- Product Dimensions: 7.48 x 10.63 x 10.24 inches
- Item Weight: 1.54 pounds
- Batteries: 2 Lithium Ion batteries (required, not included)
- Recommended Age: 5 years and up
- Manufacturer: Silverlit SAS
Warranty and Support
Silverlit products are manufactured to high-quality standards. For warranty information or technical support, please refer to the contact details provided on the product packaging or visit the official Silverlit website. Please retain your proof of purchase for any warranty claims.
Related documents88528

Ask a question about this manual
Ask about setup, troubleshooting, compatibility, parts, safety, or missing instructions. Manuals+ will review the question and use this page’s manual context to help answer it.