
1. Introduction
1.1 Product Overview
This manual provides essential information for the setup, operation, and maintenance of your Kato USA, Inc. FP7A Milwaukee Road Post 1955 Scheme #96C N Scale model train locomotive. The FP7A is a specialized variation of the F7A, lengthened to accommodate a larger water reservoir for its steam generators, crucial for long-distance passenger service. This model features a new FP7 mechanism and a new F7B shell, accurately reflecting the prototypical appearance of Milwaukee equipment. It is DCC compatible with ESU 58941 LokSound 5 Micro DCC Direct Kato USA Widebody.
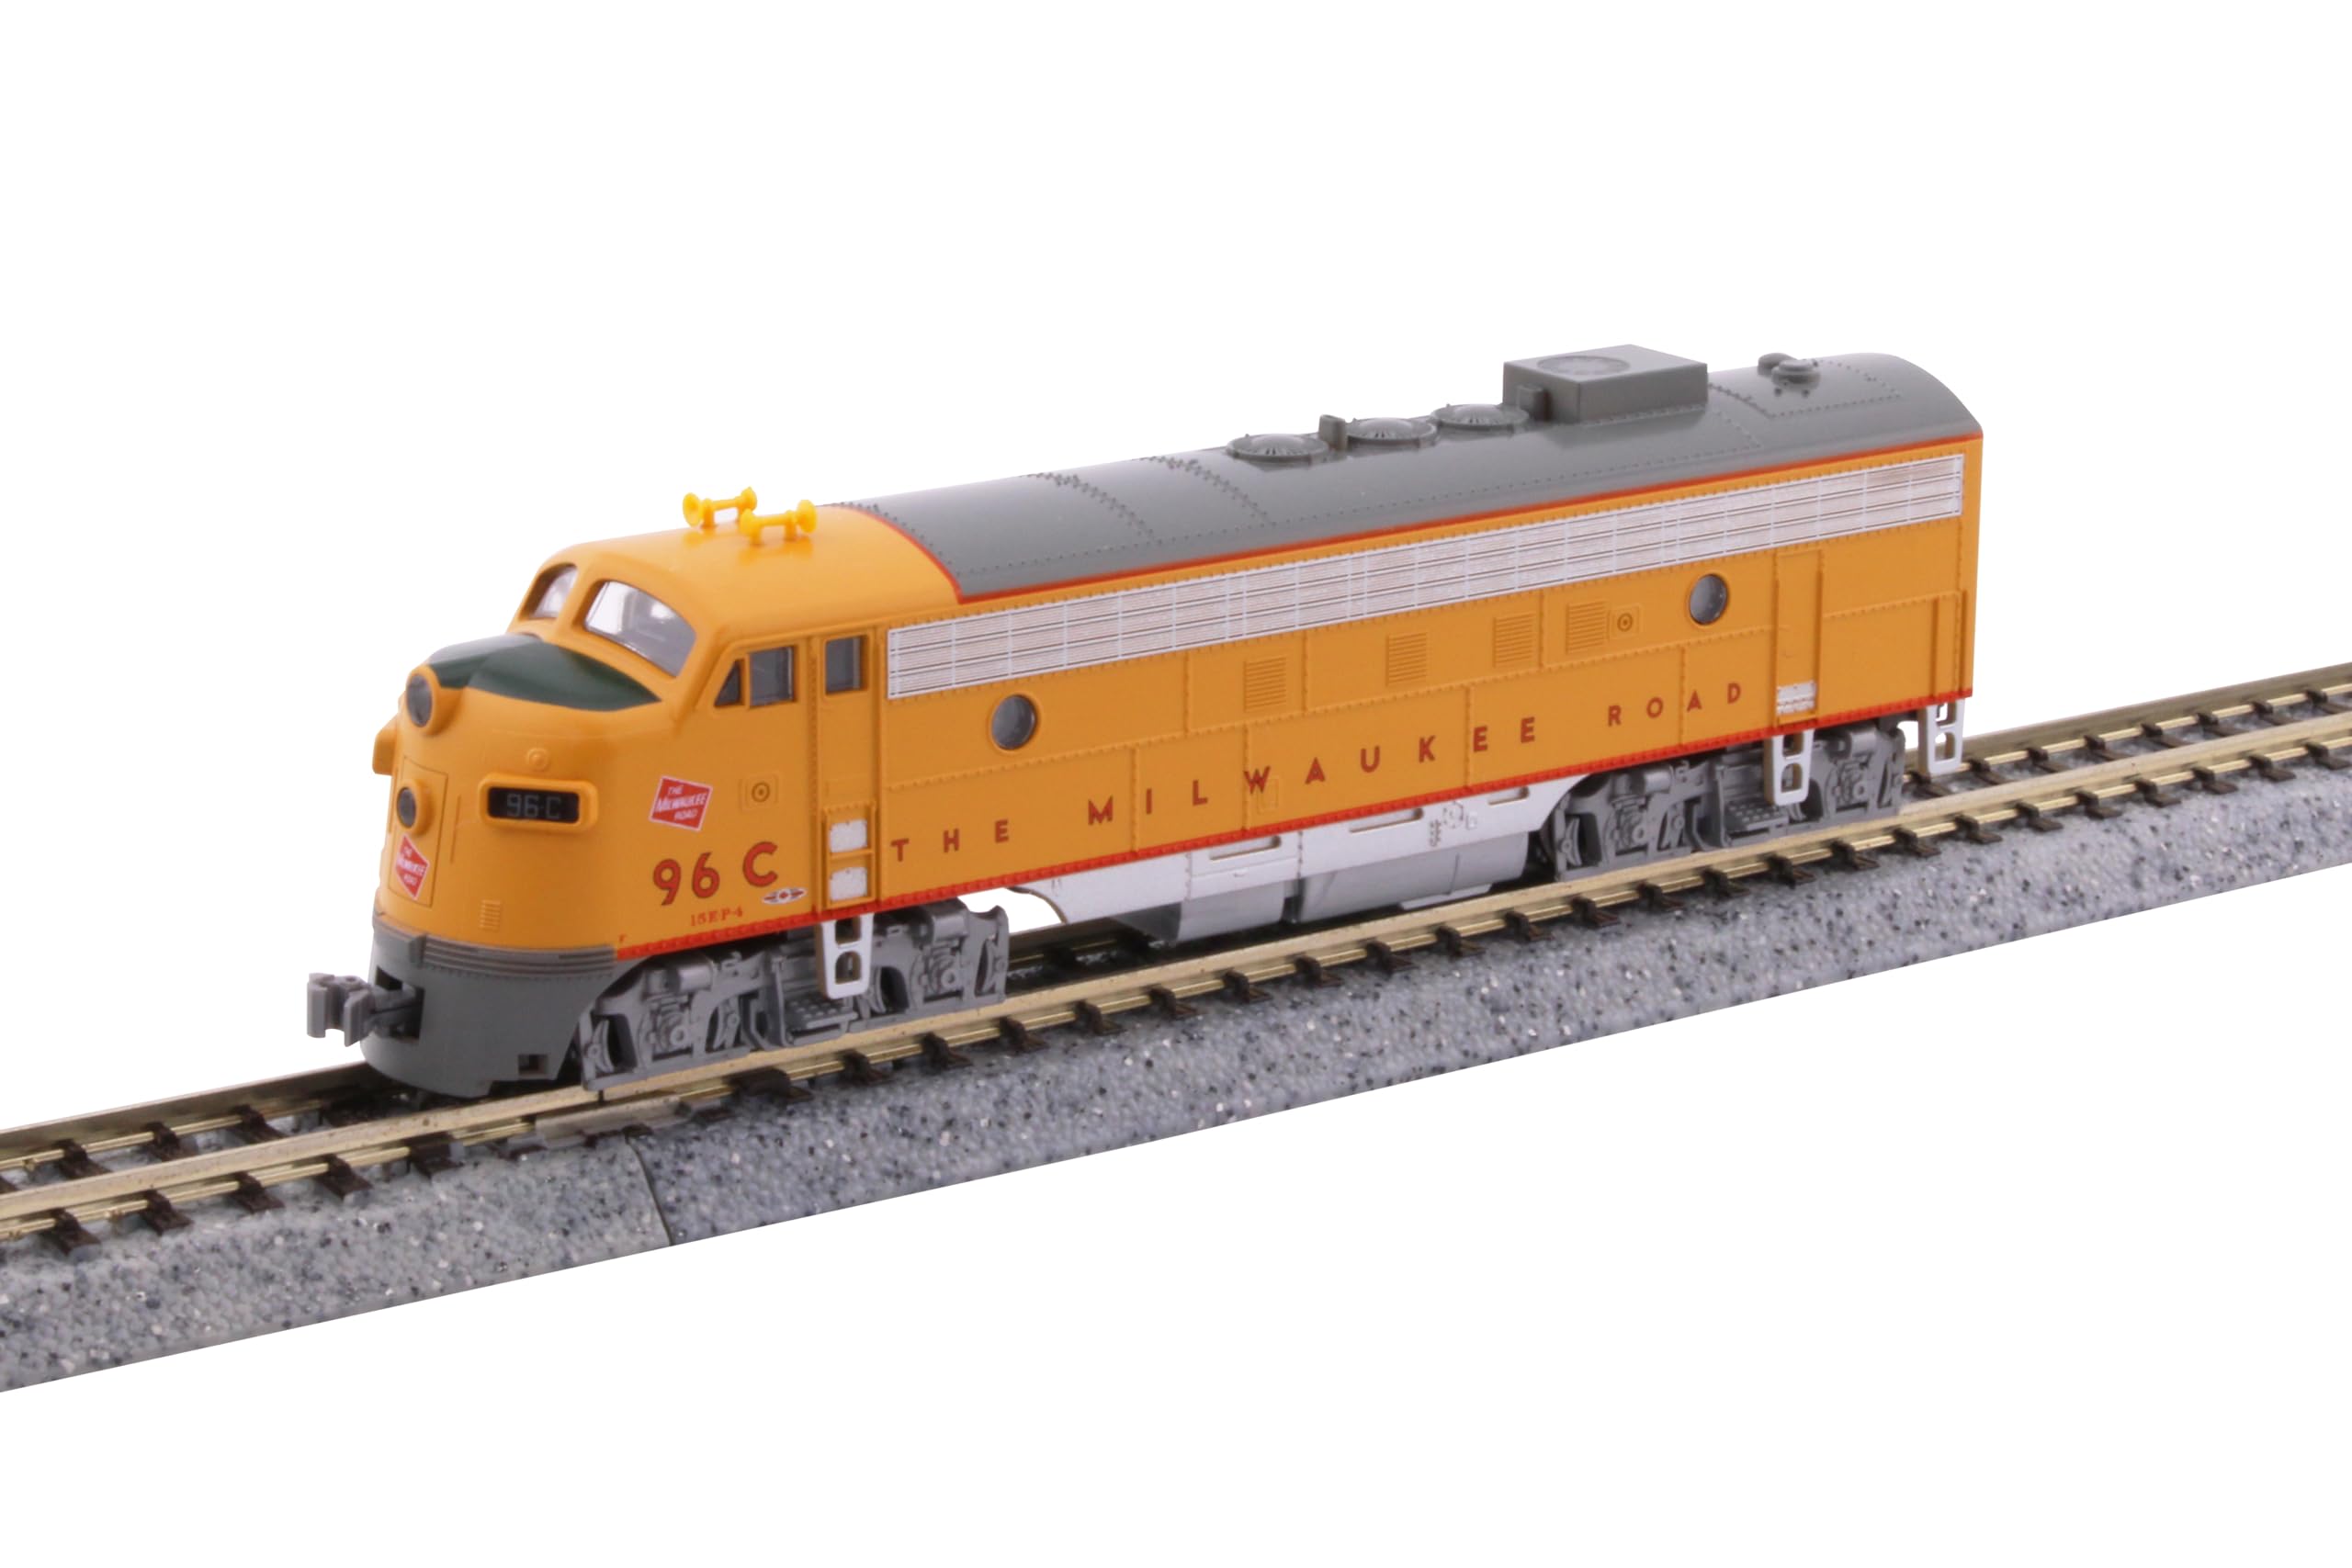
Image 1.1: The Kato USA, Inc. FP7A Milwaukee Road Post 1955 Scheme #96C N Scale model train locomotive.
1.2 Package Contents
Please ensure all items are present upon unboxing:
- Kato USA, Inc. FP7A Milwaukee Road Post 1955 Scheme #96C Locomotive
- Product Manual (this document)
2. Setup
2.1 Track Preparation
Ensure your N Scale track is clean, properly assembled, and free of debris. A clean track is crucial for reliable electrical contact and smooth operation. Use a track cleaning tool or a soft, lint-free cloth with a small amount of track cleaning fluid to remove any dirt or oxidation.
2.2 Power Connection
Connect your N Scale power pack or DCC system to the track according to its manufacturer's instructions. Verify that the power supply is set to the correct voltage for N Scale operation. For DCC operation, ensure your DCC system is properly configured.
2.3 Placing the Locomotive on Track
Carefully place the FP7A locomotive onto the track, ensuring all wheels are correctly seated on the rails. Gently push down on the locomotive to confirm good contact. Avoid forcing the locomotive onto the track, as this can damage the wheels or track.
3. Operating Instructions
3.1 Analog (DC) Operation
If operating with a traditional DC power pack, slowly increase the throttle. The locomotive should begin to move. Adjust the throttle to control speed. Use the direction switch on your power pack to change the locomotive's direction.
3.2 Digital Command Control (DCC) Operation
For DCC operation, ensure your DCC system is powered on and the locomotive's address is correctly set. The factory default address is typically 3. Refer to your DCC system's manual for instructions on selecting and controlling locomotives. This model is compatible with ESU 58941 LokSound 5 Micro DCC Direct Kato USA Widebody decoders, allowing for advanced sound and control features.
3.3 Coupling and Uncoupling
The locomotive is equipped with standard N Scale knuckle couplers. To couple, gently push the locomotive into the car to be coupled until the knuckles interlock. To uncouple, use an uncoupling tool or magnetic uncoupler at designated uncoupling ramps on your layout.
4. Maintenance
4.1 Cleaning Wheels and Track
Regularly clean the locomotive's wheels and the track to ensure optimal electrical conductivity and smooth running. Use a soft cloth or cotton swab with a small amount of isopropyl alcohol to clean the wheel treads. Avoid excessive moisture.
4.2 Lubrication
Periodically, apply a very small amount of light model train lubricant to the locomotive's moving parts, such as axle bearings and gear teeth. Refer to specialized model train lubrication guides for precise application points. Over-lubrication can attract dust and hinder performance.
4.3 Storage
When not in use, store the locomotive in its original packaging or a protective case to prevent dust accumulation and damage. Keep it away from direct sunlight, extreme temperatures, and high humidity.
5. Troubleshooting
5.1 Locomotive Not Moving
- Check Power: Ensure your power pack or DCC system is turned on and functioning correctly.
- Track Contact: Verify that the locomotive's wheels are making good electrical contact with the track. Clean wheels and track if necessary.
- DCC Address: For DCC, confirm the correct locomotive address is selected on your controller.
- Wiring: Inspect track feeder wires and connections for any breaks or loose contacts.
5.2 Erratic Operation or Stalling
- Dirty Track/Wheels: Clean track and locomotive wheels thoroughly.
- Track Gaps: Ensure all track sections are tightly joined, with no gaps causing power interruptions.
- Derailments: Check for any track imperfections or obstacles causing derailments.
5.3 Lights Not Working
- Power/Contact: Ensure the locomotive is receiving power and has good track contact.
- DCC Functions: For DCC, verify that the light function (F0) is turned on.
- Bulb/LED: If other functions work, the light bulb or LED may need replacement. Consult a qualified technician.
6. Specifications
| Feature | Detail |
|---|---|
| Brand Name | Kato |
| Model Name | FP7A |
| Model Number | 176-2303 |
| Scale | N Scale |
| Manufacturer Minimum Age | 168 Months (14 Years) |
| Material Type | Plastic |
| Item Dimensions (L x W x H) | 8 x 2 x 1 inches |
| DCC Compatibility | ESU 58941 LokSound 5 Micro DCC Direct Kato USA Widebody |
| Batteries Required | No |
7. Warranty and Support
Specific warranty details for the Kato USA, Inc. FP7A Milwaukee Road Post 1955 Scheme #96C locomotive are not provided within the product data. Please refer to the official Kato USA, Inc. website or contact their customer support for the most current warranty information and technical assistance.
For further support, visit the Kato USA, Inc. official website.