
1. Introduction
This manual provides comprehensive instructions for the MokerLink 16-Port 2.5G Managed Ethernet Switch. It covers essential information regarding product setup, operation, maintenance, and troubleshooting to ensure you can effectively utilize its features. This device is designed to enhance network performance with its 16x 2.5 Gigabit Ethernet ports and 2x 10 Gigabit SFP+ uplink ports, supporting advanced Layer 2 management functions such as VLAN, QoS, LACP, and IGMP in a fanless, web-managed design.
2. Package Contents
Before proceeding with the installation, please verify that all items are present in the package:
- MokerLink 16-Port 2.5G Managed Ethernet Switch
- Power Adapter/Cord
- Mounting Accessories (if applicable)
- Quick Installation Guide
3. Physical Description and Port Configuration
The switch features a robust metal casing and a fanless design for silent operation. Familiarize yourself with the front and rear panels of the device.

Image: Front and rear view of the MokerLink 16-Port 2.5G Managed Ethernet Switch. The front panel displays 16x 2.5G RJ45 ports (Ports 1-16) and 2x 10G SFP+ ports (Ports 17-18). LED indicators for Power, System Status (SYS), and individual port status are visible. The rear panel shows the AC power input (100-240V, 12V 4A, Max 36W).
LED Indicators:
- PWR (Power Indicator):
- Green: Power On
- Un-Light: No Power
- SYS (System Indicator):
- Slow Flash: System is operating normally
- 2.5Gbps Port (Ports 1-16):
- Orange: 10/100/1000Mbps link/activity
- Green: 2.5Gbps link/activity
- Flashing: Data transmitting
- Off: Link off
- 10Gbps SFP+ Port (Ports 17-18):
- Blue On: 10Gbps link/activity
- Green On: 2.5/1Gbps link/activity
- Flashing: Data transmitting
- Off: Link off
Reset Button:
- Short press: Restarts the device.
- Press for 5 seconds: Restores factory default settings.
4. Setup
Follow these steps to set up your MokerLink Ethernet Switch:
- Placement: Place the switch on a stable, flat surface or mount it in a rack using the provided accessories. Ensure adequate ventilation around the device.
- Power Connection: Connect the power adapter to the switch's AC input port and then plug it into a standard power outlet. The PWR LED should illuminate green.
- Network Connections:
- Connect your network devices (computers, servers, NAS, Wi-Fi 6 APs, etc.) to the 2.5G RJ45 ports (Ports 1-16) using CAT5e, CAT6, or CAT6a Ethernet cables. The switch supports auto MDI/MDIX, so straight-through or crossover cables can be used.
- For high-speed uplinks or connections to other 10G devices, insert compatible SFP+ modules (not included) into the 10G SFP+ ports (Ports 17-18) and connect appropriate fiber optic cables. The SFP+ ports are compatible with 1G/2.5G/10G modules.

Image: Illustration of the MokerLink switch connecting to various high-performance devices such as 2.5G/10G NAS, WiFi 6 AP, WiFi 6 Router, Laptops with 2.5G Ethernet Adapters, 2.5G/10G Servers, and 4K Video devices. It also highlights the use of CAT5e, CAT6, and CAT6a cables for optimal performance and shows SFP+ modules for 1G, 2.5G, and 10G speeds.
- Initial Access to Web Management:
- Connect a computer to any of the switch's RJ45 ports.
- Configure your computer's IP address to be in the same subnet as the switch's default IP address (e.g., if the switch is 192.168.2.1, set your computer to 192.168.2.X, where X is not 1, with a subnet mask of 255.255.255.0).
- Open a web browser and enter the default IP address: 192.168.2.1.
- Log in using the default credentials: Username: admin, Password: admin.
- It is highly recommended to change the default password immediately after the first login for security reasons.

Image: A computer screen displaying the web management interface of the MokerLink switch, showing system information and port status. The image also indicates the default IP address (192.168.2.1), Username (admin), and Password (admin) for initial access.
5. Operating the Switch
The MokerLink switch offers a range of Layer 2 management features accessible via its web interface.

Image: A visual representation of the powerful L2 software features supported by the MokerLink Web Managed Ethernet Switches. These features include IGMP, Mirroring, LACP, Multicast, STP/RSTP, ERPS, VLAN, QOS, and Trunking.
Key Features and Configuration:
- VLAN (Virtual Local Area Network): Allows you to segment your network into smaller, isolated broadcast domains, improving security and performance. Configure port-based or tag-based VLANs through the web interface.
- QoS (Quality of Service): Prioritizes network traffic to ensure critical applications (e.g., VoIP, video streaming) receive sufficient bandwidth, reducing latency and jitter.
- LACP (Link Aggregation Control Protocol): Combines multiple physical links into a single logical link, increasing bandwidth and providing link redundancy.
- IGMP (Internet Group Management Protocol): Optimizes multicast traffic delivery, preventing unnecessary flooding of multicast packets to all ports.
- Port Mirroring: Copies network traffic from one or more source ports to a destination port for monitoring and analysis.
- STP/RSTP (Spanning Tree Protocol/Rapid Spanning Tree Protocol): Prevents network loops and ensures network redundancy.
- System Monitoring: The web interface provides real-time status of the device, including port status, traffic statistics, and system logs.
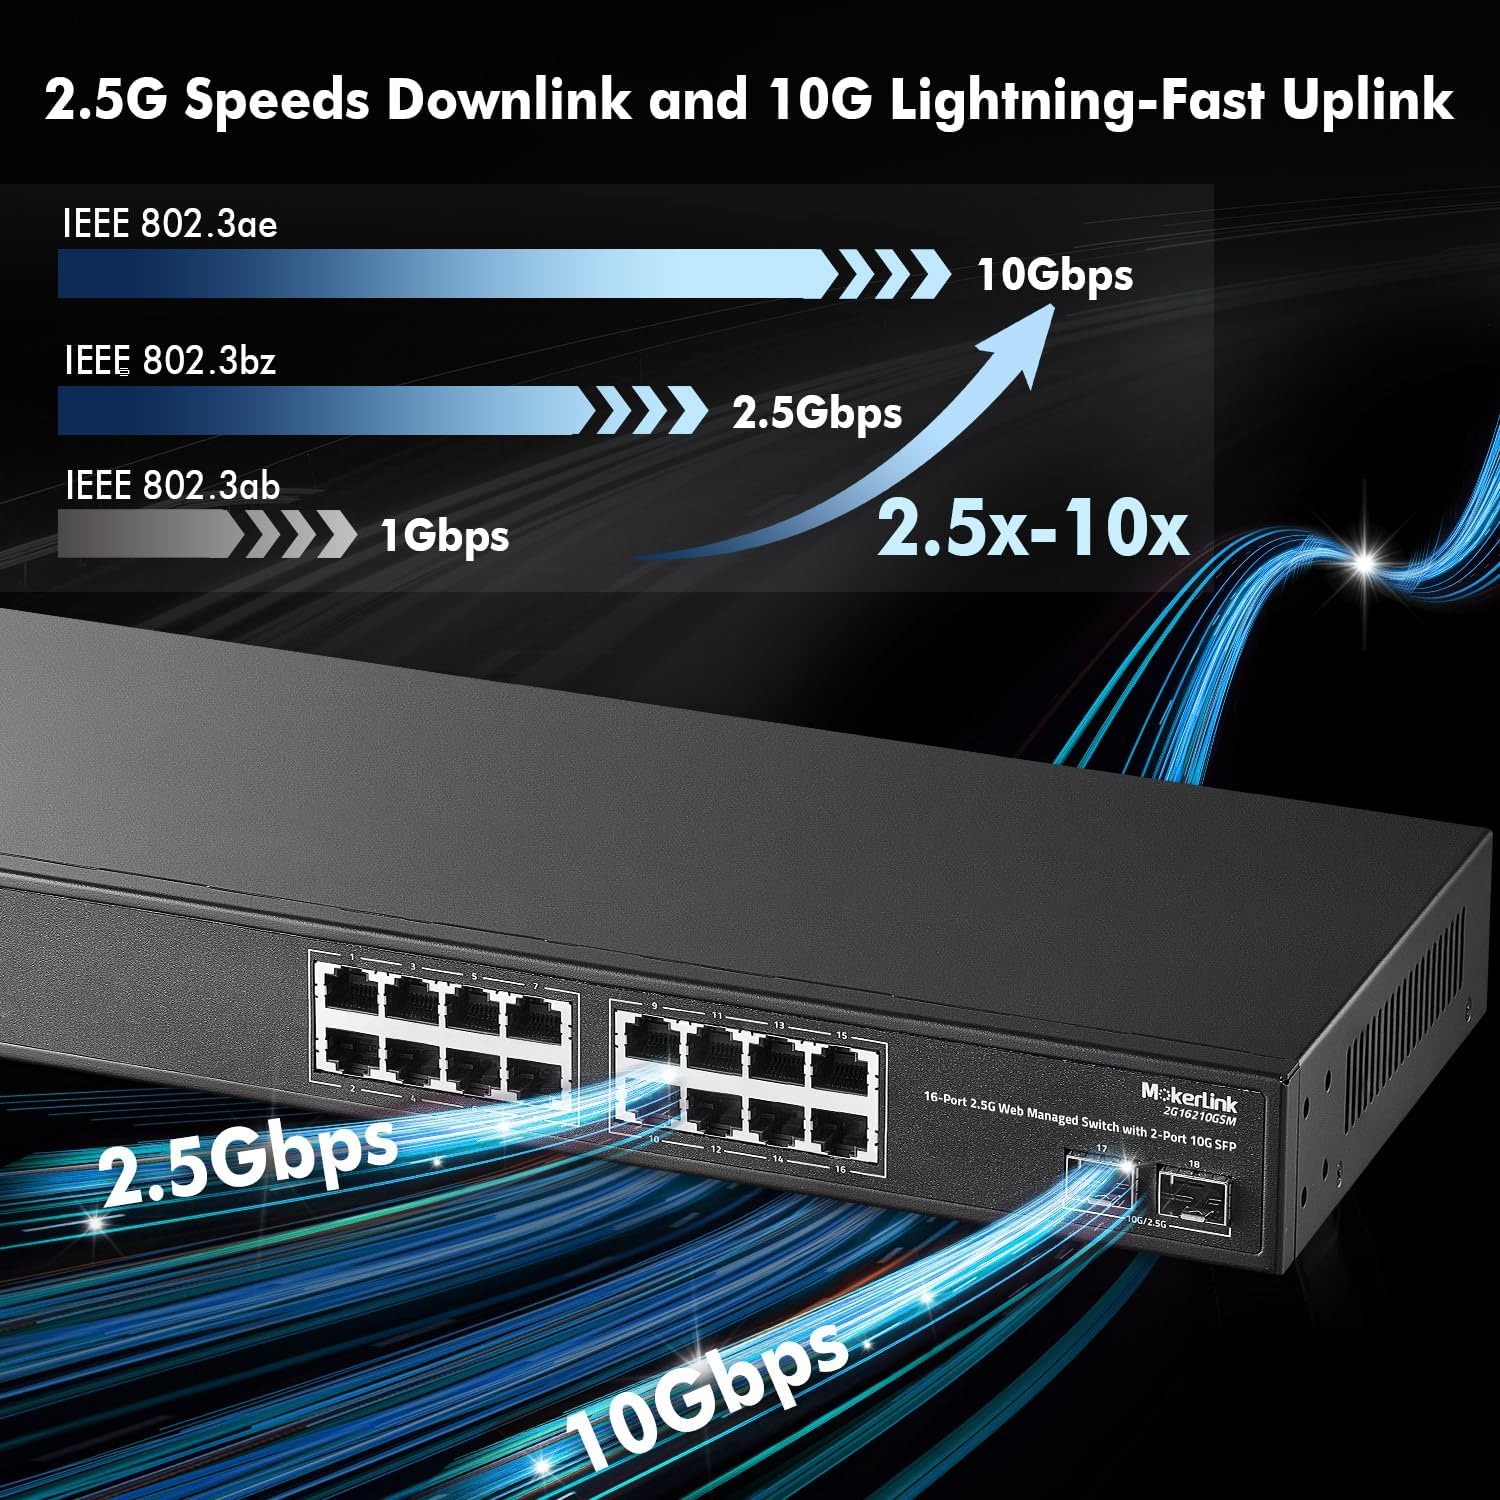
Image: A graphic demonstrating the speed capabilities of the switch, highlighting 2.5Gbps downlink speeds (IEEE 802.3bz) and 10Gbps lightning-fast uplink speeds (IEEE 802.3ae). It shows a comparison of 1Gbps, 2.5Gbps, and 10Gbps data rates, indicating a 2.5x to 10x speed improvement.
6. Maintenance
To ensure the longevity and optimal performance of your MokerLink switch, consider the following maintenance guidelines:
- Environmental Conditions: Operate the switch within its specified temperature range (0°C to 70°C) and humidity levels. Avoid exposing it to direct sunlight, excessive heat, or moisture.
- Cleaning: As the switch is fanless, dust accumulation is less of a concern internally. However, periodically clean the exterior of the device with a soft, dry cloth. Ensure ventilation openings are clear of obstructions.
- Cable Management: Ensure all network cables are securely connected and properly routed to prevent accidental disconnections or damage.
- Firmware Updates: Check the MokerLink official website periodically for firmware updates. Keeping the firmware up-to-date can provide new features, performance improvements, and security enhancements. Follow the instructions provided with the firmware update package carefully.
- Regular Monitoring: Utilize the web management interface to regularly monitor port status, traffic, and system logs to identify and address potential issues proactively.
7. Troubleshooting
If you encounter issues with your MokerLink switch, refer to the following troubleshooting tips:
- No Power:
- Ensure the power adapter is securely connected to both the switch and a working power outlet.
- Verify the power outlet is functional by plugging in another device.
- Check if the PWR LED on the front panel is illuminated green.
- No Link on a Port:
- Check the Ethernet cable connection at both ends (switch and connected device). Try a different cable.
- Ensure the connected device is powered on and functioning correctly.
- Verify the port status LED on the switch. If it's off, there's no link. If it's orange/green but not flashing, there's a link but no activity.
- For SFP+ ports, ensure the SFP+ module is correctly inserted and compatible, and the fiber cable is not damaged.
- Slow Network Speeds:
- Ensure you are using appropriate cables (CAT5e/6/6a for 2.5G/10G connections).
- Verify that the connected devices support 2.5G or 10G speeds.
- Check the port status LED color to confirm the negotiated speed (Green for 2.5G, Blue for 10G).
- Monitor network traffic via the web interface to identify potential bottlenecks or excessive broadcast/multicast traffic.
- Cannot Access Web Management Interface:
- Ensure your computer's IP address is in the same subnet as the switch (default: 192.168.2.1).
- Verify the physical connection between your computer and the switch.
- Try clearing your browser's cache or using a different browser.
- If you forgot the password, perform a factory reset by pressing and holding the Reset button for 5 seconds. Note: This will erase all configurations.
8. Specifications
Below are the technical specifications for the MokerLink 16-Port 2.5G Managed Ethernet Switch:
| Feature | Description |
|---|---|
| Model Number | 16*2.5G Managed |
| Part Number | 2G16210GSM |
| Ports | 16x 2.5G Base-T RJ45 Ports, 2x 10G SFP+ Ports |
| Network Standards | IEEE802.3bz (2.5G) |
| Backplane Bandwidth | 120 Gbps (non-blocking) |
| Packet Forwarding Rate | 89.28 Mpps |
| MAC Address Table Size | 16K |
| Jumbo Frame | 12K bytes |
| Management Type | Web Managed (Layer 2) |
| L2 Features | VLAN, QoS, LACP, IGMP, Mirroring, STP/RSTP, ERPS, Trunk |
| Power Input | AC 100-240V, 12V 4A |
| Max Power Consumption | 36W |
| Cooling | Fanless |
| Casing Material | Metal |
| Operating Temperature | 0°C to 70°C |
| Item Weight | 3.06 Kilograms |
| Compatible Devices | 4K Video devices, Desktops, NAS, Computers, Laptops, Gaming PCs, WiFi 6 APs, Servers |
9. Warranty and Support
For information regarding warranty coverage, technical support, and service options for your MokerLink 16-Port 2.5G Managed Ethernet Switch, please refer to the warranty card included with your product or visit the official MokerLink website. You may also contact your point of purchase for specific details regarding return policies and support services.


