
DNYN DNYN
DNYN Queen Over Queen Bunk Bed Instruction Manual
Model: DNYN | Brand: DNYN
Introduction
Thank you for choosing the DNYN Queen Over Queen Bunk Bed. This manual provides detailed instructions for the safe assembly, operation, and maintenance of your new bunk bed. Please read all instructions carefully before beginning assembly and retain this manual for future reference.

Figure 1: Fully assembled DNYN Queen Over Queen Bunk Bed.
Safety Information
Your safety is paramount. Please adhere to the following safety guidelines:
- Always assemble according to the provided instructions to prevent instability.
- Do not exceed the weight capacity of 400 lbs per bed.
- This bunk bed is recommended for ages 6 years and up.
- Keep the area around the bunk bed clear to prevent falls.
- Ensure all connections are securely tightened before use and periodically check for looseness.
- Use only the recommended mattress thickness: 6 inches maximum for the upper bed and 8 inches for the bottom bed.
- Do not allow children to play on or under the bunk bed without supervision.
- The top bunk is not suitable for children under six years of age.
Specifications
Detailed product specifications for your DNYN Queen Over Queen Bunk Bed:
| Feature | Detail |
|---|---|
| Product Type | Bunk Bed |
| Size | Queen over Queen |
| Color | Black |
| Material | Iron + Wood |
| Overall Product Dimensions | 83.86" (L) x 62.01" (W) x 64.96" (H) |
| Upper Bed Weight Capacity | 400 lbs |
| Bottom Bed Weight Capacity | 400 lbs |
| Recommended Upper Mattress Thickness | 6 inches (Max) |
| Recommended Bottom Mattress Thickness | 8 inches |
| Assembly Required | Yes |
| Country of Origin | Vietnam |

Figure 2: Product dimensions and weight capacity overview.
Setup and Assembly
Assembly of your DNYN bunk bed requires two adults and approximately 1-2 hours. Ensure all parts are present before beginning. Refer to the included assembly instructions and hardware package for specific steps and diagrams.
Before You Begin:
- Unpack all components and lay them out on a soft, clean surface to prevent scratches.
- Verify all hardware and parts are accounted for against the parts list in your assembly guide.
- Keep children and pets away from the assembly area.
- Tools required: Allen wrench (usually included), Phillips head screwdriver (not included).
General Assembly Steps:
- Assemble the Lower Bed Frame: Connect the side rails to the headboard and footboard using the provided bolts and nuts. Do not fully tighten all bolts until the frame is complete.
- Install Lower Bed Slats: Place the wooden slats onto the support beams of the lower bed frame. Ensure they are evenly spaced and secured if applicable.
- Assemble the Upper Bed Frame: Similar to the lower frame, connect the side rails to the upper headboard and footboard sections.
- Install Upper Bed Slats: Secure the wooden slats for the upper bed.
- Connect Upper and Lower Frames: Carefully lift the upper bed frame and align it with the designated connection points on the lower bed frame. Secure with the appropriate hardware.
- Attach Ladder: Securely attach the ladder to the bunk bed frame as indicated in the instructions.
- Final Tightening: Once all components are in place and aligned, systematically tighten all bolts and screws. Do not overtighten.

Figure 3: Assembled bunk bed frame (side view).

Figure 4: Assembled bunk bed frame (front view).
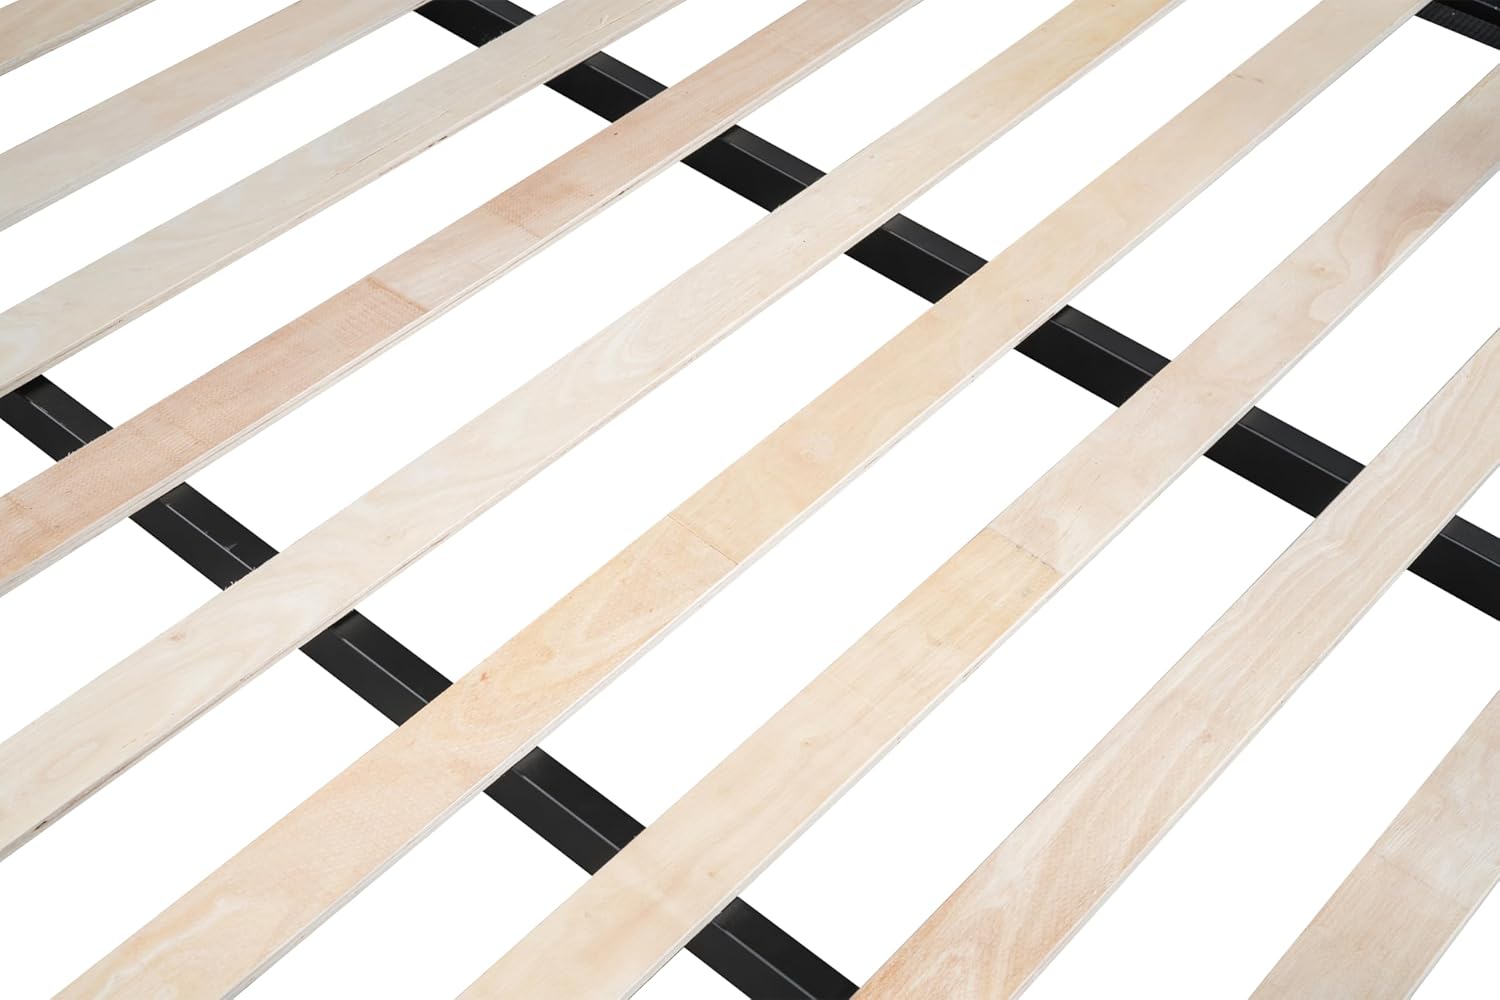
Figure 5: Detail of the sturdy wooden slat support system.
Operating Instructions
Using your DNYN Queen Over Queen Bunk Bed is straightforward, but proper usage ensures longevity and safety.
- Mattress Placement: Place a Queen-sized mattress on both the upper and lower bunks. Ensure the mattress thickness adheres to the recommended specifications (6 inches max for upper, 8 inches for lower).
- Weight Distribution: Distribute weight evenly across the bed surface. Avoid concentrating heavy loads in one small area.
- Ladder Use: Always use the provided ladder to access the upper bunk. Do not climb on the bed frame directly.
- Separation Feature: This bunk bed can be separated into two individual Queen beds. Refer to the original assembly instructions for steps on how to safely disassemble the bunk configuration and reassemble into two separate beds.

Figure 6: Angled view of the bunk bed, highlighting the ladder access.
Maintenance
Regular maintenance will help preserve the condition and extend the life of your bunk bed.
- Cleaning: Wipe down the metal frame with a soft, damp cloth. Avoid harsh chemicals or abrasive cleaners that could damage the finish.
- Hardware Check: Periodically (every 3-6 months) check all bolts, screws, and connections to ensure they are tight. Retighten if necessary, but do not overtighten.
- Slat Inspection: Inspect the wooden slats for any signs of damage, cracks, or warping. Replace any damaged slats immediately to maintain proper mattress support.
- Ventilation: Ensure adequate airflow around and under the mattress to prevent moisture buildup and maintain freshness.
Troubleshooting
Here are some common issues and their solutions:
- Issue: Bed feels wobbly or unstable.
- Solution: This is usually due to loose hardware. Carefully re-tighten all bolts and screws on the entire frame. Ensure the bed is on a level surface.
- Issue: Squeaking noises.
- Solution: Squeaking can be caused by loose connections or friction between metal parts. Tighten all hardware. If squeaking persists, you may apply a small amount of silicone spray or wax to connection points (avoiding wood slats) where metal meets metal.
- Issue: Difficulty assembling parts.
- Solution: Double-check that you are using the correct hardware for each step as per the assembly instructions. Ensure parts are oriented correctly. Sometimes, a slight loosening of previously tightened bolts can help align new parts, then re-tighten everything.
- Issue: Mattress does not fit properly.
- Solution: Verify that you are using a Queen-sized mattress (60" x 80"). Also, ensure the mattress thickness is within the recommended limits (6 inches max for upper, 8 inches for lower). If the mattress is too thick for the upper bunk, it can compromise safety rails.
Warranty and Support
DNYN stands behind the quality of its products. For specific warranty information, please refer to the warranty card included with your purchase or visit the official DNYN website. If you encounter any issues not covered in this manual or require replacement parts, please contact DNYN customer support:
- Customer Service: Refer to your purchase documentation for contact details.
- Online Support: Visit the product page on Amazon for FAQs and additional resources.
Please have your model number (DNYN) and purchase date ready when contacting support.
Related documentsDNYN

Ask a question about this manual
Ask about setup, troubleshooting, compatibility, parts, safety, or missing instructions. Manuals+ will review the question and use this page’s manual context to help answer it.