
1. Product Overview
The OLIGHT Odin S is a powerful and compact MLOK rail-mounted weaponlight designed for tactical applications. It delivers an impressive output of up to 1500 lumens with a beam distance of 250 meters, providing both a bright hotspot and ample spill for various defense needs. This model features an upgraded magnetic remote switch with a secure screw cap design, ensuring stable light control. Its robust construction includes an integrated mounting bracket and screw-locking rail clamp for secure support, even under heavy recoil. The Odin S offers dual power options, including a standard 3500 mAh rechargeable battery and compatibility with two non-rechargeable batteries.

Figure 1: OLIGHT Odin S Tactical Flashlight with remote pressure switch.
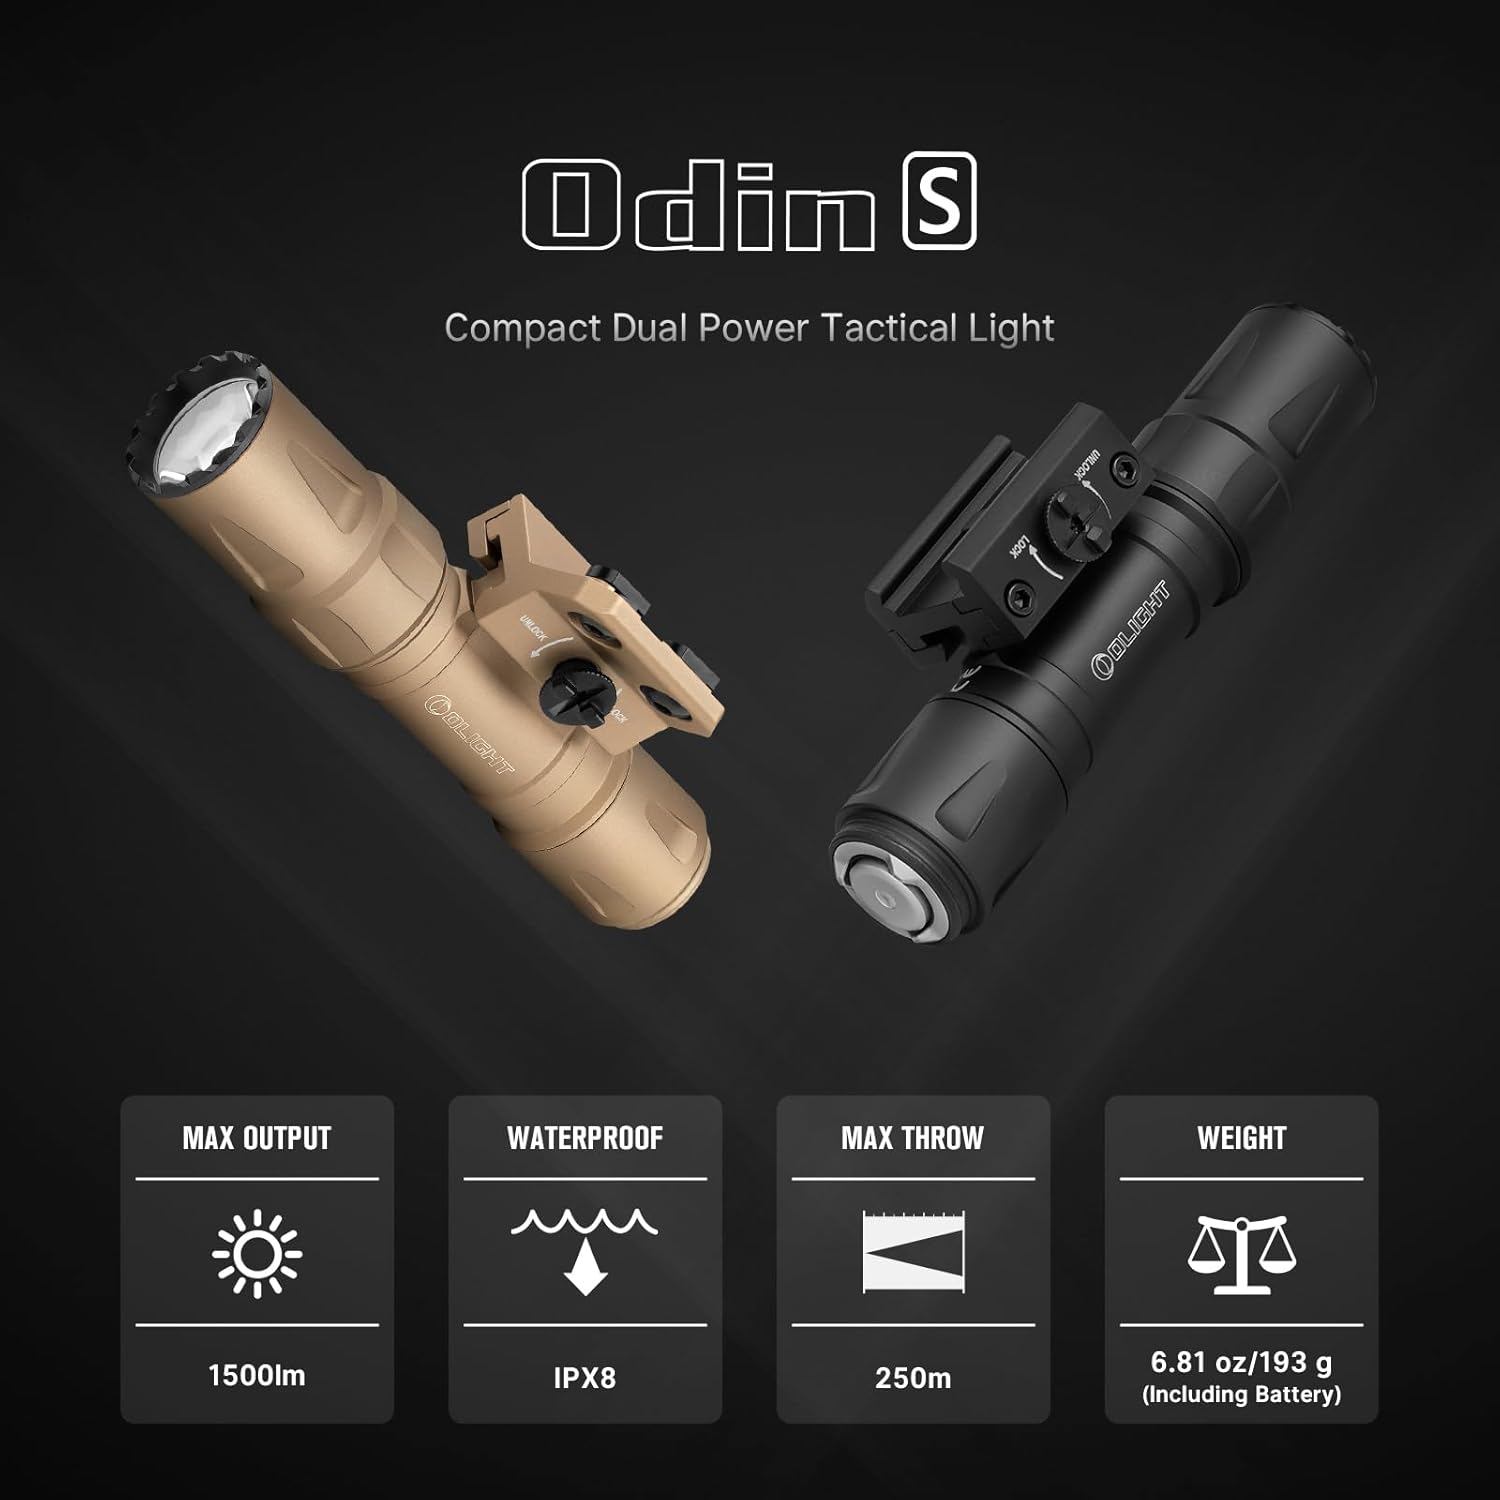
Figure 2: Odin S Compact Dual Power Tactical Light highlighting 1500 lumens, IPX8 waterproof, 250m throw, and 6.81 oz weight.

Figure 3: OLIGHT Odin S flashlight illuminating a dark landscape, demonstrating its 1500 lumens output and 250-meter throw distance. Dimensions 5.02 inches length, 1.14 inches width.
Video 1: An overview of the OLIGHT ODIN S Tactical Flashlight, showcasing its features and capabilities.
2. What's in the Box
- Odin S (Battery Included) x 1
- Rail Mount x 1
- Charging Cable x 1
- Pressure Switch x 1
- Pressure Switch Mount x 1
- H3.0 Wrench x 1 (For M-LOK version)
- Nuts x 2 (For M-LOK version)
- H2.5 Wrench x 1
- Screws x 2
- Self-Locking Band x 4
- Battery Holder x 1
- User Manual x 1

Figure 4: Contents of the OLIGHT Odin S package.
3. Setup
3.1 Battery Installation
The Odin S comes with a standard 3500 mAh rechargeable battery. It is also compatible with 2 non-rechargeable batteries using the included battery holder. When using non-rechargeable batteries, please do not attempt to charge the light with the MCC (Magnetic Charging Cable).
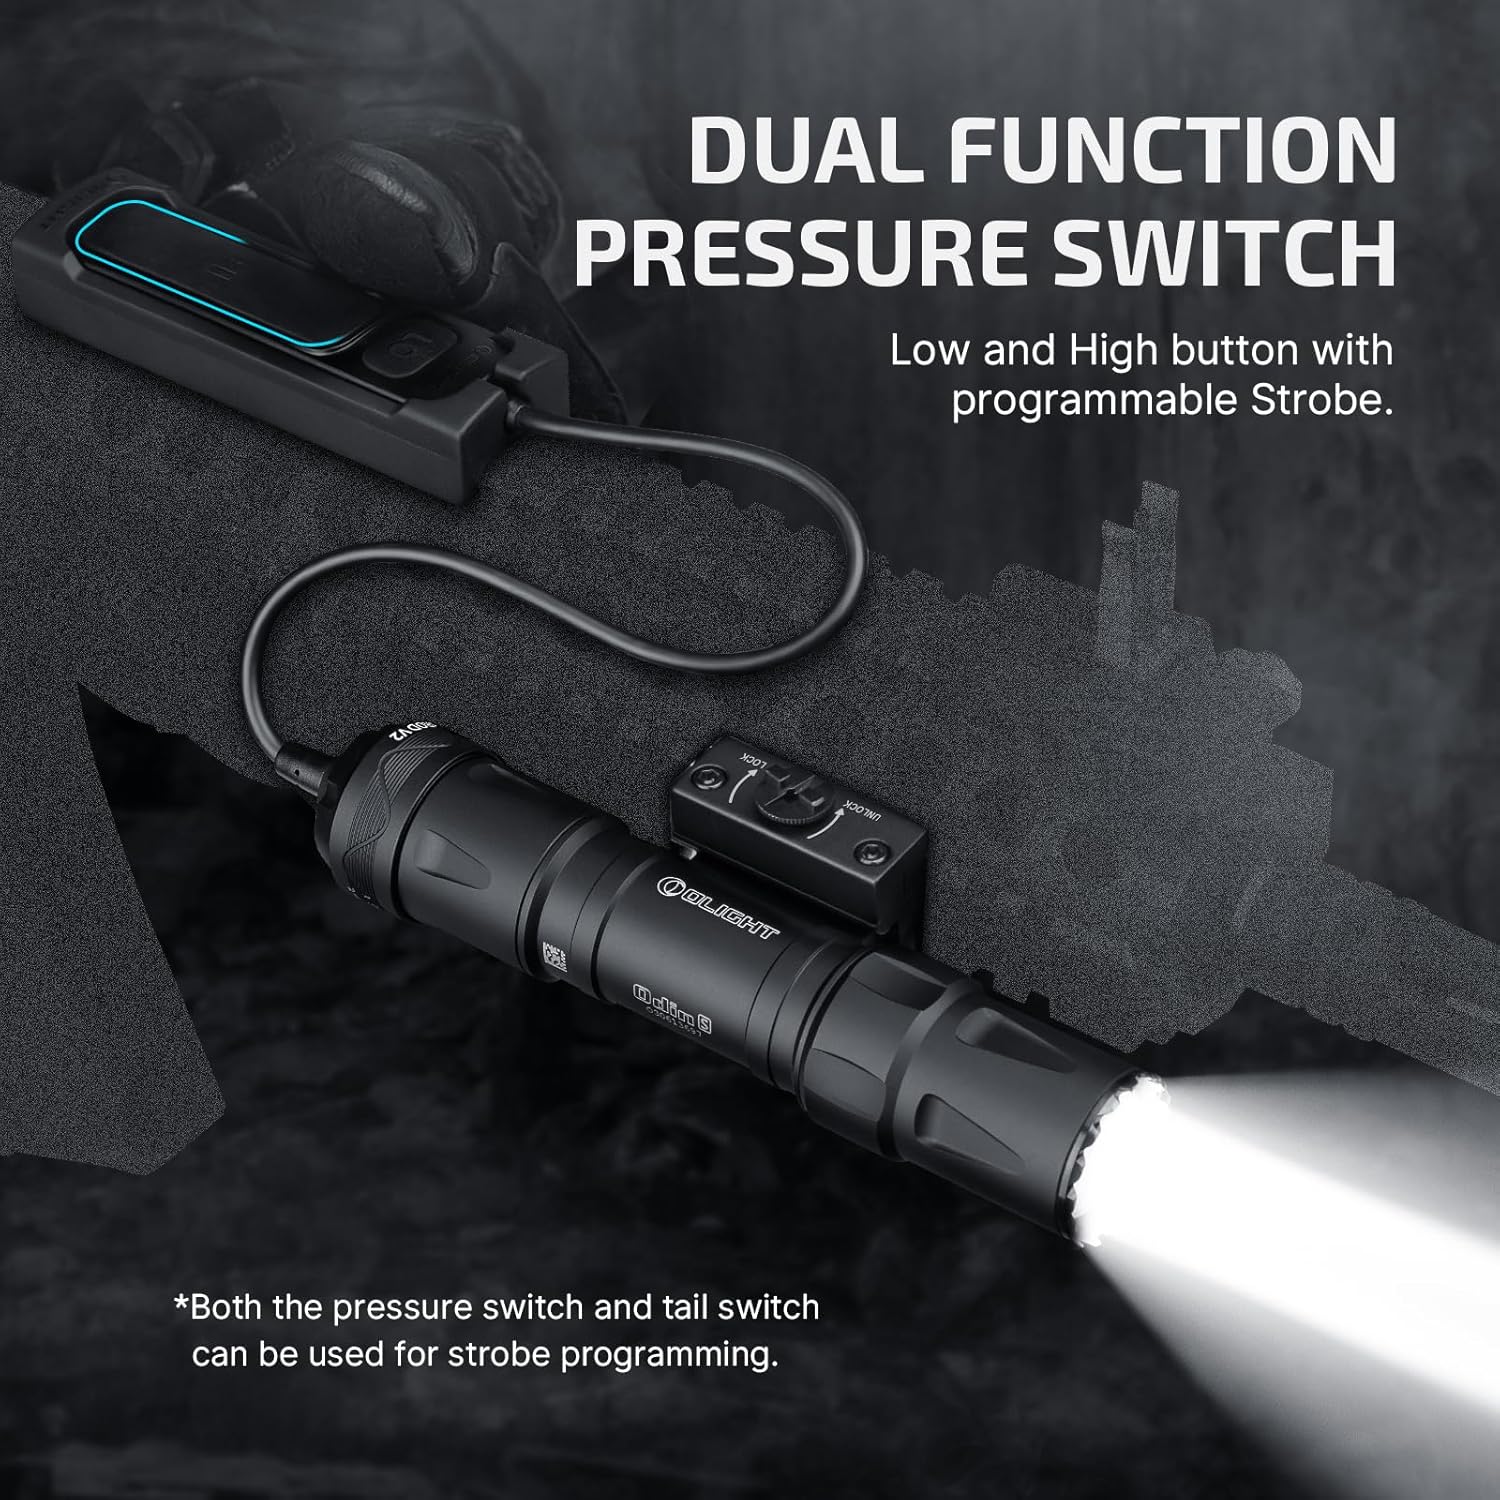
Figure 5: Dual Power Options for OLIGHT Odin S, showing rechargeable and non-rechargeable battery compatibility.
3.2 Mounting
The Odin S is available in both MLOK and Picatinny versions to suit different preferences and firearm rail systems. It features an upgraded integrated mounting bracket and a screw-locking rail clamp for secure attachment, ensuring stability even under heavy recoil. Internal electronics are potted to further enhance reliability.

Figure 6: MLOK and Picatinny Versions of OLIGHT Odin S, illustrating the different rail mounting options.

Figure 7: Rock-Solid Build of OLIGHT Odin S, detailing the integrated mounting bracket, screw-locking mechanism, and screw-cap design.
4. Operating Instructions
4.1 Tail Switch Operation
- Constant On: Press lightly/hard and quickly for Low/High mode. Press again to turn it off.
- Momentary On: Press lightly/hard and hold for Low/High mode. Release to turn it off.
- Enable/Disable Strobe: When the light is off, quickly press the tail switch five times or more, and hold it for more than 1 second at the last press. (The Strobe function on the ODIN S is disabled by default.)
- Activate Strobe: After activating the strobe function, double (or more) press the tail switch hard quickly to turn on the Strobe, and press once again to turn it off.
4.2 Pressure Switch Operation
- Constant On: Press the LO/HI button quickly for Low/High mode. Press again to turn it off.
- Momentary On: Press and hold the LO/HI button for Low/High mode. Release to turn the light off.
- Enable/Disable Strobe: When the light is off, quickly press the HI button of the remote switch five times or more, and hold it for more than 1 second at the last press.
- Activate Strobe: After activating the strobe function, double (or more) press the HI button hard quickly to turn on the Strobe, and press once again to turn it off.
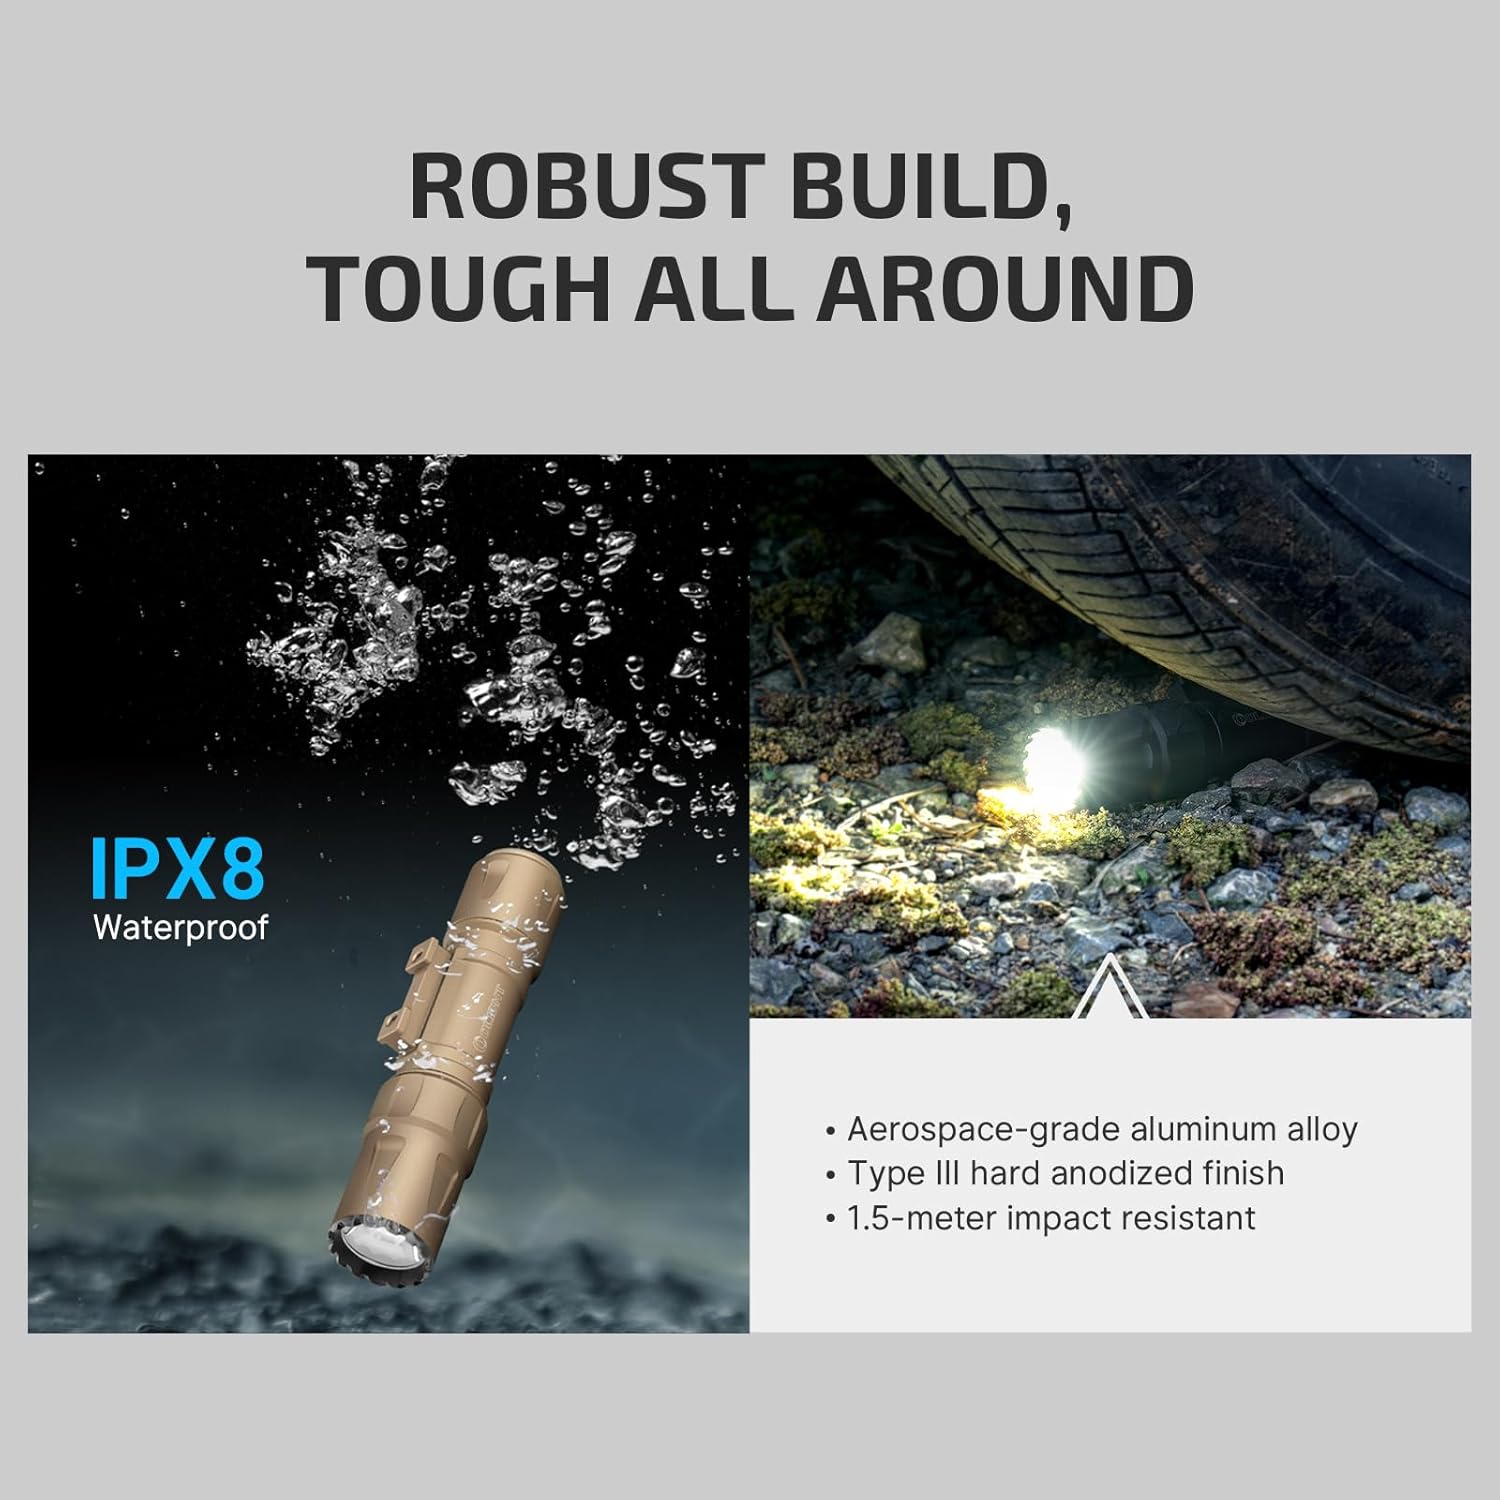
Figure 8: Dual Function Pressure Switch of OLIGHT Odin S, with low and high buttons and programmable strobe.
Video 2: Demonstrates how to operate the ODIN S in different modes, including constant on, momentary on, and strobe function, using both the tail switch and pressure switch.
5. Maintenance
5.1 Cleaning
Regularly clean the flashlight body and lens with a soft, damp cloth. Avoid using abrasive materials or harsh chemicals that could damage the finish or optical components. Ensure the magnetic charging port is free from debris to maintain proper charging functionality.
5.2 Charging
The Odin S is charged using the MCC (Magnetic Charging Cable). Simply attach the magnetic end of the cable to the tail switch of the flashlight. The indicator light on the cable will show the charging status (red for charging, green for fully charged). Ensure the battery is fully charged before first use and after extended periods of storage.

Figure 9: Enhanced Screw Cap Design for Fast Locking the remote pressure switch to the OLIGHT Odin S flashlight.
6. Specifications
| Feature | Value |
|---|---|
| Special Feature | Waterproof, Rechargeable |
| Color | Black |
| Power Source | Battery Powered |
| Light Source Type | LED |
| Material | Aluminum |
| White Brightness | 1500 Lumens |
| Product Dimensions | 1.14"D x 1.14"W x 5.02"H |
| Light Path Distance | 250 Meters |
| Battery Cell Composition | Lithium Ion |
| Number of Batteries | 1 Lithium Ion batteries required. (included) |
| Water Resistance Level | Waterproof (IPX8) |
| Style | Mlok Rail |
| Item Weight | 1.1 pounds |
| Country of Origin | China |
| Item model number | O-ODINS-BK-300000 |

Figure 10: OLIGHT Odin S demonstrating IPX8 waterproof rating and 1.5-meter impact resistance, built with aerospace-grade aluminum alloy.
7. Troubleshooting
7.1 Light Not Turning On
- Ensure the battery is fully charged.
- Check that the battery is inserted with the correct polarity.
- Verify that the tail cap is screwed on tightly.
- If using the remote pressure switch, ensure it is securely connected and locked to the tail cap.
7.2 Strobe Function Not Working
- Confirm that the strobe function has been enabled (refer to Section 4.1 or 4.2). It is disabled by default.
- Ensure you are performing the double-press action quickly and firmly.
7.3 Charging Issues
- Ensure the MCC is properly connected to a USB power source.
- Clean the magnetic charging port on the tail cap and the MCC contacts to ensure good connection.
- Do not attempt to charge the light with the MCC if non-rechargeable batteries are installed.
8. Warranty and Support
OLIGHT prides itself on providing high-quality flashlights and is committed to customer satisfaction. For detailed warranty information and support, please refer to the official OLIGHT website or the comprehensive User Manual PDF available for download.
- Official User Manual (PDF): Download Here
- OLIGHT Brand Store: Visit Store
Olight is committed to guiding you through the night, enhancing the well-being of society, and most importantly delivering hope and belief to people in need. We hope to make the world brighter with our actions—utilizing everything possible we can to illuminate your world.


