
Scheppach 5906159901
SCHEPPACH 20V IXES 10 Bar Hybrid Electric Compressor - Airforce 6
Model: 5906159901 | Brand: Scheppach
1. Introduction
This manual provides essential information for the safe and efficient operation of your Scheppach 20V IXES 10 Bar Hybrid Electric Compressor, model Airforce 6. This versatile compressor is designed for various inflation tasks, offering multiple power options for maximum flexibility.
2. Safety Instructions
Always read and understand all safety warnings and instructions before operating the compressor. Failure to follow these instructions may result in electric shock, fire, and/or serious injury.
- Ensure the work area is clean and well-lit.
- Do not operate the compressor in explosive atmospheres, such as in the presence of flammable liquids, gases, or dust.
- Keep children and bystanders away while operating the compressor.
- Wear appropriate personal protective equipment, including eye protection.
- Disconnect the power source before making any adjustments, changing accessories, or storing the compressor.
- Do not over-inflate items. Always check the recommended pressure for the item being inflated.
- Do not direct the air stream at people or animals.
- Store the compressor indoors in a dry, secure place out of reach of children.
3. Package Contents
Verify that all items are present upon unpacking:
- Scheppach 20V IXES Hybrid Electric Compressor
- Valve adapter
- Ball needle
- Conical adapter (for swimming accessories)
- High-pressure hose (75 cm)
- Blower hose (44 cm)
- Note: Battery and charger are sold separately.
4. Product Overview
Familiarize yourself with the main components and controls of your compressor.

Figure 4.1: Front view of the Scheppach Hybrid Electric Compressor, showing the main unit with handle and integrated storage.

Figure 4.2: Overview of the Scheppach IXES 20V battery platform, illustrating compatibility with various tools.
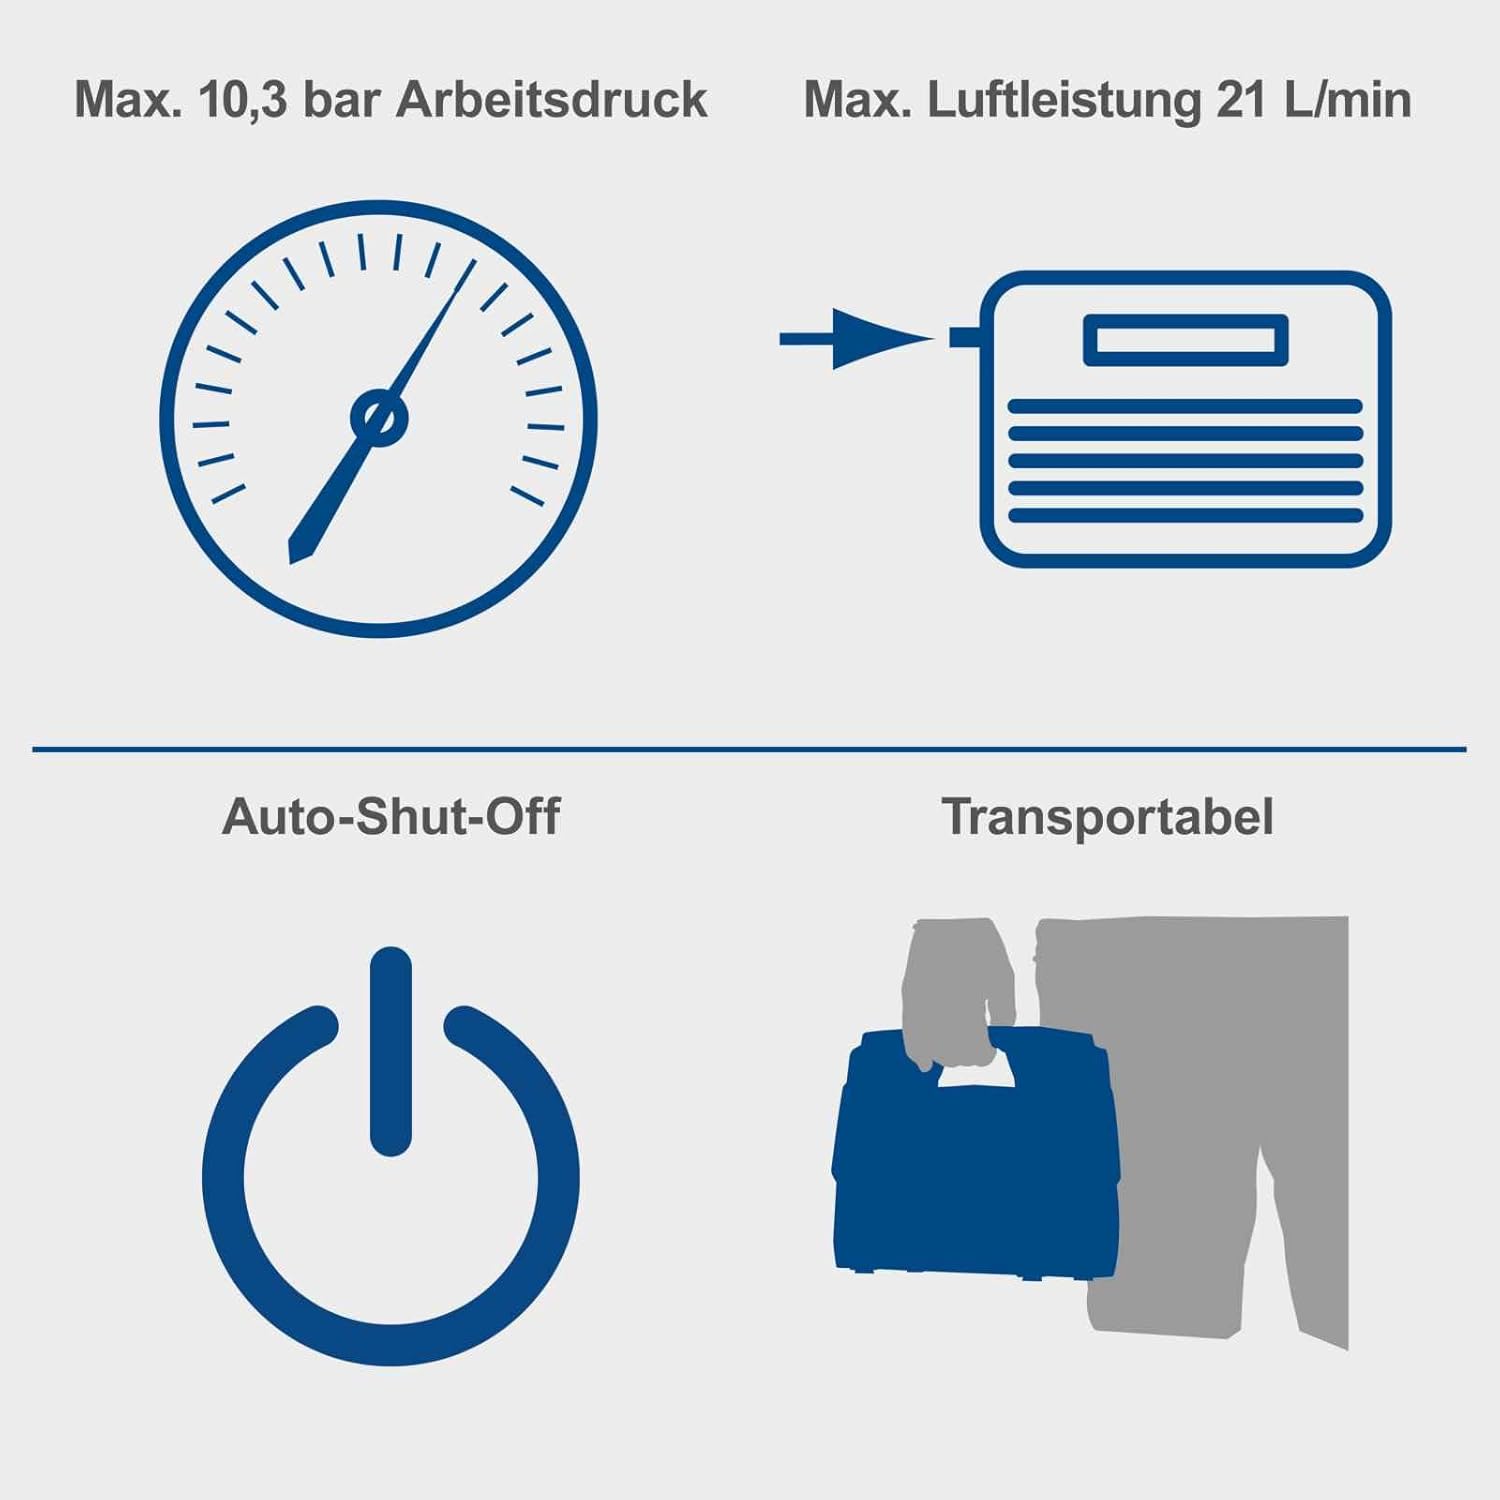
Figure 4.3: Close-up of the digital display and control buttons for pressure adjustment and mode selection.

Figure 4.4: Integrated storage compartment for valve adapter, ball needle, and conical adapter.

Figure 4.5: Integrated storage for the 230V and 12V cables, 75 cm high-pressure hose, and 44 cm blower hose.

Figure 4.6: LED work light for improved visibility in low-light conditions.
Key Features:
- Hybrid Functionality: Operates with 230V mains cable, 20V battery (sold separately), or 12V car cigarette lighter.
- Digital Display: Shows current and target pressure.
- Automatic Shut-off: Stops when the preset pressure is reached.
- Integrated Storage: Conveniently stores cables and accessories.
- LED Work Light: For use in dark environments.
- Oil-free: Low maintenance design.
5. Setup
5.1 Power Source Connection
The compressor offers three power options:
- 230V Mains Power: Connect the integrated mains cable to a standard wall outlet.
- 20V Battery Power: Insert a compatible Scheppach IXES 20V battery (sold separately) into the battery slot.
- 12V Car Cigarette Lighter: Connect the integrated 12V cable to your vehicle's cigarette lighter socket.
5.2 Attaching Accessories
Select the appropriate adapter for your inflation task:
- For car tires or bicycle tires with Schrader valves, use the high-pressure hose directly.
- For balls, attach the ball needle to the high-pressure hose.
- For inflatable mattresses or swimming accessories, use the conical adapter with the blower hose.
- For Presta valves on bicycles, an additional adapter (not included) may be required.
6. Operating Instructions
6.1 Setting Desired Pressure
- Connect the compressor to your chosen power source.
- Press the power button to turn on the compressor. The digital display will illuminate.
- Use the '+' and '-' buttons to set the desired pressure. The display shows the target pressure.
- Press the unit selection button to cycle through pressure units: BAR, PSI, and kPa.
6.2 Inflation Process
- Attach the appropriate hose and adapter to the item you wish to inflate.
- Ensure a secure connection to prevent air leakage.
- Press the start button to begin inflation. The compressor will automatically stop once the preset pressure is reached.
- For deflating or using the blower function, select the appropriate mode on the control panel and attach the blower hose.
- After use, disconnect the hose and power source.

Figure 6.1: Digital display showing a pressure reading, indicating precise control.

Figure 6.2: Icons representing the automatic shut-off feature and the portable design of the compressor.

Figure 6.3: Icons illustrating the three power options: 230V mains, 20V battery, and 12V cigarette lighter.

Figure 6.4: Examples of common applications including car tires, bicycle tires, and sports balls.
7. Maintenance
The Scheppach Airforce 6 compressor is designed for low maintenance due to its oil-free operation.
- Cleaning: Regularly wipe down the exterior of the compressor with a soft, damp cloth. Do not use harsh chemicals or abrasive cleaners.
- Storage: Store the compressor in a dry, dust-free environment. Utilize the integrated storage compartments for hoses and accessories to keep them organized and protected.
- Inspection: Periodically inspect the hoses, cables, and adapters for any signs of wear, damage, or cracks. Replace damaged components immediately.
8. Troubleshooting
If you encounter issues with your compressor, refer to the following common problems and solutions:
| Problem | Possible Cause | Solution |
|---|---|---|
| Compressor does not turn on. | No power supply; Battery not charged; Loose connection. | Check power cable/cigarette lighter connection; Ensure battery is charged and properly inserted; Verify power outlet is functional. |
| Compressor runs but no air output. | Hose or adapter not securely attached; Hose is kinked or blocked. | Check all connections for tightness; Inspect hose for kinks or obstructions. |
| Pressure reading is inaccurate. | Incorrect unit selected; Sensor malfunction. | Ensure the correct pressure unit (BAR, PSI, kPa) is selected; If problem persists, contact customer support. |
| Compressor stops prematurely. | Preset pressure reached; Overheating. | This is normal if the preset pressure is reached (auto-shutoff); Allow the unit to cool down if it feels hot. |
9. Specifications
| Specification | Value |
|---|---|
| Model Number | 5906159901 |
| Manufacturer | SCHEPPACH |
| Dimensions (L x W x H) | 1 x 1 x 1 cm |
| Weight | 2.68 Kilograms |
| Color | Blue |
| Material | Metal |
| Power Type | Hybrid (230V, 20V Battery, 12V Cigarette Lighter) |
| Voltage | 20 Volts (Battery) |
| Air Flow Capacity | 21 liters per minute |
| Maximum Pressure | 10.3 bar |
| Noise Level | 92 dB |
| High-Pressure Hose Length | 75 Centimeters |
| Blower Hose Length | 44 Centimeters |
| Special Feature | Hybrid Function, LED Work Light, Automatic Shut-off |
| Components Included | Compressor, valve adapter, ball needle, conical adapter, 75 cm high-pressure hose, 44 cm blower hose |
10. Warranty and Support
For warranty information or technical support, please refer to the documentation provided with your purchase or visit the official Scheppach website. Keep your proof of purchase for any warranty claims.
Scheppach Official Website: www.scheppach.com
Related documents5906159901


Ask a question about this manual
Ask about setup, troubleshooting, compatibility, parts, safety, or missing instructions. Manuals+ will review the question and use this page’s manual context to help answer it.