
Lamshaw IDW17, IDW20, IDW21, IDW23, IDW25, IDW26 Smart Watch Bands
Lamshaw Smart Watch Bands User Manual
Comprehensive guide for installation, use, and maintenance of your Lamshaw Silicone Replacement Smart Watch Bands.
1. Product Overview
The Lamshaw Silicone Replacement Smart Watch Bands are designed to provide a comfortable and secure fit for various smart watch models. Crafted from high-quality elastomer, these bands are soft, lightweight, and durable, making them ideal for daily wear and active lifestyles. The stainless steel buckle ensures a reliable closure.
Key Features
- Compatible Models: Specifically designed for IDW17, IDW20, IDW21, IDW25, IDW23, and IDW26 Smart Watch models.
- Premium Material: Made from high-quality elastomer with a stainless steel buckle, preventing skin irritation.
- Comfort and Durability: Soft, lightweight, and durable for comfortable long-term wear.
- Easy Installation: Features watch lugs on both ends for precise and secure attachment, allowing for easy installation and removal with a single button.
- Breathable Design: Unique slim band narrow design promotes airflow, reducing sweat accumulation on the wrist.
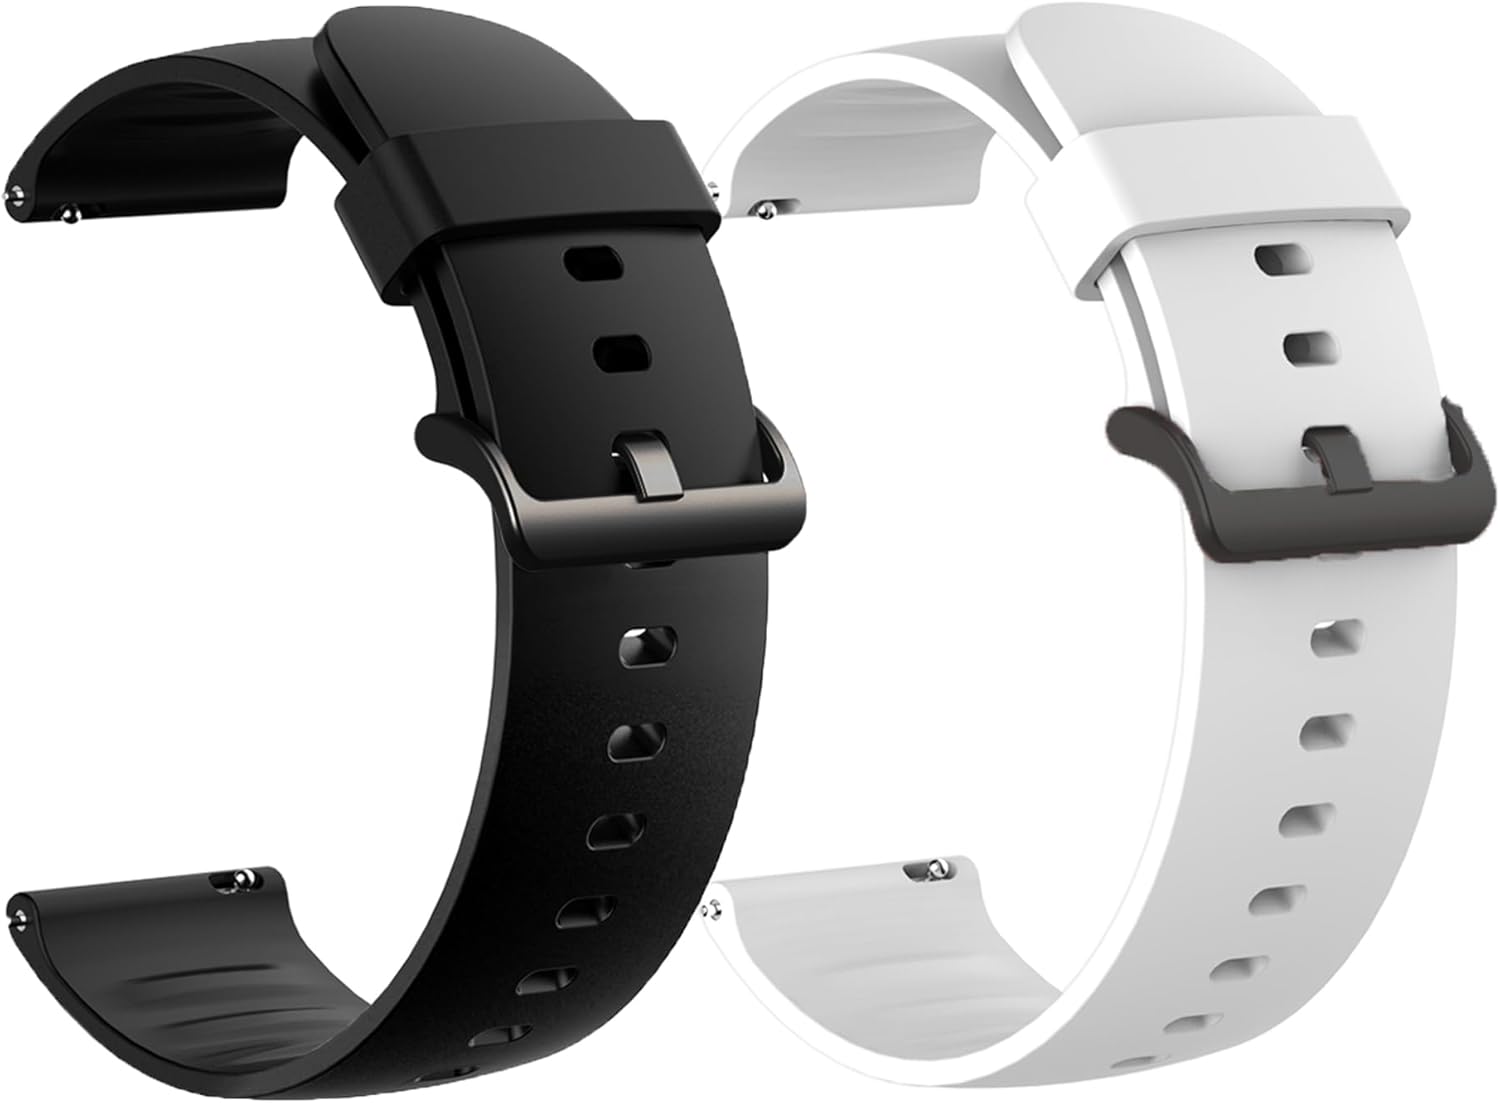
Figure 1: Lamshaw Silicone Replacement Smart Watch Bands (Black and White).

Figure 2: Compatibility with various Smart Watch Models (IDW17, IDW20, IDW21, IDW23, IDW25, IDW26).
2. Setup
2.1 Unpacking
Upon receiving your Lamshaw Smart Watch Bands, carefully open the packaging and ensure all components are present. Each package typically contains:
- Lamshaw Silicone Replacement Smart Watch Band(s)
2.2 Band Installation
Installing your new watch band is a straightforward process. Follow these steps to securely attach the band to your smart watch:
- Prepare Your Watch: If a band is currently attached, remove it by locating the quick-release pins or spring bars on the underside of the watch lugs. Slide the pin inwards and gently pull the band away from the watch body.
- Identify Band Ends: Each end of the Lamshaw band has a watch lug with a quick-release pin. Ensure you identify the correct orientation for each side of the watch (top and bottom).
- Attach First End: Insert one end of the quick-release pin into the corresponding hole on one side of your watch lug.
- Secure Second End: While holding the first end in place, slide the quick-release pin inwards using the small lever. Align the other end of the pin with the opposite hole on the watch lug and release the lever. The pin should snap securely into place.
- Verify Connection: Gently tug on the installed band to ensure it is firmly attached and does not easily detach from the watch.
- Repeat for Second Band: Follow the same steps to attach the second part of the watch band to the other side of your smart watch.

Figure 3: Illustration of band attachment and wearing.
3. Operating (Daily Use)
Once installed, your Lamshaw Smart Watch Band is ready for daily use. Adjust the buckle to achieve a comfortable and secure fit on your wrist. The breathable design helps minimize sweat, making it suitable for various activities.
- Ensure the band is not too tight to restrict circulation, nor too loose to allow the watch to move excessively.
- The stainless steel buckle provides a secure closure, preventing accidental detachment during activities.
4. Maintenance
4.1 Cleaning Instructions
To maintain the longevity and appearance of your silicone watch band, regular cleaning is recommended:
- Remove from Watch: For best results, detach the band from your smart watch before cleaning.
- Mild Soap and Water: Use a soft, damp cloth with a small amount of mild soap (e.g., hand soap or dish soap) and lukewarm water.
- Gentle Scrub: Gently wipe down the entire surface of the band, paying attention to any areas with accumulated dirt or sweat.
- Rinse Thoroughly: Rinse the band under clean, running water to remove all soap residue. Ensure no soap remains, as it can cause skin irritation or degrade the silicone over time.
- Dry Completely: Pat the band dry with a clean, soft towel. Allow it to air dry completely before reattaching it to your watch or storing it. Avoid direct sunlight or high heat, which can damage the material.
4.2 Storage
When not in use, store your watch bands in a cool, dry place away from direct sunlight and extreme temperatures. This helps preserve the material and prevent discoloration or degradation.
5. Troubleshooting
This section addresses common issues you might encounter with your Lamshaw Smart Watch Bands.
| Issue | Possible Cause | Solution |
|---|---|---|
| Band does not attach securely to watch. | Quick-release pin not fully engaged; incorrect band size for watch model; debris in watch lug holes. | Ensure the quick-release pin is fully extended into both holes. Verify your watch model is listed as compatible. Clean watch lug holes if necessary. |
| Skin irritation after wearing. | Allergic reaction to material; band is too tight; sweat/dirt buildup under band. | Ensure the band is clean. Loosen the band for better airflow. If irritation persists, discontinue use and consult a doctor. |
| Band appears discolored or sticky. | Exposure to chemicals (e.g., lotions, sunscreens); prolonged exposure to direct sunlight; insufficient cleaning. | Clean the band thoroughly as per cleaning instructions. Avoid contact with harsh chemicals. Store away from direct sunlight. |
6. Specifications
| Feature | Detail |
|---|---|
| Material | High-quality Elastomer |
| Buckle Material | Stainless Steel |
| Clasp Type | Tang Buckle |
| Compatible Watch Models | IDW17, IDW20, IDW21, IDW23, IDW25, IDW26 Smart Watches |
| Department | Unisex-Adult |
7. Warranty and Support
7.1 Warranty Information
Lamshaw offers a warranty for quality-related issues. For 30 days after the date of purchase, all quality-related issues are covered with a REPLACEMENT or REFUND.
7.2 Customer Support
If you encounter any issues or have questions regarding your Lamshaw Smart Watch Bands, please CONTACT US at the first instance. Our customer support team is available to assist you with any defective items or concerns.
For support, please refer to the contact information provided with your purchase or on the retailer's website.
Ask a question about this manual
Ask about setup, troubleshooting, compatibility, parts, safety, or missing instructions. Manuals+ will review the question and use this page’s manual context to help answer it.