
1. Introduction
This manual provides detailed instructions for the setup, operation, and maintenance of your Yamnweo EX-8 Dual Band Professional 8-Channel Audio Mixer. The EX-8 is a versatile audio console designed to meet various user needs, including home music production, live streaming, karaoke, and more. Please read this manual thoroughly before using the product to ensure proper function and safety.
2. Safety Information
- Ensure the mixer is connected to a power source matching the specified voltage (110 Volts for US models).
- Do not expose the unit to rain or moisture to prevent fire or electric shock.
- Do not open the casing. Refer all servicing to qualified personnel.
- Avoid placing the unit near heat sources or in direct sunlight.
- Keep the unit away from strong magnetic fields.
- Always unplug the power cord before cleaning or when not in use for extended periods.
3. Product Overview
The Yamnweo EX-8 is an 8-channel audio mixer equipped with advanced features for professional audio control. Key features include:
- 8-Channel Input: Supports multiple microphones and instruments.
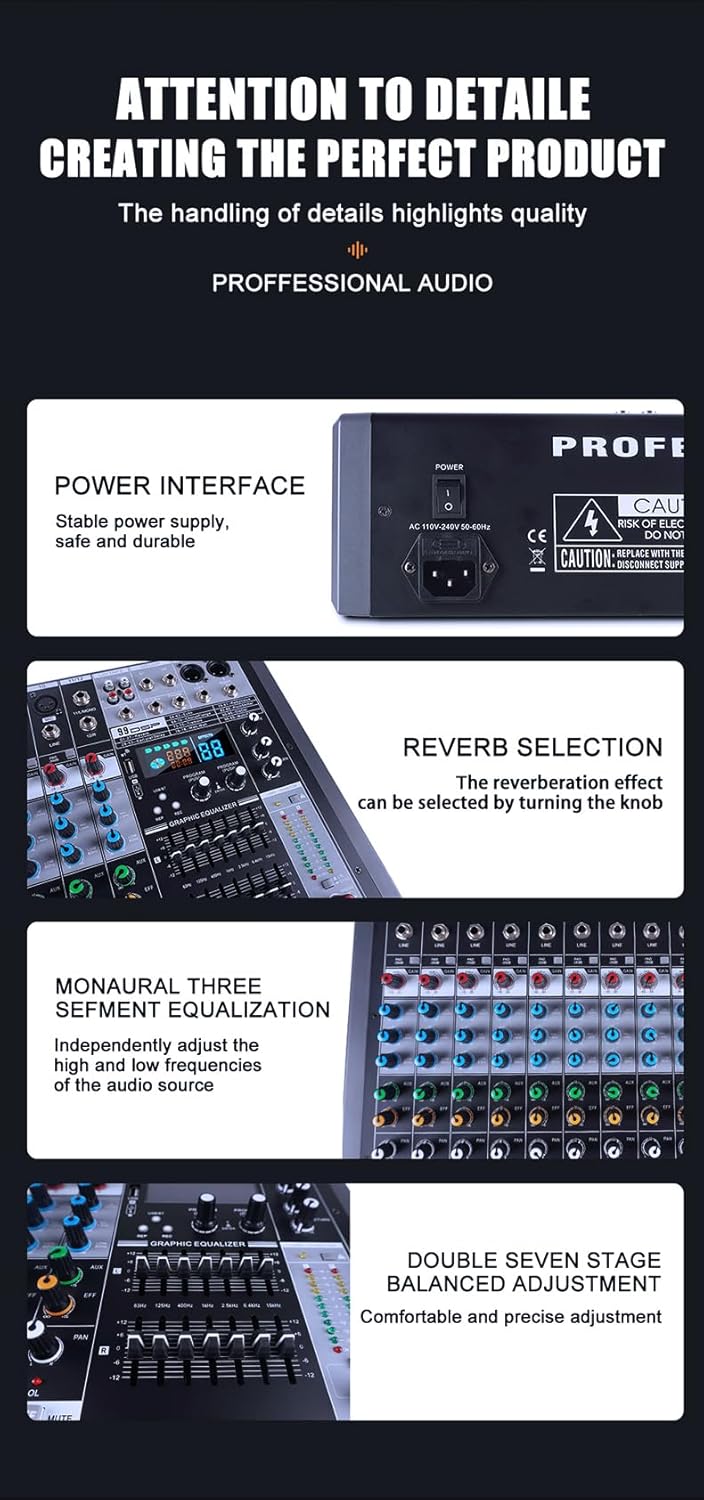
- 99 DSP Effects: A wide range of digital sound effects for various applications.
- 7-Band Graphic Equalizer: Precise control over audio frequencies for main output.
- Bluetooth Connectivity: Wireless connection for smartphones, tablets, and other Bluetooth devices.
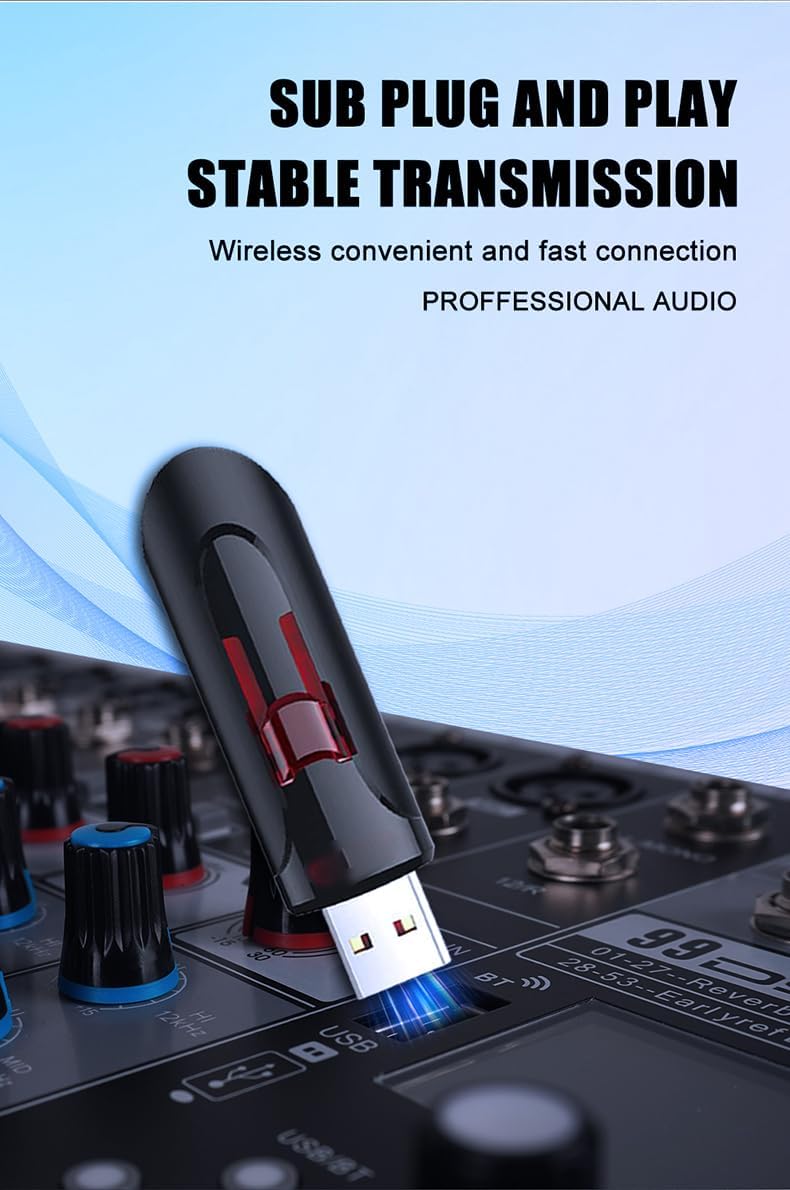
- USB Interface: Direct connection to PC for recording and playback, supports USB flash drives for MP3 playback.
- +48V Phantom Power: Individually switchable for condenser microphones on each channel.
- Real-time Monitoring: Dedicated headphone output for monitoring sound effects.
- Mute Function: Each channel features an independent mute switch.
3.1. Control Panel Layout
Refer to the diagram below for an overview of the mixer's control panel and connections.

Detailed Description of Labeled Components (Figure 1):
- Dual Purpose Microphone Input Port: Accepts both XLR and 1/4" (6.35mm) inputs for microphones and line-level instruments.
- +48V Phantom Power: Button to activate phantom power for condenser microphones.
- -26dB Pad: Attenuation switch for high-level input signals.
- Gain Knob: Adjusts the input sensitivity for each channel.
- Treble Knob: Adjusts high frequencies for each channel.
- Mid Tone Knob: Adjusts mid-range frequencies for each channel.
- Bass Knob: Adjusts low frequencies for each channel.
- Auxiliary Output (AUX): Sends signal to external effects processors or monitor systems.
- UQJS Control (Pan): Adjusts the stereo position (left/right) of the channel signal.
- Balance Control: Adjusts the balance between left and right channels for stereo inputs.
- Mute Function: Silences the individual channel.
- 60mm Travel Pusher (Fader): Controls the volume level of each channel.
- USB Connector: For connecting USB flash drives or a computer.
- Monitor Output: Output for connecting headphones or studio monitors.
- Left and Right Main Channel Output: Main stereo output for connecting to amplifiers or PA systems.
- 99 Types of DSP: Digital Signal Processor with 99 selectable effects.
- Large Display Screen: Shows current DSP effect number, USB/Bluetooth status, and other information.
- MP Function Button: Controls for USB/Bluetooth playback (play/pause, skip tracks, mode).
- Earphone Signal Adjustment (Phones): Volume control for the headphone output.
- Level Light (VU Meter): Displays the output level of the main mix.
- Real Time Monitoring and Adjustment: Refers to the ability to monitor audio and adjust settings live.
4. Setup
4.1. Power Connection
Connect the provided power cord to the mixer's power input port and then to a standard 110V AC outlet. Ensure the power switch is in the OFF position before connecting. Once connected, switch the power ON.

4.2. Connecting Microphones and Instruments
The EX-8 mixer features dual-purpose input ports (XLR and 6.35mm) for channels 1-6, and 6.35mm line inputs for channels 7/8. Connect your microphones using XLR cables or instruments using 6.35mm (1/4 inch) cables.

For condenser microphones requiring power, activate the +48V Phantom Power button on the respective channel. Use the -26dB Pad switch for very loud input sources to prevent clipping.
4.3. Connecting to a Computer (USB)
Connect the mixer to your computer using a USB cable. The mixer acts as an external sound card, allowing for direct recording and playback without additional drivers. This is a plug-and-play feature.
4.4. Bluetooth Connection
To connect a Bluetooth device (e.g., smartphone, tablet):
- Ensure Bluetooth is enabled on your device.
- On the mixer's digital player section, select the Bluetooth mode (usually indicated by "BT" on the display).
- Search for available devices on your smartphone/tablet and select "AEaudio-BT" or a similar name.
- Once paired, you can play audio wirelessly through the mixer.
4.5. Output Connections
- Main Output (L/R): Connect to your main amplifier or PA system using XLR or 1/4" cables.
- Monitor Output (Phones): Connect headphones for real-time monitoring.
- Auxiliary Output: Connect to external effects units or stage monitors.
5. Operation
5.1. Basic Mixing
Each input channel has dedicated controls for Gain, Treble, Mid Tone, Bass, AUX, Pan, and a volume Fader. Adjust these controls to achieve the desired sound for each input source.
- Gain: Start with the Gain knob at its lowest setting and gradually increase it until the signal is strong but not clipping (indicated by the PEAK LED).
- EQ (Treble, Mid, Bass): Adjust these knobs to shape the tone of each channel.
- Pan (UQJS Control): Position the sound of the channel in the stereo field.
- Fader: Use the 60mm faders for precise volume control of each channel in the mix.
- Mute: Press the MUTE button to instantly silence a channel.
5.2. DSP Effects
The EX-8 features 99 high-quality digital signal processing (DSP) effects. To select and apply an effect:
- Turn the PROGRAM knob to browse through the 99 available effects, displayed on the large screen.
- Press the ENTER button to confirm your selection.
- Adjust the EFFECT LEVEL knob (often labeled FX or EFF) on each channel to send the desired amount of signal to the selected DSP effect.
5.3. 7-Band Graphic Equalizer
The main output features a 7-band stereo graphic equalizer for fine-tuning the overall sound. Adjust the sliders to boost or cut specific frequency ranges (e.g., 63Hz, 160Hz, 430Hz, 1KHz, 2.5KHz, 5.3KHz, 10KHz) to match your acoustic environment or desired sound profile.
5.4. USB Playback/Recording
- USB Flash Drive Playback: Insert a USB flash drive containing MP3 files into the USB port. Use the MP function buttons (play/pause, skip) to control playback.
- Computer Recording: When connected to a PC via USB, the mixer can send its main mix output to your computer for recording using appropriate audio software.
5.5. Monitoring
Connect headphones to the PHONES jack. Adjust the Earphone Signal Adjustment knob to control the headphone volume. This allows you to monitor the main mix without affecting the main output.
6. Maintenance
- Cleaning: Use a soft, dry cloth to clean the mixer's surface. Do not use liquid cleaners or solvents.
- Storage: Store the mixer in a cool, dry place away from direct sunlight and extreme temperatures.
- Cable Management: Ensure all cables are neatly organized and not under tension to prevent damage to connectors and ports.
7. Troubleshooting
| Problem | Possible Cause | Solution |
|---|---|---|
| No sound output |
|
|
| No microphone input |
|
|
| Bluetooth connection issues |
|
|
| Distorted sound |
|
|
8. Specifications
| Feature | Detail |
|---|---|
| Brand | Yamnweo |
| Model Number | EX-8 |
| Number of Channels | 8 |
| Connectivity Technology | Bluetooth, USB |
| Power Source | Corded Electric |
| Voltage | 110 Volts |
| Item Weight | 12.1 pounds (approx. 5.49 kg) |
| Product Dimensions | 16.33"D x 15.35"W x 3.9"H (approx. 41.5 x 39 x 9.9 cm) |
| DSP Effects | 99 types |
| Equalizer | 7-Band Graphic EQ |
| Phantom Power | +48V (individually switchable) |
9. Warranty and Support
For warranty information and technical support, please refer to the contact details provided with your purchase or visit the official Yamnweo website. Keep your proof of purchase for any warranty claims.


