
Introduction
Thank you for choosing the BELLA 2-Slice Toaster. This manual provides essential information for the safe and efficient operation, maintenance, and care of your new appliance. Please read all instructions thoroughly before first use and retain for future reference.
Important Safeguards
When using electrical appliances, basic safety precautions should always be followed, including the following:
- Read all instructions.
- Do not touch hot surfaces. Use handles or knobs.
- To protect against electrical shock, do not immerse cord, plugs, or appliance in water or other liquid.
- Close supervision is necessary when any appliance is used by or near children.
- Unplug from outlet when not in use and before cleaning. Allow to cool before putting on or taking off parts.
- Do not operate any appliance with a damaged cord or plug or after the appliance malfunctions or has been damaged in any manner.
- The use of accessory attachments not recommended by the appliance manufacturer may cause injuries.
- Do not use outdoors.
- Do not let cord hang over edge of table or counter, or touch hot surfaces.
- Do not place on or near a hot gas or electric burner, or in a heated oven.
- Always attach plug to appliance first, then plug cord into the wall outlet. To disconnect, turn any control to "off", then remove plug from wall outlet.
- Do not use appliance for other than intended use.
- Oversize foods, metal foil packages, or utensils must not be inserted in a toaster as they may create a risk of fire or electric shock.
- A fire may occur if toasters are covered or touching flammable material, including curtains, draperies, walls, and the like, when in operation.
- Do not attempt to dislodge food when toaster is plugged in.
- Do not operate unattended.
- Bread may burn. Therefore, toasters must not be used near or below curtains and other combustible materials. They must be watched.
Parts and Features
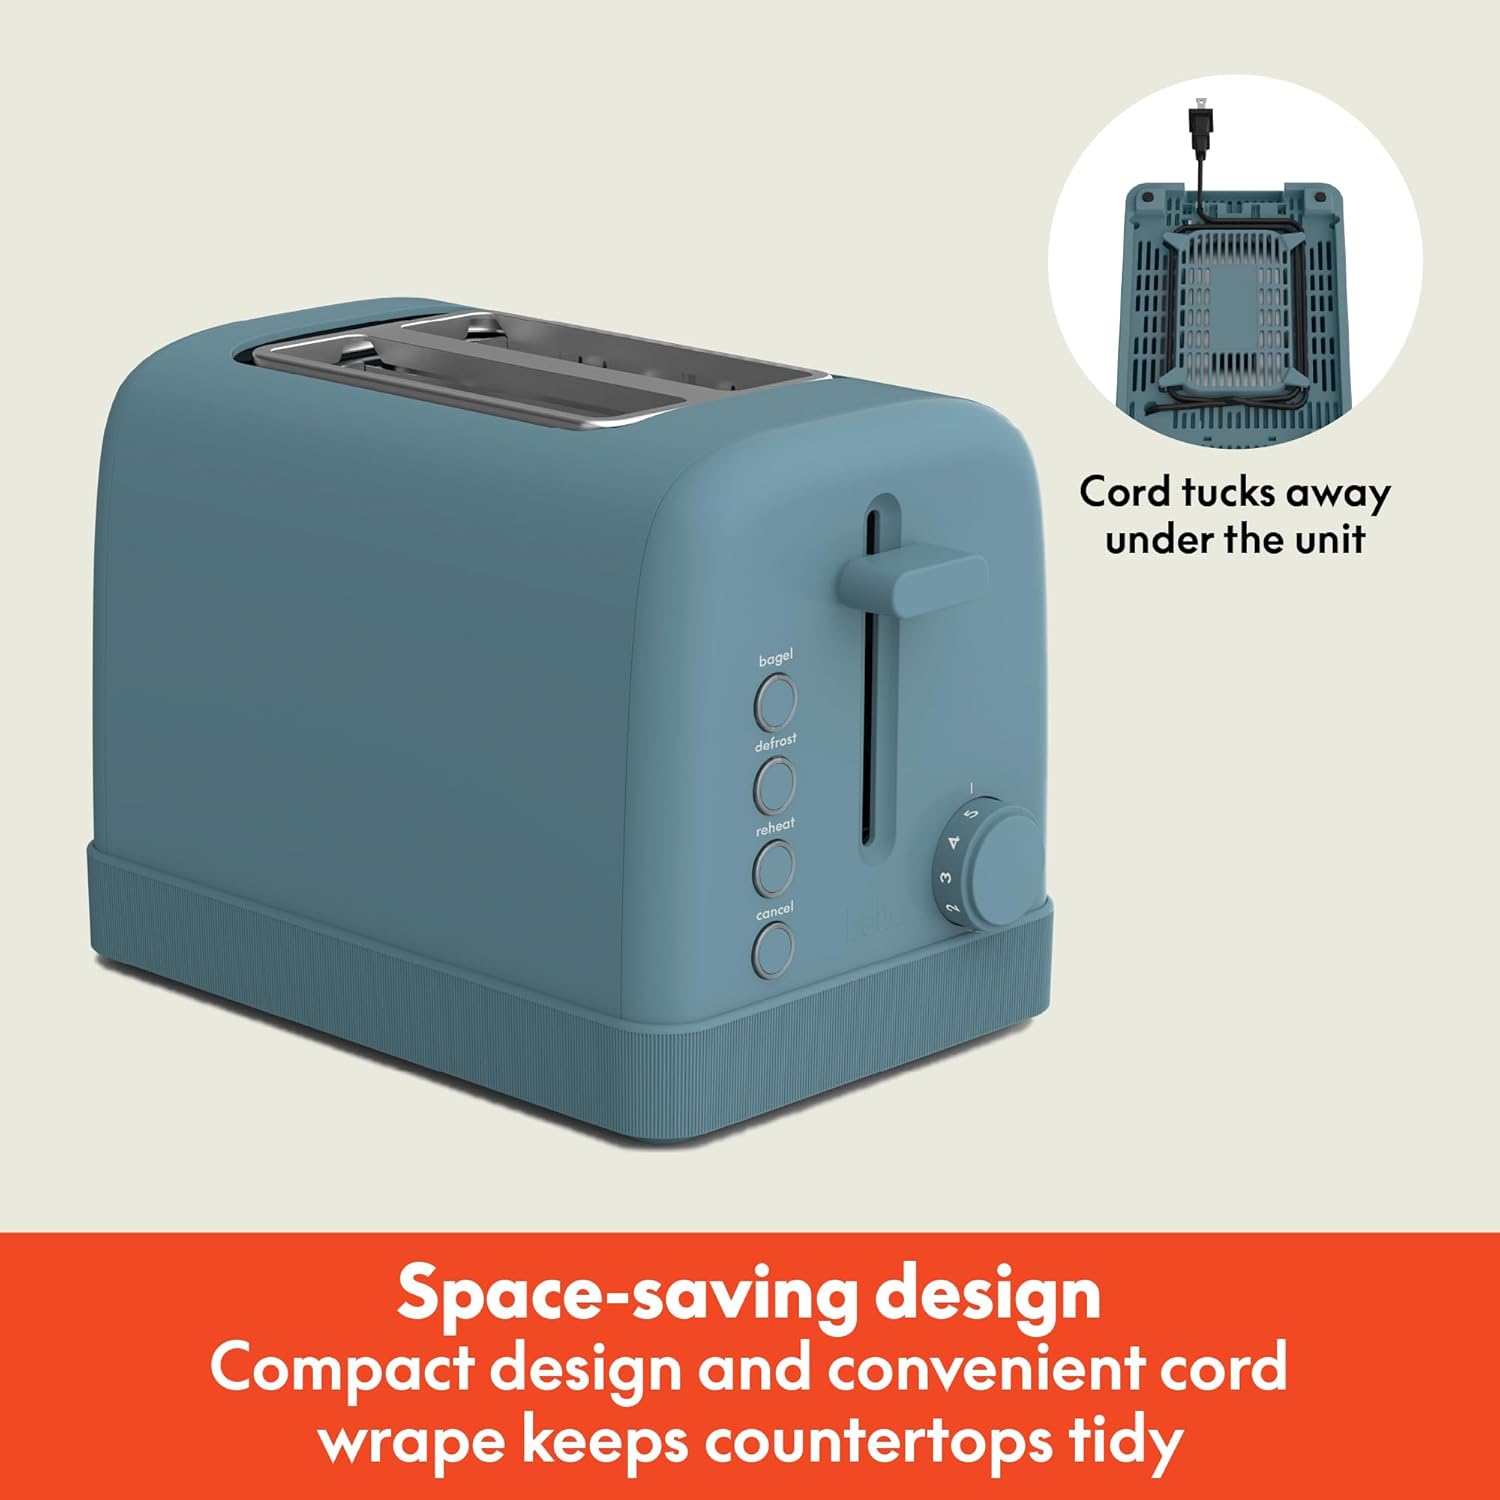
Figure 1: Front View. This image displays the overall design of the BELLA 2-Slice Toaster, highlighting its compact form and control panel.

Figure 2: Extra-Wide Slots. The toaster features two long, extra-wide slots designed to accommodate various bread types, including bagels and artisan slices.
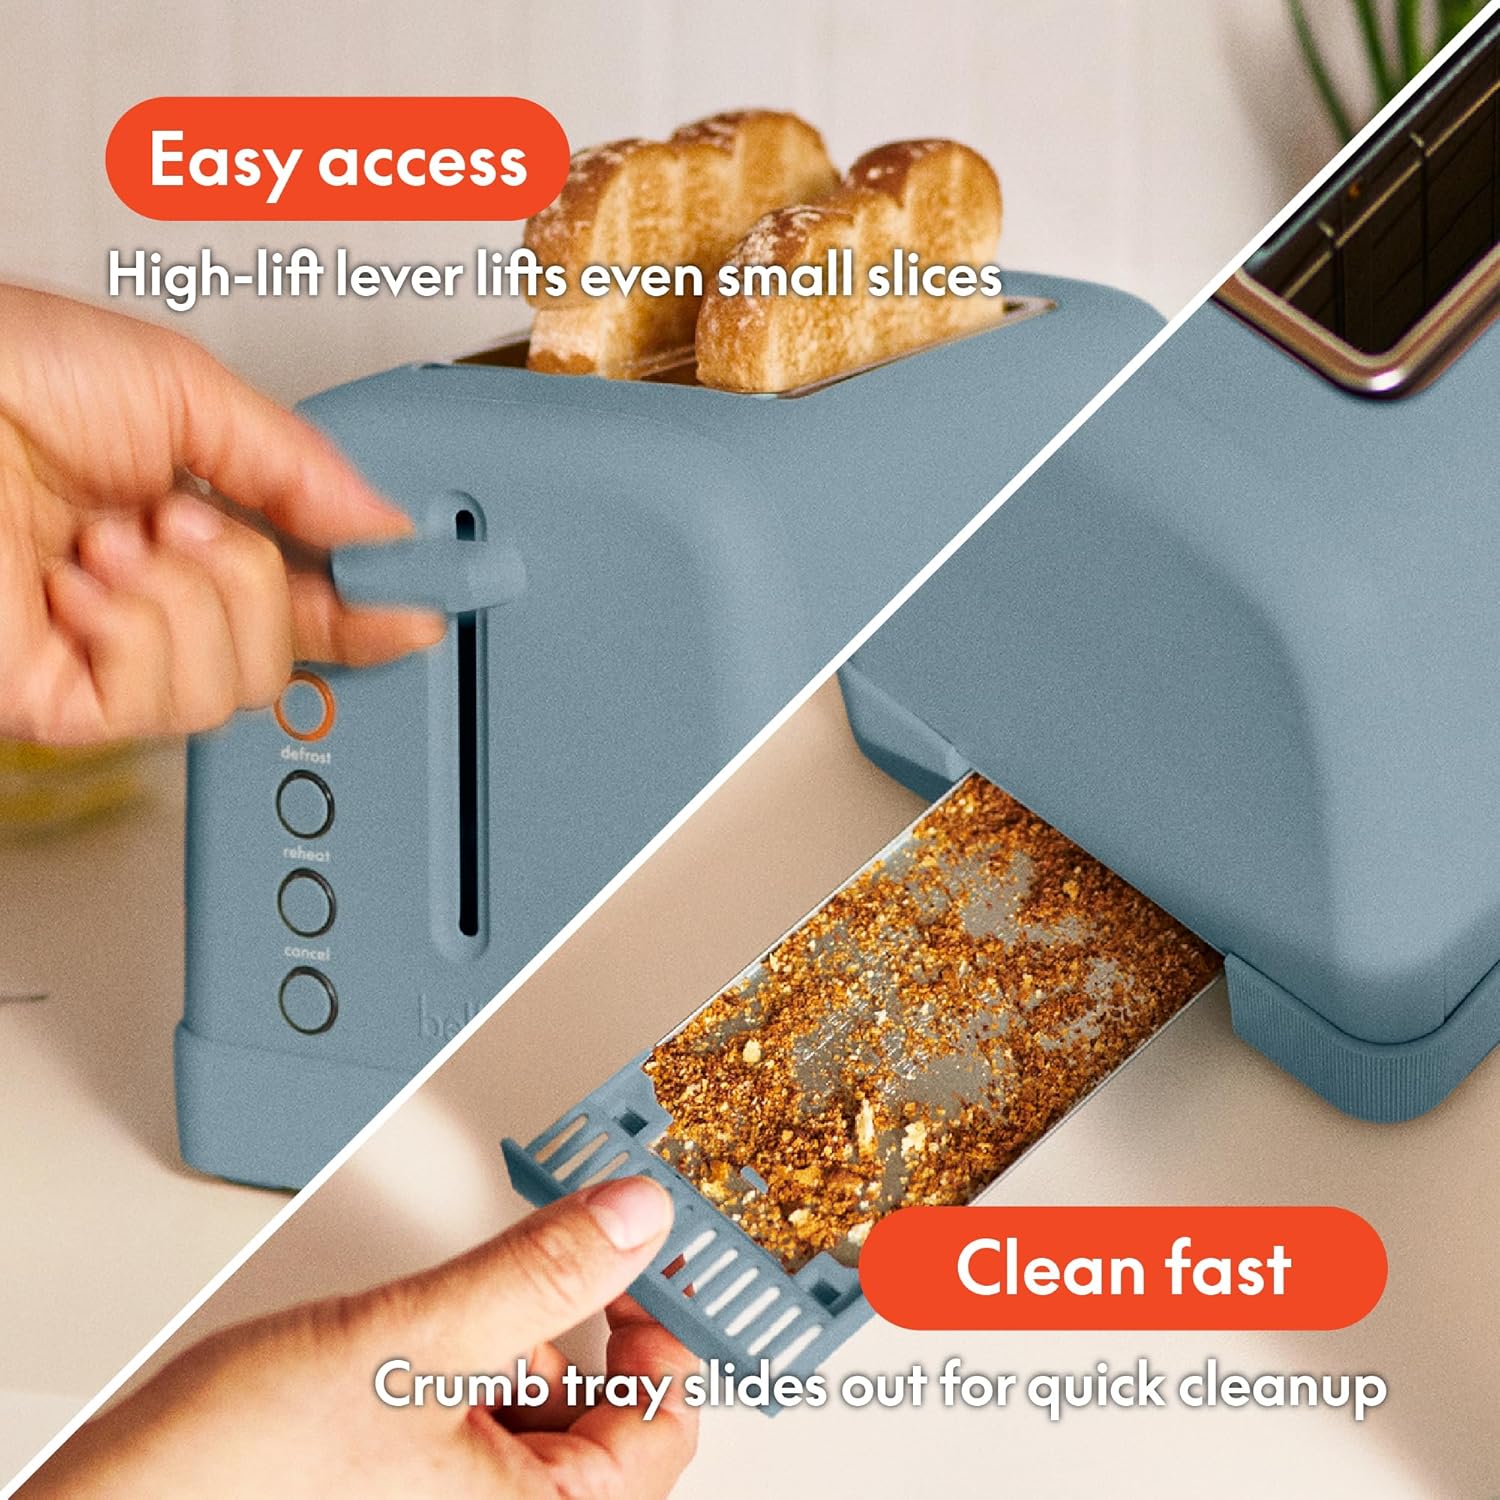
Figure 3: High-Lift Lever and Crumb Tray. This image illustrates the high-lift lever for easy toast retrieval and the convenient slide-out crumb tray for cleaning.

Figure 4: 6-Shade Settings. A visual representation of the six browning levels available on the toaster, from lightly golden (Level 1) to very crispy (Level 6).
Figure 5: Cord Wrap. The underside of the toaster features a built-in cord wrap for neat storage and a clutter-free countertop.
- Toasting Lever: Lowers and raises bread into the toasting slots.
- Shade Control Dial: Adjusts the desired level of browning from 1 (lightest) to 6 (darkest).
- BAGEL Button: Toasts the cut side of bagels while gently warming the other side.
- DEFROST Button: Defrosts and toasts frozen bread.
- REHEAT Button: Warms previously toasted bread without additional browning.
- CANCEL Button: Stops the toasting cycle at any time.
- Removable Crumb Tray: Collects crumbs for easy cleaning.
- Cord Wrap: Located under the base for convenient cord storage.
Before First Use
- Unpack the toaster and remove all packaging materials.
- Wipe the exterior of the toaster with a damp cloth. Dry thoroughly.
- Insert the crumb tray securely into its position.
- For the first use, operate the toaster without bread on the highest setting (6) to burn off any manufacturing residues. A slight odor or smoke may be present; this is normal.
Setup
- Place the toaster on a stable, flat, heat-resistant surface, away from flammable materials.
- Ensure the crumb tray is properly inserted.
- Plug the power cord into a standard 120V AC electrical outlet.
Operating Instructions
Toasting Bread
- Insert up to two slices of bread into the toasting slots. Ensure bread is centered for even toasting.
- Select your desired browning level using the Shade Control Dial (1 for lightest, 6 for darkest).
- Press the Toasting Lever down until it locks into place. The toasting cycle will begin.
- Once the selected shade is achieved, the toast will automatically pop up and the toaster will shut off.
- If toast needs to be removed before the cycle is complete, press the CANCEL button.
Special Functions
- BAGEL: Insert bagels with the cut side facing inwards. Press the Toasting Lever down, then press the BAGEL button. The indicator light will illuminate. This function toasts the cut side and warms the outer side.
- DEFROST: Insert frozen bread. Press the Toasting Lever down, then press the DEFROST button. The indicator light will illuminate. This function automatically adjusts the toasting time to defrost and toast the bread.
- REHEAT: Insert previously toasted bread. Press the Toasting Lever down, then press the REHEAT button. The indicator light will illuminate. This function warms the bread without further browning.
- CANCEL: To stop any toasting cycle at any time, press the CANCEL button. The Toasting Lever will release, and the toaster will turn off.
Cleaning and Maintenance
Always unplug the toaster and allow it to cool completely before cleaning.
Removable Crumb Tray
- Locate the crumb tray at the back of the toaster.
- Pull the crumb tray out completely.
- Discard accumulated crumbs. Wipe the tray with a damp cloth and dry thoroughly.
- Slide the clean crumb tray back into the toaster until it clicks into place.
Exterior Cleaning
- Wipe the exterior surfaces of the toaster with a soft, damp cloth.
- Do not use abrasive cleaners or scouring pads, as they may scratch the surface.
- Ensure the toaster is completely dry before plugging it back in.
Cord Storage
- The power cord can be wrapped around the cord storage cleats located on the underside of the toaster for tidy storage.
Troubleshooting
| Problem | Possible Cause | Solution |
|---|---|---|
| Toaster does not turn on. | Not plugged in; power outage; circuit breaker tripped. | Ensure toaster is securely plugged in; check power supply; reset circuit breaker. |
| Bread is not toasting evenly. | Bread not centered; uneven bread thickness. | Ensure bread is placed centrally in the slots; use the auto-centering guides; adjust shade setting. |
| Toast is too light/dark. | Incorrect shade setting selected. | Adjust the Shade Control Dial to a lower setting for lighter toast or a higher setting for darker toast. |
| Bread is stuck in the toaster. | Oversized bread; toaster malfunction. | Unplug the toaster and carefully remove the bread using non-metallic tongs. Do not force the lever. The anti-jam feature should prevent this. |
| Smoke coming from toaster. | Crumbs in heating element; food stuck; first use residue. | Press CANCEL, unplug, and allow to cool. Clean crumb tray. If first use, this is normal. If persistent, discontinue use. |
Specifications
- Model Number: 35166
- Brand: BELLA
- Color: Surf
- Material: Plastic, Stainless Steel
- Product Dimensions: 6.45"D x 10.15"W x 7.12"H
- Wattage: 900 watts
- Number of Slices: 2
- Special Features: Automatic Shut-Off, Defrost Mode, Programmable, Reheat Mode, Removable Crumb Tray, Anti-Jam, Auto Centering Guides, Cord Wrap
Warranty and Support
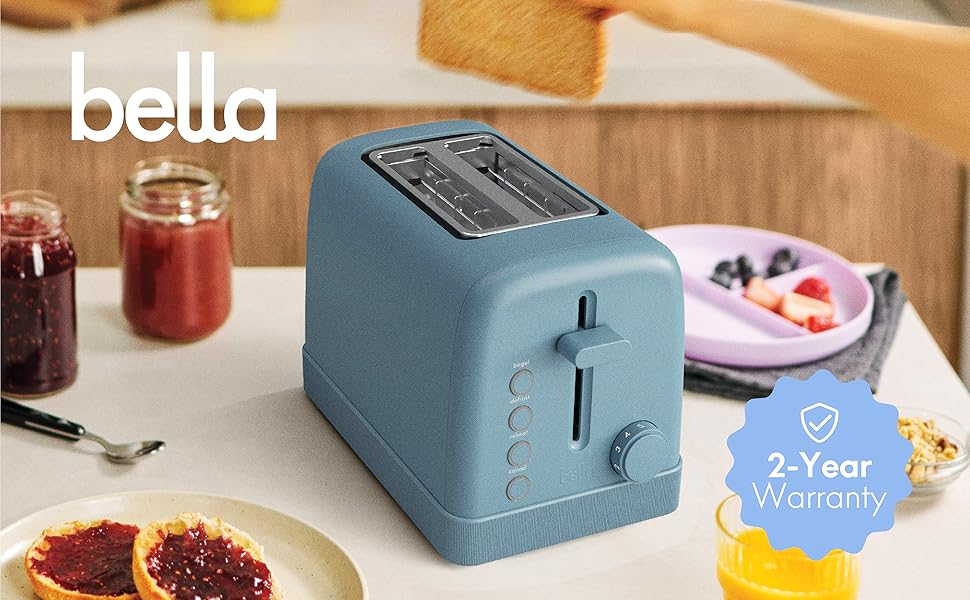
Figure 6: 2-Year Warranty. The BELLA 2-Slice Toaster comes with a 2-year warranty, ensuring product quality and customer satisfaction.
This BELLA appliance is covered by a 2-Year Limited Warranty from the date of purchase. For warranty claims, technical support, or customer service inquiries, please refer to the contact information provided on the product packaging or visit the official BELLA website.
Please retain your proof of purchase for warranty validation.


