
AVIDEONE B0CZP485D6
AVIDEONE 7-inch 1920x1200 IPS Full HD Field Monitor User Manual
Model: B0CZP485D6
Introduction
This manual provides comprehensive instructions for the setup, operation, and maintenance of your AVIDEONE 7-inch 1920x1200 IPS Full HD Field Monitor. Designed for professional videographers and photographers, this monitor offers exceptional brightness, versatile connectivity, and advanced monitoring features to enhance your shooting experience. Please read this manual thoroughly before using the product to ensure proper operation and to maximize its lifespan.
Safety Information
To prevent damage to the product or injury to yourself or others, please observe the following safety precautions:
- Do not expose the monitor to rain, moisture, or extreme temperatures.
- Avoid dropping the monitor or subjecting it to strong impacts.
- Do not attempt to disassemble or modify the monitor. Refer all servicing to qualified personnel.
- Use only the specified power adapter or compatible batteries (NP-F series) to power the device.
- Keep the monitor away from strong magnetic fields.
- Clean the screen and body with a soft, dry cloth. Do not use liquid cleaners or aerosols.
- Ensure proper ventilation around the monitor during operation to prevent overheating.
What's in the Box
Verify that all items are present upon opening the package:
- AVIDEONE 7-inch Field Monitor
- Power Adapter x 1
- HDMI Cable
- USB Cable
- Hot Shoe Mount
- User Guide (this manual)
- Carrying Pouch

Image: The AVIDEONE 7-inch Field Monitor displayed with its full set of accessories, including the power adapter, various cables, hot shoe mount, user guide, and carrying pouch.
Product Overview
Key Features
- 7-inch IPS Full HD Display: 1920x1200 resolution for crisp and clear images.
- 1800nits Ultra Brightness: Ensures excellent visibility even in bright outdoor sunlight.
- 4K HDMI Input/Output: Supports up to 4096x2160 24p and 3840x2160 30p, with loop-out functionality.
- Dual Battery Plate Design: Compatible with F-series batteries for extended power.
- HDR Support: Compatible with ST2084 300/1000/10000 and HLG for enhanced dynamic range.
- 3D-LUT Functionality: Built-in 8 default logs and 6 user logs, supporting .Cube file loading via USB.
- Professional Monitoring Tools: Includes Gamma adjustments, Color Temperature, Markers, Scan functions, Check Field, Peaking, False Color, Exposure, Histogram, Level Meter, and Image Flip.
- User-definable Function Buttons: F1 and F2 buttons for quick access to frequently used features.
Monitor Components and Ports

Image: A detailed view of the monitor's rear panel, highlighting the HDMI IN, HDMI OUT, USB 3.0, DC 7-24V power input, and the 1/4 inch hot shoe mounting port.
- HDMI IN: Connect your camera or video source.
- HDMI OUT: Loop-out signal to another monitor or device.
- USB 3.0: For loading 3D-LUT files and firmware updates.
- DC 7-24V: Power input for external power adapter.
- 1/4 inch Hot Shoe Port: For mounting the monitor to a camera or rig.
- Dual Battery Plates: Located on the rear, compatible with NP-F series batteries.
- Control Buttons: MENU, EXIT, and function buttons (F1, F2) on the top/side.

Image: A close-up view of the monitor's rear, illustrating the dual battery plate design which accepts NP-F series batteries for power.
Setup
- Mounting the Monitor:
- Attach the included hot shoe mount to your camera's hot shoe or a compatible rig.
- Securely screw the monitor onto the hot shoe mount using the 1/4 inch screw thread.
- Powering the Monitor:
- Using the Power Adapter: Connect the power adapter to the DC 7-24V port on the monitor and plug it into a power outlet.
- Using Batteries: Insert one or two charged NP-F series batteries into the dual battery plates on the rear of the monitor. Ensure they click into place.
- Connecting to a Camera/Video Source:
- Using an HDMI cable, connect the HDMI output port of your camera to the HDMI IN port on the monitor.
- If desired, connect another display or device to the HDMI OUT port for loop-through functionality.
- Initial Power On: Press the power button (if available, otherwise it powers on automatically when power is supplied) to turn on the monitor. The AVIDEONE logo will appear, followed by the video feed.
Operating Instructions
Basic Operation
- Menu Navigation: Use the MENU button to enter the main menu. Use the directional buttons (often integrated with a scroll wheel or separate up/down/left/right buttons) to navigate through options. Press the MENU button again or a dedicated OK/Enter button to confirm selections. Use the EXIT button to go back or exit the menu.
- Brightness Adjustment: The monitor features 1800nits ultra-brightness. Adjust brightness via the menu settings to suit your viewing environment.
- Input Source Selection: The monitor typically auto-detects the HDMI input. If multiple inputs were available, you would select them via the menu.
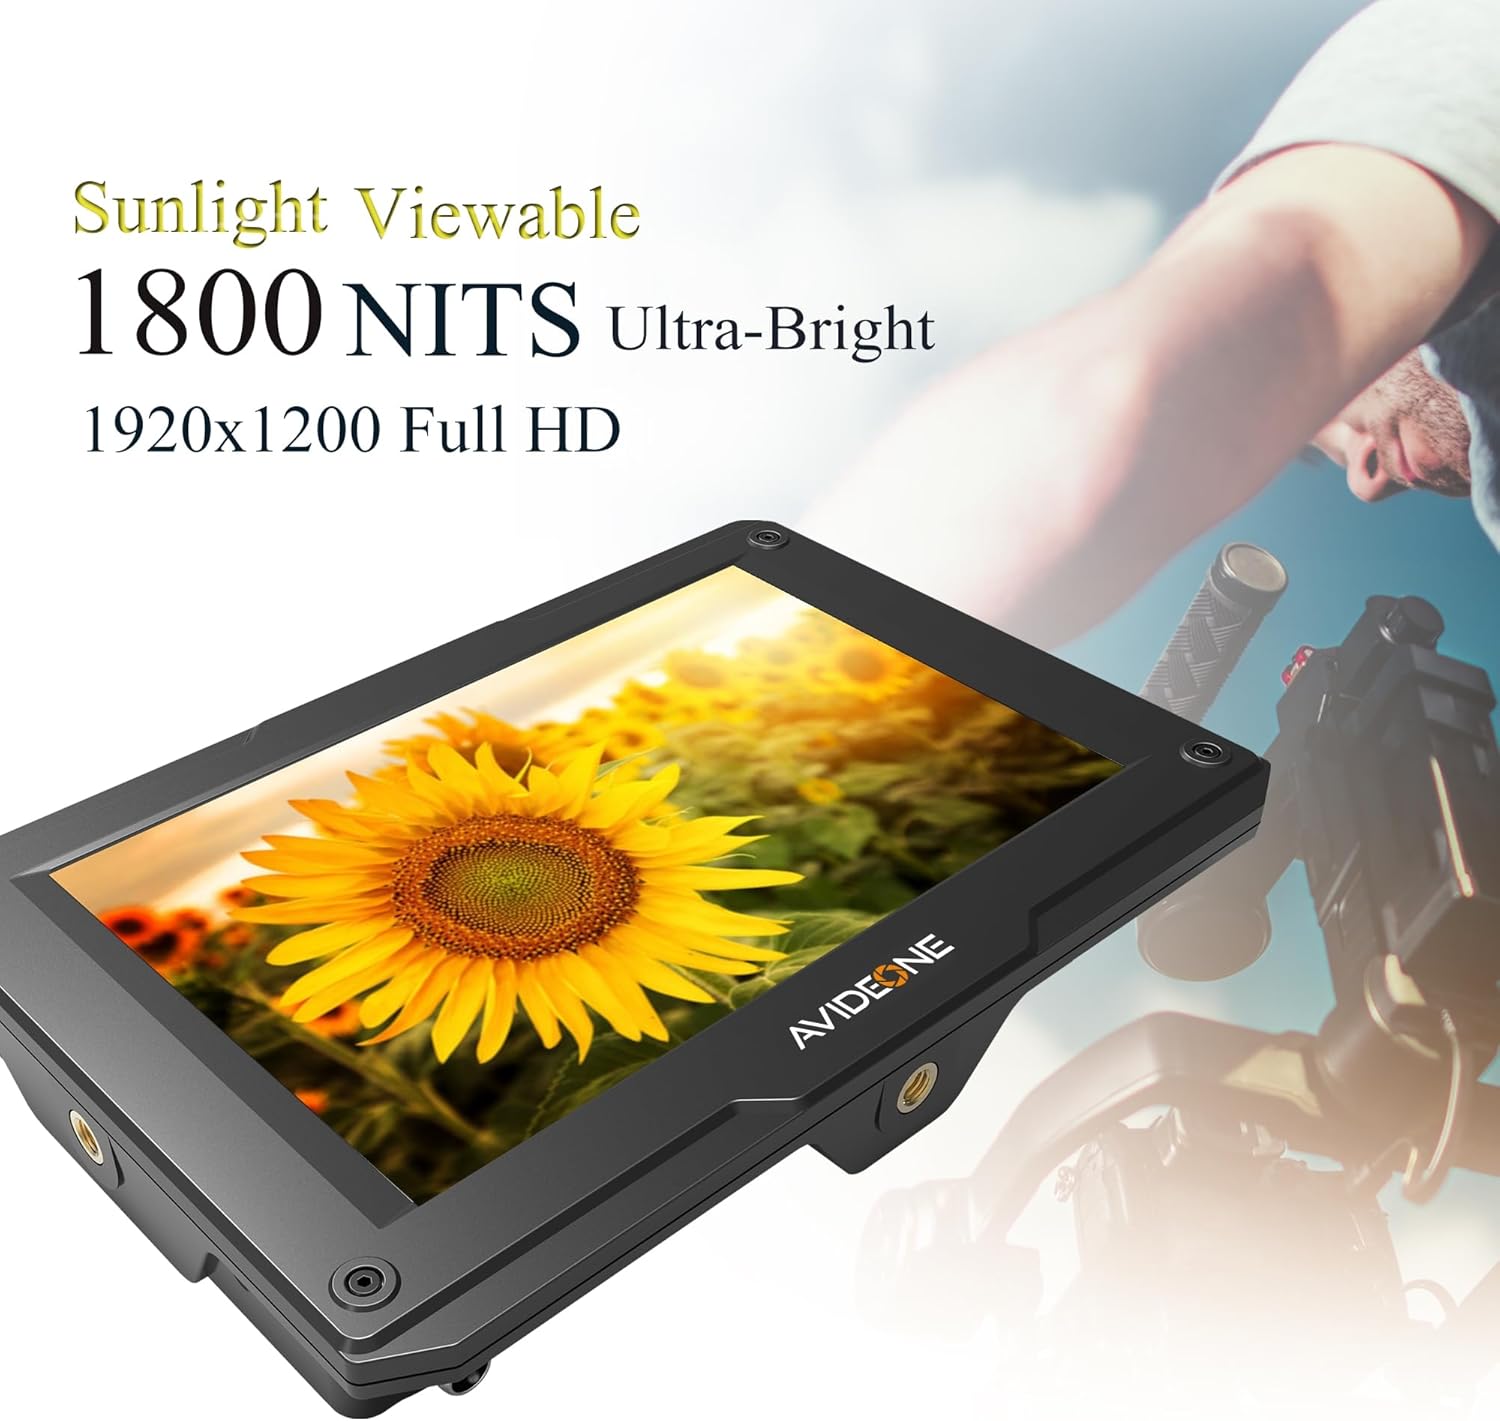
Image: The monitor screen showcasing its ultra-bright display, emphasizing its 1800 nits brightness and sunlight viewability, ideal for outdoor use.
Advanced Features
- HDR (High Dynamic Range):
The monitor supports various HDR standards including ST2084 300, ST2084 1000, ST2084 10000, and HLG. Enable HDR in the menu to display content with a wider range of luminance, revealing more detail in both highlights and shadows.

Image: A side-by-side comparison demonstrating the visual difference between HDR OFF and HDR ON, showing improved detail and dynamic range with HDR enabled.
- 3D-LUT (Look Up Table):
Utilize 3D-LUTs for accurate color representation and to preview how footage will look after color grading. The monitor includes 8 default logs and allows loading up to 6 user-defined .Cube files via a USB flash disk. Insert the USB flash disk into the USB port, navigate to the LUT menu, and select "Load User LUT".
- Monitoring Tools: Access these tools from the main menu under "Assistant" or similar categories.
- Peaking: Highlights sharp edges to assist with focus.
- False Color: Displays exposure levels using a spectrum of colors.
- Exposure (Zebras): Indicates overexposed areas with zebra patterns.
- Histogram: Graphical representation of the tonal distribution of your image.
- Level Meter: Displays audio levels.
- Check Field (Red, Green, Blue, Mono): Isolates color channels for calibration.
- Markers & Aspect Mat (Center, Aspect, Safety, User): Overlay guides for framing and composition.
- Scan (Underscan, Overscan, Zoom, Freeze): Adjusts how the image fits the screen or allows for magnification.
- Image Flip (H, V, H/V): Flips the image horizontally, vertically, or both, useful for various mounting orientations.
- Gamma Adjustments: (1.8, 2.0, 2.2, 2.35, 2.4, 2.6) Adjust the gamma curve for different viewing preferences or production needs.
- Color Temperature: (6500K, 7500K, 9300K, User) Adjust the white balance of the display.
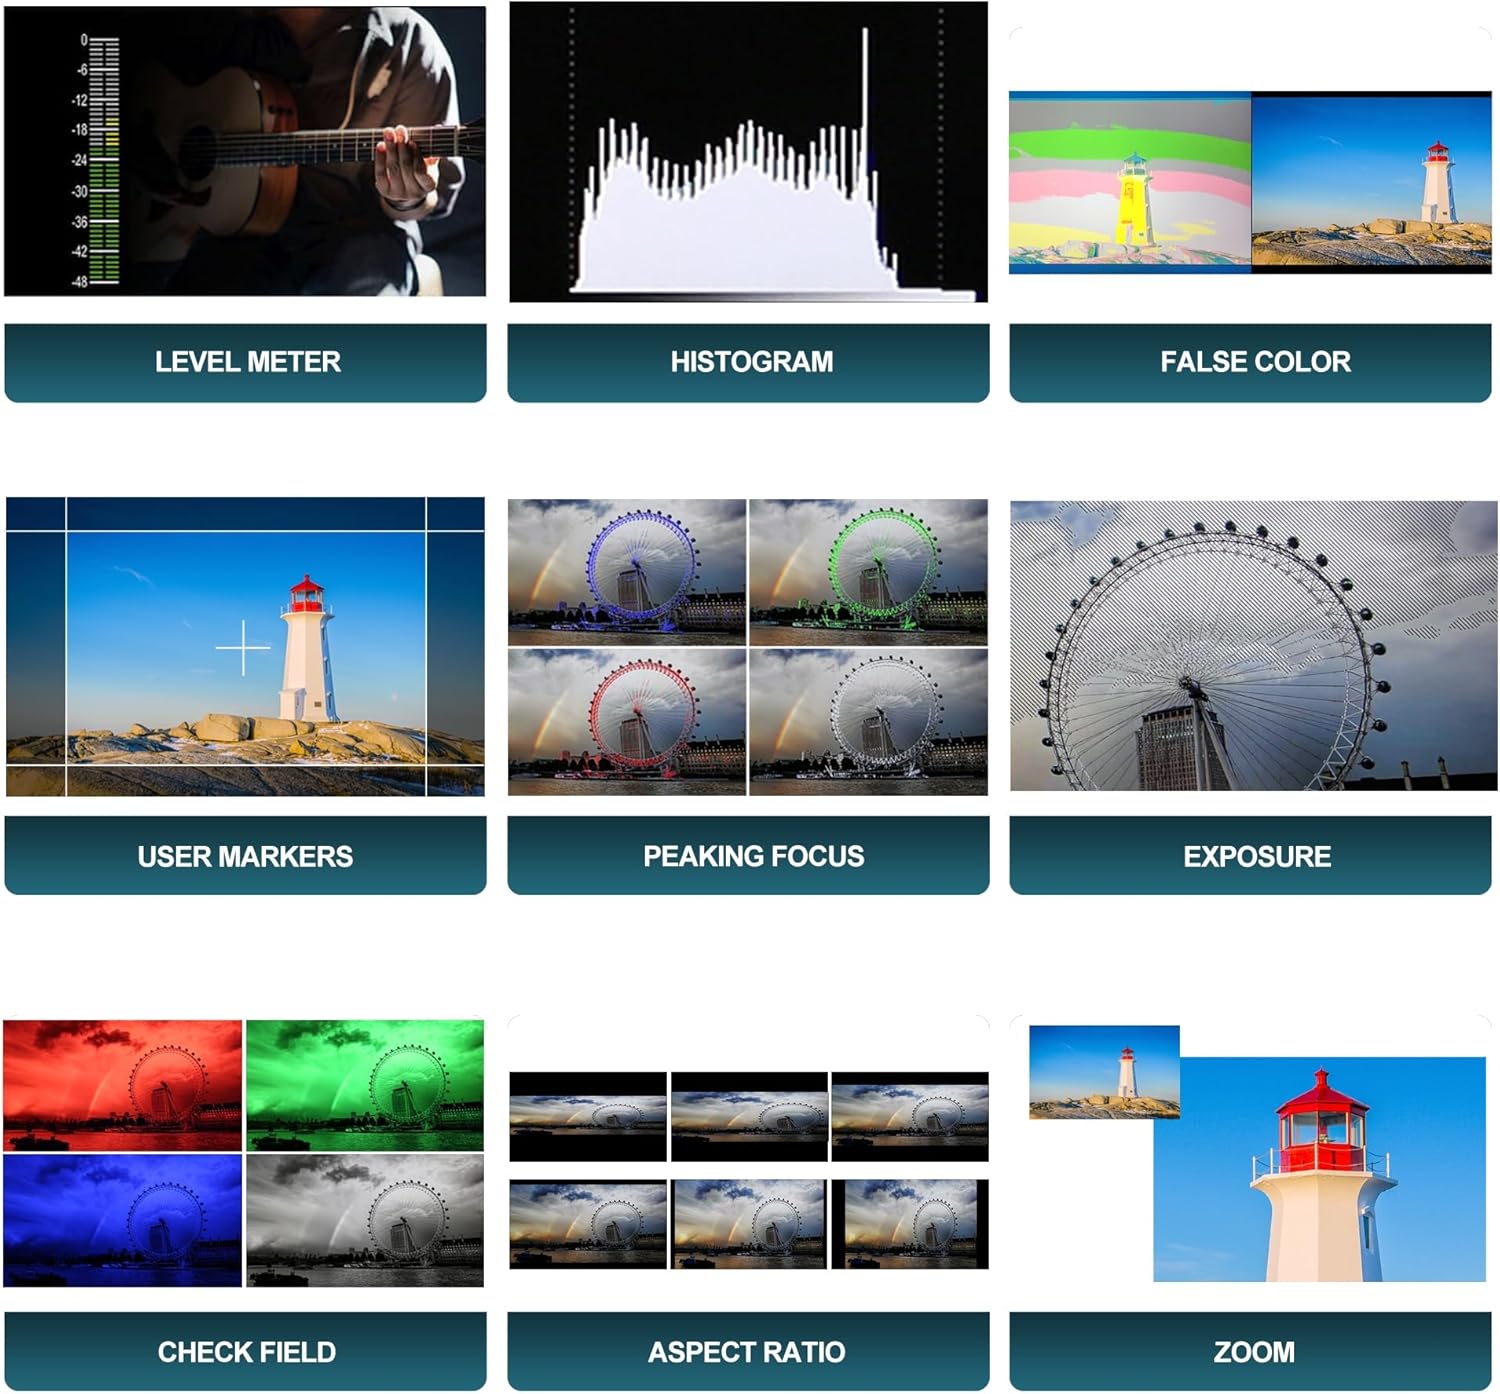
Image: A composite image showcasing the various professional monitoring tools available on the AVIDEONE monitor, including Level Meter, Histogram, False Color, User Markers, Peaking Focus, Exposure, Check Field, Aspect Ratio, and Zoom functions.
- User-definable Function Buttons (F1 & F2):
Assign frequently used functions (e.g., Peaking, False Color, Histogram) to the F1 and F2 buttons for quick access without navigating through the menu. To assign, go to the "Function Key Settings" in the menu, select F1 or F2, and choose the desired function.
Maintenance
- Cleaning the Screen: Use a soft, lint-free microfiber cloth specifically designed for electronics. Gently wipe the screen to remove dust and fingerprints. For stubborn smudges, slightly dampen the cloth with distilled water or a screen-cleaning solution (ensure it's safe for LCDs) and wipe gently. Do not spray liquid directly onto the screen.
- Cleaning the Body: Wipe the monitor's body with a soft, dry cloth. Avoid abrasive materials or harsh chemicals.
- Storage: When not in use, store the monitor in its carrying pouch or a protective case to prevent scratches and dust accumulation. Store in a cool, dry place away from direct sunlight.
- Battery Care: If using batteries, ensure they are properly charged and stored according to the battery manufacturer's guidelines. Remove batteries if the monitor will not be used for an extended period.
Troubleshooting
| Problem | Possible Cause | Solution |
|---|---|---|
| Monitor does not power on. | No power supply; low battery; faulty power adapter/cable. | Ensure power adapter is securely connected and plugged in. Check battery charge level and replace/recharge if necessary. Try a different power source if available. |
| No video signal. | Incorrect HDMI connection; camera not outputting signal; incorrect input selected. | Verify HDMI cable is securely connected to both camera and monitor. Ensure camera is powered on and set to output video. Check monitor's input source setting. Try a different HDMI cable. |
| Image is too dark/bright. | Brightness/contrast settings are incorrect. | Adjust the brightness and contrast settings in the monitor's menu. |
| Colors appear incorrect. | Color temperature or color settings are off; LUT applied incorrectly. | Adjust color temperature and other color settings in the menu. Check if a 3D-LUT is active and if it's the correct one for your footage. |
| Monitor freezes or behaves erratically. | Temporary software glitch; overheating. | Power off the monitor, disconnect power, wait a few seconds, then reconnect and power on. Ensure adequate ventilation to prevent overheating. |
Specifications
| Feature | Detail |
|---|---|
| Screen Size | 7 Inches |
| Resolution | 1920x1200 (FHD 1080p, UXGA Wide) |
| Brightness | 1800 nits |
| Aspect Ratio | 16:10 |
| Screen Surface | Glossy |
| HDMI Input/Output | HDMI 1.4 (Supports up to 4096x2160 24p and 3840x2160 30p) |
| Power Input | DC 7-24V |
| Battery Compatibility | NP-F series batteries (Dual plate design) |
| HDR Support | ST2084 300/1000/10000, HLG |
| 3D-LUT Support | 8 default logs, 6 user logs (.Cube file via USB) |
| Connectivity | USB 3.0 |
| Mounting | 1/4 inch Hot Shoe Port |
| Package Dimensions | 10.2 x 7.7 x 3.2 inches |
| Item Weight | 2.2 pounds |
| Manufacturer | AVIDEONE |
| Date First Available | April 2, 2024 |
Warranty and Support
The AVIDEONE 7-inch Field Monitor comes with a one-year warranty from the date of purchase. This warranty covers manufacturing defects and malfunctions under normal use.
The warranty does not cover:
- Damage caused by misuse, abuse, accident, or neglect.
- Damage caused by unauthorized repair or modification.
- Normal wear and tear.
- Damage caused by natural disasters or acts of God.
For warranty claims, technical support, or any inquiries, please contact AVIDEONE customer service through the retailer where you purchased the product or visit the official AVIDEONE store on Amazon: AVIDEONE Store.
Ask a question about this manual
Ask about setup, troubleshooting, compatibility, parts, safety, or missing instructions. Manuals+ will review the question and use this page’s manual context to help answer it.