
1. Introduction
The SPC Office ID 2 is a reliable fixed telephone designed for clear communication and ease of use. It features a large backlit display, caller identification, hands-free functionality, and programmable memory keys for quick dialing. This manual provides detailed instructions for setting up and operating your telephone.
2. Package Contents
Please check that all items are present in the package:
- SPC Office ID 2 Telephone Unit
- RJ11 Telephone Line Cable
- User Guide (this document)
3. Setup
3.1 Connecting the Telephone
- Connect one end of the RJ11 telephone line cable to the port labeled 'LINE' on the back of the SPC Office ID 2 telephone.
- Connect the other end of the RJ11 cable to your telephone wall socket.
- Ensure the handset cord is securely connected to the handset and the telephone unit.
3.2 Installing Batteries (for Screen Backlight)
The telephone functions for making and receiving calls without batteries. However, 3 AA batteries (not included) are required to power the amber backlight of the display screen and to retain certain settings.
- Locate the battery compartment on the underside of the telephone unit.
- Open the battery compartment cover.
- Insert 3 AA batteries, ensuring correct polarity (+ and -).
- Close the battery compartment cover securely.

Image: The SPC Office ID 2 telephone on a wooden desk, illustrating that batteries are needed only for the screen's backlight function.
3.3 Placement Options
The SPC Office ID 2 can be placed on a desktop or mounted on a wall.
- Desktop Use: Place the telephone on a flat, stable surface.
- Wall Mounting: Use the two screw slots on the rear of the device to securely anchor it to a wall. Ensure the wall is suitable for mounting.

Image: The telephone shown in both desktop and wall-mounted configurations.
4. Operating Instructions
4.1 Basic Call Functions
- Making a Call: Lift the handset, wait for a dial tone, then dial the desired number. Alternatively, dial the number first and then lift the handset or press the hands-free button.
- Receiving a Call: When the phone rings, lift the handset to answer. If using hands-free, press the hands-free button.
- Ending a Call: Place the handset back on the cradle or press the hands-free button if in hands-free mode.
- Redial: To redial the last number called, lift the handset and press the 'Redial' button.
4.2 Memory Functions
The telephone features 4 direct memory keys (M1, M2, M3, M4) and 10 indirect memory keys (0-9).
- Programming Direct Memories (M1-M4):
- Press the 'SET' button.
- Press the desired memory key (M1-M4).
- Enter the telephone number you wish to store.
- Press the 'SET' button again to save.
- Using Direct Memories (M1-M4): Lift the handset and press the desired memory key (M1-M4) to dial the stored number.
- Programming Indirect Memories (0-9):
- Press the 'SET' button.
- Press the 'M' button.
- Press the desired number key (0-9).
- Enter the telephone number you wish to store.
- Press the 'SET' button again to save.
- Using Indirect Memories (0-9): Lift the handset, press the 'M' button, then press the desired number key (0-9) to dial the stored number.

Image: Close-up of the telephone's keypad, showing the direct and indirect memory buttons.
4.3 Caller ID
The large amber backlit screen displays the incoming caller's number (if available and subscribed to through your telephone service provider). It also allows you to view a list of dialed and missed calls.
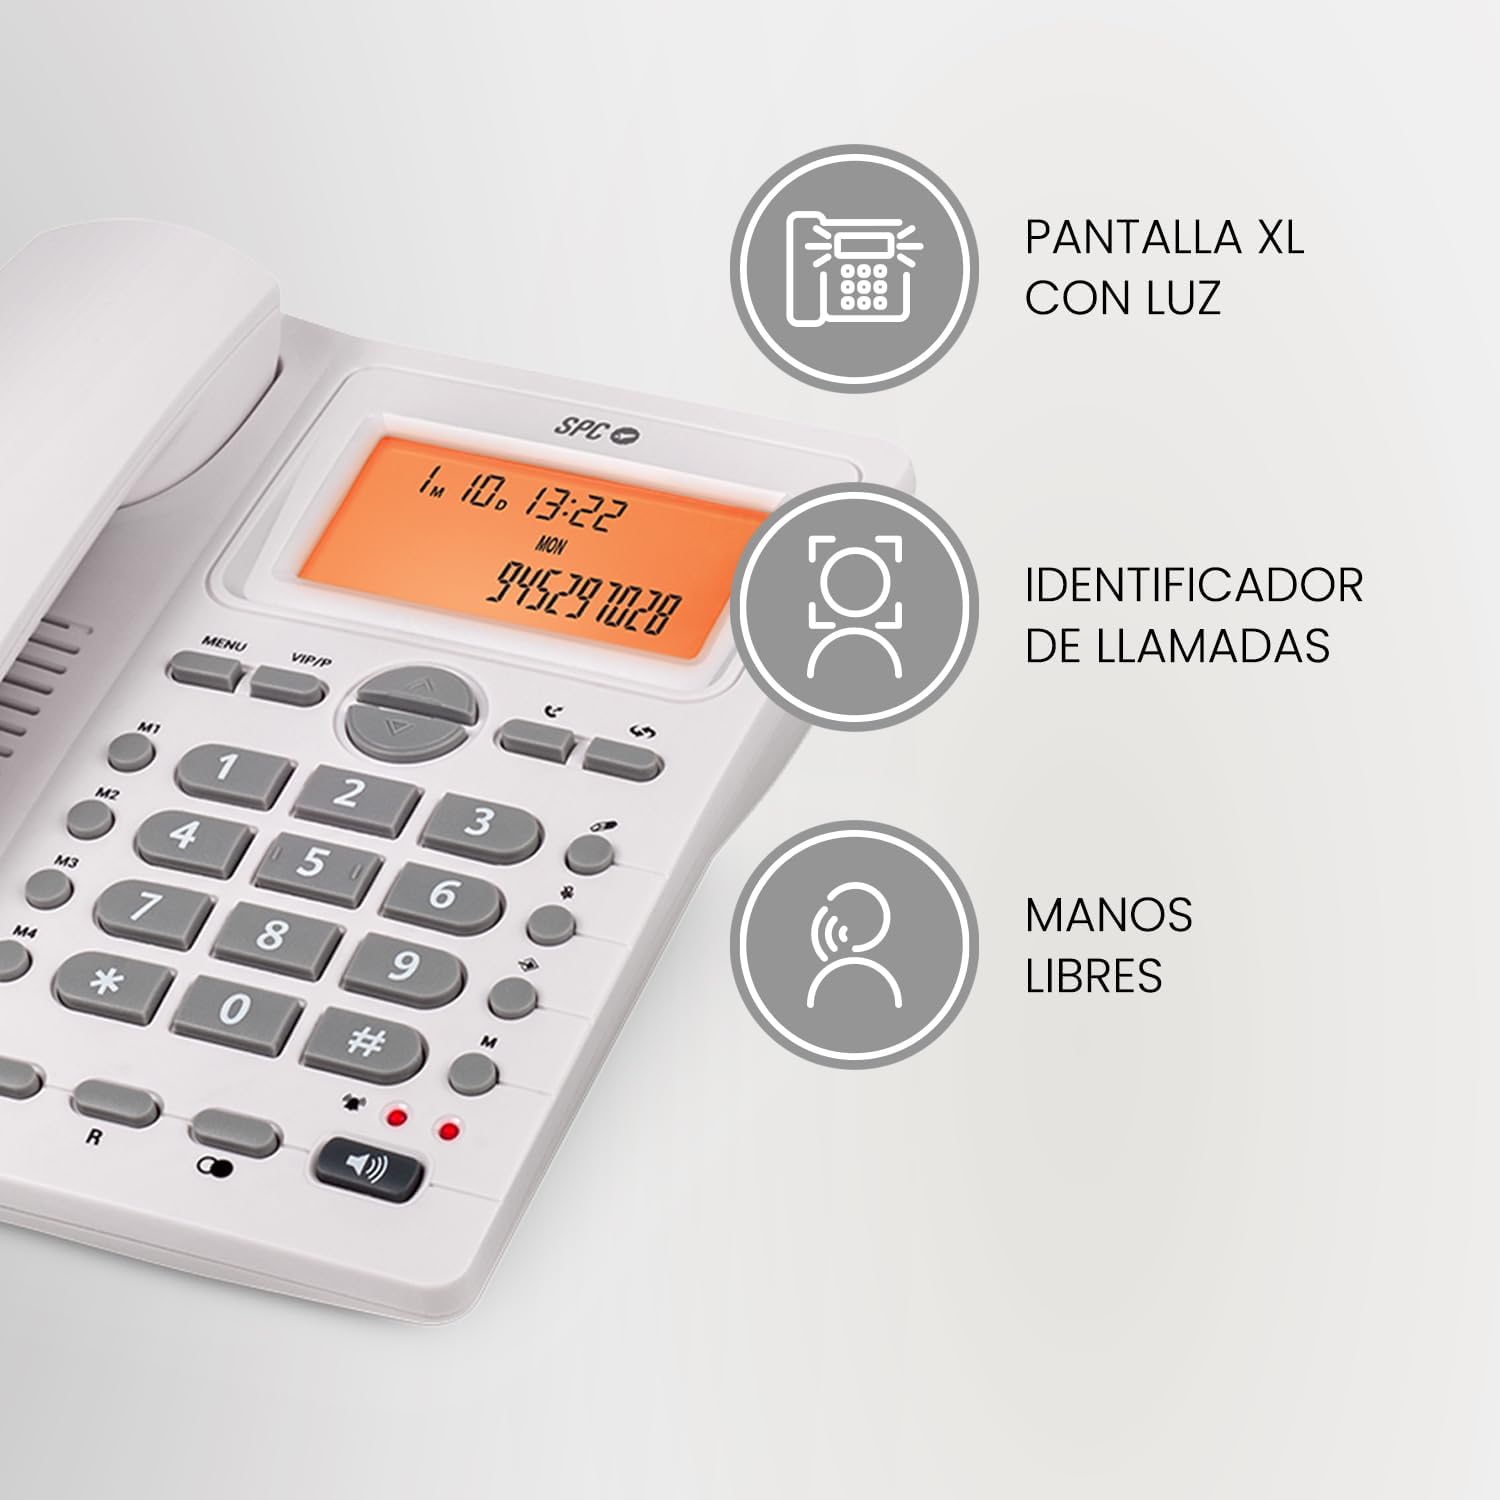
Image: The telephone's display showing caller ID information.
4.4 Hands-Free Function
To activate hands-free mode during a call or to make a call without lifting the handset, press the speaker button. Press it again to deactivate or lift the handset to switch to private conversation.

Image: Close-up of the hands-free speaker button.
4.5 Mute Function
During a call, press the 'MUTE' button to temporarily silence your microphone. The other party will not hear you, but you can still hear them. Press 'MUTE' again to resume speaking.
4.6 Ringtone Melodies
The telephone offers 24 different ringtone melodies. Consult the on-screen menu to browse and select your preferred ringtone.

Image: The telephone on a desk, highlighting the variety of 24 ring melodies.
4.7 Call Indicators
The telephone includes two indicator lights:
- One light illuminates when there is an incoming call.
- Another light illuminates during an active conversation.

Image: Close-up of the red indicator lights on the telephone.
5. Maintenance
- Cleaning: Use a soft, damp cloth to clean the telephone's exterior. Do not use abrasive cleaners or solvents.
- Battery Replacement: If the screen backlight dims or stops working, replace the 3 AA batteries in the compartment on the underside of the unit.
- Storage: Store the telephone in a cool, dry place away from direct sunlight and extreme temperatures.
6. Troubleshooting
| Problem | Possible Cause | Solution |
|---|---|---|
| No dial tone | Telephone line cable is disconnected or faulty. | Ensure the RJ11 cable is securely connected to both the telephone and the wall socket. Test with another phone if possible. |
| Screen backlight not working | Batteries are low or incorrectly installed. | Replace the 3 AA batteries, ensuring correct polarity. |
| Caller ID not displayed | Caller ID service not subscribed or active. | Contact your telephone service provider to ensure Caller ID service is active on your line. |
| Cannot hear caller in hands-free mode | Volume is too low. | Adjust the hands-free volume using the volume control buttons. |
7. Specifications
| Feature | Detail |
|---|---|
| Model Number | 3612B |
| Dimensions (L x W x H) | 21.5 x 17 x 8.5 cm |
| Weight | 570 g |
| Power Source (Backlight) | 3 x AA Batteries (not included) |
| Material | Plastic |
| Caller ID | Yes |
| Direct Memory Keys | 4 (M1-M4) |
| Indirect Memory Keys | 10 (0-9) |
| Ringtone Melodies | 24 |
| Compatible Lines | PSTN lines |

Image: Diagram illustrating the physical dimensions of the telephone.
8. Warranty and Support
This product is covered by a warranty in accordance with current applicable laws. For detailed warranty terms and conditions, please refer to the documentation provided at the time of purchase or visit the official SPC website.
For technical support, troubleshooting assistance, or service inquiries, please contact SPC customer service through their official channels. Contact information can typically be found on the manufacturer's website or in the product packaging.
