
1. Introduction
This manual provides essential information for the safe and efficient operation, assembly, and maintenance of your VARUN S20-1 PLUS 20-inch Fat Tire Folding Electric Bicycle. Please read this manual thoroughly before your first ride and keep it for future reference. Proper understanding and adherence to these instructions will ensure optimal performance and longevity of your electric bicycle.

Image: The VARUN S20-1 PLUS electric bicycle, showcasing its robust design and fat tires.
2. Safety Information
- Always wear a helmet and appropriate safety gear when riding.
- Familiarize yourself with local traffic laws and regulations for electric bicycles.
- Perform a pre-ride inspection before each use, checking brakes, tire pressure, and battery charge.
- Do not ride under the influence of alcohol or drugs.
- Avoid riding in extreme weather conditions or on excessively slippery surfaces.
- Ensure all quick-release levers and fasteners are securely tightened before riding.
- Do not exceed the maximum recommended weight capacity of 150 kg.
3. Package Contents
Upon unpacking, please verify that all the following components are included:
- 1 x VARUN S20-1 PLUS Electric Bicycle
- 1 x Removable Lithium Battery (pre-installed or separate)
- 1 x Battery Charger
- 1 x Front Fender
- 1 x User Manual
- 1 x Tool Kit
- 1 x Seat
- 1 x LCD Indicator
- 2 x Pedals
- Bicycle Lights (Headlight and Taillight)
4. Setup and Assembly
Your VARUN S20-1 PLUS electric bicycle comes 85% pre-assembled. Follow these steps to complete the assembly. For a visual guide, please refer to the installation video below.
Video: VARUN S20-1 PLUS Electric Bicycle Installation Guide. This video demonstrates the complete assembly process from unpacking to final checks.
- Unpacking: Carefully remove the bicycle and all components from the packaging. Remove all protective wrapping and ties.
- Install Front End (Handlebar Stem): Position the handlebar stem into the front fork. Ensure the display is positioned below the scale on the stem. Securely tighten the clamp.
- Install Seat: Attach the seat to the seat post using the provided tools. Insert the seat post into the frame and adjust to a comfortable height, then secure the quick-release lever.
- Install Front Wheel: Remove the headlight to allow for easier front wheel installation. Align the front wheel with the fork and the disc brake caliper. Insert the axle and tighten the nuts securely. Ensure the disc brake rotor is correctly seated within the caliper.
- Install Fenders and Headlights: Attach the front fender to the front fork. Reinstall the headlight onto the fender or fork mount and secure it. Attach the rear fender if not already installed.
- Install Pedals: Identify the left (L) and right (R) pedals. The left pedal screws counter-clockwise, and the right pedal screws clockwise. Tighten them firmly with a wrench.
- Install Tail Lights: Attach the tail light to the rear rack. Connect the wiring securely.
5. Operating Instructions
5.1 Riding Modes
Your VARUN S20-1 PLUS offers four distinct riding modes to suit various preferences and terrains:
- Pedal Assist Mode: Provides electric assistance as you pedal. Features 5 levels of power adjustment, with assistance up to 25 km/h.
- Push Assist Mode: Offers one-button assistance for starting on inclines or when pushing the bike with heavy loads.
- Normal Mode: Operates as a traditional bicycle with no electric assistance, ideal for fitness or conserving battery.
- Cruise Control: Maintains a set speed for comfortable long-distance riding on straight paths, reducing rider fatigue.

Image: Visual representation of the three primary riding modes: Pedal Assist, Boost (Push Assist), and Fitness (Normal Mode).
5.2 Gear Shifting
The 7-speed transmission allows for precise gear changes. Use the trigger shifter on the handlebar to select appropriate gears for different speeds and inclines. Shift down for climbing hills and up for flat terrain or higher speeds.
5.3 Intelligent LCD Display
The intelligent LCD display provides real-time riding data. It shows information such as current speed, battery status, current trip distance, pedal-assist level (5-PAS selection), and total mileage. This allows you to monitor your ride effectively.

Image: Close-up of the 7-speed gear shifter and the multifunctional LCD display, showing real-time ride data.
5.4 Braking System
The bicycle is equipped with front and rear dual disc brakes for sensitive and quick stopping power. Regularly check the brake pads and rotors for wear and ensure proper function for safe riding.
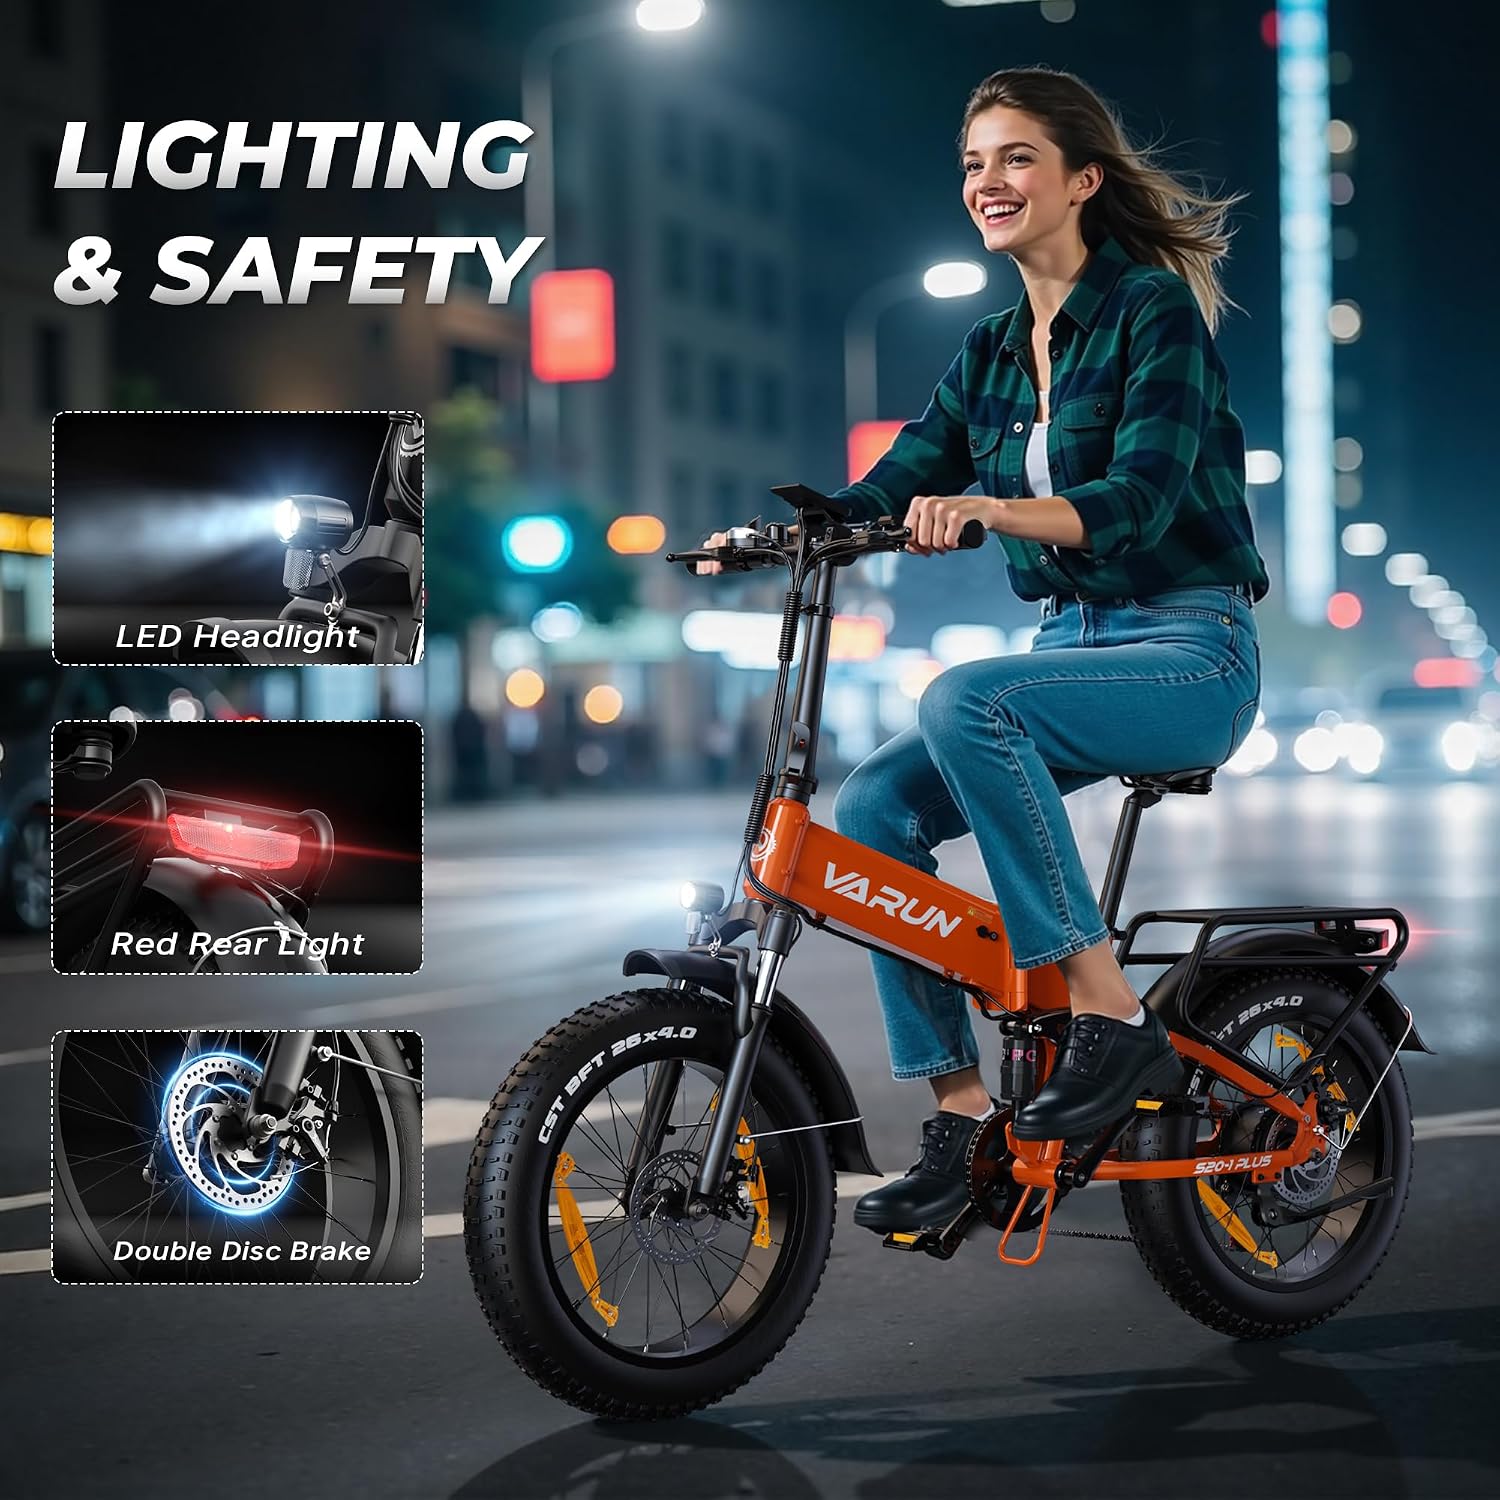
Image: Overview of the bicycle's lighting and safety features, including the LED headlight, red rear light, and double disc brakes.
6. Battery Information
6.1 Charging the Battery
The 48V 624Wh lithium battery can be charged while installed on the bicycle or removed. To charge, connect the charger to the charging port on the battery and then to a power outlet. The charging indicator on the charger will show the charging status. Ensure the charging port is clean and dry before connecting the charger.
6.2 Removing the Battery
To remove the battery, insert the key into the lock cylinder and rotate it to the unlock position. This will recess the center cylinder, allowing the battery to be slid out of the frame. Always ensure the battery is securely locked in place before riding.

Image: Details of the 48V 13Ah lithium battery, highlighting its removability, IPX6 waterproof rating, and anti-theft features.
7. Maintenance
- Tires: Check tire pressure regularly and inflate to the recommended PSI (indicated on the tire sidewall). Inspect tires for wear, cuts, or punctures.
- Brakes: Periodically check brake lever tension, brake pad wear, and disc rotor condition. Adjust or replace components as needed.
- Chain: Keep the chain clean and lubricated to ensure smooth shifting and prevent rust.
- Fasteners: Regularly check all bolts, nuts, and quick-release levers to ensure they are tight and secure.
- Battery: Store the battery in a cool, dry place and charge it regularly, even if not in use, to maintain its lifespan. Avoid fully discharging the battery.
- Cleaning: Clean the bicycle with a damp cloth. Avoid using high-pressure water jets directly on electrical components.
8. Troubleshooting
| Problem | Possible Cause | Solution |
|---|---|---|
| Motor not assisting | Battery low or off; PAS level set to 0; Loose connection | Charge battery; Turn on battery; Increase PAS level; Check all electrical connections. |
| Brakes feel weak | Worn brake pads; Loose brake cable; Air in hydraulic system (if applicable) | Replace brake pads; Adjust brake cable tension; Consult a professional for hydraulic brake bleeding. |
| Unusual noises | Loose components; Dry chain; Misaligned gears | Inspect and tighten all fasteners; Lubricate chain; Adjust derailleur. |
| Battery not charging | Charger not connected properly; Faulty charger/battery; Power outlet issue | Ensure secure connections; Try a different outlet; Contact support if problem persists. |
9. Specifications
| Feature | Specification |
|---|---|
| Bike Type | Electric Bicycle |
| Model Name | S20-1 PLUS |
| Brand | VARUN |
| Age Range | Adult |
| Number of Speeds | 7 |
| Wheel Size | 20 Inches |
| Wheel Width | 4 Inches |
| Frame Material | Aluminum |
| Suspension Type | Dual (Front and Rear Damping) |
| Brake Type | Disc (Dual Disc Brakes) |
| Power Source | Electric Motor |
| Wattage | 250 W |
| Lithium Battery Energy Content | 624 Watt-hours (48V 13Ah) |
| Item Weight | 30 Kilograms |
| Recommended Maximum Weight | 150 Kilograms |
| Minimum User Height | 155 Centimeters |
| Assembly Required | Yes |

Image: Diagram illustrating the folded and unfolded dimensions of the VARUN S20-1 PLUS electric bicycle.
10. Folding Instructions
The VARUN S20-1 PLUS features a fast-folding design for easy storage and transport. To fold the bicycle:
- Lower the seat post to its lowest position.
- Open the quick-release lever on the handlebar stem and fold the handlebars down.
- Locate the main frame folding latch, typically in the middle of the frame. Open the safety latch and then the main latch.
- Carefully fold the frame in half until it locks into place.
- Fold the pedals inward if they are foldable.
Reverse these steps to unfold the bicycle, ensuring all latches are securely fastened before riding.

Image: Two individuals riding VARUN S20-1 PLUS electric bicycles, demonstrating the compact nature of the folding design.
11. Warranty and Support
The VARUN S20-1 PLUS Electric Bicycle comes with a one-year limited warranty from the date of purchase. This warranty covers manufacturing defects in materials and workmanship. It does not cover normal wear and tear, misuse, accidents, or unauthorized modifications.
For warranty claims, technical support, or any questions regarding your electric bicycle, please contact VARUN customer service through the retailer where you purchased the product. Please have your purchase receipt and product model number (S20-1 PLUS) ready when contacting support.


