
KOBANOICA B0CZCYWP6B
KOBANOICA Car Stereo User Manual
For Dodge RAM 1500 2500 3500 (2013-2018 Manual AC Models)
1. Introduction
Thank you for choosing the KOBANOICA Car Stereo. This 9-inch Android 13 Touch Screen Radio Replacement is designed to enhance your driving experience with advanced features like Wireless CarPlay, Android Auto, GPS navigation, and more. This manual provides essential information for proper installation, operation, and maintenance of your new car stereo. Please read it thoroughly before use.
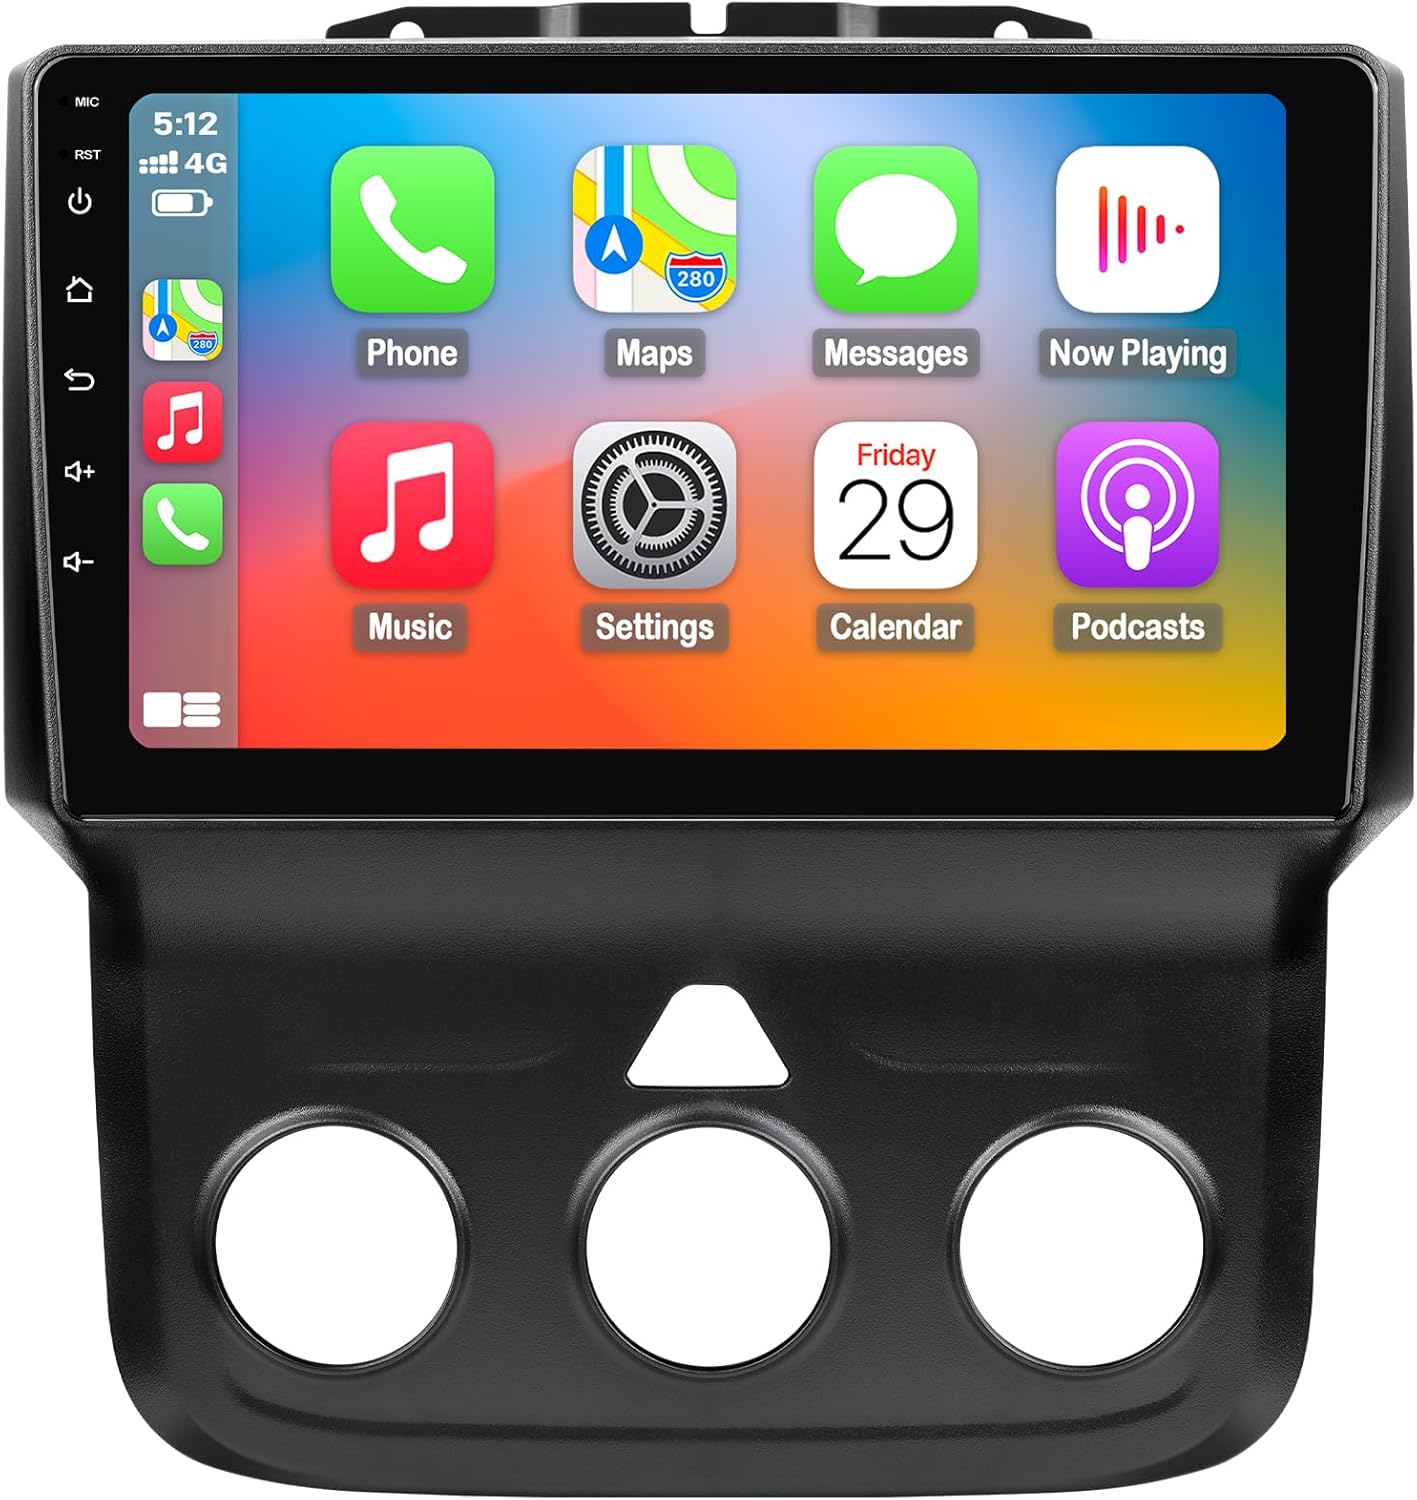
Figure 1.1: KOBANOICA Car Stereo Main Unit
2. Safety Information
- Always ensure your vehicle is parked safely and the engine is off before attempting any installation or maintenance.
- Professional installation is recommended to avoid damage to the unit or your vehicle's electrical system.
- Do not operate the device in a way that distracts you from driving. Always prioritize road safety.
- Keep the unit away from water, moisture, and extreme temperatures.
- Use only the provided cables and accessories to prevent damage or malfunction.
3. Package Contents
Before beginning installation, please verify that all components listed below are included in your package. Refer to the unboxing video for a visual guide.
Video 3.1: KOBANOICA Car Stereo Unboxing and Component Overview. This video demonstrates the unboxing process and showcases all included components, such as the main unit, wiring harnesses, and accessories.
- Touch Screen Radio Unit
- Dash Kit (pre-assembled with the unit)
- Installation Harness (Power Cable)
- Can Bus Decoder
- GPS Module
- Speaker (for specific vehicle functions)
- USB Cables (x2)
- Crowbar Tool
- Screwdriver
- RCA Cable Set
- Antenna Adapter Cable
- Reversing Line (for backup camera input)
- USB Adaptor
- Mounting Screws
- User Manual

Figure 3.1: Included Components and Wiring Diagram
4. Setup and Installation
This car stereo is specifically designed for Dodge Ram 1500, 2500, and 3500 models from 2013 to 2018 with Manual AC. Please ensure your vehicle matches these specifications before proceeding.

Figure 4.1: Compatibility and After Installation View
4.1 Pre-Installation Checklist
- Verify vehicle compatibility (Dodge Ram 2013-2018, Manual AC only).
- Gather necessary tools: screwdriver, crowbar (included), and any other standard automotive tools.
- Disconnect the vehicle's battery to prevent electrical shorts during installation.
4.2 Installation Steps
- Remove Original Stereo: Carefully use the provided crowbar tool to pry open the trim around your existing car stereo. Unscrew and remove the old unit.
- Connect Wiring Harness: Connect the main power cable harness (Figure 3.1, item 9) to the corresponding port on the back of the new KOBANOICA unit. Ensure all connections are secure.
- Integrate Can Bus: Connect the Can Bus module (Figure 3.1, item 1) to the main harness. This module ensures proper communication between the stereo and your vehicle's systems.
- Connect GPS Module: Attach the GPS module (Figure 3.1, item 10) to its designated port. Position the GPS antenna in a location with a clear view of the sky for optimal signal reception.
- Connect USB Cables: Plug in the two USB cables (Figure 3.1, item 6) for external device connectivity. Route them to a convenient location in your vehicle.
- Connect Microphone: If using an external microphone (Figure 3.1, item 4), connect it and route it to a suitable position for clear voice pickup during calls.
- Connect RCA Cables: For external amplifiers, subwoofers, or additional video inputs/outputs, connect the RCA cable set (Figure 3.1, item 8) as needed.
- Connect Antenna Adapter: Connect the antenna adapter cable (Figure 3.1, item 7) to your vehicle's antenna cable and the new stereo.
- Connect Reversing Line: If installing a backup camera, connect the reversing line (Figure 3.1, item 5) to the camera's video input.
- Secure New Unit: Carefully slide the new KOBANOICA stereo into the dashboard opening. Secure it using the provided screws.
- Reinstall Trim: Snap the dashboard trim back into place, ensuring all clips are properly seated.
- Reconnect Battery: Reconnect your vehicle's battery.
- Test Functionality: Turn on the vehicle and test all functions of the new stereo, including audio, touch screen, CarPlay/Android Auto, GPS, and steering wheel controls.
5. Operating Instructions
5.1 Wireless Apple CarPlay & Android Auto
The unit supports wireless Apple CarPlay and Android Auto. Simply connect your smartphone via Wi-Fi and Bluetooth to access navigation, music, calls, and other apps directly on the stereo screen.
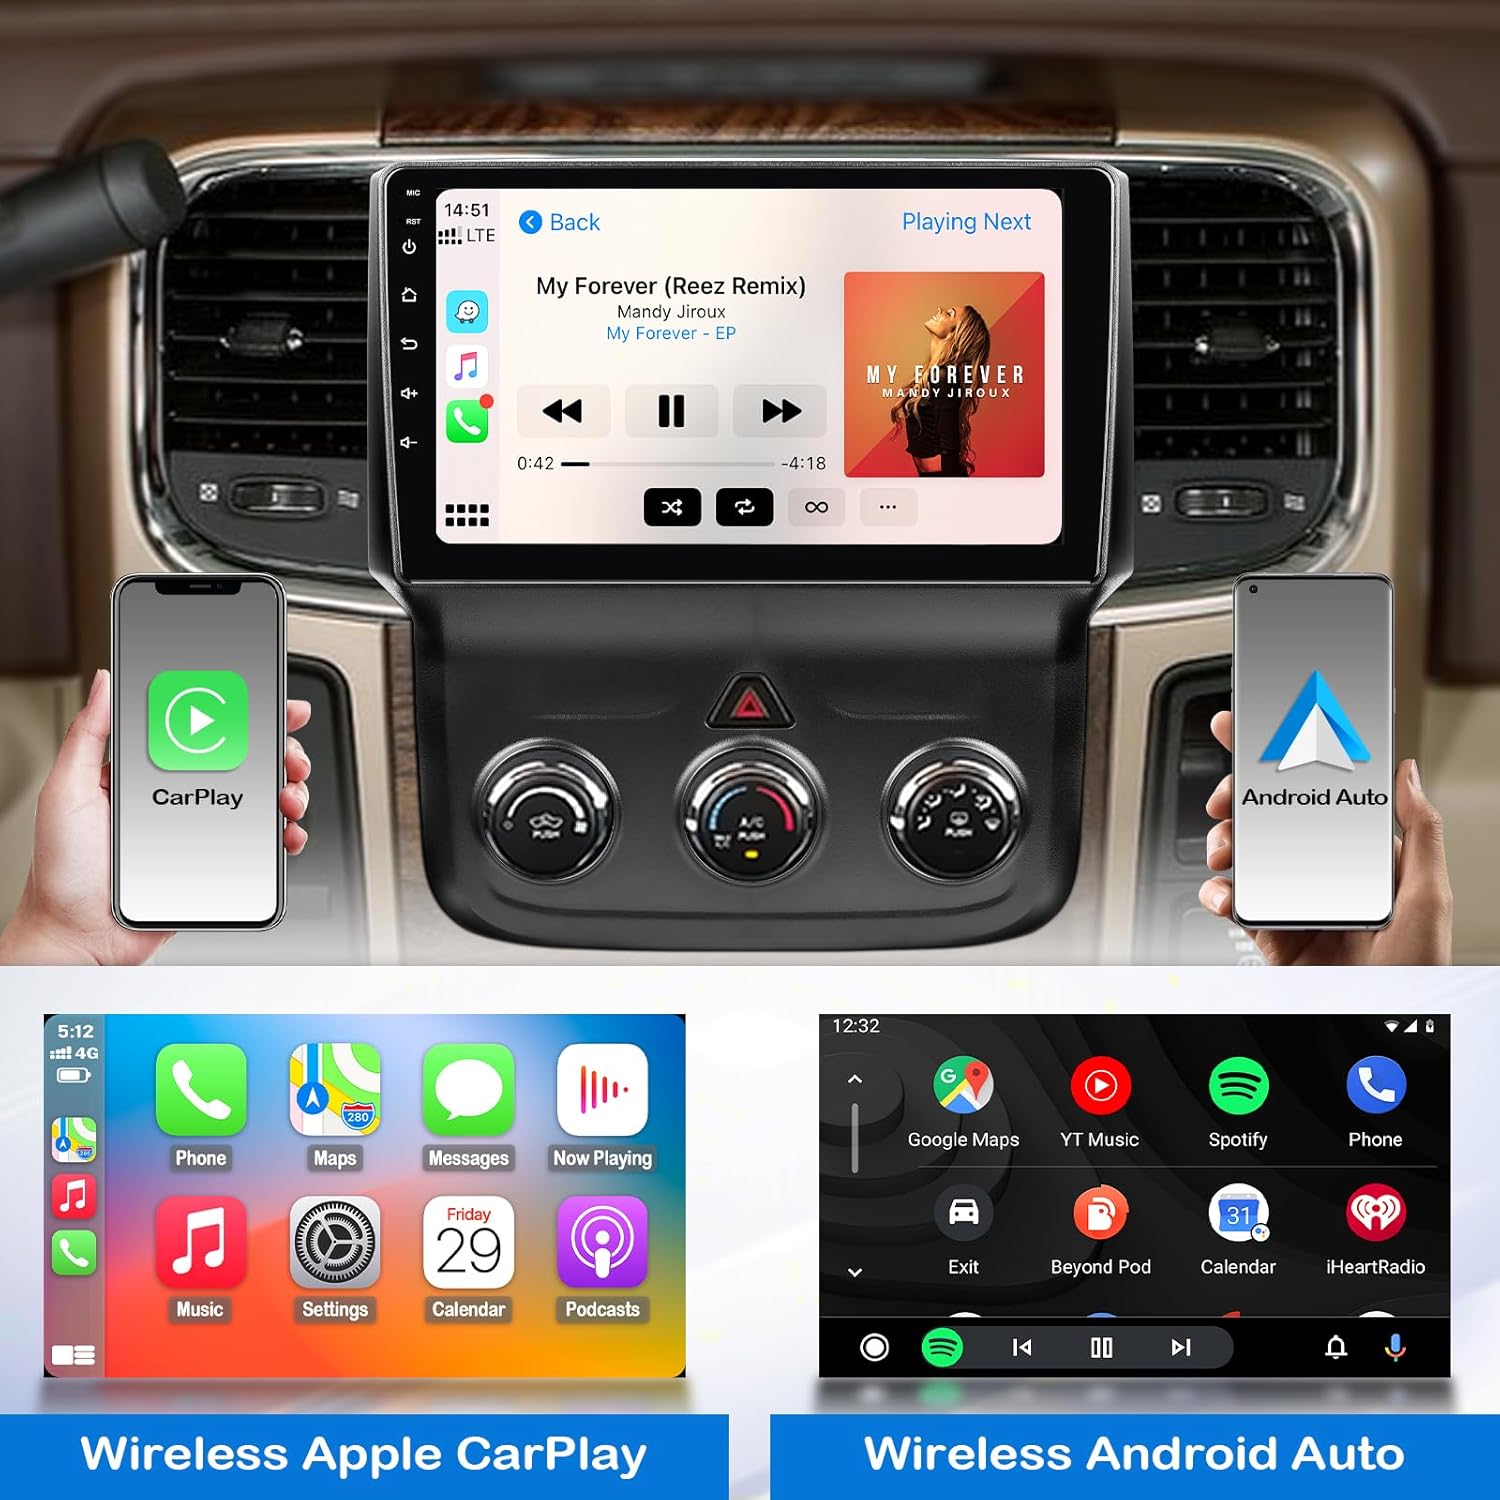
Figure 5.1: Wireless CarPlay and Android Auto Interface
5.2 Bluetooth Handsfree & FM/AM Radio
Enjoy hands-free calling and audio streaming via Bluetooth. The FM radio features 18 preset stations for easy access to your favorite broadcasts. Voice control is supported for commands like "play music" or "make a call."

Figure 5.2: Bluetooth and FM Radio Functions
5.3 GPS Navigation & WiFi Connect
The unit comes with built-in offline maps and supports online GPS navigation when connected to Wi-Fi. You can also download and install various apps from the app store, similar to a smartphone.

Figure 5.3: GPS Navigation and WiFi Connectivity
5.4 Android 13 System & EQ Adjust
Powered by Android 13 with 2GB RAM and 32GB ROM, the system ensures smooth operation. Utilize the EQ adjustment feature to customize audio output to your preference for a superior music listening experience.

Figure 5.4: Built-in DSP and EQ Adjustment
5.5 Steering Wheel Control (SWC)
The unit supports your vehicle's factory steering wheel controls, allowing you to manage audio, calls, and other functions without taking your hands off the wheel.
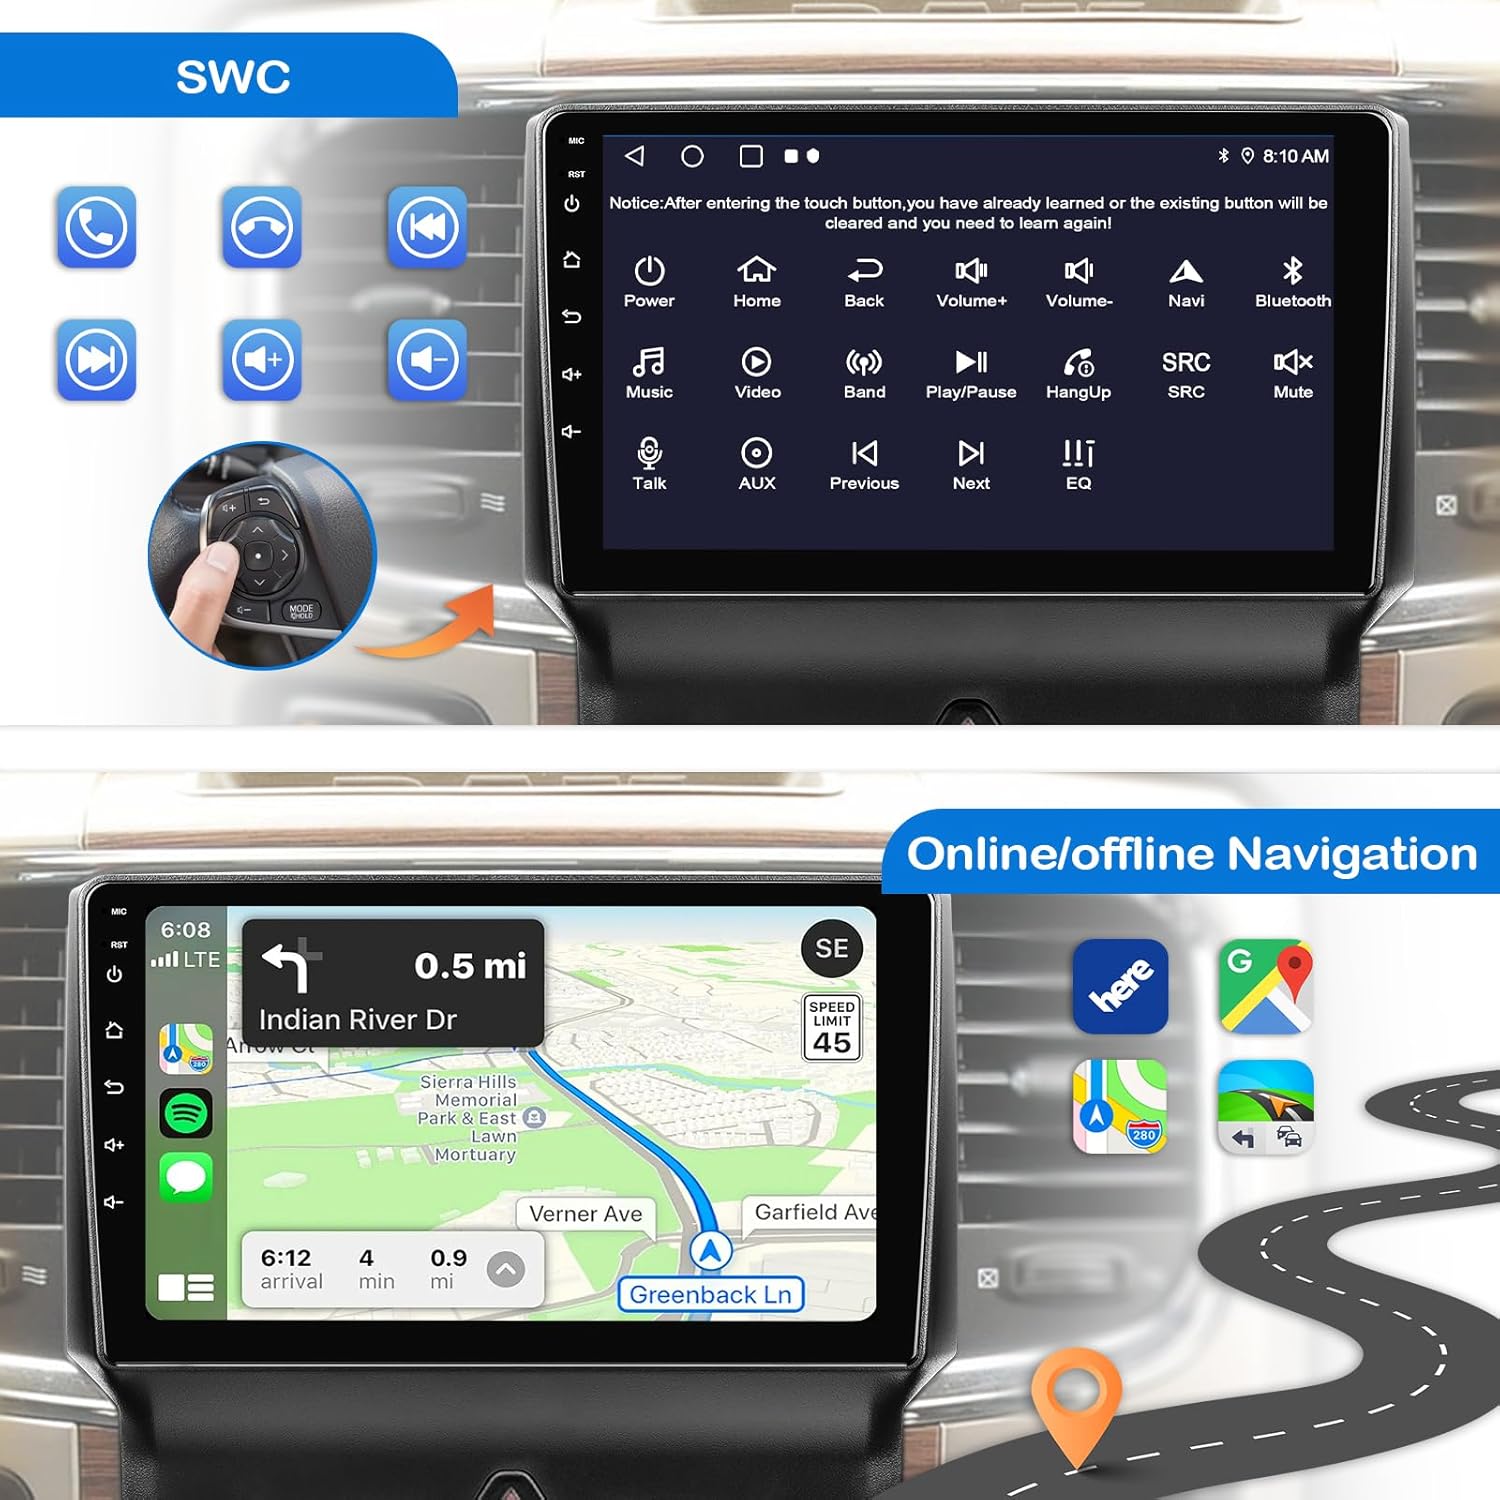
Figure 5.5: Steering Wheel Control Interface
6. Maintenance
- Cleaning: Use a soft, dry cloth to clean the touch screen and unit exterior. Avoid abrasive cleaners or solvents.
- Software Updates: Periodically check for software updates to ensure optimal performance and access to new features. Updates can typically be found on the manufacturer's website or through the unit's system settings when connected to Wi-Fi.
- Temperature: Avoid exposing the unit to extreme temperatures for prolonged periods, as this can affect performance and lifespan.
7. Troubleshooting
| Problem | Possible Cause | Solution |
|---|---|---|
| Unit does not power on | Loose power connection, blown fuse, vehicle battery disconnected. | Check all wiring connections. Inspect vehicle fuses and replace if necessary. Ensure vehicle battery is properly connected. |
| No sound or poor sound quality | Incorrect speaker wiring, volume too low, EQ settings. | Verify speaker connections. Adjust volume levels. Check EQ settings and reset to default if needed. |
| Wireless CarPlay/Android Auto not connecting | Bluetooth/Wi-Fi not enabled on phone, incorrect pairing, phone software issue. | Ensure Bluetooth and Wi-Fi are active on your phone. Forget device on both phone and stereo and re-pair. Restart phone and stereo. |
| GPS signal weak or inaccurate | GPS antenna obstructed or improperly placed. | Ensure GPS antenna is placed in a clear, unobstructed location (e.g., dashboard, away from metal). |
| Screen goes black in reverse (without camera) | Unit is expecting a backup camera signal. | This is normal behavior if the reversing line is connected and the unit detects a reverse gear signal. If you do not have a camera, the screen will show a black image. Consult the settings to disable reverse camera input if desired. |
8. Specifications
- Display Size: 9 Inches
- Operating System: Android 13
- Memory: 2GB RAM, 32GB ROM
- Connectivity: Bluetooth, Wi-Fi, USB
- Special Features: Android Auto, Apple CarPlay, Built-In Bluetooth, Built-In Wi-Fi, EQ Adjust, Steering Wheel Control Support
- Audio Output Mode: Stereo
- Resolution: 800 x 480 or 1024 x 600 (model dependent)
- Item Weight: 3.56 pounds
- Package Dimensions: 11.77 x 11.02 x 4.8 inches
- Country of Origin: China
9. Warranty and Support
This KOBANOICA Car Stereo comes with a 2-year manufacturer warranty. For technical support, warranty claims, or further assistance, please contact KOBANOICA customer service through the platform where you purchased the product or refer to the contact information provided in the included user manual.
For additional resources and product information, visit the official KOBANOICA Store: KOBANOICA Store on Amazon.
Ask a question about this manual
Ask about setup, troubleshooting, compatibility, parts, safety, or missing instructions. Manuals+ will review the question and use this page’s manual context to help answer it.