
1. Introduction
This manual provides detailed instructions for the installation, operation, and maintenance of your Dpofirs 4.3-inch Video Doorbell Camera Digital Door Viewer. Please read this manual thoroughly before using the product to ensure proper function and longevity.
2. Package Contents
Verify that all items listed below are included in your package. If any items are missing or damaged, please contact customer support.
- 1 x Outdoor Unit (Peephole Camera)
- 1 x Indoor Unit (4.3-inch Monitor)
- 8 x Screws
- 2 x Screw Rings
- 1 x Mounting Backplate
- 1 x USB Charging Cable
- 2 x Instruction Manuals

Image 2.1: Complete package contents of the Dpofirs Video Doorbell Camera.
3. Product Overview
The Dpofirs Video Doorbell Camera consists of an outdoor peephole camera and an indoor monitor, designed to provide enhanced home security and convenience.
3.1 Indoor Monitor
The indoor unit features a 4.3-inch display, allowing you to view visitors at your door. It houses the rechargeable battery and controls for the system.

Image 3.1: The indoor monitor displaying a visitor.
3.2 Outdoor Peephole Camera
The outdoor unit integrates a 3MP 1080P HD camera with a 160° wide-angle lens, PIR motion detection sensor, and night vision capabilities. It replaces your existing door peephole.

Image 3.2: The outdoor peephole camera.
4. Specifications
| Feature | Specification |
|---|---|
| Indoor Unit Screen Size | 4.3 inches |
| Display Resolution | 1920x1080p |
| Camera Resolution | 3MP (2MP Maximum Webcam Image Resolution) |
| Viewing Angle | 160° Diagonal |
| PIR Motion Detection | Yes, 3 sensitivity levels |
| Night Vision | Yes (940nm) |
| Connectivity | Wi-Fi |
| Storage | Supports Micro SD card (up to 128GB, not included) |
| Battery Capacity | 5000mAh (built-in) |
| Battery Life | 40-60 days per charge |
| Charging Interface | Micro USB |
| IP Rating | IP65 |
| Product Dimensions | 7.48 x 5.12 x 3.15 inches |
| Item Weight | 1.19 pounds |
5. Setup
5.1 Charging the Device
Before initial use, fully charge the indoor unit using the provided USB charging cable. Connect the Micro USB end to the indoor unit and the standard USB end to a compatible USB power adapter (not included).
5.2 Inserting a Micro SD Card (Optional)
To enable continuous recording and store video footage, insert a Micro SD card (up to 128GB, not included) into the designated slot on the indoor unit. Ensure the card is inserted correctly.
5.3 Installation Steps
Follow these general steps to install your video doorbell camera:
- Remove Existing Peephole: Unscrew and remove your current door peephole.
- Insert Outdoor Unit: Carefully insert the outdoor peephole camera unit through the hole from the outside of the door. Ensure the cable passes through to the inside.
- Attach Mounting Backplate: From the inside of the door, thread the camera cable through the mounting backplate. Secure the backplate to the door using the provided screws, ensuring it is flush and stable.
- Connect Indoor Unit: Connect the cable from the outdoor unit to the corresponding port on the indoor monitor.
- Mount Indoor Unit: Align the indoor monitor with the mounting backplate and slide it into place, securing it firmly.
- Test Functionality: Power on the device and test the live view and motion detection features.
6. Operating Instructions
6.1 Power On/Off
Press and hold the power button on the indoor unit to turn the device on or off.
6.2 Live View
When the device is on, press the main button on the indoor unit to activate the screen and view the live feed from the outdoor camera. This allows you to see who is at your door.
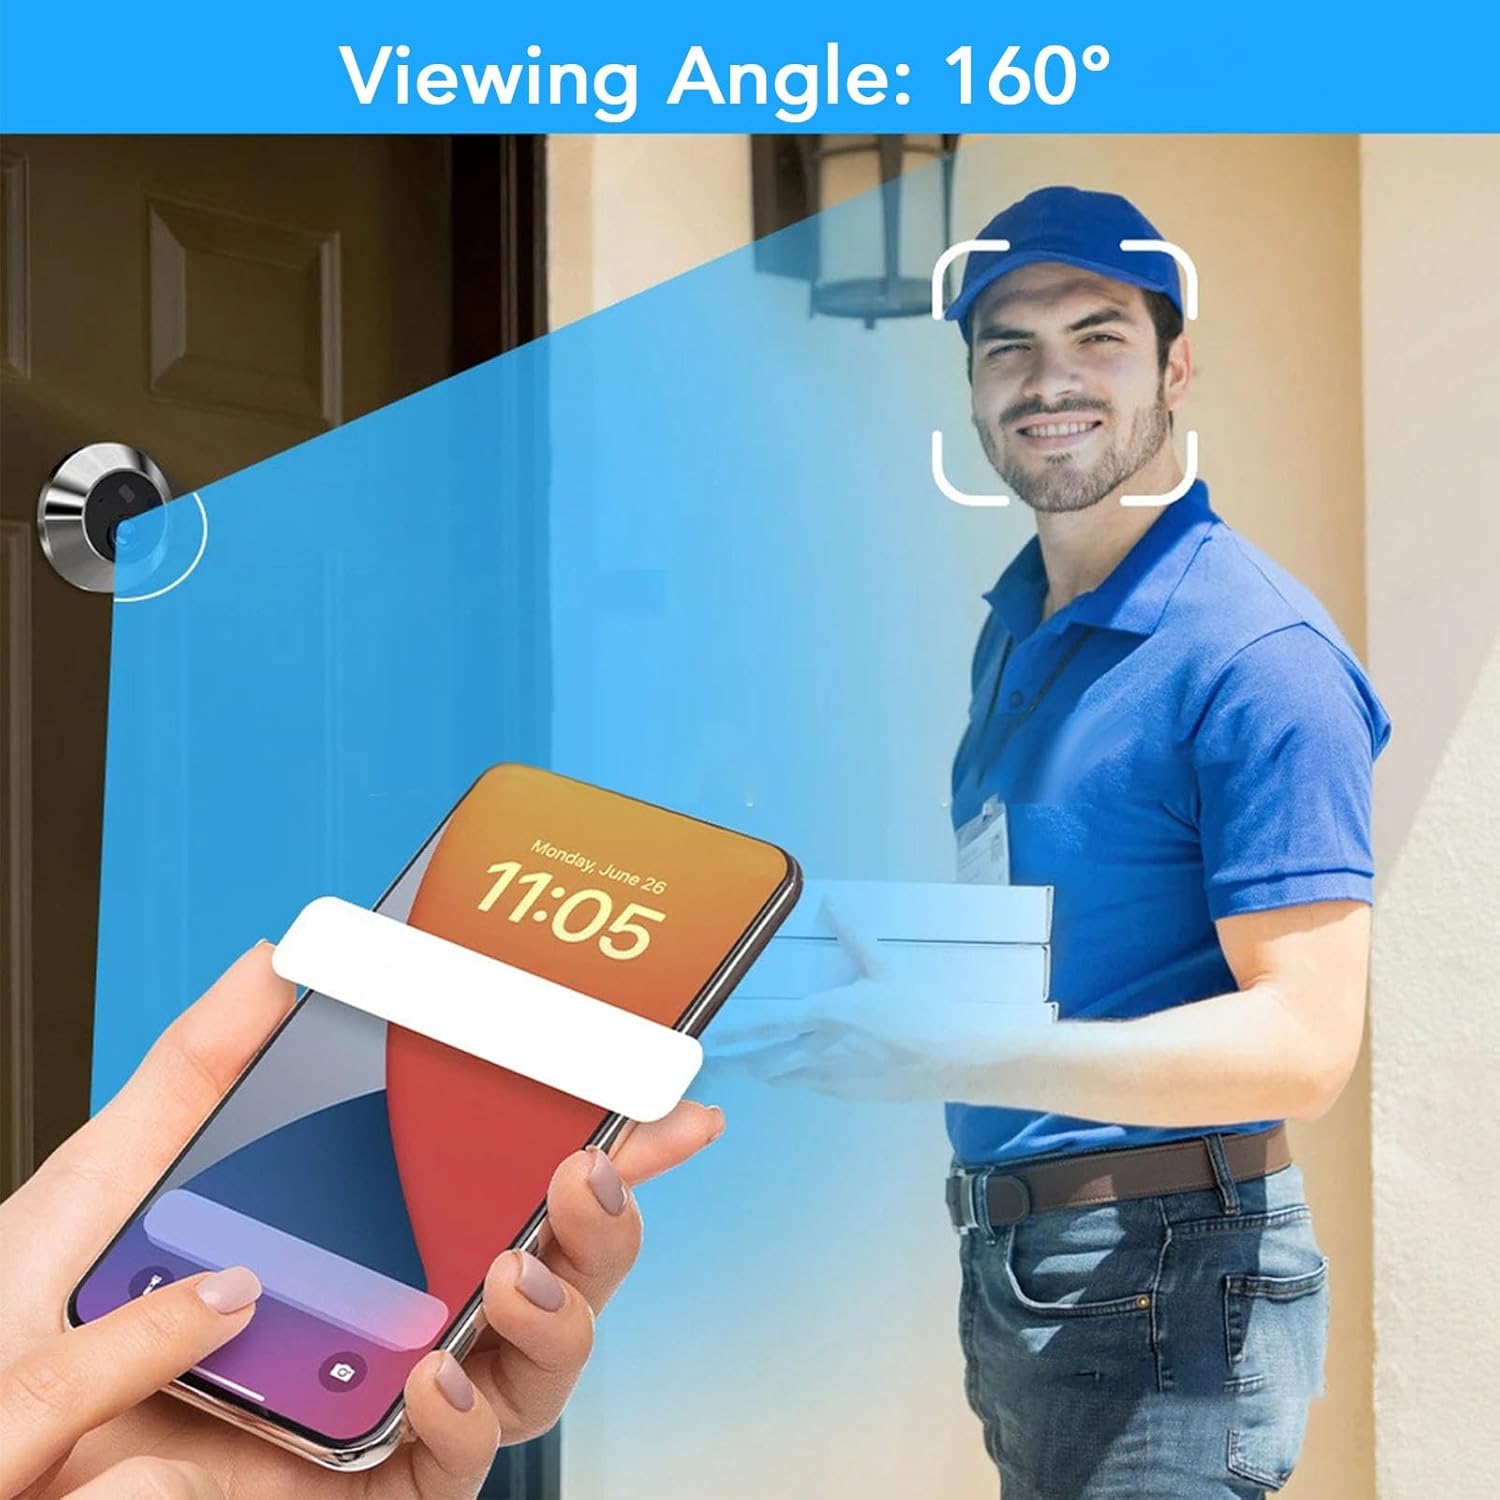
Image 6.1: Illustration of the 160° viewing angle.
6.3 PIR Motion Detection
The camera features a Passive Infrared (PIR) sensor that detects movement. When motion is detected within 1 to 3 meters of the door for 5 seconds, the system will automatically begin capturing images or video and send a notification to your connected mobile app (if configured).
- Sensitivity Settings: The PIR sensor offers three levels of sensitivity: high, medium, and low. Adjust this setting in the device menu to suit your environment and reduce false alarms.
- 24-Hour Surveillance: This feature provides continuous monitoring, alerting you to suspicious activity around your door at any time.

Image 6.2: Intelligent PIR infrared detection zones.

Image 6.3: Features of 24-hour door monitoring.
6.4 Wi-Fi Connectivity and App (If Applicable)
The device supports Wi-Fi connectivity for real-time live streaming and mobile app notifications. Refer to the on-screen menu or a separate app guide for instructions on connecting to your home Wi-Fi network and pairing with the mobile application.
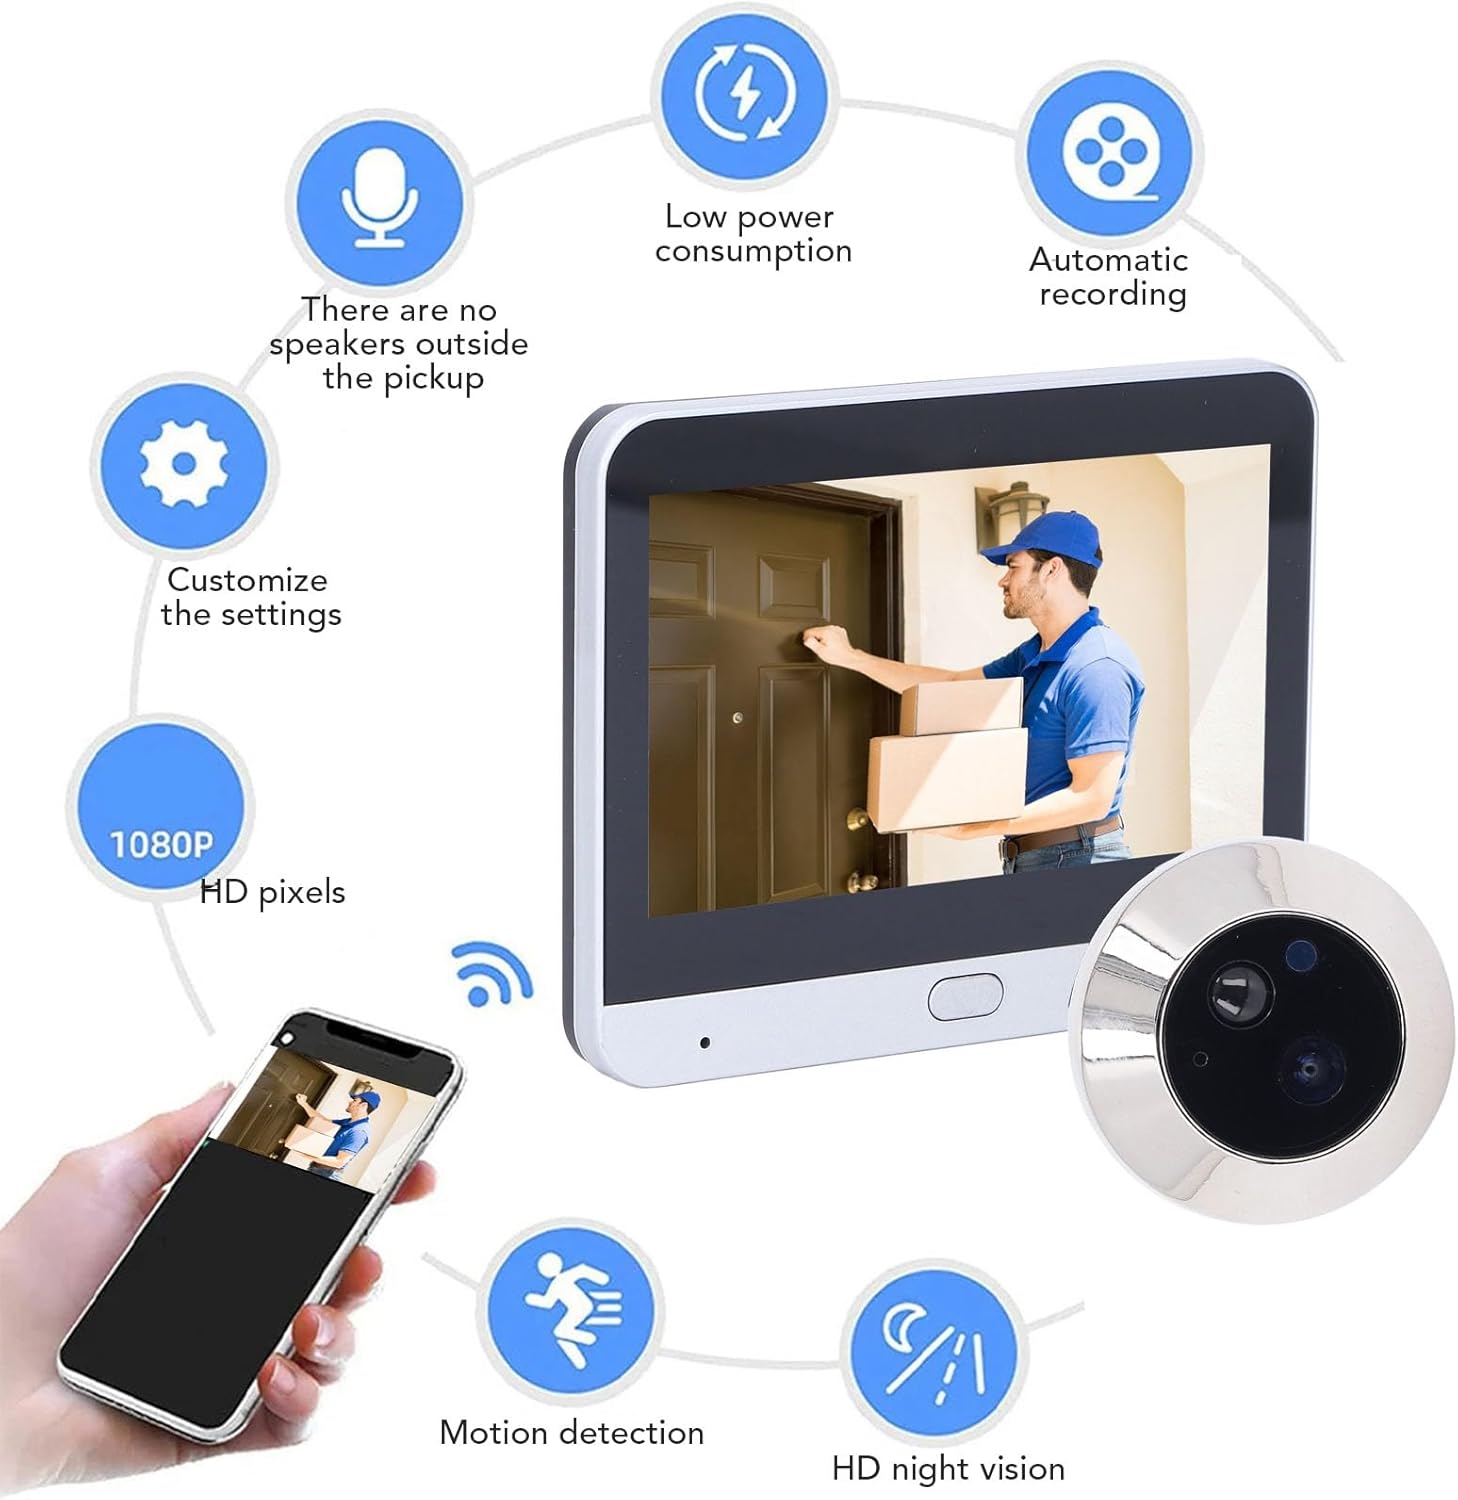
Image 6.4: Overview of smart video doorbell features.
7. Maintenance
7.1 Cleaning
To clean the indoor monitor screen and outdoor camera lens, use a soft, dry, lint-free cloth. Do not use liquid cleaners or abrasive materials, as they may damage the surfaces.
7.2 Battery Care
The indoor unit contains a built-in rechargeable lithium battery. To maximize battery life:
- Avoid exposing the device to extreme temperatures.
- Charge the battery fully before first use.
- If storing the device for an extended period, charge it to approximately 50% every few months.
8. Troubleshooting
- Device does not power on: Ensure the battery is charged. Connect the USB charging cable and allow it to charge for at least 30 minutes before attempting to power on again.
- No image on screen: Check the connection between the outdoor camera unit and the indoor monitor. Ensure the cable is securely plugged in.
- Poor image quality: Clean the camera lens on the outdoor unit. Ensure there are no obstructions. Verify that the lighting conditions are adequate; night vision should activate automatically in low light.
- Motion detection not working or too many false alarms: Adjust the PIR sensitivity settings in the device menu (High, Medium, Low). Ensure the camera's field of view is clear of moving objects like tree branches or flags that could trigger false alarms.
- Cannot connect to Wi-Fi/App: Ensure your Wi-Fi network is 2.4GHz (5GHz networks are typically not supported by these devices). Check your Wi-Fi password and signal strength. Restart both the doorbell camera and your router.
- No recording to Micro SD card: Ensure a Micro SD card is inserted correctly and is not full. The card may need to be formatted through the device's settings menu.
9. Warranty and Support
Your Dpofirs Video Doorbell Camera is covered by a standard manufacturer's warranty. For specific warranty terms and conditions, please refer to the warranty card included in your package or contact Dpofirs customer support directly.
For technical assistance, troubleshooting, or product inquiries, please visit the official Dpofirs website or contact their customer service department. Contact information can typically be found on the product packaging or the brand's online store.