
1. Introduction
Thank you for choosing the TrustFire Mini X3 Rechargeable EDC Flashlight. This compact and versatile flashlight is designed for everyday carry (EDC) and emergency situations, offering four distinct light sources: a powerful white light, a warm flood light, a UV light, and a green beam. Its robust aluminum construction and magnetic tail provide durability and convenience. Please read this manual thoroughly to understand the features, operation, and maintenance of your Mini X3 flashlight.
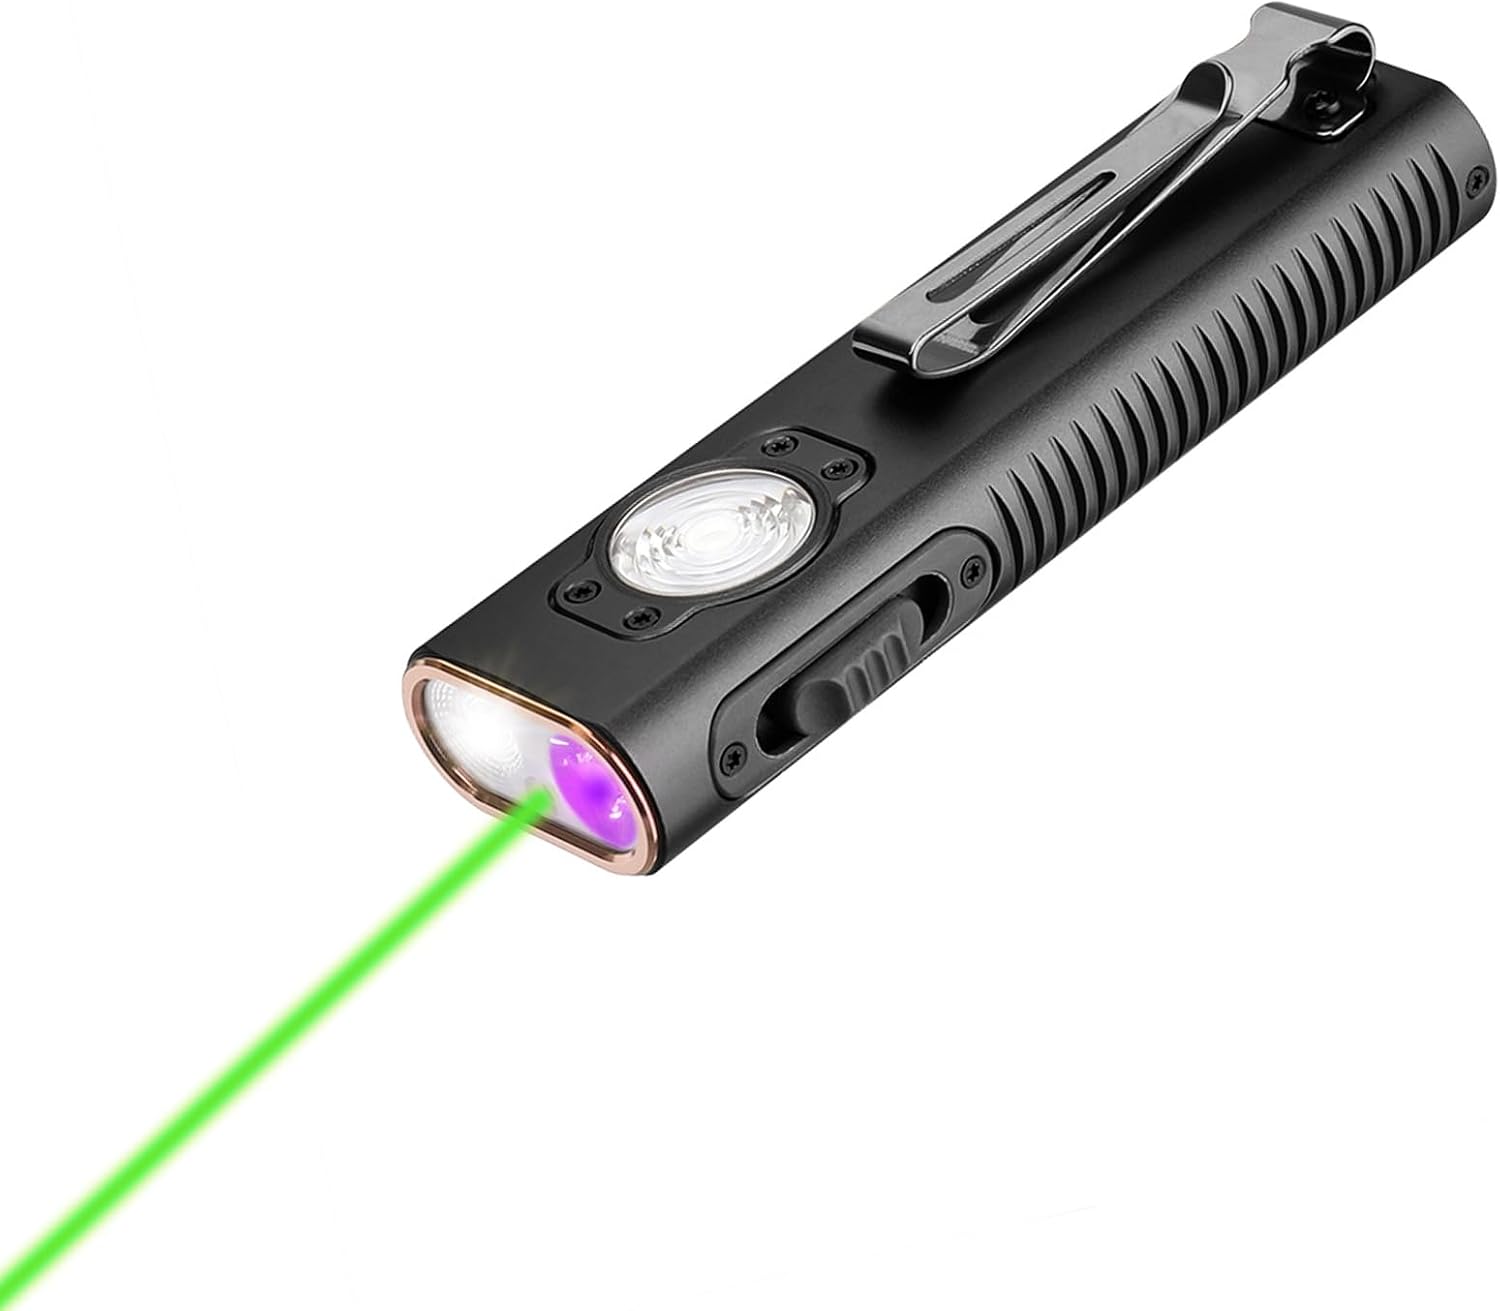
Figure 1: TrustFire Mini X3 Flashlight (Black)
The TrustFire Mini X3 flashlight, showcasing its sleek black design and integrated pocket clip.
2. Product Overview and Features
The TrustFire Mini X3 is engineered to provide comprehensive illumination solutions in a portable form factor.
- Fourfold Light Sources: Integrates white light, flood light, UV light, and a green beam to meet diverse lighting needs.
- High Brightness White Light: Delivers up to 1050 lumens for clear, powerful illumination.
- 4000K Flood Light with CRI 95: Provides warm, natural light with excellent color rendering, ideal for tasks requiring accurate color perception.
- Strengthened 900mW (365nm) UV Light: Effective for detecting hidden stains, counterfeit currency, and fluorescent materials.
- Green Beam: Useful for pointing, signaling, and presentations.
- Magnetic Tail: Allows for hands-free operation by attaching to metal surfaces.
- Rechargeable: Equipped with a built-in rechargeable Lithium Ion battery and Type-C charging port.
- Durable Construction: Made from aluminum with an IPX6 waterproof rating.

Figure 2: Four Light Modes
An illustration showing the four distinct light outputs of the Mini X3: white light, green light, UV light, and warm white flood light.
3. Package Contents
Upon opening the package, please verify that all items listed below are present and in good condition.
- TrustFire Mini X3 Flashlight
- Type-C USB Charging Cable
- User Manual (this document)
4. Setup and Initial Use
4.1. Charging the Battery
The TrustFire Mini X3 comes with a pre-installed rechargeable Lithium Ion battery. For optimal performance, it is recommended to fully charge the flashlight before its first use.
- Locate the Type-C charging port on the flashlight.
- Connect the provided Type-C USB cable to the flashlight's charging port.
- Connect the other end of the USB cable to a compatible USB power source (e.g., computer USB port, USB wall adapter).
- The indicator light will show charging status. Refer to the "Battery Indicator" section under Operating Instructions for details on light colors.
- Once fully charged, disconnect the charging cable.
5. Operating Instructions
The Mini X3 features a mode button and an on/off button for easy operation.

Figure 3: Control Layout and Operation
A visual guide to the mode button, on/off button, and their functions for activating different light modes and adjusting brightness.
5.1. Mode Selection and Activation
The flashlight has a sliding mode button to select the desired light type and an on/off button for activation and brightness adjustment.
- Laser Mode (Green Beam):
- Toggle the mode button to the top position.
- Press and hold the on/off button for 0.5 seconds to activate the green laser.
- UV Light Mode:
- Toggle the mode button to the center position.
- Long press the on/off button for 1.5 seconds to activate the UV light.
- White Light Mode:
- Toggle the mode button to the center position.
- Long press the on/off button for 0.5 seconds to activate the white light.
- Click the on/off button to cycle through brightness levels (Extreme bright, High bright, Middle bright, Low bright).
- Warm Mode (Flood Light):
- Toggle the mode button to the end position.
- Long press the on/off button for 0.5 seconds to activate the warm flood light.
- Click the on/off button to cycle through brightness levels (High bright, Middle bright, Low bright).
5.2. Battery Indicator
The indicator light on the flashlight provides real-time battery status:
- Green Light: 80% - 100% battery remaining (Sufficient battery).
- Yellow Light: 20% - 80% battery remaining (Sufficient battery).
- Red Light: 5% - 20% battery remaining (Not enough power).
- Red Light Flashing: 0% - 5% battery remaining (About to run out).
5.3. Magnetic Tail Functionality
The strong magnetic tail allows the flashlight to be securely attached to various metal surfaces, providing convenient hands-free lighting. This is ideal for automotive repairs, working in tight spaces, or any situation where you need illumination without holding the device.

Figure 4: Magnetic Tail Applications
Examples of how the magnetic tail can be used to secure the flashlight to metal surfaces for hands-free operation, such as under a car hood or on a pipe.
6. Maintenance
6.1. Cleaning
To maintain the performance and appearance of your flashlight, wipe it with a soft, damp cloth. Avoid using abrasive cleaners or solvents, as these can damage the finish or internal components.
6.2. Battery Care
Regularly charge the battery to prolong its lifespan. If the flashlight will not be used for an extended period, charge it every 3-6 months to prevent deep discharge.
6.3. Water Resistance (IPX6)
The Mini X3 is rated IPX6 waterproof, meaning it is protected against powerful water jets. While it can withstand heavy rain and splashes, it is not designed for submersion in water. Ensure the charging port cover is securely closed to maintain water resistance.

Figure 5: IPX6 Water Resistance
The flashlight shown in a wet environment, demonstrating its IPX6 water resistance against splashing water.
7. Troubleshooting
If you encounter issues with your TrustFire Mini X3, please refer to the following common problems and solutions:
| Problem | Possible Cause / Solution |
|---|---|
| Flashlight blinks twice and turns off immediately. | This indicates the lockout function is active, preventing accidental activation. To deactivate:
|
| Flashlight does not turn on. |
|
| Light output is dim or inconsistent. |
|
| Charging does not initiate. |
|
If the problem persists after attempting these solutions, please contact TrustFire customer service for further assistance.
8. Specifications
| Feature | Detail |
|---|---|
| Model | MINIX3-US |
| White Light Brightness | 1050 Lumens (Max) |
| Flood Light Color Temperature | 4000K with CRI 95 |
| UV Light Power | 900mW (365nm) |
| Green Beam | Yes |
| Power Source | Battery Powered (1 Lithium Ion battery, included) |
| Charging Port | Type-C USB |
| Material | Aluminum |
| Water Resistance | IPX6 (Waterproof) |
| Product Dimensions | 1.77"D x 2.2"W x 4.84"H |
| Item Weight | 6.4 ounces |
9. Warranty and Customer Support
TrustFire offers a 3-year replacement service for the Mini X3 flashlight, along with 7*24 hours of customer service.
If you have any questions, concerns, or require assistance with your product, please do not hesitate to contact TrustFire customer service. We are committed to providing a satisfactory solution to any issues you may encounter.
For support, please refer to the contact information provided with your purchase or visit the official TrustFire website.