
1. Introduction
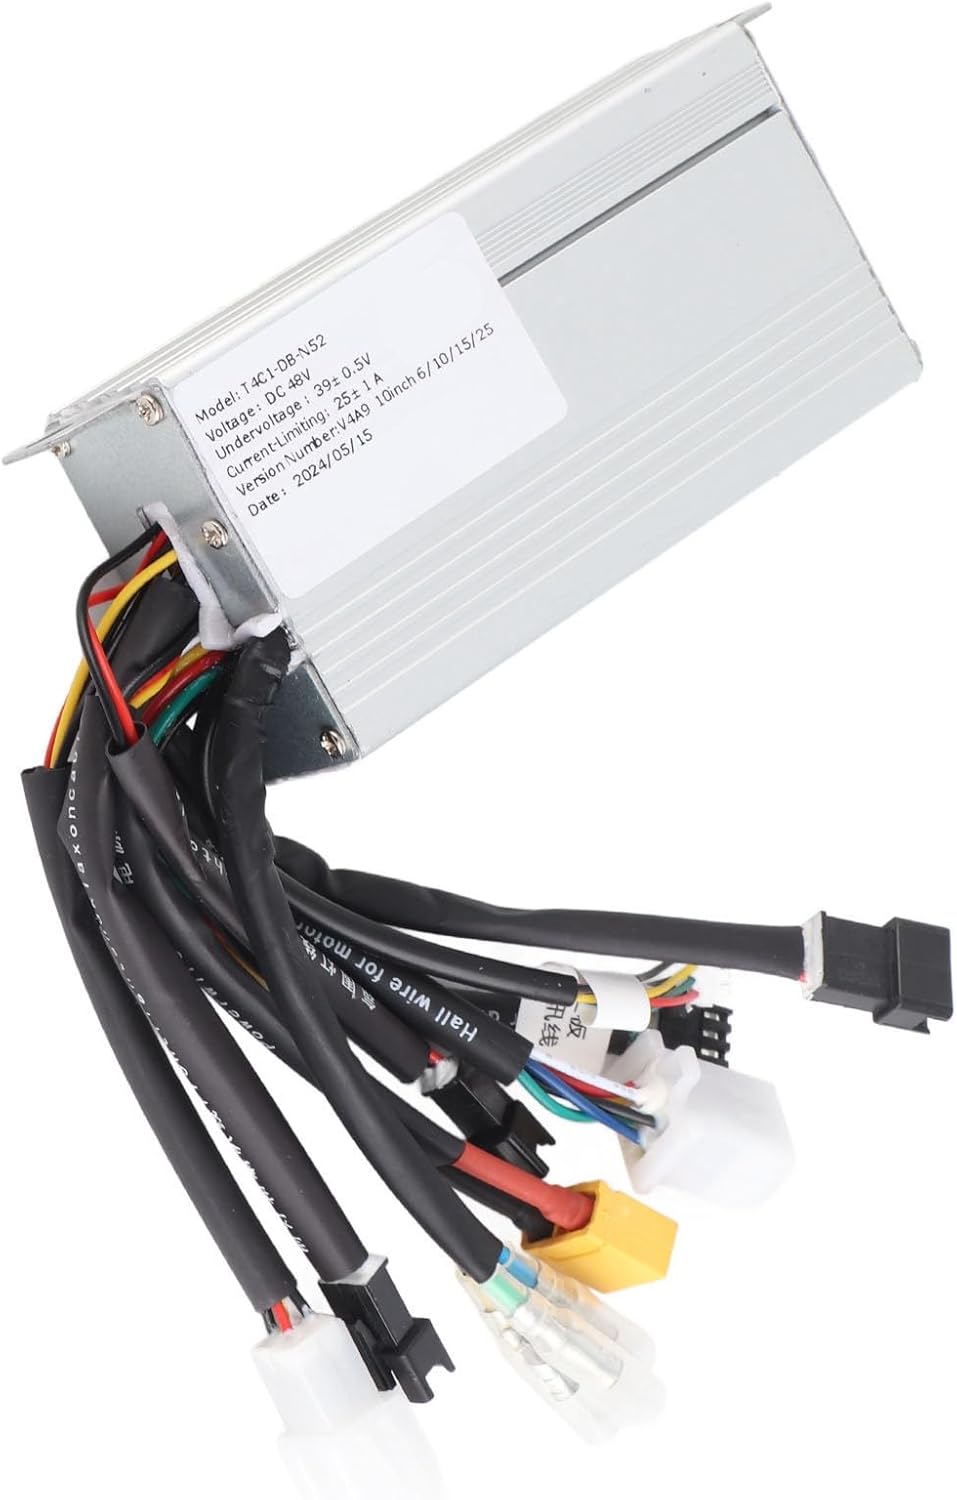
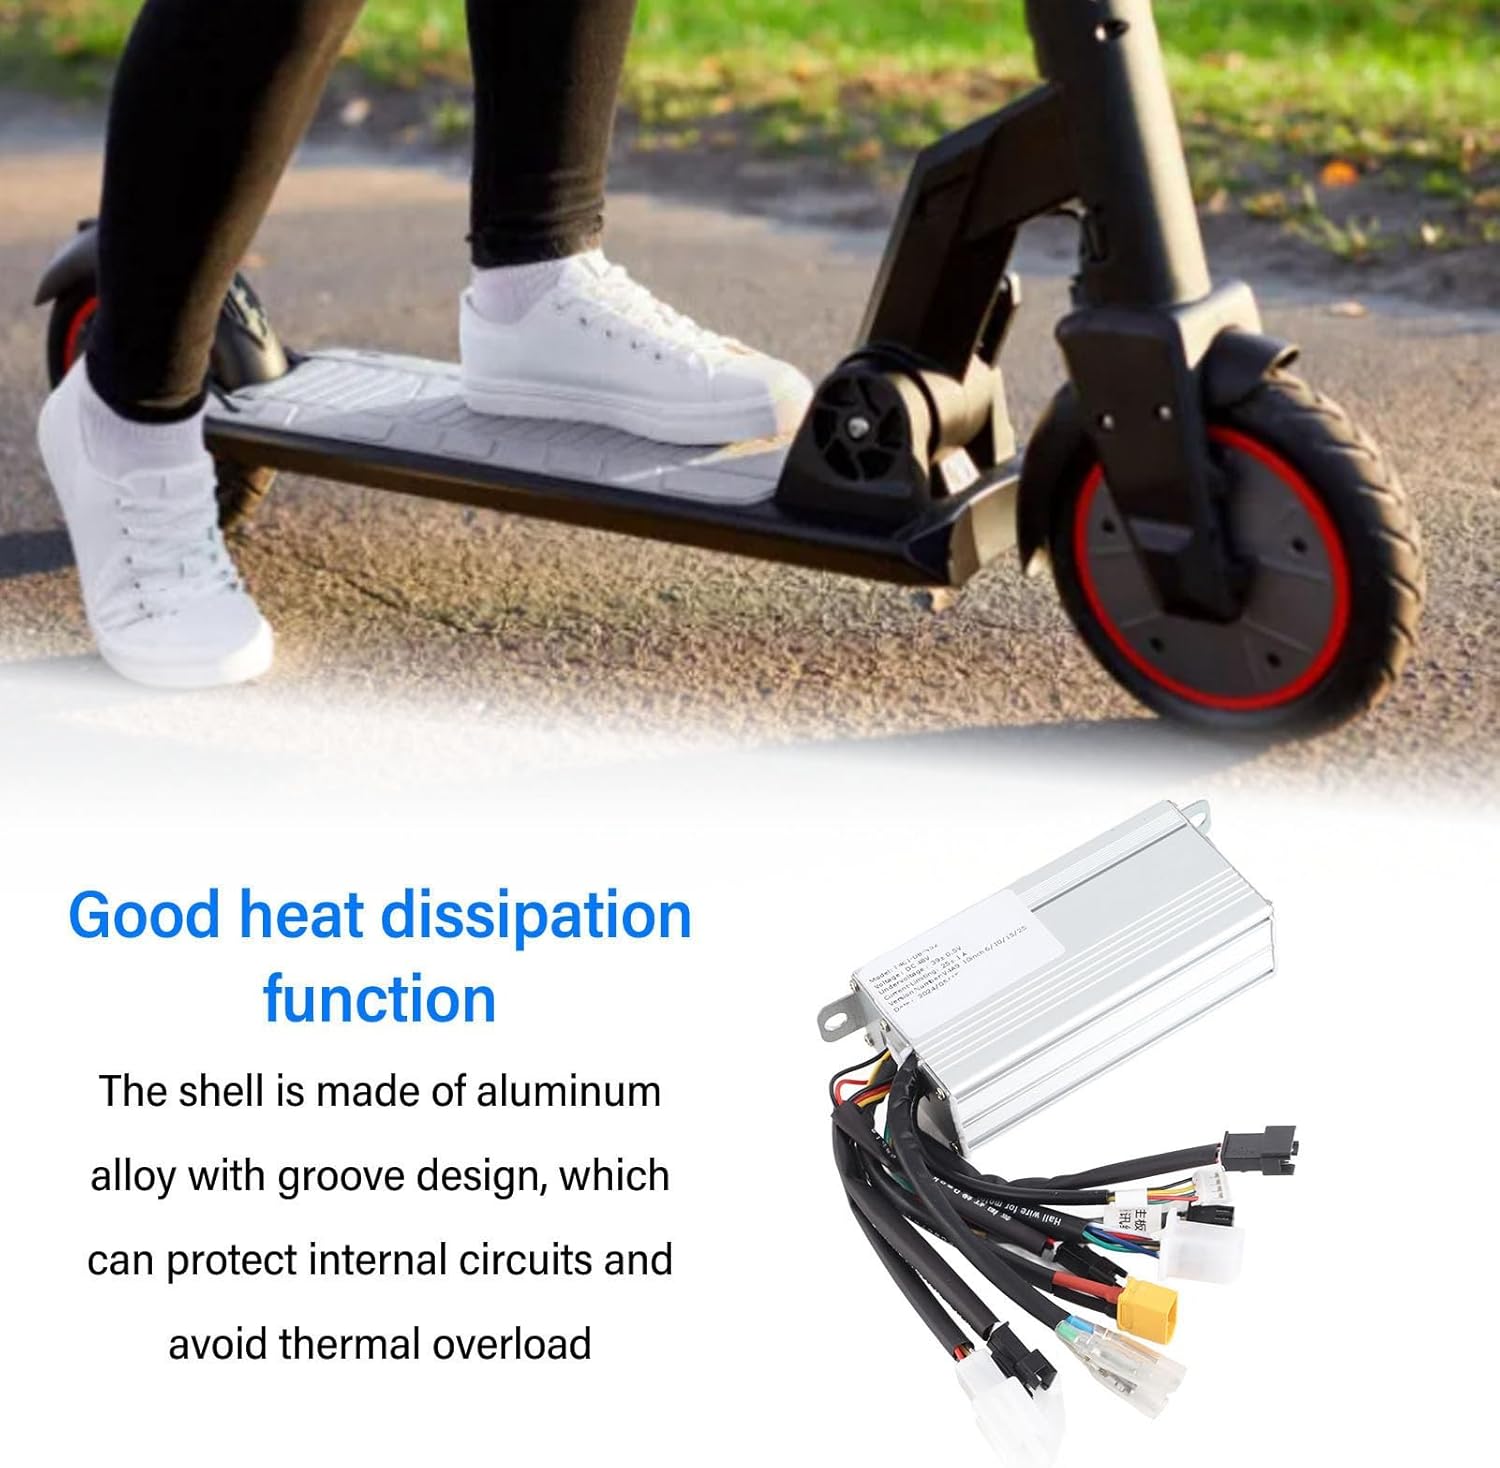
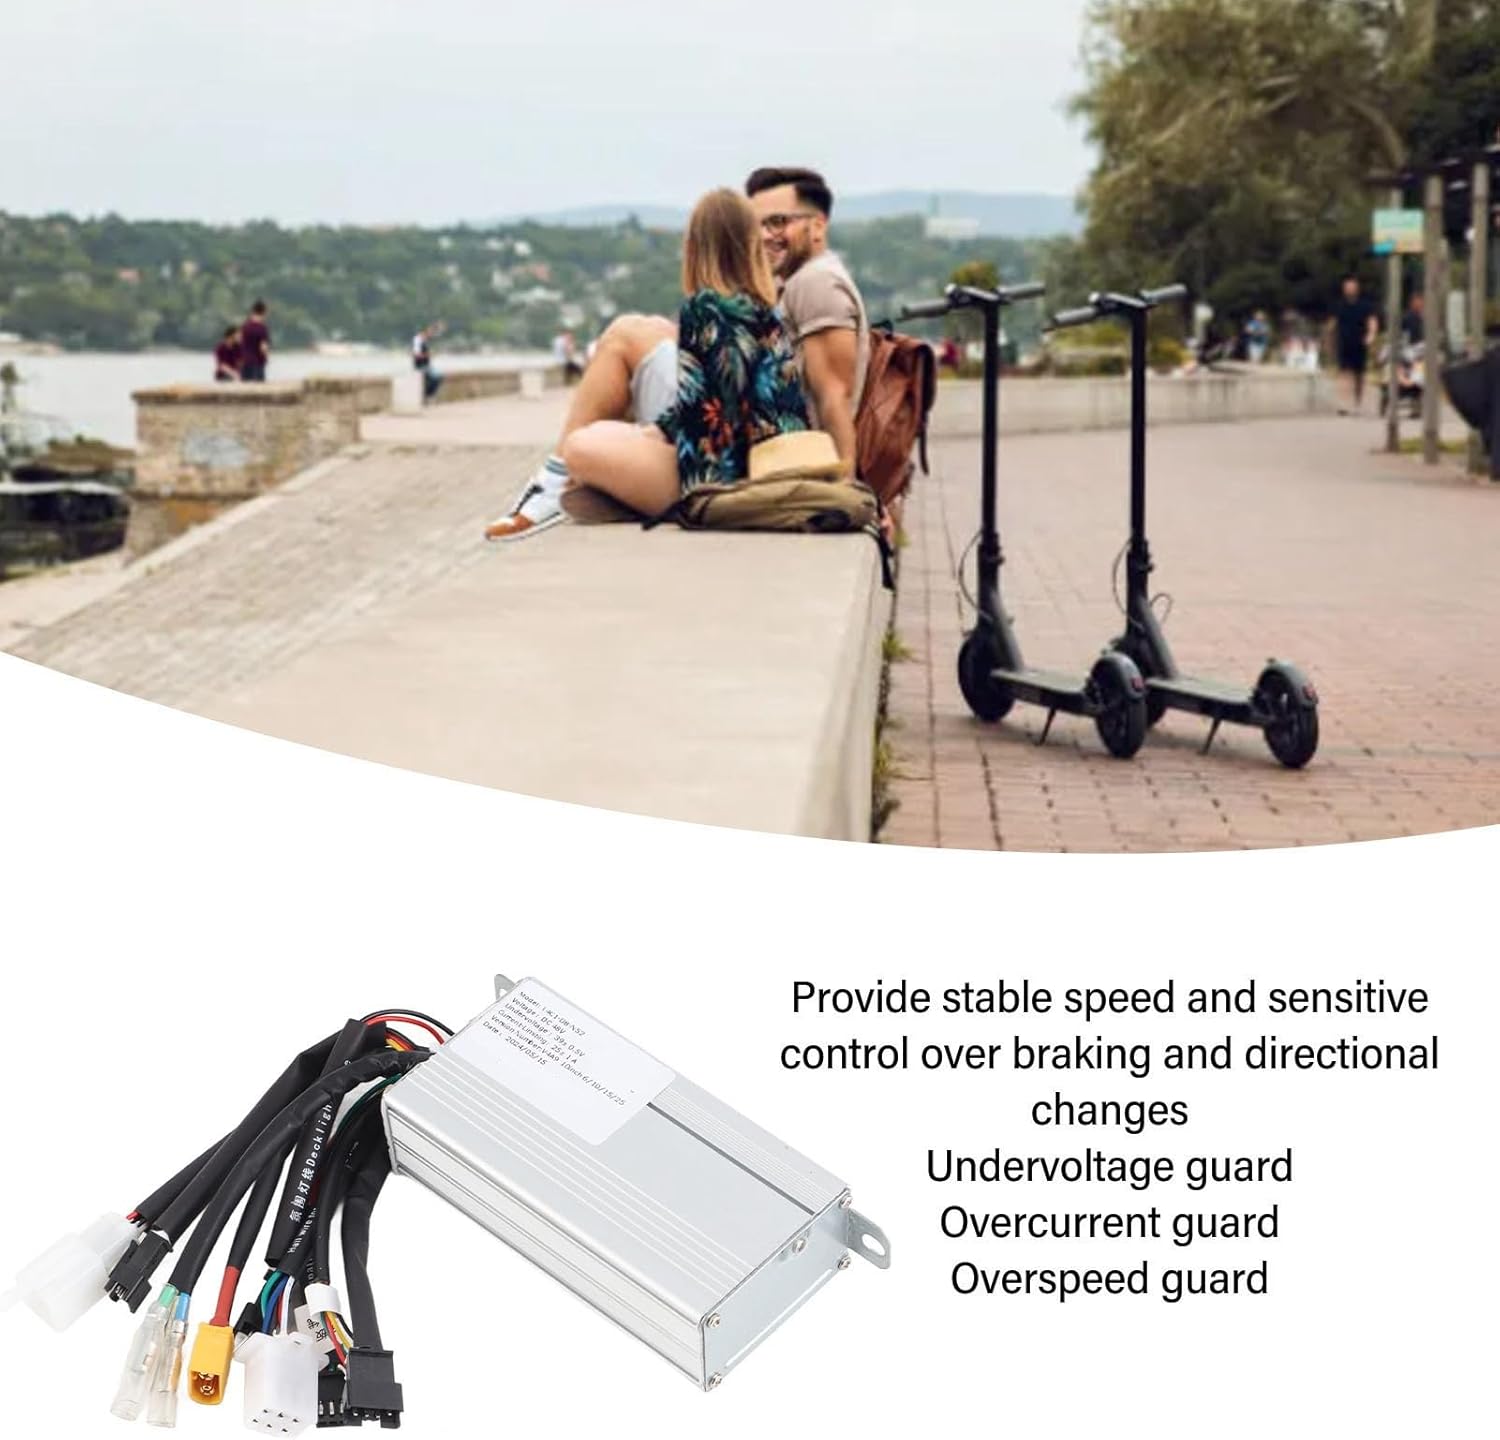
This manual provides essential information for the installation, operation, and maintenance of your Dilwe 48V 800W Dual Drive Electric Scooter Motor Controller. This controller is designed to provide stable speed and sensitive control for braking and directional changes in electric scooters, electric bicycles, electric tricycles, and other electric vehicles. It features a dual-drive model for enhanced control and acceleration, and its aluminum alloy shell ensures good heat dissipation and protection for internal circuits.
2. Product Features
- Dual Drive System: Equipped with a dual-drive model for improved control, acceleration, and overall riding experience.
- Versatile Compatibility: Suitable for electric scooters, electric bicycles, electric tricycles, and other electric vehicles.
- Robust Construction: Built with high-quality aluminum alloy for durability and effective heat dissipation, protecting internal circuits from thermal overload.
- Stable Performance: Provides stable speed control and sensitive response for braking and directional changes.
- Protection Features: Includes undervoltage guard, overcurrent guard, and overspeed guard for enhanced safety and longevity.
3. Setup and Installation
The Dilwe motor controller is designed for straightforward installation. However, due to the electrical nature of the product, it is recommended that installation be performed by a qualified technician if you are unfamiliar with electrical wiring.
3.1 Safety Precautions
- Always disconnect the battery power before beginning any installation or maintenance work.
- Ensure all connections are secure and properly insulated to prevent short circuits.
- Verify that the voltage and wattage of your motor and battery are compatible with the controller's specifications (48V, 800W).
- Avoid exposing the controller to water or extreme temperatures.
3.2 Installation Steps (General)
- Mounting: Securely mount the controller in a location that allows for adequate airflow and protection from physical damage and moisture. The aluminum casing is designed for heat dissipation, so avoid enclosed spaces.
- Motor Connection: Connect the motor phase wires (typically three thick wires) from your electric scooter/bike to the corresponding terminals on the controller.
- Battery Connection: Connect the main power wires (positive and negative) from your battery to the controller. Ensure correct polarity.
- Signal Wire Connections: Connect the various signal wires, including:
- Throttle/Accelerator
- Brake Levers (if applicable)
- Hall Sensor Wires (if your motor has them)
- Ignition/Key Switch
- Lights (if controlled by the unit)
- Display/Meter (if applicable)
- Initial Test: After all connections are made, double-check them. Reconnect the battery and perform a low-speed test to ensure proper function of the motor, throttle, and brakes.


4. Operating Instructions
Once correctly installed, the Dilwe motor controller operates automatically to manage power delivery to your electric vehicle's motor.
- Power On: Turn on your electric vehicle's main power switch. The controller will initialize.
- Acceleration: Use the throttle to control the speed. The dual-drive system provides responsive acceleration.
- Braking: Apply the brakes as usual. The controller is designed to provide sensitive control during braking.
- Protection Features: The controller continuously monitors for undervoltage, overcurrent, and overspeed conditions, automatically adjusting or cutting power to protect the system and rider.

5. Maintenance
The Dilwe motor controller is designed for durability and requires minimal maintenance.
- Regular Inspection: Periodically check all wiring connections to ensure they are tight and free from corrosion or damage.
- Cleaning: Keep the controller's exterior clean and free of dust and debris. Use a dry, soft cloth. Do not use liquid cleaners directly on the unit.
- Environmental Protection: Ensure the controller remains protected from direct water exposure, excessive humidity, and extreme temperatures to prevent internal damage.
- Heat Dissipation: Verify that the mounting location allows for proper airflow around the aluminum casing to facilitate heat dissipation.
6. Troubleshooting
If you encounter issues with your Dilwe motor controller, refer to the following common troubleshooting steps.
Common Issues and Solutions:
- No Power/Vehicle Not Starting:
- Check battery charge level.
- Verify all main power connections (battery to controller) are secure and correctly polarized.
- Ensure the ignition/key switch is in the "ON" position.
- Inspect fuses (if present in your vehicle's system).
- Motor Not Responding to Throttle:
- Check the throttle connection to the controller.
- Ensure Hall sensor wires (if applicable) are correctly connected.
- Verify brake levers are not engaged, as some systems cut power when brakes are applied.
- Intermittent Power/Erratic Operation:
- Inspect all wiring for loose connections, frayed wires, or corrosion.
- Check for signs of overheating on the controller (though the aluminum casing is designed to prevent this, extreme conditions can still cause issues).
- Error Codes (e.g., "Error Code 9"):
If your vehicle's display shows an error code (such as "Error Code 9" as reported by some users), consult your electric vehicle's specific user manual for a list of error codes and their meanings. Controller-specific error codes are typically communicated through the vehicle's display unit. If no specific information is available, contact a qualified technician or the seller for assistance.
If these steps do not resolve the issue, it is recommended to seek professional assistance from a qualified electric vehicle technician.
7. Specifications
| Feature | Specification |
|---|---|
| Brand | Dilwe |
| Model Number | Dilweio1xmvaqde |
| Material | Aluminum alloy |
| Voltage | 48V |
| Power | 800W |
| Package Dimensions | 19 x 14 x 4 cm |
| Item Weight | 306 g |
| ASIN | B0CZ8PQKN8 |
8. Warranty and Support
For specific warranty information regarding your Dilwe 48V 800W Dual Drive Electric Scooter Motor Controller, please refer to the documentation provided at the time of purchase or contact the seller directly.
If you require technical support or have questions not covered in this manual, please contact the retailer or manufacturer.