
1. Introduction
This manual provides detailed instructions for the installation, operation, and maintenance of your CEMELI E91 (M9) 16A Touch Screen Underfloor Heating Thermostat. This device is designed to precisely control the temperature of your underfloor heating system using a floor sensor, ensuring comfort and energy efficiency. Please read this manual thoroughly before installation and use to ensure proper function and safety.
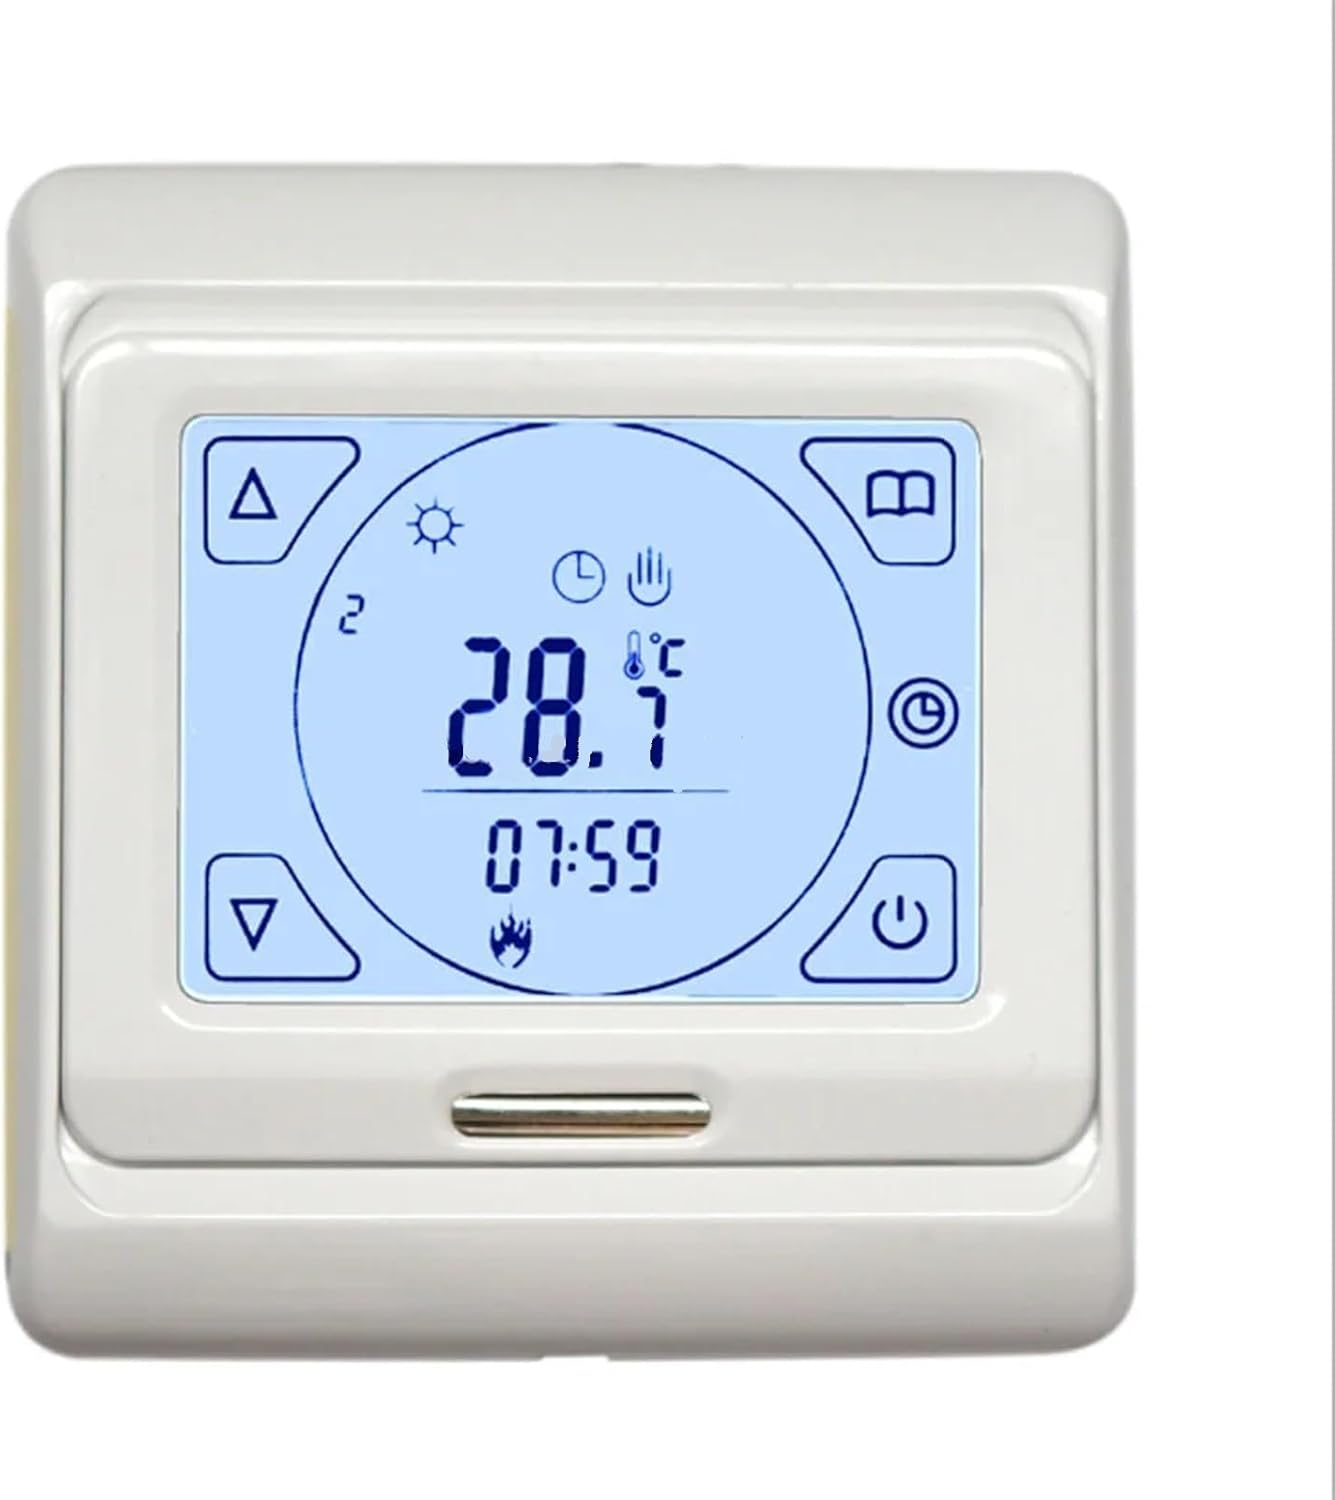
Figure 1.1: Front view of the CEMELI E91 (M9) Touch Screen Underfloor Heating Thermostat. The device features a clear digital display and touch-sensitive controls for temperature and mode adjustments.
2. Safety Information
Warning: Installation and wiring must be performed by a qualified electrician in accordance with local electrical codes and regulations. Failure to follow these instructions may result in electric shock, fire, or damage to the product.
- Always disconnect power at the circuit breaker before installing or servicing the thermostat.
- Ensure all wiring connections are secure and properly insulated.
- Do not expose the thermostat to water or excessive moisture.
- This thermostat is designed for underfloor heating systems only. Do not use it for other applications.
3. Package Contents
Verify that all items are present in the package:
- CEMELI E91 (M9) Touch Screen Underfloor Heating Thermostat
- Floor Sensor (NTC type, 3m cable length)
- Mounting Screws (2 pcs)
- User Manual (this document)

Figure 3.1: Included floor sensor (white cable with black tip) and mounting screws. The sensor is crucial for accurate floor temperature measurement.
4. Product Overview and Display Elements
Familiarize yourself with the thermostat's display and control buttons.

Figure 4.1: Diagram illustrating the various display elements and touch keys on the E91 (M9) thermostat.
- Menu Key: Accesses settings and programming options.
- 1-6 Event Indicator: Shows which programmed event (e.g., morning, evening) is currently active.
- UP Key: Increases temperature, adjusts time, or navigates menu options.
- Clock-controlled Programme Mode: Indicates the thermostat is operating according to a set schedule.
- Manual Mode: Indicates the thermostat is operating at a constant set temperature, overriding the schedule.
- Room Temperature Display: Shows the current ambient room temperature.
- Day Number: Displays the current day of the week (e.g., 1 for Monday, 7 for Sunday).
- Set Value/Time Display: Shows the target temperature or the current time.
- DOWN Key: Decreases temperature, adjusts time, or navigates menu options.
- Heating On Indicator: Illuminates when the heating system is actively engaged.
- Sensor Indicator: Shows which sensor is active (internal or external floor sensor).
- On/Off Key: Powers the thermostat on or off.
- Clock Key: Used for setting the time and date.
5. Installation and Setup
5.1 Dimensions
Ensure adequate space for installation. The thermostat dimensions are as follows:

Figure 5.1: Dimensional drawing of the thermostat in millimeters. Front dimensions are 86mm x 90mm, with a depth of 43mm and a visible front depth of 13mm.
5.2 Wiring Diagram
Important: All wiring should be performed by a qualified electrician. Disconnect power before proceeding.

Figure 5.2: Wiring diagram for E91.713 (3A) and E91.716 (16A) models. Terminals 1 and 2 are for power input (N and L), terminals 3 and 4 are for heating load output (N1 and L1), and terminals 6 and 7 are for the external floor sensor.
Follow the diagram carefully:
- Connect the main power supply (AC230V) to terminals 1 (Live, L) and 2 (Neutral, N).
- Connect the underfloor heating load to terminals 3 (Neutral, N1) and 4 (Live, L1).
- Connect the NTC floor sensor to terminals 6 and 7. Ensure the sensor cable is routed correctly to the floor heating area.
- Ensure all connections are tight and secure.
5.3 Sensor Installation
The floor sensor should be installed in a conduit within the floor screed, positioned centrally between two heating cables. This ensures accurate temperature measurement of the floor surface. The sensor cable length is 3 meters.
6. Operating Instructions
6.1 Power On/Off
Press the On/Off key (power symbol) to turn the thermostat on or off.
6.2 Setting Temperature
In normal operating mode, use the UP and DOWN keys to adjust the desired target temperature. The set temperature will be displayed briefly.
6.3 Mode Selection (Manual/Programmed)
Press the Menu Key to cycle through different operating modes:
- Manual Mode: The thermostat maintains a constant temperature set by the user. The Manual Mode icon will be displayed.
- Clock-controlled Programme Mode: The thermostat follows a pre-set weekly schedule. The Clock-controlled Programme Mode icon will be displayed.
6.4 Setting Time and Day
Press the Clock Key to enter time setting mode. Use the UP and DOWN keys to adjust the hour, minute, and day of the week. Press the Clock Key again to confirm each setting.
7. Programming Schedule
The E91 (M9) thermostat allows for weekly programming with multiple events per day to optimize energy consumption and comfort. Refer to the detailed programming section in the full product manual for specific steps on setting daily schedules (e.g., 1-6 events).
Generally, programming involves:
- Entering programming mode via the Menu Key.
- Selecting the day or group of days for programming.
- Setting the start time and desired temperature for each event (e.g., wake-up, leave home, return home, sleep).
- Saving the program.
8. Maintenance
- Cleaning: Wipe the thermostat screen and casing with a soft, damp cloth. Do not use abrasive cleaners or solvents.
- Sensor Check: Periodically ensure the floor sensor is properly connected and free from damage. If the thermostat displays an error related to the sensor, consult a qualified technician.
- No User-Serviceable Parts: The thermostat contains no user-serviceable parts. Do not attempt to open or repair the unit yourself.
9. Troubleshooting
| Problem | Possible Cause | Solution |
|---|---|---|
| Thermostat not powering on | No power supply; circuit breaker tripped; incorrect wiring. | Check circuit breaker; verify power supply; consult electrician for wiring check. |
| Heating not turning on | Set temperature is below current temperature; thermostat in OFF mode; wiring issue; sensor fault. | Increase set temperature; ensure thermostat is ON; check wiring; consult electrician. |
| Inaccurate temperature reading | Sensor incorrectly installed or faulty; thermostat exposed to drafts or direct sunlight. | Verify sensor placement; ensure thermostat is not in an area with extreme temperature fluctuations; consult electrician for sensor check. |
| Screen unresponsive | Temporary software glitch; power issue. | Turn off power at the circuit breaker for 5 minutes, then restore power; if issue persists, contact support. |
10. Specifications
| Feature | Specification |
|---|---|
| Model | E91 (M9) |
| Voltage | AC230V (AC110V / AC24V available, check specific model) |
| Current Rating | 16A |
| Power Consumption | 3.5W |
| Switching Differential | ±0.5K |
| Protective Housing | IP20 |
| Housing Material | Self-extinguishing PC |
| Floor Sensor Type | Rubber-thermoplastic NTC sensor |
| Floor Sensor Cable Length | 3m |
| Dimensions (approx.) | 86mm x 90mm x 43mm (W x H x D) |
| Item Weight | 50 Grams (1.76 ounces) |
11. Warranty and Support
For warranty information and technical support, please refer to the documentation provided with your purchase or contact your retailer or the manufacturer directly. Keep your proof of purchase for warranty claims.