
1. Important Safety Instructions
Read all instructions carefully before using the charger. Failure to follow these instructions may result in electric shock, fire, or serious injury.
- Ensure the charger is compatible with your golf cart's battery voltage (36V) and plug type (D-Plug).
- Use the charger in a well-ventilated area.
- Do not expose the charger to rain or excessive moisture.
- Avoid charging damaged, frozen, or non-rechargeable batteries.
- Keep out of reach of children.
- Disconnect the AC power before connecting or disconnecting the DC output connectors.
- Do not operate the charger if it has received a sharp blow, been dropped, or otherwise damaged.
- Always wear eye protection and protective clothing when working with batteries.
2. Product Components
The SUNPIE 36V 12A Golf Cart Battery Charger package includes the following items:
- SUNPIE 36V 12A Golf Cart Smart Charger Unit
- AC Power Cord
- DC Output Cable with D-Plug Connector
- User Manual

Image: Overview of the SUNPIE 36V 12A Golf Cart Charger and its D-Plug connector.

Image: Close-up view of the SUNPIE 36V 12A Golf Cart Smart Charger, highlighting the 36V 12AMP label and the D-Plug connector.
3. Setup Instructions
Follow these steps to set up your SUNPIE Golf Cart Battery Charger:
- Unpack the Charger: Carefully remove the charger unit, AC power cord, and DC output cable from the packaging.
- Inspect for Damage: Check all components for any signs of damage during shipping. Do not use if damaged.
- Placement: Place the charger on a stable, flat surface in a dry, well-ventilated area, away from direct sunlight, heat sources, and flammable materials.
- Connect AC Power Cord: Plug the AC power cord into the charger's AC input port.
- Connect DC Output Cable: Ensure the D-Plug connector is securely attached to the charger's DC output port.
4. Operating Instructions
To charge your golf cart battery:
- Connect to Golf Cart: Insert the D-Plug connector firmly into the charging port of your EZGO TXT golf cart.
- Connect to Power Outlet: Plug the AC power cord into a standard 110-120V AC electrical outlet.
- Monitor Charging Status:
- Red LED: Indicates the charger is connected to AC power but not yet connected to the battery or battery is not detected.
- Yellow/Orange LED: Indicates the battery is currently charging.
- Green LED: Indicates the battery is fully charged.
- Charging Time: The charger is designed for a full charge within 5-8 hours, depending on battery depletion.
- Disconnect: Once the Green LED indicates a full charge, first unplug the AC power cord from the wall outlet, then disconnect the D-Plug from the golf cart.
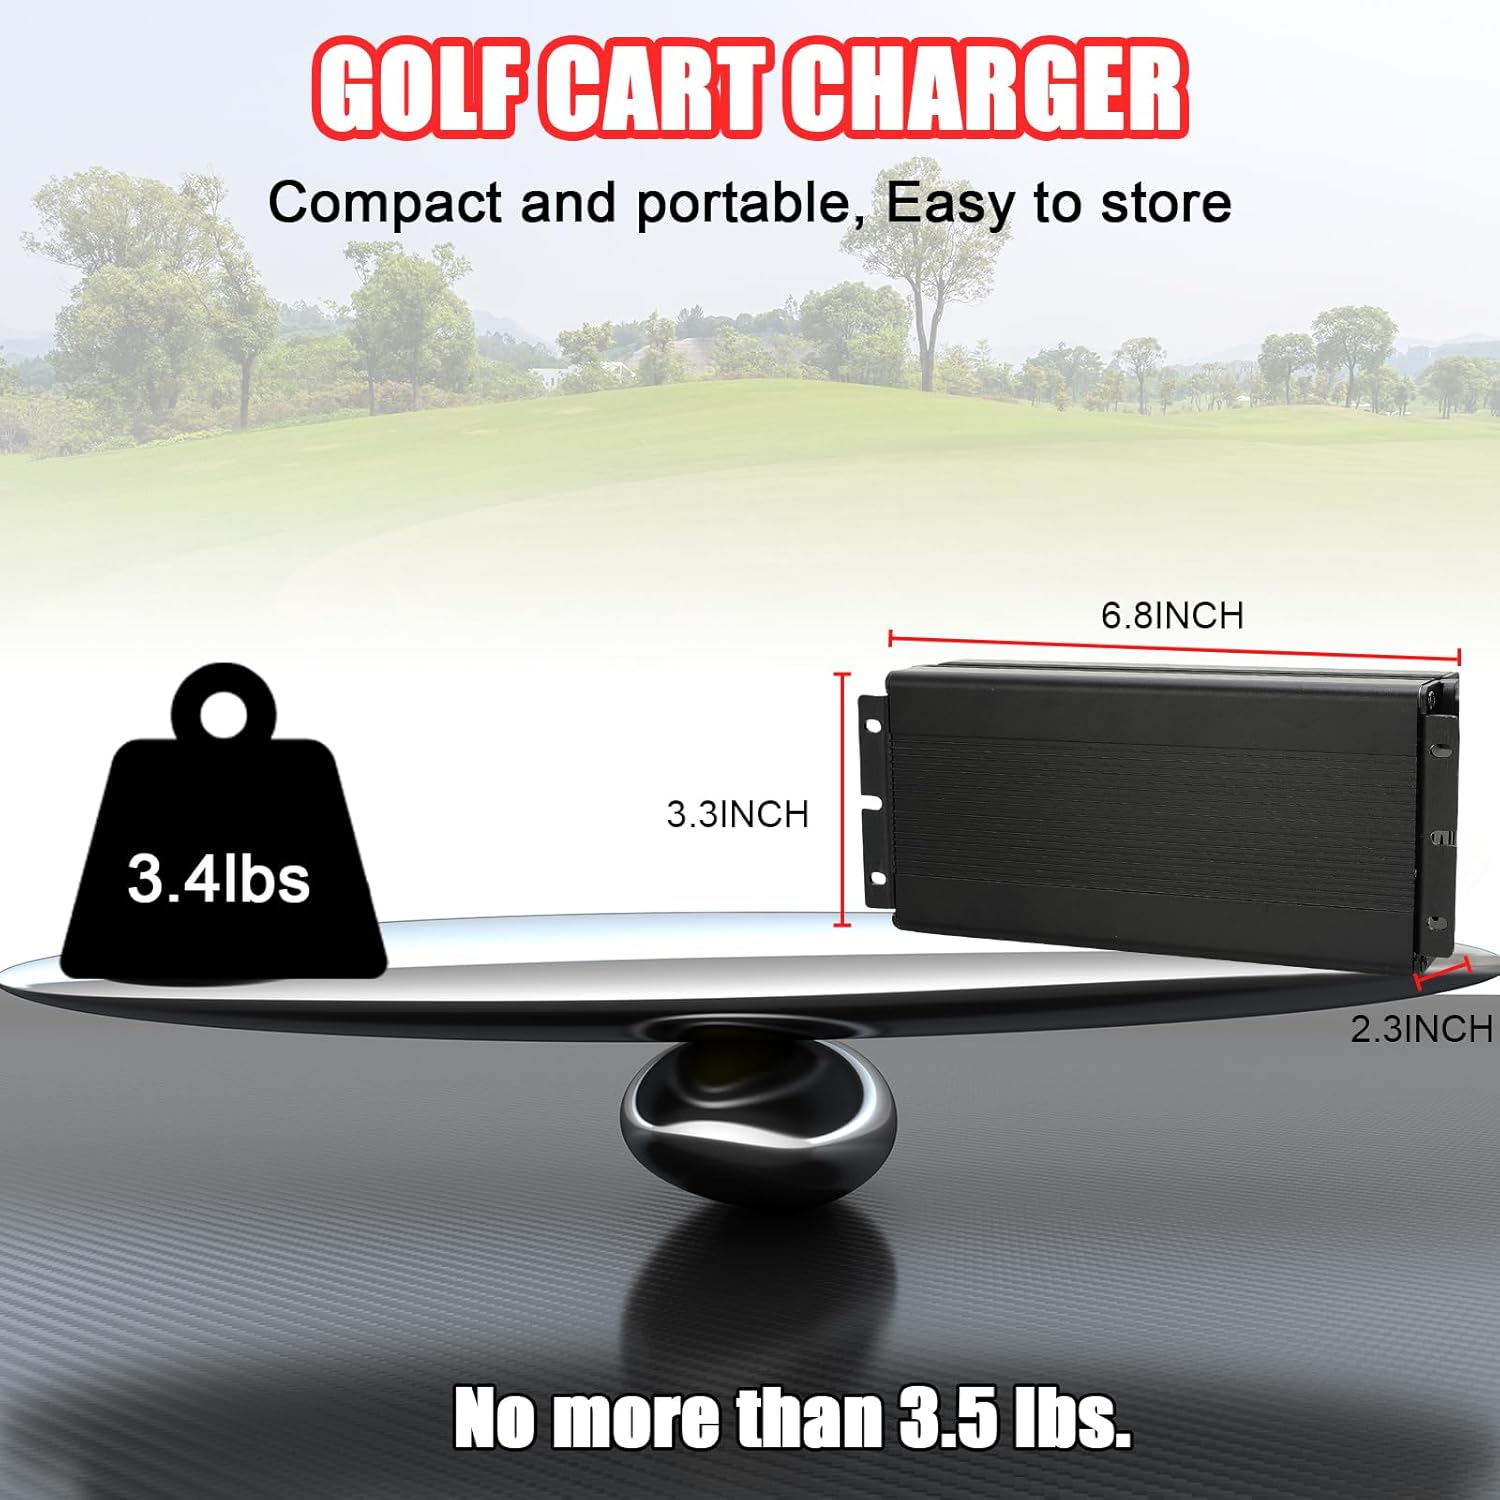
Image: The charger connected to both AC power and the golf cart, illustrating the charging process.
5. Maintenance
Proper maintenance ensures the longevity and optimal performance of your charger:
- Cleaning: Wipe the charger's exterior with a dry, soft cloth. Do not use harsh chemicals or abrasive cleaners.
- Storage: Store the charger in a cool, dry place when not in use. Keep cables neatly coiled to prevent damage.
- Cable Inspection: Regularly inspect the AC power cord and DC output cable for cuts, fraying, or damage. Replace if necessary.
- Ventilation: Ensure the cooling fan and ventilation slots are free from dust and debris to maintain efficient heat dissipation.

Image: Close-up of the charger's built-in cooling fan, emphasizing its role in heat dissipation and intelligent charging.
6. Troubleshooting
If you encounter issues with your charger, refer to the table below:
| Problem | Possible Cause | Solution |
|---|---|---|
| Charger not turning on (no LEDs) | No AC power; faulty outlet; damaged power cord. | Check AC power connection and outlet. Try a different outlet. Inspect power cord for damage. |
| Red LED stays on, no charging | DC plug not properly connected; battery not detected; battery deeply discharged or faulty. | Ensure D-Plug is fully inserted into the golf cart's charging port. Check battery connections. If battery is deeply discharged, it may require a specialized recovery charge (consult a professional). |
| Charger gets hot during operation | Normal during charging; poor ventilation; fan obstruction. | Some heat is normal. Ensure adequate ventilation around the charger. Clear any obstructions from the cooling fan. If overheating is excessive, discontinue use and contact support. |
| Charging takes longer than expected | Battery deeply discharged; battery age/condition; ambient temperature. | Deeply discharged batteries take longer. Older batteries may not hold charge as efficiently. Ensure charging in moderate temperatures. |
7. Product Specifications
| Feature | Detail |
|---|---|
| Brand | SUNPIE |
| Model | 36V 12A for EZGO TXT (D-Plug) |
| Output Voltage | 36 Volts (DC) |
| Current Rating | 12 Amps |
| Charging Time | 5-8 Hours (approx.) |
| Compatible Battery Types | Lead Acid, AGM, Gel |
| Plug Type | D-Plug |
| Cable Length | 16 FT (approx.) |
| Operating Temperature | -14°F to 113°F (-25°C to 45°C) |
| Weight | Approx. 3.4 lbs |

Image: Visual representation of the charger's compact size and weight (3.4 lbs).

Image: Illustration of the charger's wide operating temperature range, from -14°F to 113°F.
8. Warranty and Support
For warranty information or technical support, please contact SUNPIE customer service. Refer to the product packaging or the official SUNPIE website for contact details.
Return Policy: This product is eligible for a 30-day refund/replacement policy as per Amazon's terms.
Protection Plans: Extended protection plans may be available for purchase. Refer to your retailer for details.